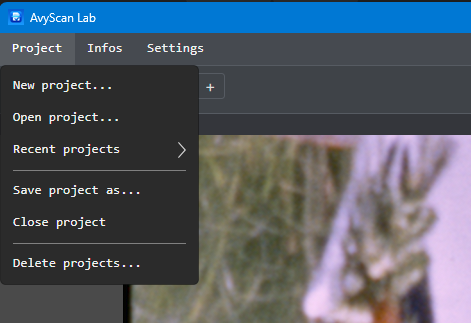
AvyScan Lab - film restoration software

Since ClearScan has evolved considerably and has also been renamed, I think it is preferable to start a new thread to avoid any confusion.

Here is an important update (v. 1.1) introducing several new features in the Expert version of AvyScanLab. (https://www.avyscan.com/)

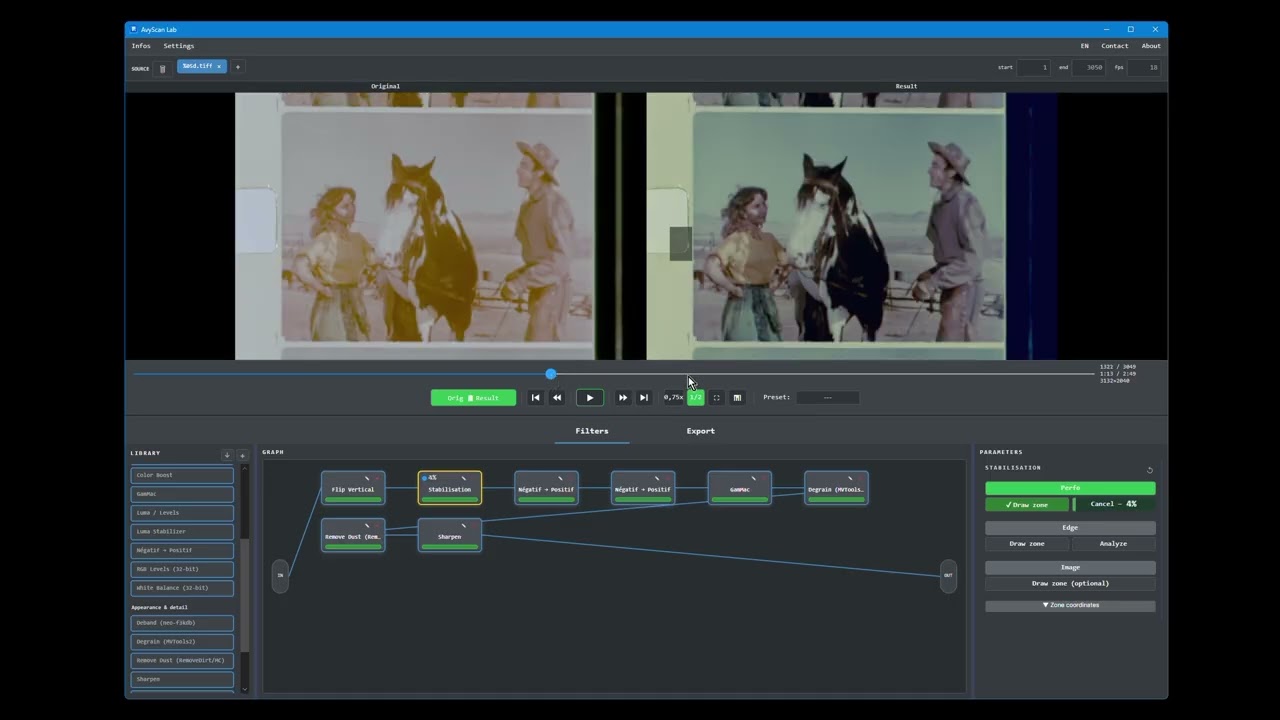
Film Perforation Stabilization

For users who capture their films with overscan, AvyScanLab now includes a highly effective film perforation stabilization system.

The setup is extremely simple: just draw a region containing a perforation (or even part of a perforation). The software will then analyze all frames to determine the required corrections.

This analysis phase is quite fast and runs entirely in the background. You can continue working on other filters or even other clips while the calculation is in progress. If you start a final export, encoding will automatically wait until all stabilization calculations have been completed.

Splice and Missing Frame Detection

Film splices and missing frames can be distracting when viewing a digitized film. Using a process similar to perforation stabilization, AvyScanLab analyzes the clip in the background and automatically highlights frames that should be removed during encoding.

Detected frames are marked with a red border, while each removal point is displayed as a red marker on the timeline.

Detection sensitivity is fully adjustable, and changing this setting does not require restarting the analysis process.

Users can jump from one detected splice to the next with a single click and can manually add or remove any frame from the removal list as needed.

Although no automatic detection system can be perfect, the results have exceeded our expectations. We honestly did not think it would be possible to reach this level of accuracy.

Processing Sound Films

AvyScanLab can now import films containing an audio track.

One of the main challenges when removing splices is maintaining proper audio synchronization. This issue has been fully solved: even after frame removals, audio and video remain perfectly synchronized.

As an added bonus, the application also allows audio level adjustment.

Tip

Users can capture their films with overscan, enable perforation stabilization, and then apply a crop filter. This workflow preserves the benefits of stabilization while keeping only the useful image area in the final output.

A new “What’s New” panel has been added so that users can easily review all changes, enhancements, and fixes included in each new release.

In addition, several bug fixes and code improvements have been implemented throughout the application.

Just a short video—perhaps a little too short—to briefly showcase these new features.
2 Likes

This is such an amazing piece of software. Please you should think about all mac users that follow your awesome work

Unfortunately, it is not possible to adapt this software for Mac because the entire application relies on AviSynth+, which is only available on Windows.
To make it compatible with Mac, the whole application would need to be rewritten using VapourSynth, with a great deal of uncertainty regarding the conversion of certain filters.

Well then I will purchase a Windows computer just for this. You keep doing a good job with your scanner and this piece of software.

2 Likes

AvyScan Lab – Film Restoration Software

We’re moving to Version 2.0 (previously 1.2), with many new features and improvements!

  • Free and Expert versions: Expert features—Stabilization, Automatic Splice Cleanup, and Resynced Audio Track—are now visible and fully testable in the Free version (marked with an “Expert” badge). You can run their analyses, and the results are displayed in the preview (with a watermark). Only exporting a film that uses one of these features requires an Expert license.

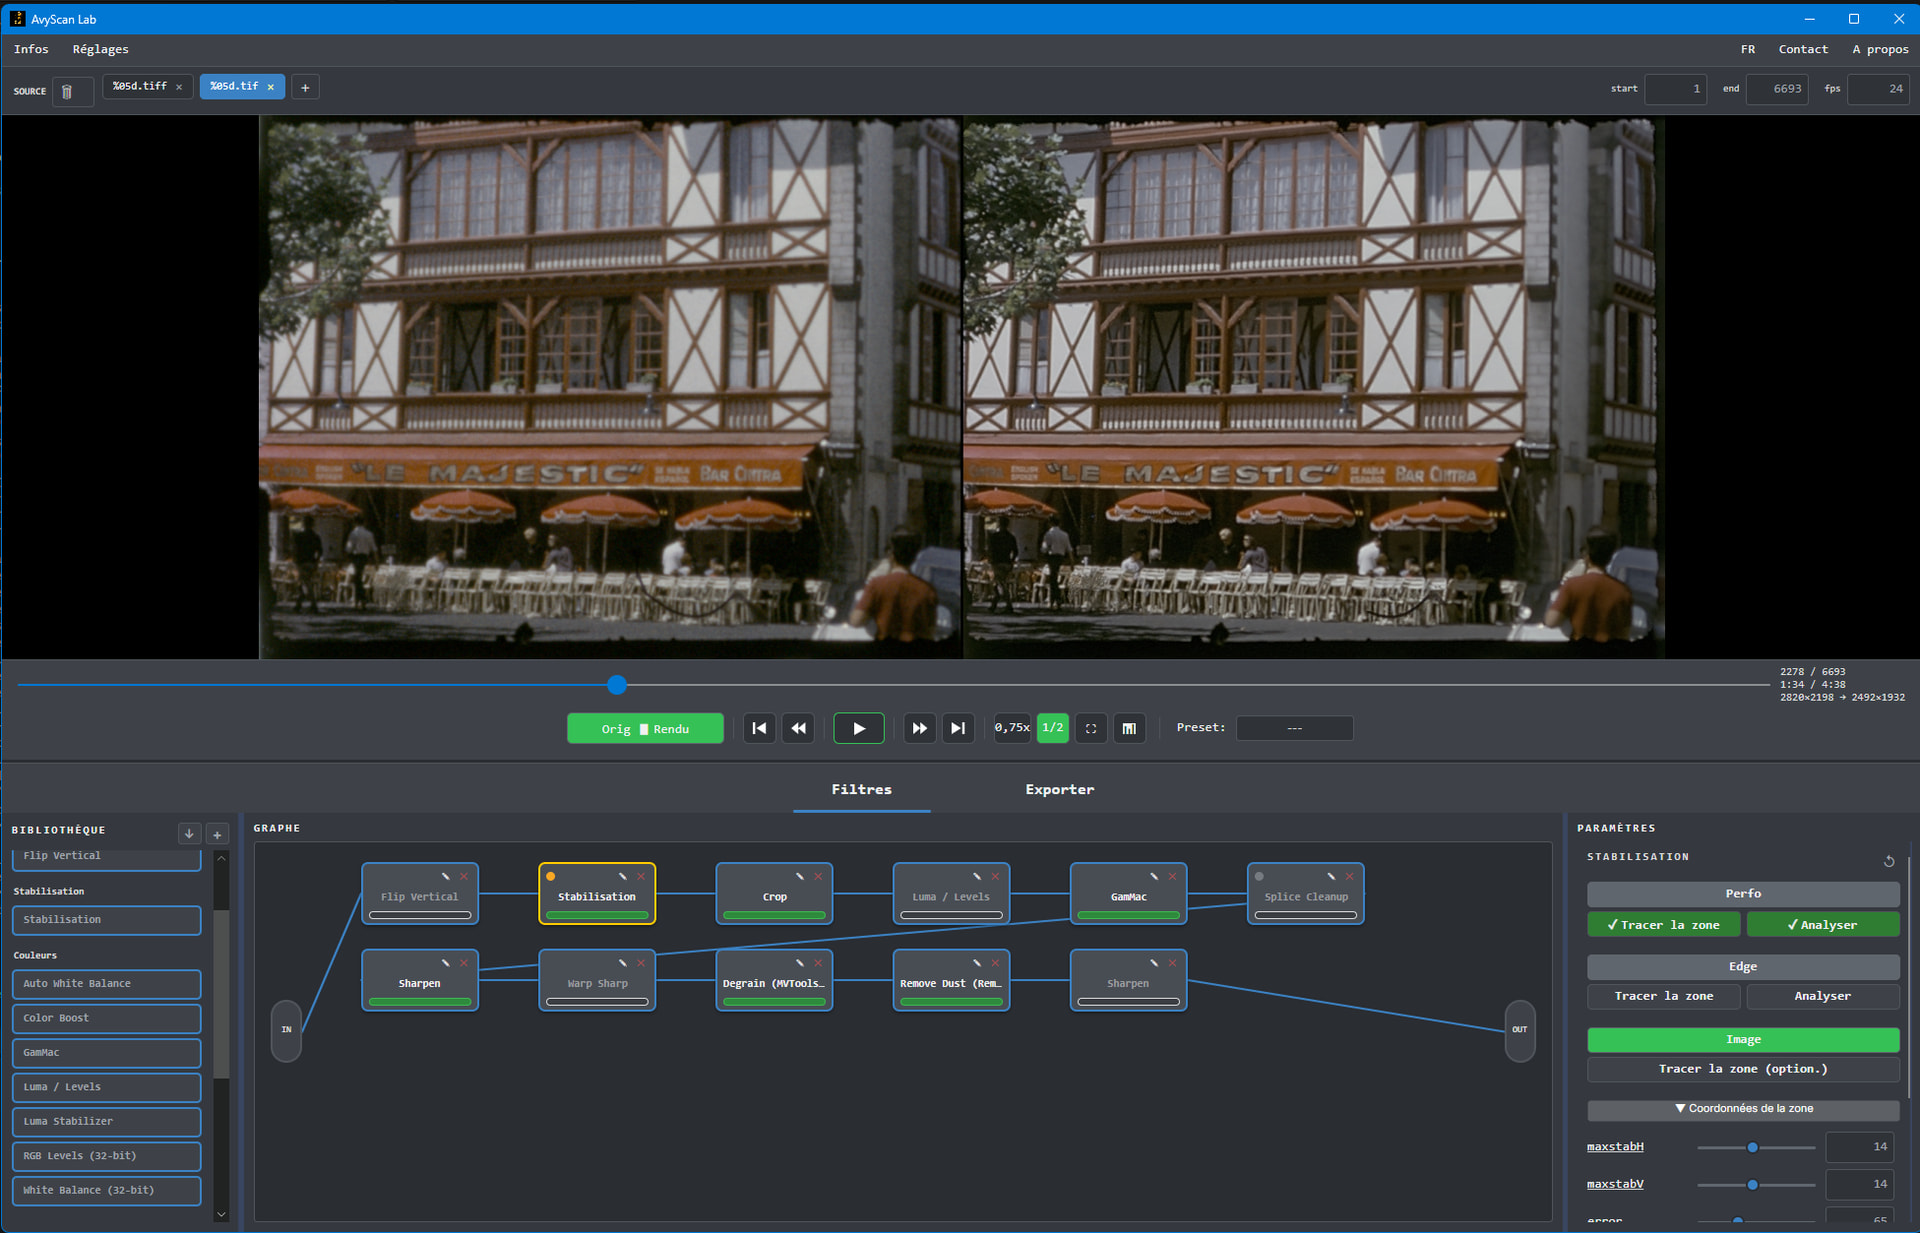
  • Stabilization: Perforation registration, edge/pattern tracking, and mechanical image stabilization have been merged into a single Stabilization filter with three modes. Each mode keeps its own analysis and selection area. The interface has been redesigned into clear sections, with a checkmark for each mode indicating whether its area has been defined and its analysis completed. Switching between modes no longer causes any loss of settings or analysis.

  • Perfo Lock (Expert version): Reference edge/line tracking is now significantly more robust. It follows the edge profile while ignoring the surrounding image, even with busy or low-contrast backgrounds. A search area is automatically created in irregular-edge mode, and uniform frames (black or white leaders, fades, flashes, or fully black/white shots) are automatically ignored so they no longer interrupt the analysis. User feedback has also been improved, with a yellow “Edge Not Found” button featuring a tooltip and a redesigned interface.

  • Presets: Preset management has been completely redesigned. A button now displays the active preset for the current clip and opens a dedicated window. The left panel lists your presets, while the right panel provides actions such as Apply to this Clip, Apply to All Clips, Update, Delete, and New Preset. Presets—including filters, filter order, and settings—can now be exported and imported for easy sharing between users. During import, any missing filters are automatically recreated without overwriting existing ones. (Expert version)

  • Sharpening redesigned: A new Limited mode delivers strong sharpening without producing halos. A new Warp + Limited mode further enhances edges, making it particularly well suited for film footage. Built-in grain reduction via the Denoise slider prevents sharpening from excessively enhancing film grain.

  • Remove Dust: Added a new Spotless option to remove large spots in addition to fine dust. New controls allow you to define the minimum spot size to process and whether to remove bright, dark, or both types of spots. The interface is also clearer: RemoveDirt and Spotless are now individual buttons, and the settings for disabled functions remain visible but grayed out.

  • Filter customization: You can now edit built-in filters by changing their default values, slider ranges, and tooltips. Your customizations are saved between sessions, and a Reset button lets you restore the original version at any time.

  • Clips: A new trash button next to SOURCE allows you to remove all loaded clips at once (with confirmation), making it easy to start a new batch from scratch.

  • Interface: Two new tabs—Filters and Export—below the preview let you switch instantly between filter adjustments and export settings. Filter tooltips have also been simplified and made easier to read, with clear Low / Standard / Strong descriptions presented line by line.

  • Fix (Encoding): The selected output container (MP4, MOV, etc.) and the CRF quality setting are now correctly applied. Previously, output files were always generated as MKV, and the CRF setting had no effect.

  • Fix (Player): Drag-and-drop onto the video preview is working again.

  • Various minor bug fixes and performance improvements.

2 Likes

Great update. What are the optimal requirements for the PC to run the software smoothly? @Roland

Recommended Hardware Specifications for AvyScan Lab

The short answer is simple: AvyScan Lab is primarily a CPU- and RAM-bound application. Investing in a faster processor and more memory will have a much greater impact on performance than purchasing a high-end graphics card.

Why CPU and RAM Matter

All computationally intensive processing is performed by the CPU, including:

  • Temporal denoising and degraining (MVTools / MDegrain)
  • Dust and scratch removal (RemoveDirt)
  • Image stabilization (DePan)
  • Video encoding (x264, x265, ProRes, FFV1)

These operations are entirely CPU-based.

There is no GPU acceleration in AvyScan Lab:

  • No CUDA processing
  • No NVENC hardware encoding
  • No GPU-based filtering

Memory (RAM)

Memory capacity is equally important.

During processing:

  • AviSynth reserves an 8 GB frame cache (SetMemoryMax 8192)
  • Multithreaded prefetching keeps dozens of frames in memory simultaneously
  • FFmpeg and the .NET/Avalonia user interface also consume additional memory

In practice, 32 GB of RAM is the ideal balance for most workflows.

Graphics Card

The GPU is used only for the preview window through mpv.

A modern integrated GPU (Intel or AMD) is more than sufficient.

A high-end gaming graphics card provides no performance benefit when processing or exporting projects in AvyScan Lab.

Storage

Storage speed becomes important when working with TIFF or BMP image sequences.

These large image files are streamed directly from disk, frame by frame, making a fast NVMe SSD highly recommended to eliminate storage bottlenecks.


Recommended System Specifications

Component Minimum (Functional) Recommended (Smooth Experience) Optimal (Heavy Workloads / 4K Film Scans)
Operating System Windows 10 64-bit Windows 10/11 64-bit Windows 11 64-bit
Processor (CPU) 4 cores / 8 threads 8 cores / 16 threads (Ryzen 7 / Core i7) 12–16+ cores (Ryzen 9 / Core i9 / Threadripper)
Memory (RAM) 16 GB 32 GB 64 GB
Storage SATA SSD NVMe SSD High-speed NVMe SSD + separate SSD for TIFF source/output
Graphics (GPU) Any modern GPU (integrated GPU is sufficient) Any modern integrated or discrete GPU Same – high-end GPUs provide no additional benefit
Display 1080p 1080p or higher 1440p or 4K for the comparison viewer

Practical Recommendations

Prioritize CPU and RAM

If you’re deciding where to invest your budget, spend it on:

  • A processor with more cores and threads
  • Additional system memory

Temporal filtering and video encoding scale almost linearly with CPU core count, making the processor the single most important factor affecting overall performance.

32 GB RAM Is the Sweet Spot

Considering:

  • AviSynth’s 8 GB frame cache
  • FFmpeg
  • The graphical interface

16 GB is sufficient for basic projects but can become limiting when processing high-resolution footage or using complex temporal filtering.

32 GB is the recommended configuration for most users.

More CPU Cores Mean Faster Processing

The default processing thread count is 8 (user configurable).

On an 8-core / 16-thread processor, processing throughput can nearly double (for example, from approximately 6 fps to around 14 fps, depending on the workflow).

More CPU cores translate directly into faster exports and shorter processing times.

NVMe SSD Recommended

When processing TIFF or BMP image sequences, frames are streamed directly from storage.

A fast NVMe SSD significantly improves performance compared to a traditional SATA SSD.

Platform Support

AvyScan Lab is Windows 64-bit only.

A macOS or Linux version is not feasible because the application relies on the Windows AviSynth+ ecosystem and native mpv libraries.

3 Likes

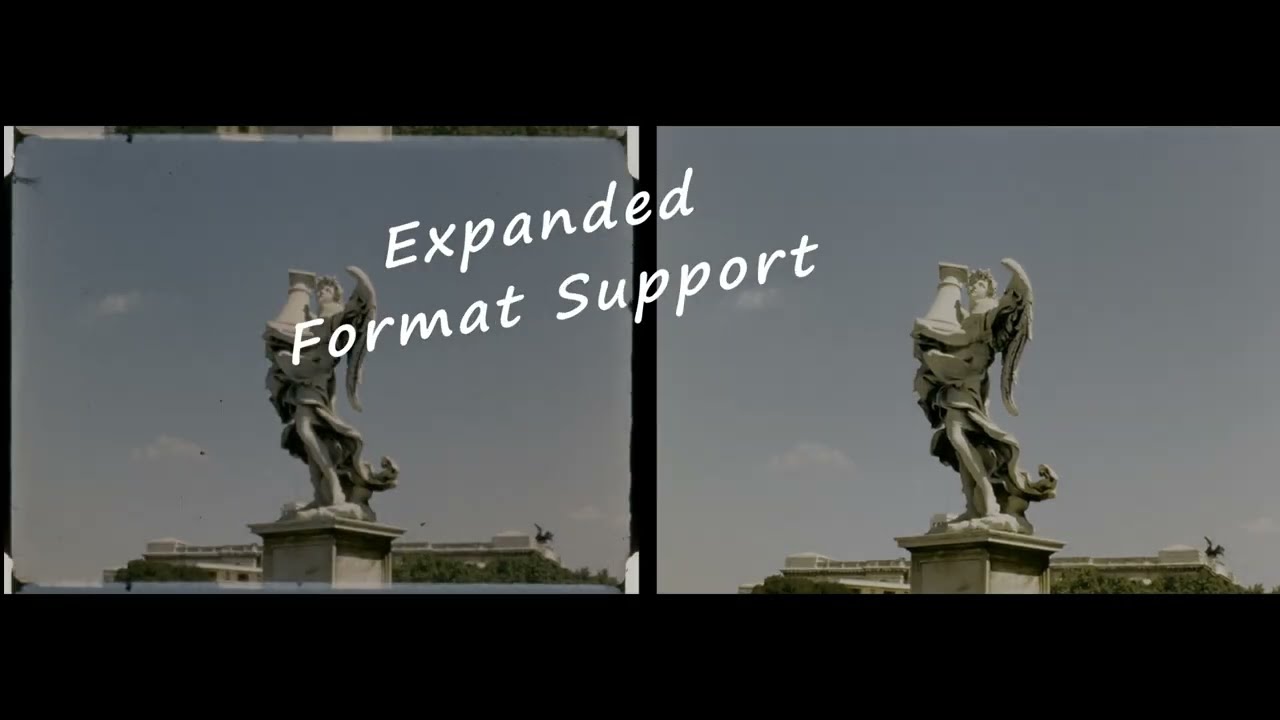
By overwhelming popular demand from the roaring crowd on this forum… here at last is a little Avyscan demo!! :winking_face_with_tongue:

1 Like

I truly love the dark software. Was this scanned with your All Format Scanner? It came out already super stable.

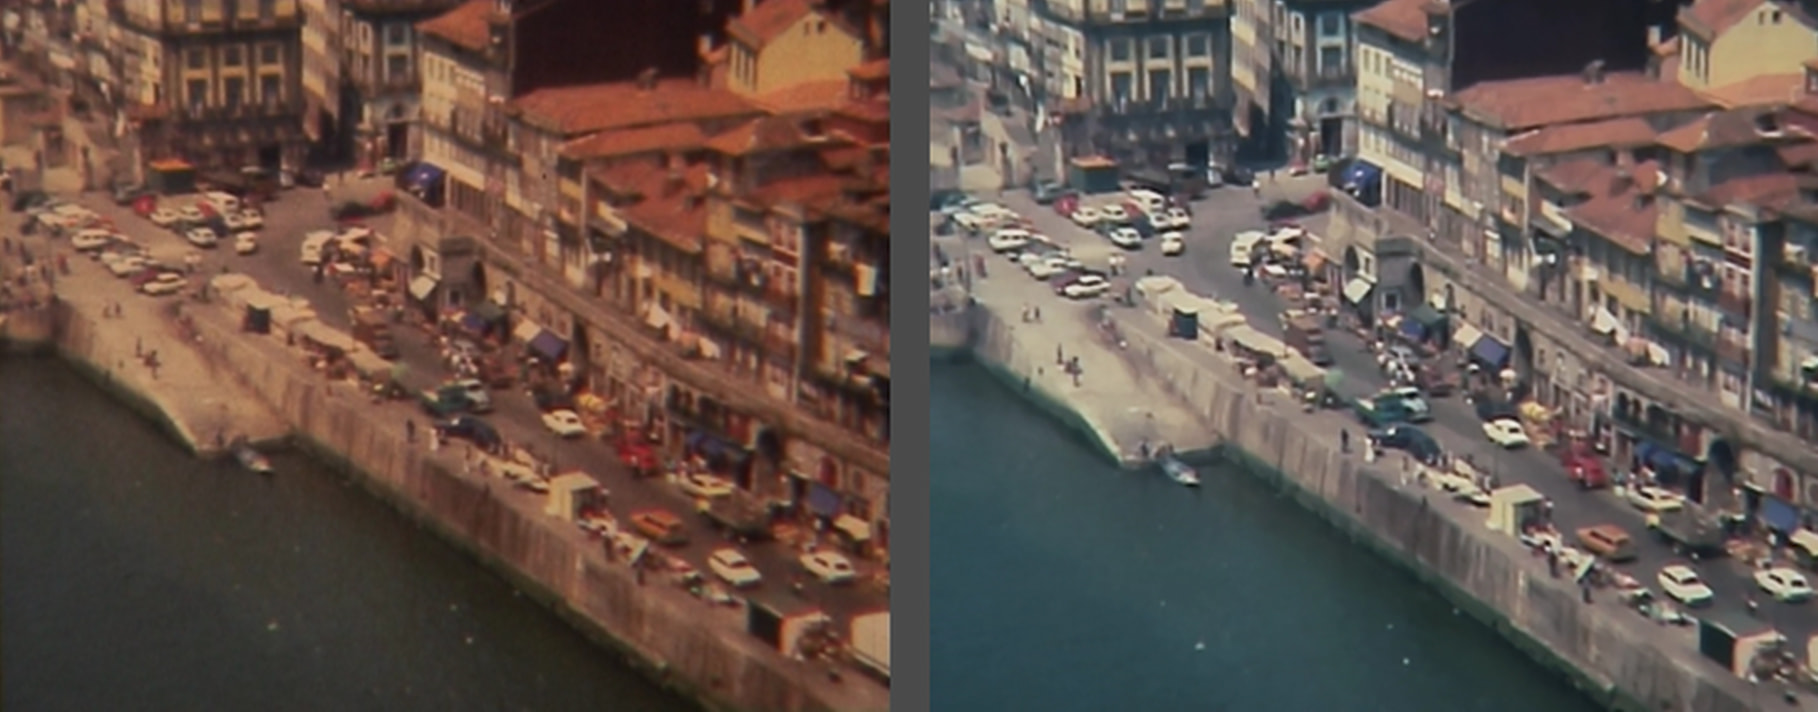
I am very interested on a before and after comparison between a dirty film vs a cleaned up with your software. Would love to see the extremes. Planning to get a copy of the software soon. Just a Windows computer is missing haha.

Why don’t you send me a download link via private message to a clip of the raw captured footage, while you wait until you have access to a Windows computer so you can test it yourself using the free version? But be warned, some extreme cases are still beyond saving.

1 Like

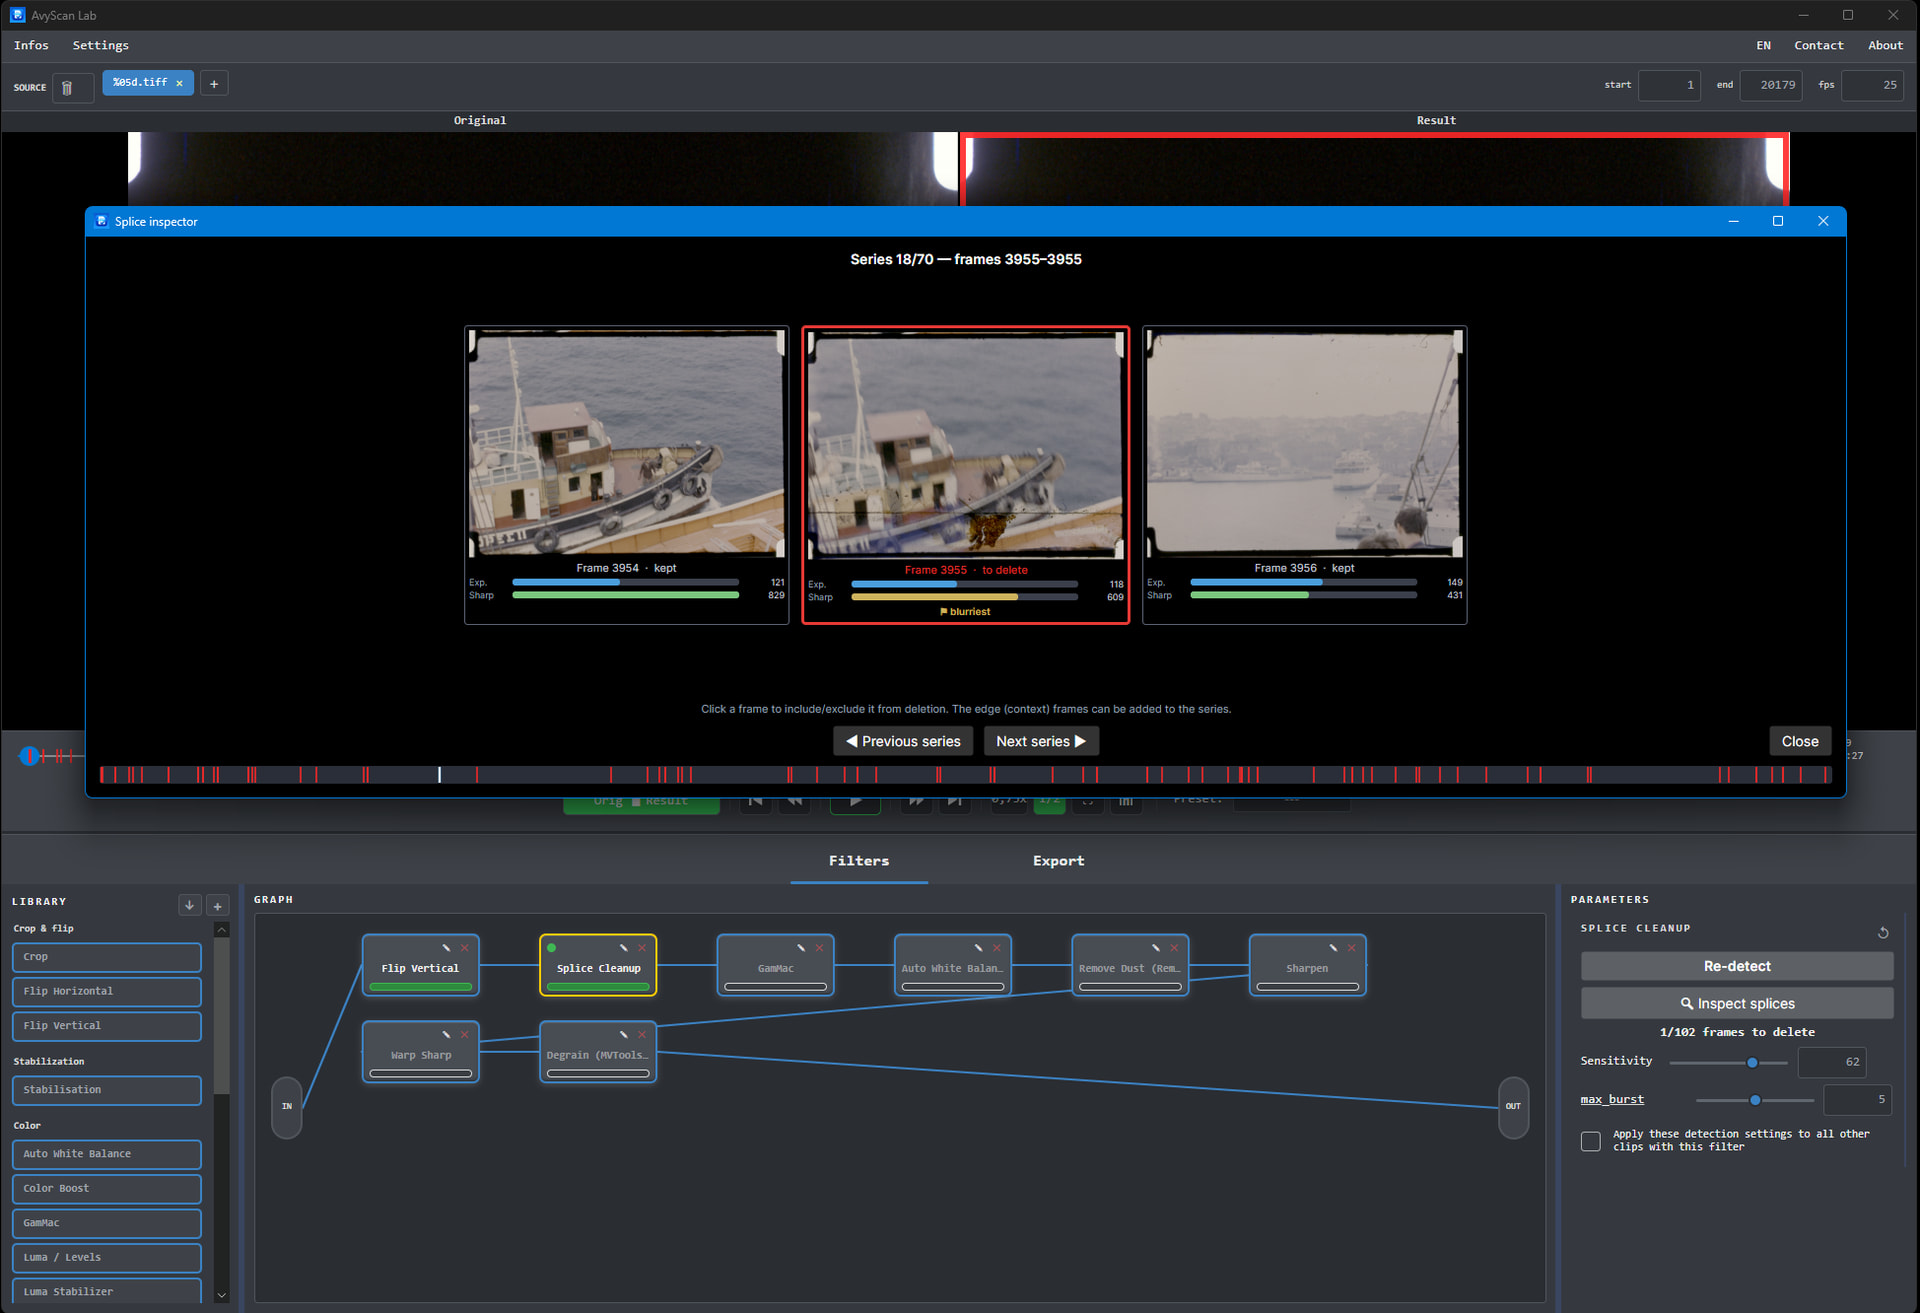
Clean Splice: a clearer way to inspect and correct film splices

Film splices and scene changes can cause brief visual disturbances. The first frame of a new shot is often slightly overexposed or blurred while the camera adjusts. When the film frame rate is converted to a standard video frame rate, these isolated defects may remain visible for longer and become even more noticeable. Splice Cleanup detects splice areas and scene changes with a high degree of accuracy, helping you identify and correct these unwanted frames. This automation can save a significant amount of time when you have a large number of reels to process.

The new Splice Cleanup window displays detected areas as a filmstrip. The frames surrounding each splice are shown side by side, making it easier to identify unwanted frames and select precisely which ones should be removed.

A simple click includes or excludes a frame from the correction. Exposure and sharpness indicators help identify overexposed or blurred frames, while hover zoom and the navigation slider let you inspect the film in greater detail.

Splice and perforation detection now run together in a single pass—and that pass is itself four times faster than before. Combined, these two improvements can make the overall analysis up to eight times faster, without unnecessarily repeating the same work.

The original film always remains untouched: selected frames are removed only during encoding.

2 Likes