yep. Here’s the same enlarged piece of the dng to jpg image:
- quite a difference, I think.
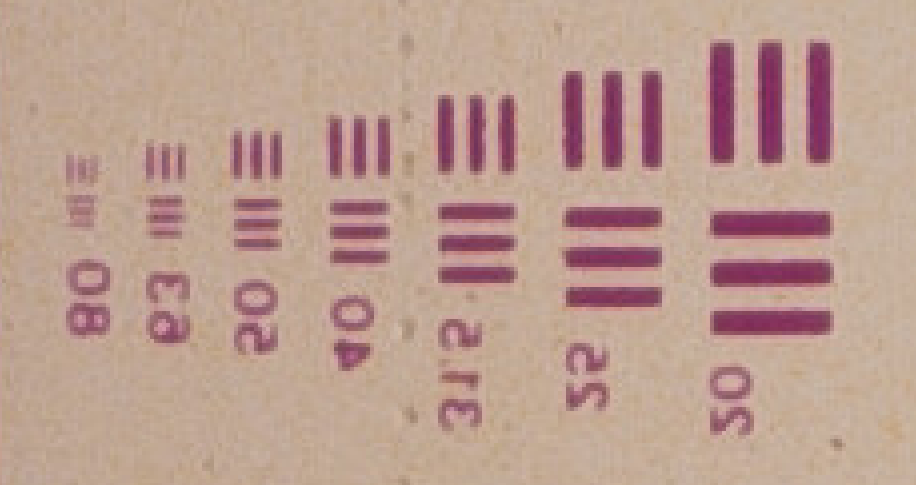
With respect to your resolution target: you might be interested in comparing this to Dominique’s example which is similar in resolution, but with another camera.
Here’s an example of what we are really talking about with Super-8 material. Due to the small size, it is more challenging than a 35 mm scan.
One further thought: while a resolution target is nice for checking, it might be somewhat misleading with respect to the full picture…
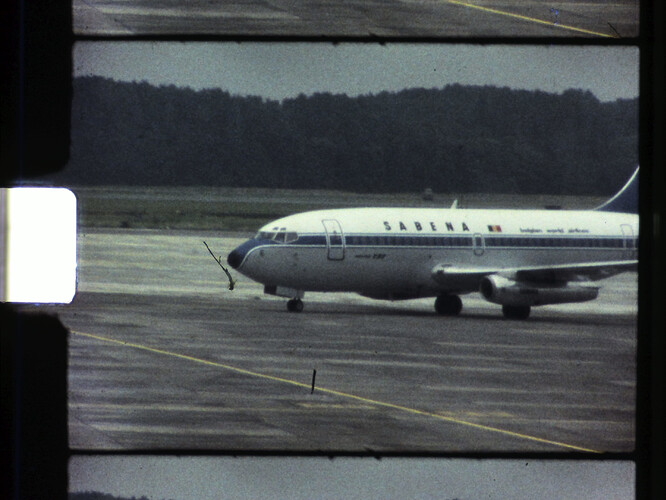
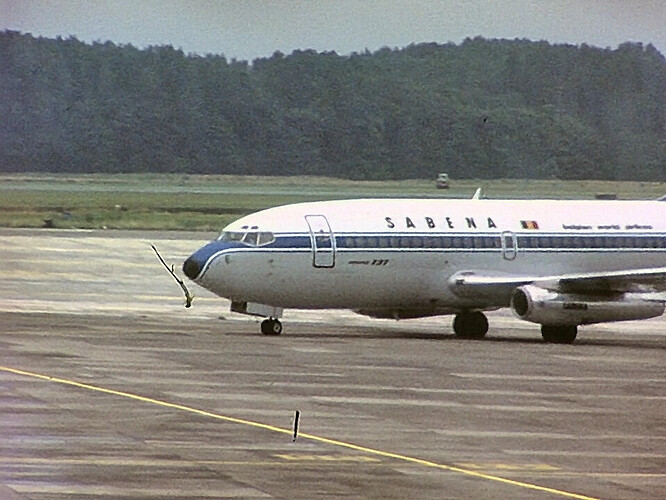
Showing here an example of a capture with one of my previous systems. This specific frame was captured via a see3cam sensor mated with a Schneider Componon-S 50 mm. I am no longer using this setup; the original scan resolution this system worked with was 2880x2160 px. So, not too bad, but certainly not 4k or 8k.
Note the dirt in front of the airplane - I intentionally selected a frame with such a “feature” because it shows how fine-detailed, strong contrast features end up in your processing scheme.
Now, at least two things can be noticed with this original scan. First, this is Kodachrome 40 film stock, slightly mistreated by waiting over a year before developing it. Grain is very well noticable in this scan. Obviously, you do not need a 8k sensor to see some grain…
Also, the camera used for taking this footage certainly had it’s limits - I have seen much sharper imagery from old Super-8 cameras.
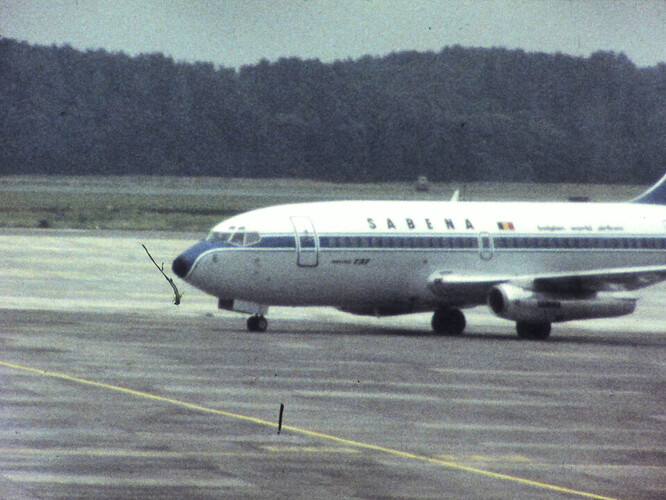
Ok, now the next image is practically the same image, only that it already is cropped and scaled to my target resolution, namely 970x720 px (yes, that low. And note the nice grain visible with that low resolution):
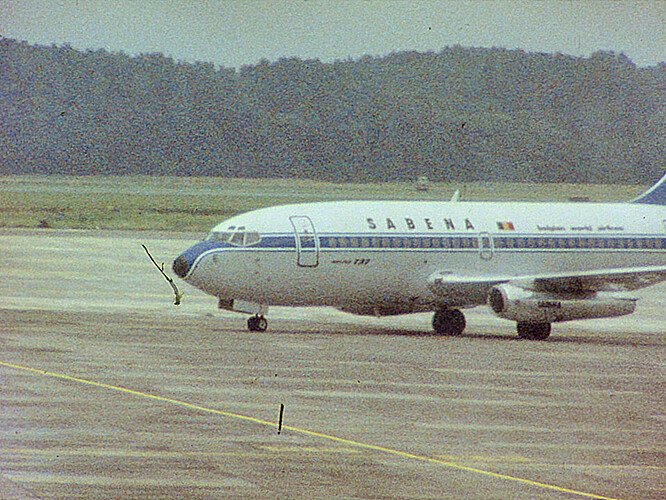
Now, if you look closely, even so this frame does not feature a huge contrast range, the upper part of the airplane is burned out, and the belly lacks some features. That’s why I took in this case 5 different exposures and combined them via exposure fusion into a new image:
Here, at that point, various other image processing has taken place - color correction, more importantly some sharpening, necessary because all these image processing steps (most notably the exposure fusion algorithm) blurr the image. You can spot that if you enlarge the dirt in front of the airplane - it has now gotten a nice halo, a typical sign of sharpening algorithms. Of course, due to the sharpening, the grain is also clearly visible (even so the gamma was reduced a little bit).
Now, occasionally I do use the above image as the final result. However, it is costly to encode all the grain (noise) of that movie. So traditionally, a last processing step is to temporal smooth the footage (there are some avisynth-scripts floating around the internet which do work nice). The following frame
shows slightly more details in some image areas but compresses much better (we are speaking of a factor of three to four with respect to file size!). Basically, all grain has gone.
Does this “end result” look anything like the original Kodachrome frame projected classically on a silver screen? Not at all.
(That would, by the way, not be possible, due to physical and psychological reasons - watching a movie in a darkened room on a silver screen is impossible to match with current electronic display technology.)
The above image actually is in appearance quite similar to a movie taken by a mobile phone of the previous (not 4k) generation. In a non-scientific survey, no one of my audience actually preferred the grainy version of the footage - all favored the video-like solution.
What I want to point out: resolution is only one of several aspects a camera needs to deliver. It will depend heavily on the lens you are able to attach to the camera. If you flash your film without stopping it during exposure, you might introduce noticable blur - or a heavy demand for bright flash lights. Even if the optics are fine and the sensor well-selected, you might end up fighting with the bad software environment your camera/sensor supplier is offering you. Of course, you can always reduce a too high resolution, but you can never increase a too low one.
