I’ve had a few back and forth emails with Matthew Epler, and have been following this project for probably over a year now.
Really happy to see the community here.
Anyway I haven’t gone down the road of building the prototype out yet, but I did shoot some super16, and really wanted to learn about scanning worked by doing it by hand, myself.
My end goal is to be able to shoot film, process it to create a negative, and then directly scan the negative to avoid high cost of shooting on film as an indie film maker.
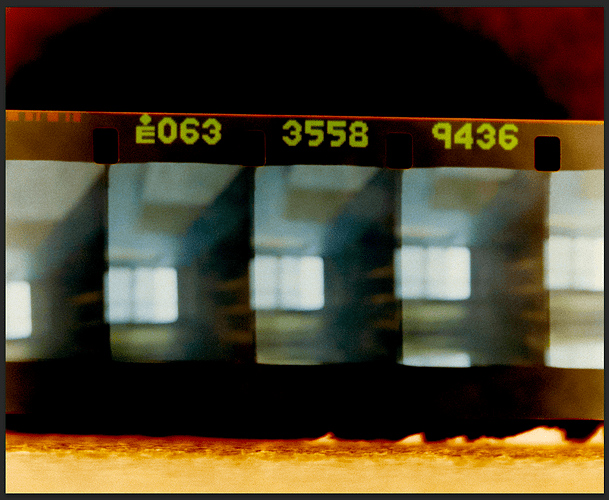
As you will see in my ghetto example below, one feature that I would need would be KeyKode tracking. This is used in editorial so that any edit decisions can be traced back to the film negative directly.
Anyway, without further ado:
cough cough
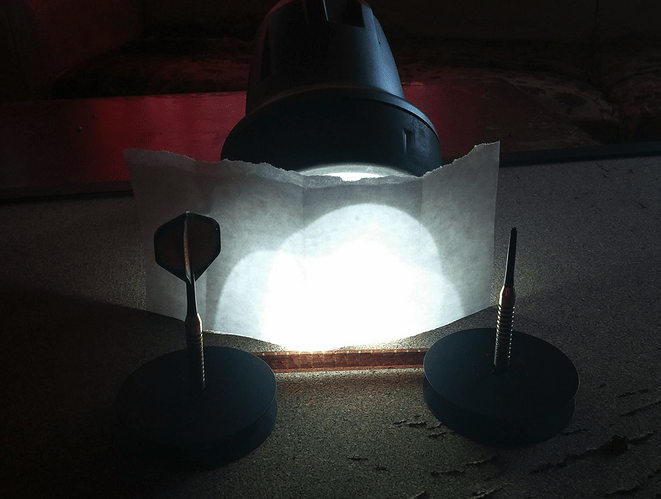
And here we have this fine specimen. The DIY by HAND reel to reel, using darts, a cork board, and a big ass flash light
lol… well its a start. And these shots were taken by hand, no tripod, just pressing the camera up against the table to keep it in place.
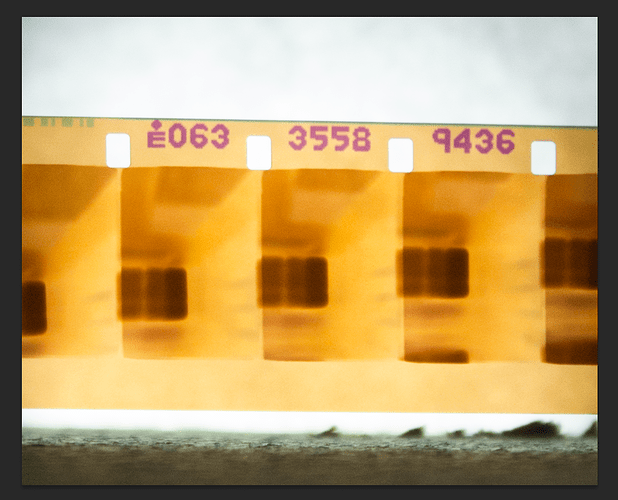
Notice the Kodak KeyKode (thats their TM not a misspelling)
Its a unique identifier every 21 frames (aka 20-perf format)
This is used in editorial to basically do a cheap telecine, edit the feature film, and then have a negative cutter prep the final film based on the keykodes for final DI scan etc.
(please ignore the blurriness of the actual image on the negative, its the fault of a bad lens adapter when it was shot)
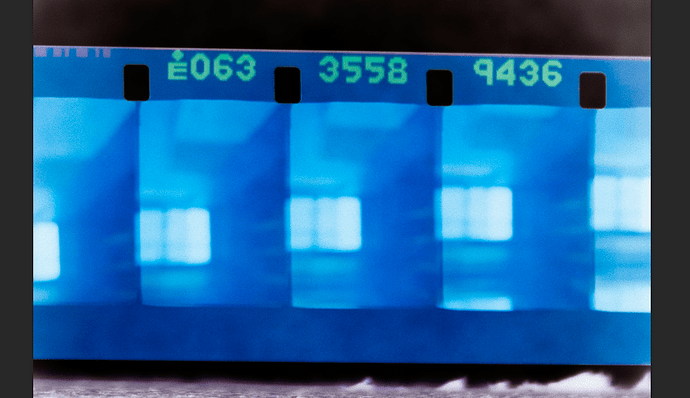
This was my first endeavor with film, so I had to do some reading on why negative is this orange color. So part of processing the negative image digitally is to invert and remove the color cast of the negative itself… Now what you’re seeing here is BY NO MEANS a proper color conversion lol. But It was a great learning experience for me.
Step 1, invert the color
step 2, remove the color cast (in this case, tell photoshop that the blue is actually black)
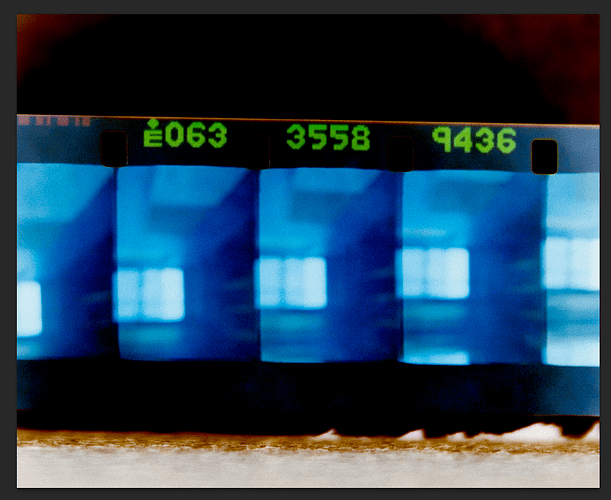
I shot TUNGSTEN film at a window with sun. So that actually looks pretty close to what you should see! So Pull the white balance in a more proper place
Now it is a blurry image again because of a crappy lens adapter. But the KeyKode numbers are sharp, so this is correct.
After that believe it or not, I put them together and in after effects motion tracked the pins, and stabilized the image and ended up with:
(vimeo link)
From there its easy to rotate and extract the frame!
So shortcomings…
I’d never want to by hand scan a full 100’ roll, it would take FOREVER!
I had the wrong lens and was far away so had no resolution
No pressure plate and the lack of accuracy by doing it by hand obviously introduces the bottom side of the film flopping around, and reflections from the window etc.
But the scan functioned properly! and I learned a lot in the process.
I know this isn’t DIRECTLY a kinograph scan, but maybe this DIY approach will help inspire others of the desire to scan film, and keep it as a shooting medium for lower budget minded folks.
