In regards to making integrating spheres, I received some moulds for making globe candles. Being flexible silicone they are unlikely to be any good as spheres themselves. Coatings of reflective paint inside will simply peel off as the silicone will be doing its job of excellent separation. However they should be fine for making quickset plaster halves by casting the plaster onto the outside of the upper mould half. The lower mould has have a little platform in the bottom to hold it upright which could spoil the plaster casting. The plaster should bind a reflective coating quite well. The plaster can be made a little more robust by adding some portland cement into the mix at cost of the colour no longer being white. If white styrofoam is not chemically hostile to the silcone material sphere halves could also be cast. Because the styrofoam expands, the silicone mould may collapse inwards. They could be stabilised by casting plaster inside them and leaving it in there to hold firm.
Plaster probably isn’t a great medium in terms of durability, even with a bit of cement added. I took a molding and casting class in art school ages ago, and my professor would have loved this idea. One thing that’s nice is that the plaster has a very smooth surface, and will really pick up on whatever it is that you’re casting. If you were to do this, I’d approach it a little differently though:
Build a wooden box that has inside dimensions a bit larger than the exterior of your integrating sphere. That is, if you have a 4" sphere, make a box that’s 5-6" in each dimension. Make this box either in two parts, or assembled with screws so it can be disassembled later. slather vaseline all over the inside of the box (you need a separator so the plaster doesn’t stick) On the top of the box, make a hole in the center. put a balloon in there and blow it up, then hold it in place with a couple sticks that go across the top of the box. Pour the plaster around the balloon, so it fills the void between the balloon and the inside of the wood box. After it sets, use a hole saw to make a clean viewport in the top of the plaster, and additional holes at 90 degrees from the viewport for the light source. You should have an extremely smooth sphere inside. I’d paint that with the barium sulfate/white paint combo that has been discussed here. Just put some inside the sphere and rotate it around to let the paint coat it.
The main issue with plaster though, is going to be durability, so you might want to enclose this in something protective, because just bumping it could damage it. Also, you don’t want plaster dust getting on the film, because it will affect the picture so the whole thing should be well protected to prevent it from getting scratched or damaged in any way.
In my attempts of working with Bariumsulphate it came out as very plaster like though, the best matte surface I could create was treating it as plaster and ‘smoothing it’. I tried to used the recipe from a paper/document about it, I believe somebody posted it here. And Bariumsulphate is one of the materials they use in integrating spheres I thought.
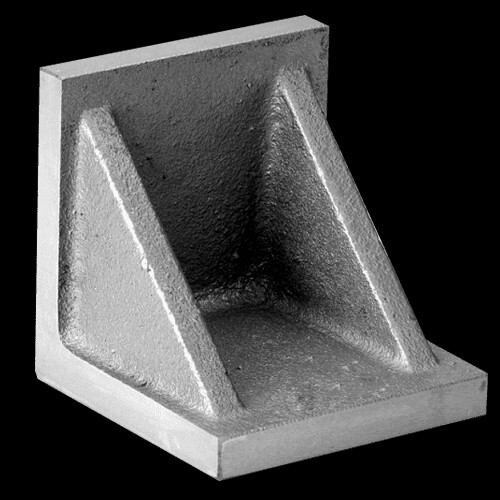
I think this aluminum mold available in various sizes is a perfect ingredient for a half sphere.
I would highly recommend getting a 3D printer and learning a cad software. It will take some time to learn BUT it will be the best thing ever to happen to your maker’s life. Printers are now available for very cheap. But I have to recommend the Bambu Lab X1C - it changed my life, with this printer all you need is to learn the CAD software, you will not have to learn 3D printing - the printer just works. You’re up and running 15min after un-packing.
Nice machine, outside my budget for DIY.
Worthwhile recommendation.
I sent to a 3D print a couple of small parts, trying Shapeways to see the results.
I think 3D printing has its limits, particularly for rigidity of large components. Another affordable option is to design/use laser cut parts, which opens the option for metals.
Sheesh, and I thought my Prusa was turn-key. I’ve never seen so many features packed into a printer before. The X1C’s lidar scanning thing sounds like a really cool way to solve several problems at once.
And I’ll shout the same “learn CAD” recommendation from the rooftops. Just in this past month while tinkering with stepper motors and a few lenses for the ReelSlow8, I think I went through 2-3 iterations (each) of around 8 different little adapters, fixtures, and other helpful bits that I needed along the way.
The super short iteration times make FDM printing feel magical; almost like you’re pulling the idea directly out of your brain and into your hand. I agree with @PM490 that it can’t solve every problem, but it’s nicer to only spend a couple hours of hands-off printer time and a few cents worth of plastic to find out there is a problem in your design than discovering the same issue after a dozen hours of milling an expensive chunk of aluminum stock (or cutting lumber, or lasering something, etc.).
I recently got the cheaper Bambu Labs P1P, which is a slightly stripped down version of the X1C. It was more expensive than the Creality type machines I was originally looking at but the quality you get at the speed it prints is pretty game changing. As someone who procrastinates a lot it’s really helped me keep the progress going. I don’t even think about the printer, I just print.
Slightly offtopic. Lidar scanning? Does that enable an object to be scanned in 3D and reproduced ikn accurate 1:1 scale by a 3D printer. There are one or two people aftering a 16mm pressure plate I made for a Retroscan Universal Mk2. As I formed it up in folded sheetmetal by trial and error, I do not have an engineer’s diagram for it.
I’d be curious about this too. Years ago I bought a 3D scanner to try to replicate the gate in the Northlight scanner, but it could never get a proper scan due to the shininess of the metal in some areas and the matte black paint in others. I think mine was a tabletop unit made by Matter & Form. I bet it’s good for some things, but I’d love to know if there are better 3D scanning options out there. Sometimes we just need to replicate a part and it would theoretically be easier to scan it than try to measure and remodel it in CAD.
For printing, we use a Creality Ender 6. It’s awesome. Super fast, big print area, and has been very reliable. it was a huge step up from the DaVinci X-Y-Z I started with (nice because it was kind of idiot proof, but also very slow and hard to get calibrated correctly.
No this lidar scanning is to scan the surface of the print, it could be used to learn the behavior of the filament for instance. The firmware is closed source, so I don’t know (yet) how it works in this machine. The biggest issue people seem to be having is on the filament manager/AMS, but it seems to be working better than the Prusa MMU2S. But since it’s mainly about multi-color the stock P1P should be good enough. ’
But regarding lighting and integrating spheres, I will try to design and build a half-sphere first, to use it with a microscope. Using a LED ring around the edge of the dome, shining up at it. Something like this, but slightly different.Article about 3D-printed integrating sphere..
I will attempt to coat it with a BariumSulphate ‘paint’ instead of sticking to white PLA.
One novel approach I’ve seen that can handle varying levels of shiny/matte on the surface you’d like to scan is a “touch probe” style scanner like Roland’s ZSC-1. It’s a needle connected to a piezo sensor that barely touches the surface, while following the contour. You mount it in the chuck of one of their CNC mills, give it the bounding box of your object, and the software handles the rest.
I’m not sure why the Internet only seems to have Russian videos of it in use, but it looks like this while it’s scanning, and in the last few seconds of the video you can see the (high quality!) 3D model that is generated.
This brochure mentions the 3D scanning feature and gives some specs. It looks like it’s only limited by the resolution of the mill’s own gantry, which is usually around 0.05mm. I’ve never used one, but they always seemed like a nice solution when the surface of the object you want to scan is uncooperative.
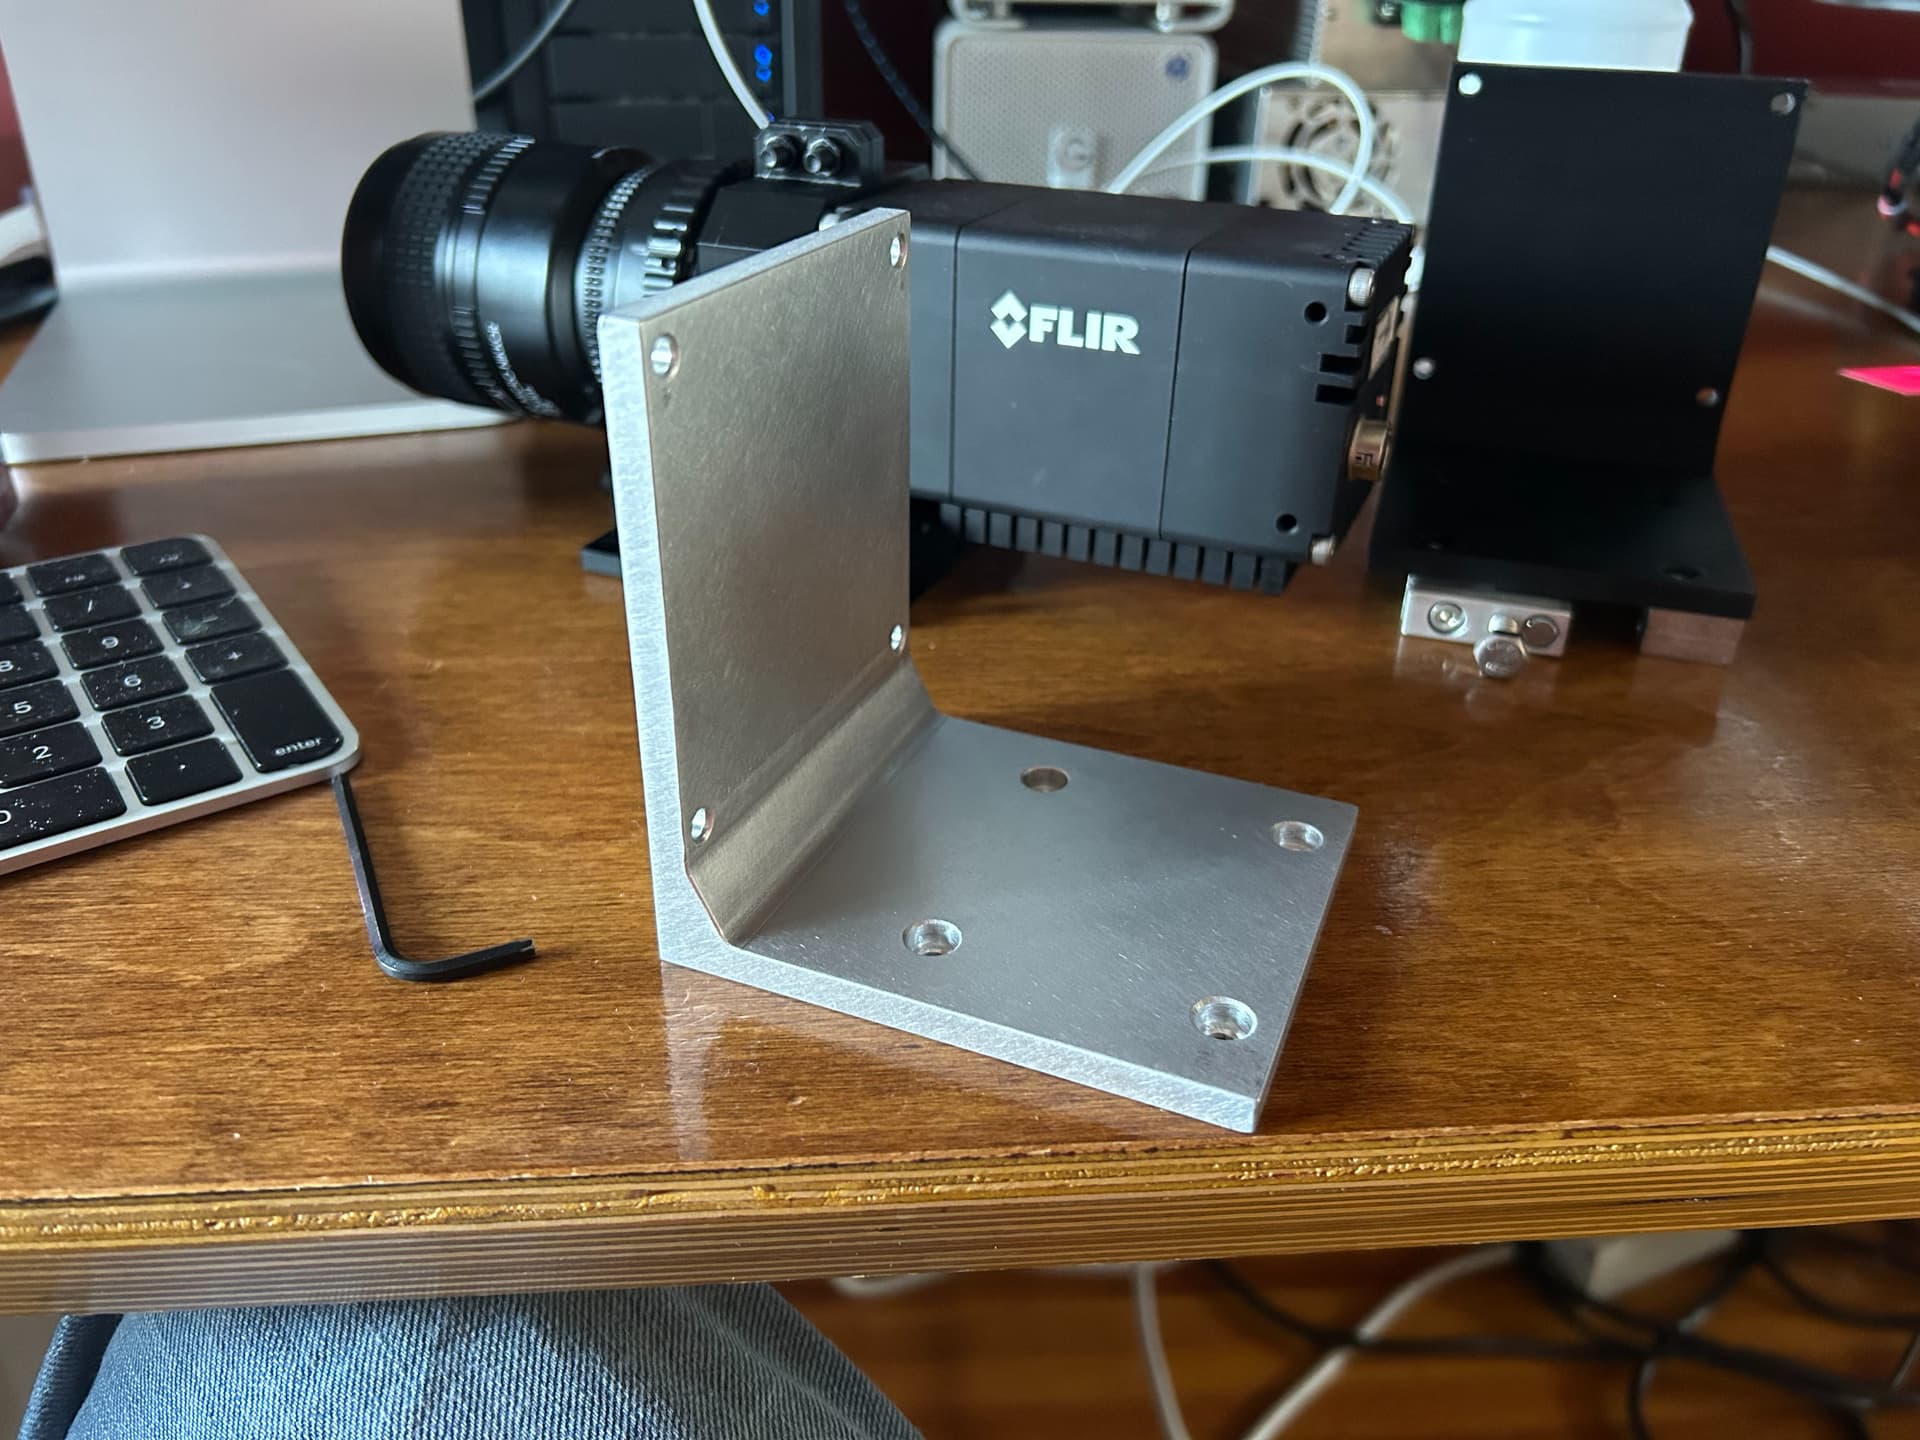
The only part I had no choice of having CNCd for my scanner is an L shape bracket, part of the camera rail assembly, and of course the frame stuff like top plate, feet and all screws are metal etc.
I must say that I lived with the 3d printed L bracket for a long time before splurging on the CNCd part(it was VERY expensive) and it worked fine, the issue with the 3d printed version was the camera/lens weight was slightly bending the bracket even when printed at 100% infill.
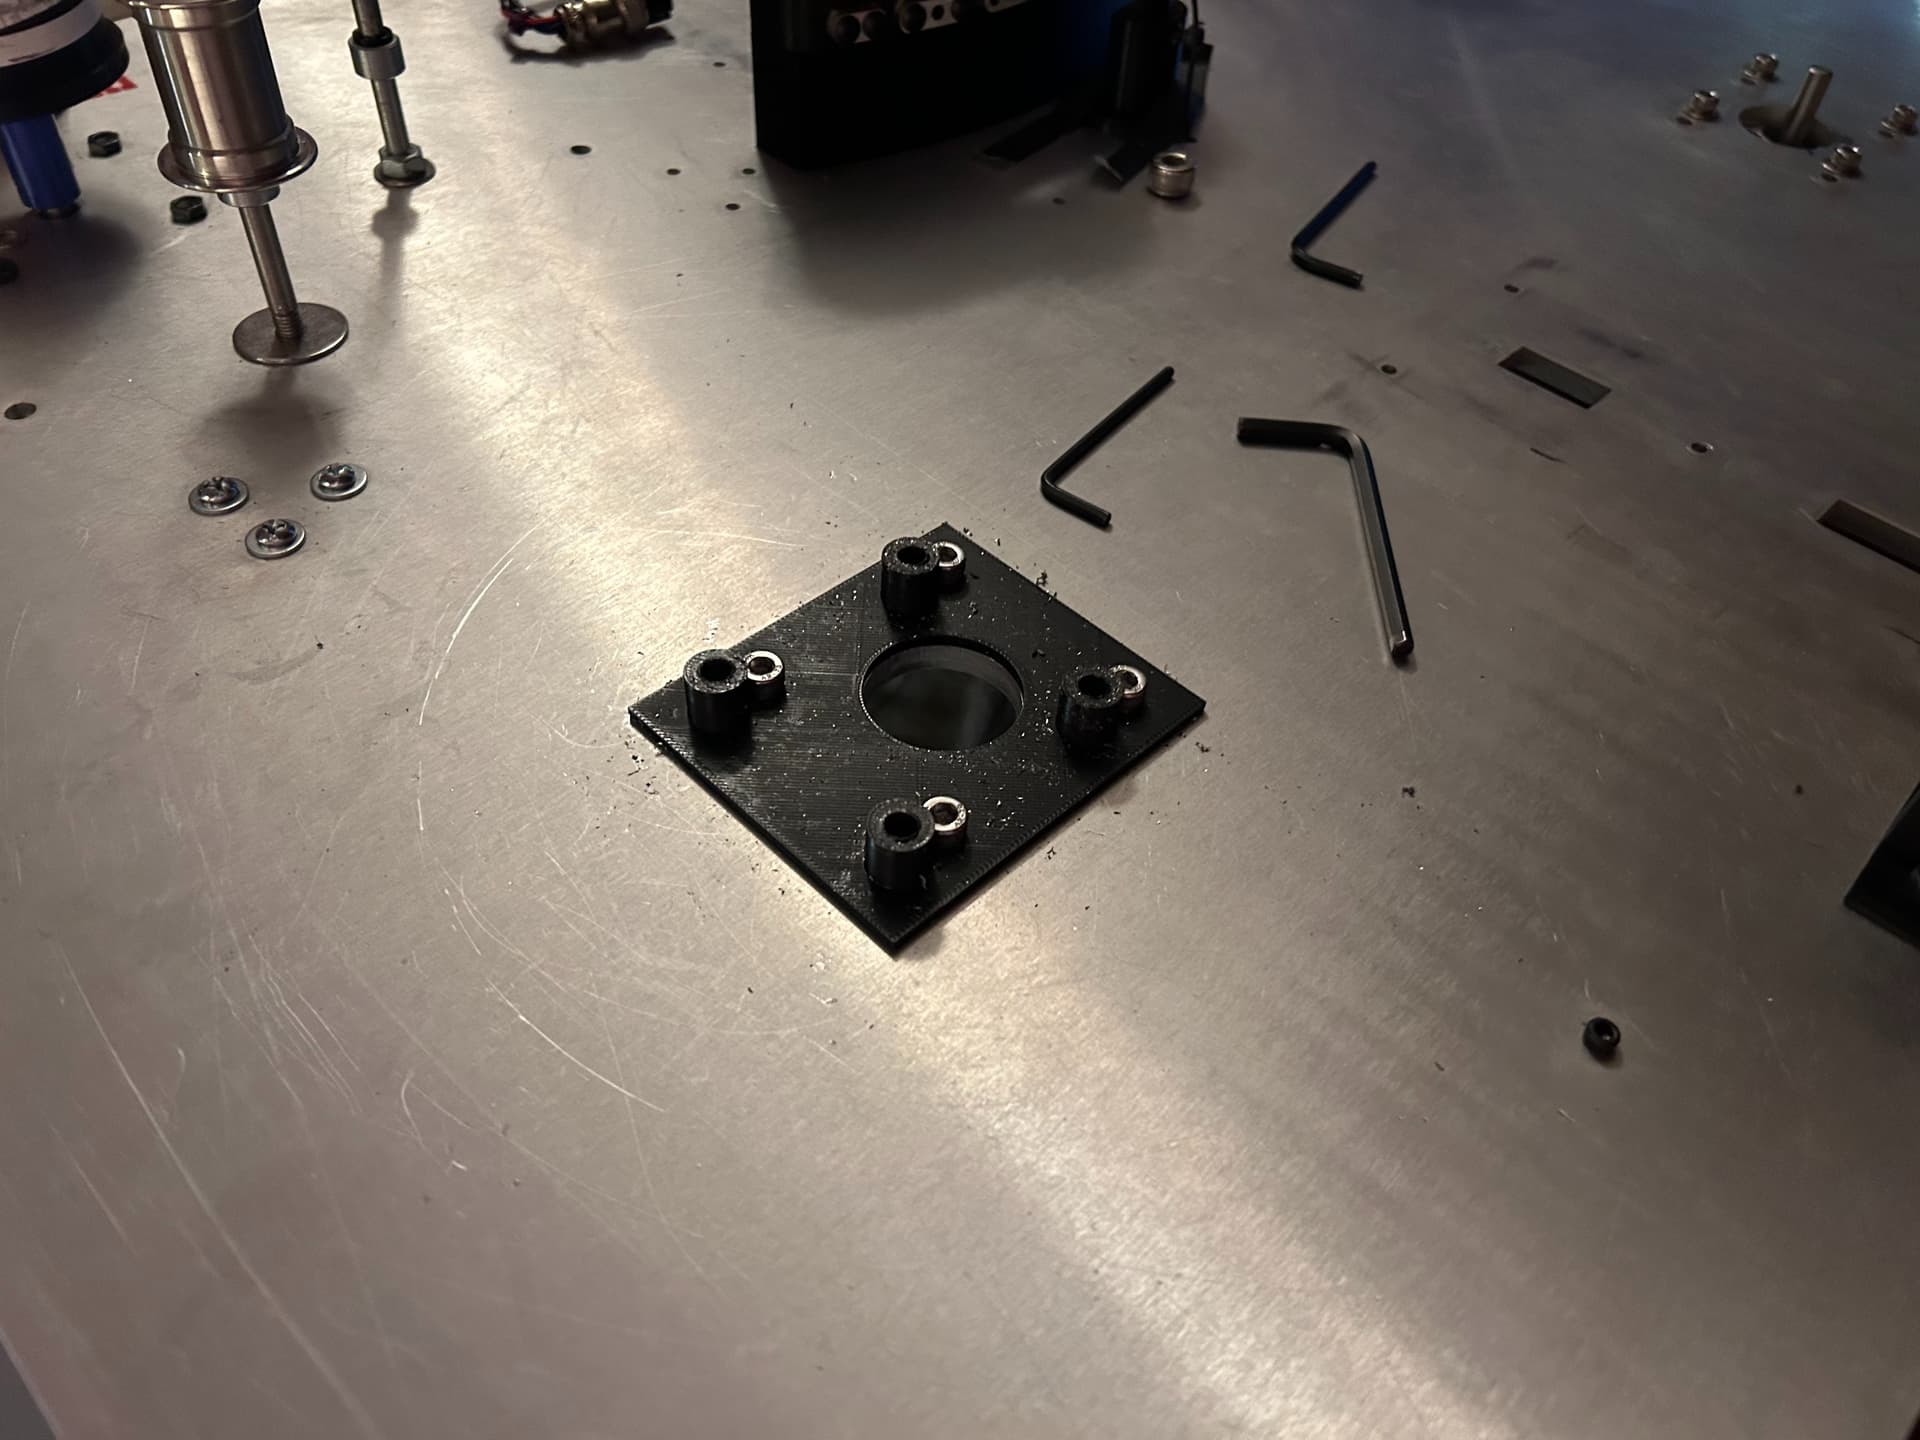
I still use a 3d printed mount for the camera and this part has no benefit to being CNDd, it will remain a 3d printed part.
This is 3d printed part list so far:
- Ptr roller hubs
- 16mm gate
- 35mm gate
- 35mm warped film module
- Camera mount
- Backlight
- PCB and Camera fan mounts
- Laser detector mount
- Faceplate
The top plate on my scanner is a laser cut 3/8" sheet of aluminum. it used to be $373 to order but now that prices are crazy around the world the same plate now costs $556.47 which I would not call affordable.
Another invaluable benefit of 3D printing is making 3D printed jigs. One time I had to move the reel motors 10mm to one side, so you model your jig and you drill - Perfect fit. I made jigs for tension sensors mounting, camera rail alignments and many other things.
Another use for 3D printing is making molds, for example I am making my own PTRs and dissed the Kodak ones I was using. They work better but I’m still experimenting with the right silicone additive for ESD management.
The P1P is the little brother/or sister.. and it works just as good. $699.00 USD.
The X1C has blown me away and I have been able to concentrate on designs, not fixing printing issues which is worth everything in the world to me. It practically never fails and I get INSANE tolerances. Like someone said before “Not bad for a motion controlled glue gun” I was using Creality stuff before and they served me well, I gave them both away and I’m never coming back ![]()
Yeah the X1C is a really good deal, especially how complete it is. I have upgraded my Prusa mk2s to insane proportions. It’s now some kinda improved MK3s+. But that experience has tought me the benefits of open source flexible controllers,I use Klipper atm.
Btw @robinojones was there no room to add supports to that L-shaped mount? Like this:
Also what FLIR camera is that, I don’t recognize it. Just bought a Flir Blackfly, and yours seems to dwarf it.
And those diy PTR’s look cool, seems like something I should do as well.
yes no room, the camera is very close to the vertical wall and is mounted to a micrometer stage to adjust the height. The camera is able to go to the very bottom of the plate if needed.
Oryx 10Gige 5.3K
I think that’s fantastic work. I definitely would like to learn more, since my build would benefit from a better capstan material.
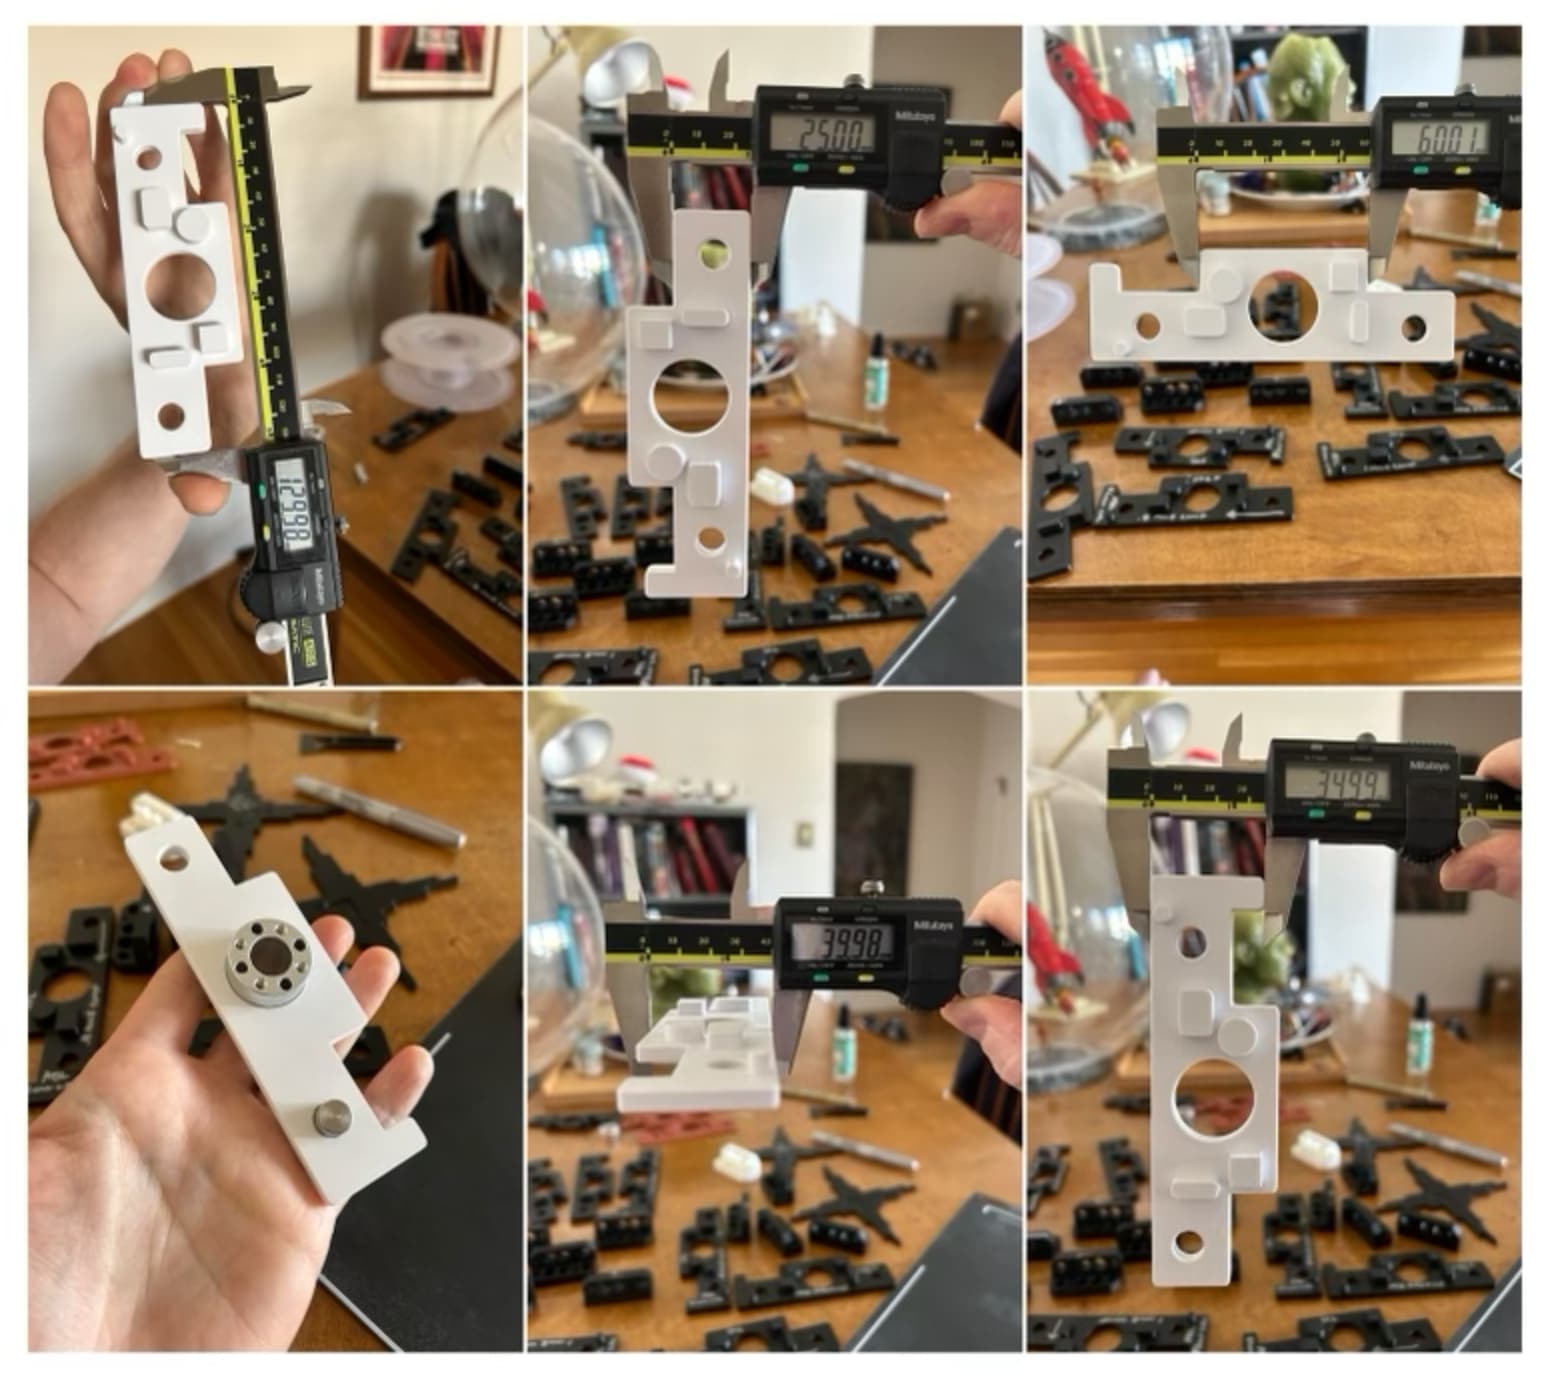
Thanks for the tip. While I have CAD skills, part design and 3D printing is a new field, and appreciate the insight. Indeed it looks like a great printer.
I look forward to get my first 3D part in the mail, a modest top for a potentiometer, to make a dancing tension sensor with a pretty hat. If it works, will post the before and after.
I have been poking around sendcutsend and there is a sweet spot for size. My mechanical skills are awful, so when eating the elephant, I go one piece at the time. Given the potential for iterations (and my already mentioned skills), I prefer to break the big plate into smaller sub-plates. The prices drop like a rock too. Instead of the elevated posts, I’m going with a tier two plate (the sub-plates). Another observation on the pricing, if you order two it becomes more affordable, so certain plates actually will have the holes corresponding to both sets of two section-plates.
Thanks again for the 3D printer info.
I can’t believe those caliper shots. That’s amazing for melty plastic, hehe.
Those look great.
Five or so years ago I was poking around down that same path. I got in touch with the folks at Smooth-On and they were kind enough to send little samples of about 8 different kinds of rubber that all might be close to the PTR material. They weren’t familiar with that particular application and I’d never seen/touched one of the rollers in person, so we were both kind of feeling around in the dark and the experiment didn’t go very far.
If you eventually come up with a good recipe for the silicone, that’d be a cool thing to share with the community. ![]()
@robinojones Thanks again for the tips and recommendation on the 3D printer, I was not familiar with Bamboo Labs and they are a great option for a newbie.
Since this thread is about the integrating sphere, and I also mentioned how to lower the cost of laser-cut parts by combining hole patterns in a single plate, here is an example on the present work-in progress.
For the integrating sphere I will be using the Phat Daddio’s 90mm half spheres. The illustration shows these in place (one requires the cutout for the port and the lights). It also shows how I am taking advantage of the mirroring to make two halves containing the pattern holes for every item and getting a better price on the lasercut part.
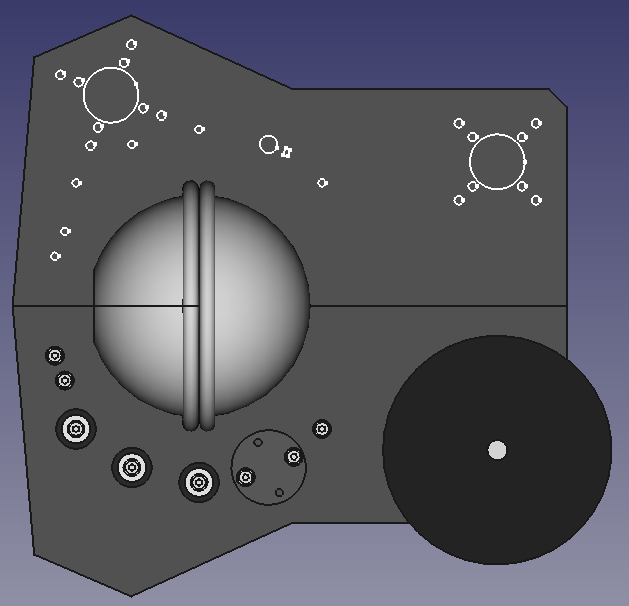
On the top half there will be a third stepper for the capstan, on the bottom half, a roller will keep the paths symmetrical.
A third smaller plate will be the second floor, keeping the critical items on the port side of the sphere firm, it will be on the left side, where the air-posts-gate is shown. It will also serve to join the two half plates.