@Manuel_Angel - here’s something you might be interested in as relaxed car driver:
I took the two raws which are discussed in this thread into daVinci Resolve and checked out how far one can go in this software. First, the result of your scan:
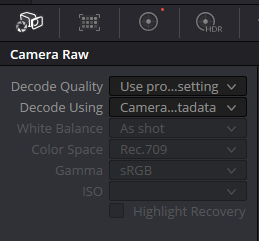
To arrive on this output, I selected “Decode Quality” = “Full res.” or “Project Settings” (that setting does not change much with the resolutions we are working with) and “Decode using” = “Camera metadata” at the “Camera Raw” section of the Color Page:
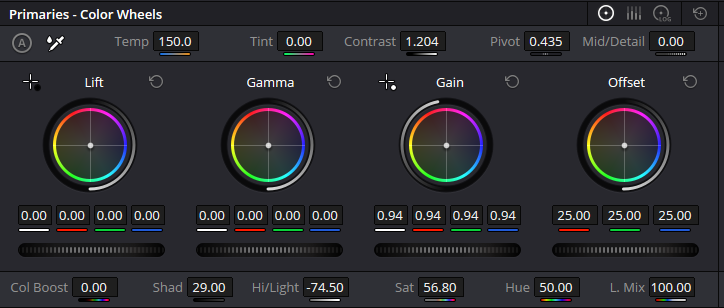
Still on the Color Page, I adjusted shadows and Hi/Light, increased the Saturation a little bit and pushed the contrast as well. It is difficult in this image to find a good spot for whitebalancing. I adjusted the Temp-value in such a way that the whites in the bright area between the tree (top-center) have approximately equal amplitude. In total, the color controls have been set up like this:
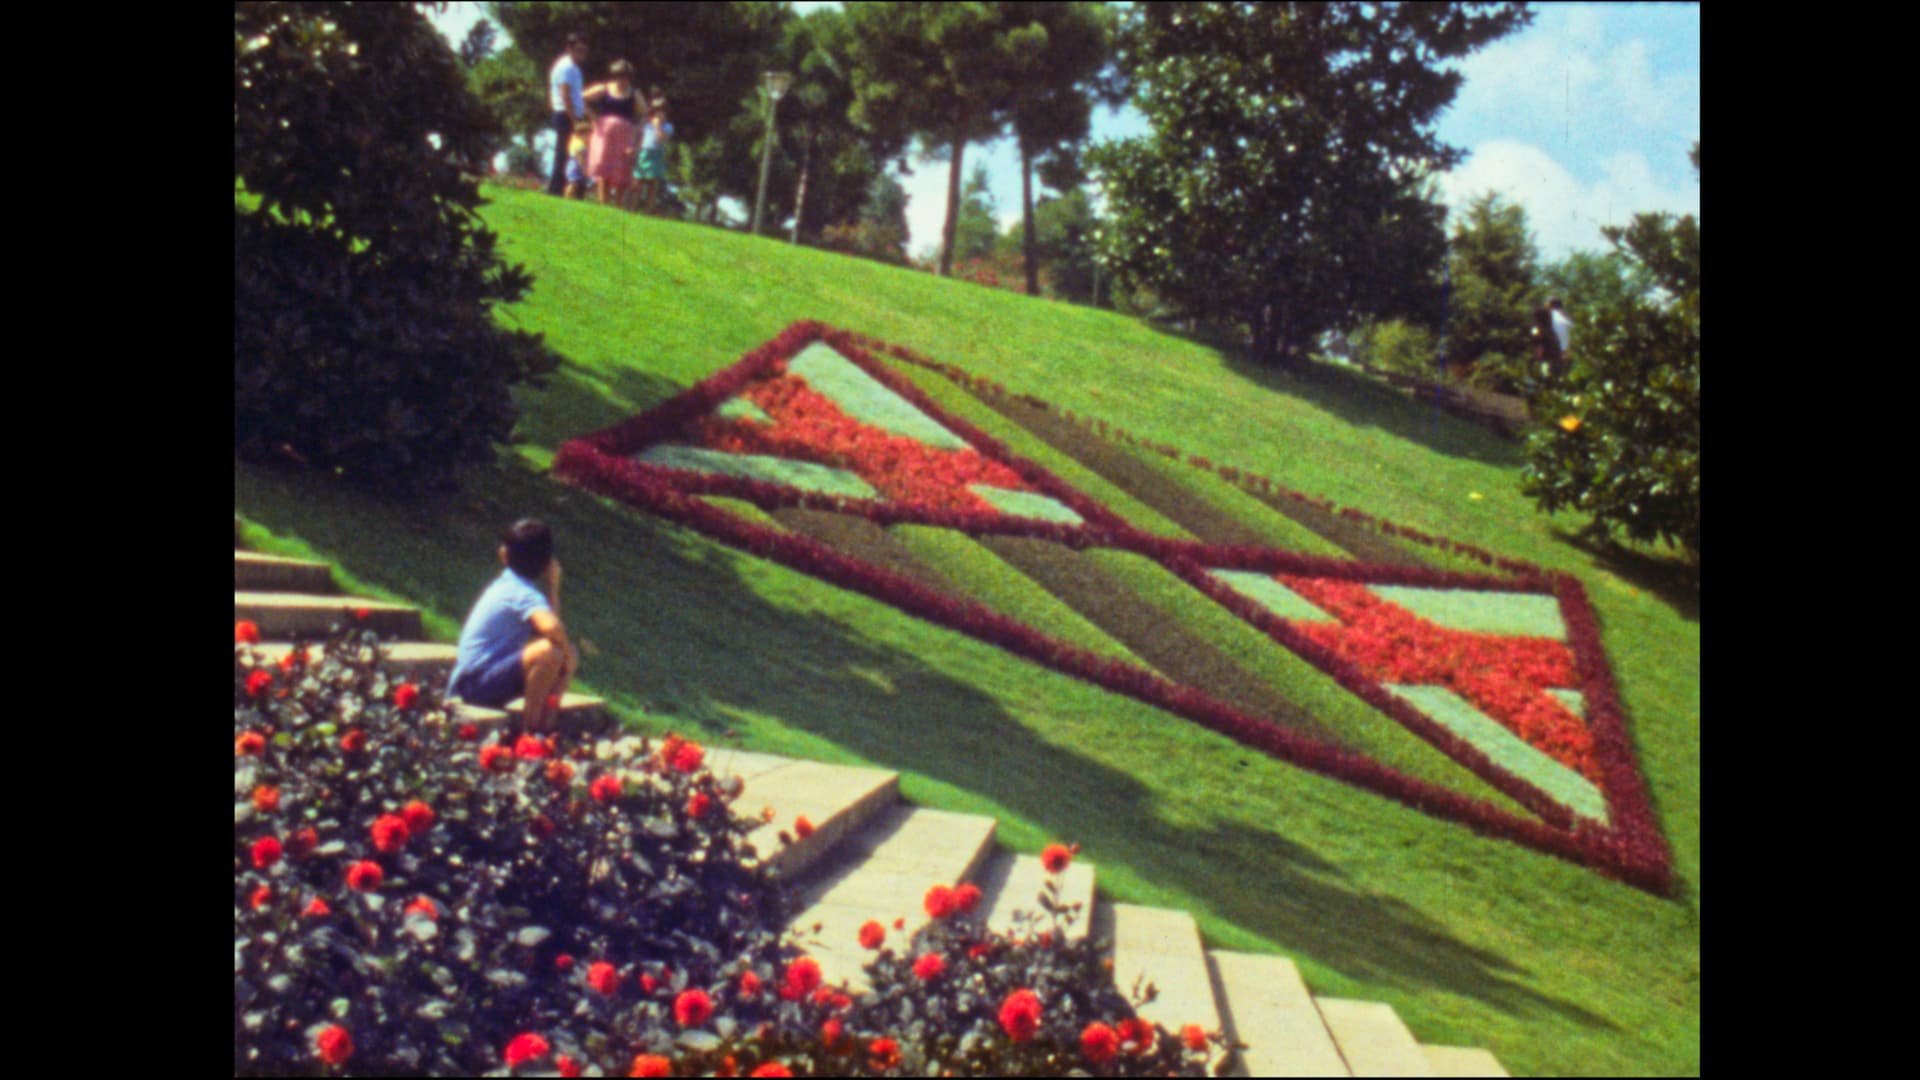
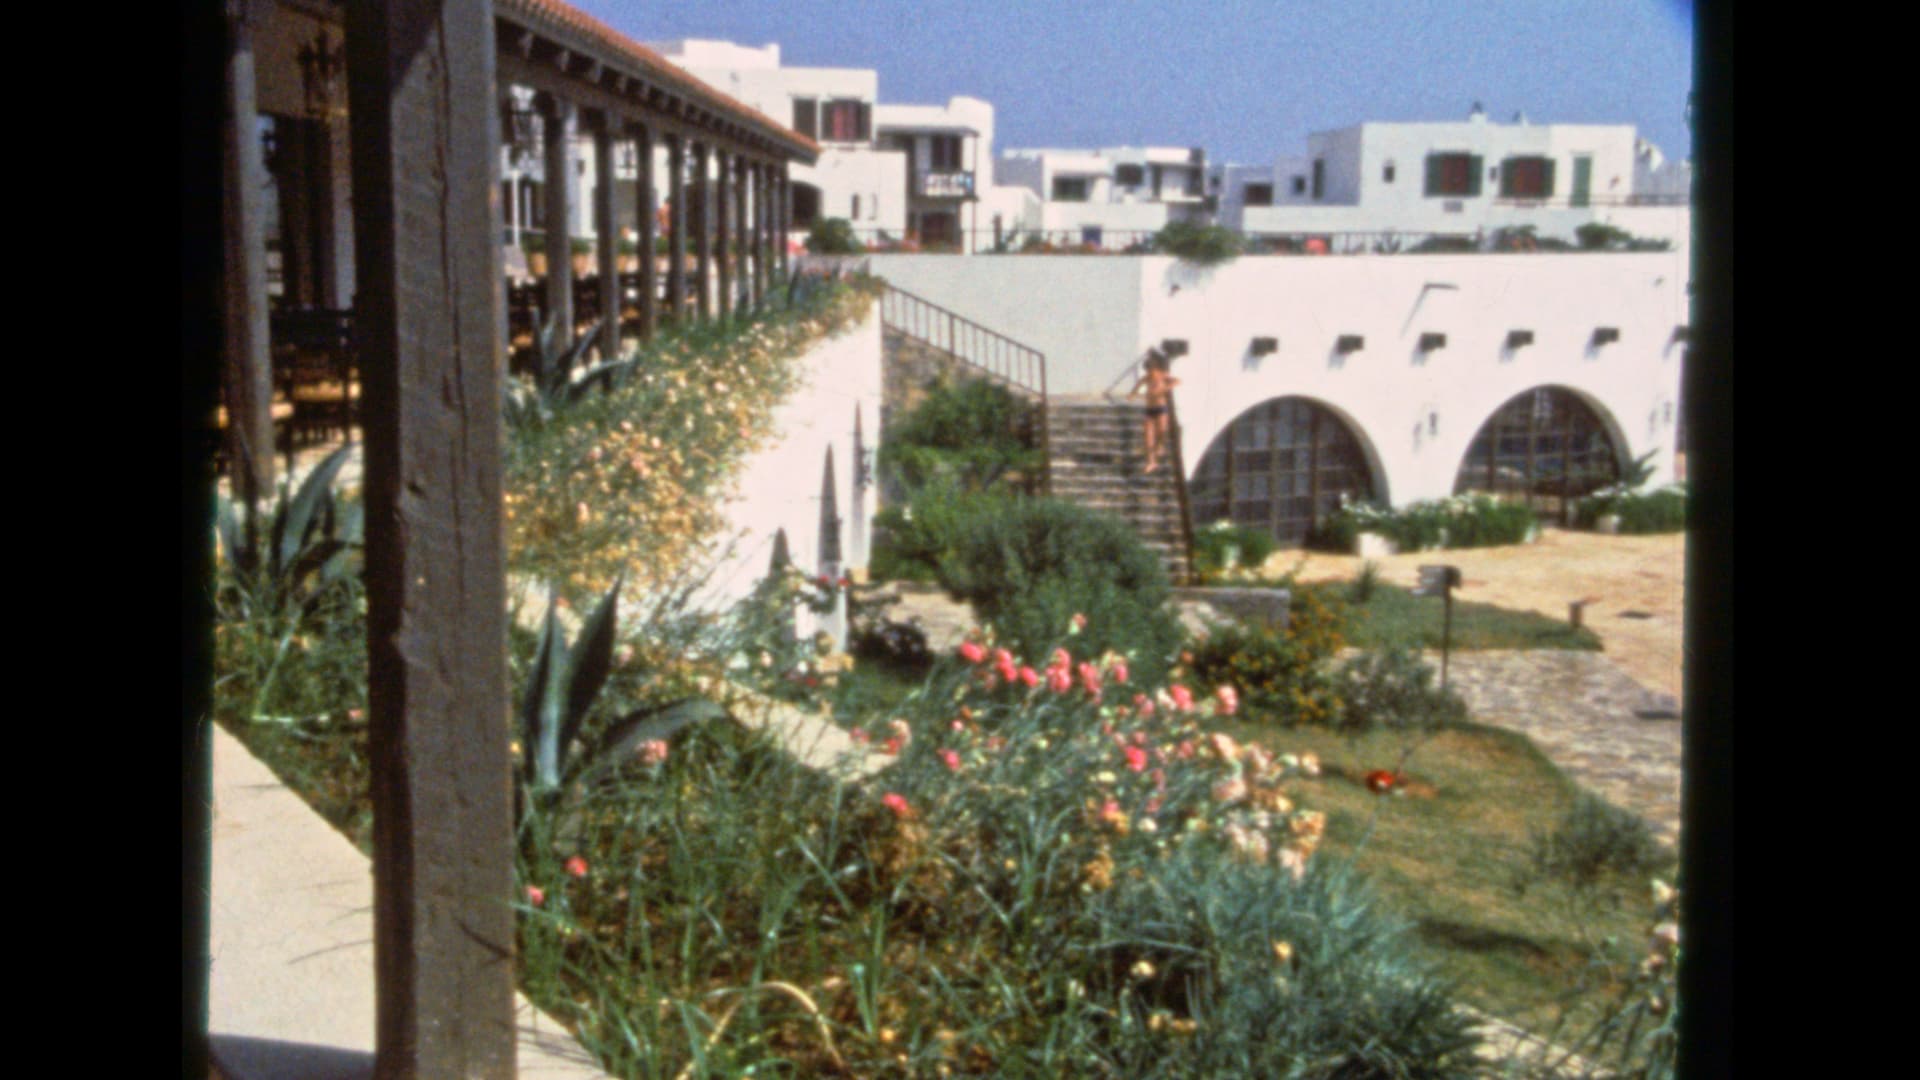
Now for @jankaiser’s image. Setup for the “Camera Raw” section was the same, whitebalance was adjusted so that the wall above the stairs in the center frame featured equal RGB-amplitudes. Again, highlight and shadows (this time a little bit more than in your image) were adjusted and saturation a little bit increased. Here are the settings used:
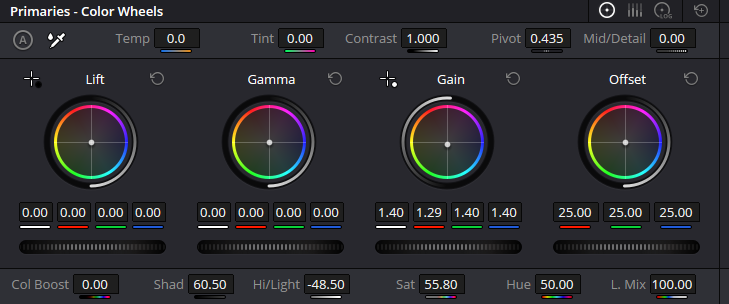
And here’s the result:
I must confess I like the direct input of raw-dng files into daVinci more than employing an external program for this. You have all controls available in the Color Page, you can optimize scenes independently (and daVinci can cut for you the whole footage automatically into scenes), you have quite powerful scopes available to guide your adjustments and finally, daVinci is faster than RawTherapee.
This workflow was not possible some time ago, when Raspberry Pi foundation’s software did not create well-enough behaving raw files. Obviously, times have changed.