Picamera2: jpg vs raw-dng

I normally use the raw format with my digital cameras, but had never considered using it with the Super8 film scanner.

However, the recent @jankaiser’s post has made me interested in this matter.

I have adapted my DSuper8 software to capture the raw-dng images provided by the picamera2 library.
I have done several tests and here is the result of the last test done.

Both images have been captured at the maximum resolution of the HQ camera (4056x3040 px) and have been later rescaled to full HD.

The first image is a capture taken with 6 bracketed images with exposure times between 1243 us and 19989 us (4 stops). The images are fused with the Mertens algorithm. The size of the final image is 664 KB

The second image is captured with a single exposure of 5000 us, saved as a raw-dng file. Subsequently the file has been developed with the RawTherapee software, although it has only increased the brightness slightly, the excess edges have been cropped and it has been rescaled to full HD. The obtained dng file size is 17.6 MB

I am preparing a new version of the DSuper8 software that includes capture in jpg, raw-dng or both formats, just like digital cameras do.

The new version is quite advanced, I hope to publish it shortly.

Regards

4 Likes

Very nice!

When seeing both images in comparison, I feel like your exposure fusion image exhibits some properties that made me originally decide to go with RAW (among other reasons). I have to also point out, though, that your fused image looks much better than any of my exposure fusion attempts ever did.

Generally, I feel like the exposure, at least of the midtones and the shadows, is slightly lower in the RAW image, so we have to keep that in mind when comparing the two. I also feel like their white balance is more or less the same. Despite that, to me, the sky in the top right of the exposure fusion image looks like it has a green tint over it, making it look somewhat flat. I think this is much better in the RAW version, giving it more depth. Overall, I also feel like the RAW image looks more natural, but that might be entirely subjective.

@jankaiser,

First of all I have to thank you that, at least in my case, you have opened up this way of digitizing old films.

In my opinion, in this particular example, the raw-dng capture seems superior to the jpg-Mertens capture.

The detail in the shadow areas is very similar in both captures, but the quality and color saturation is clearly superior in the case of the raw capture, especially in the sky, as you have very well pointed out.

Possibly with a little more patience and mastery of the raw development software, better results would have been achieved.

As for the white balance, in both cases I have used the adjustment that I have predefined in my device, through the blue and red gains of the HQ camera, made with picamera2.

I have very little experience with raw images, but given the good color balance, these blue and red gains affect both jpg and raw image formats.

Regarding RAW processing mastery: In my personal experience, I have found Lightroom to produce somehow slightly better results than other RAW processors. In particular, I have at some point in the past processed some RAW files of usual digital still photos in Affinity Photo. In addition, I actually tried at some point to base the post-processing for my film scans on the rawpy Python package. In both cases, I was never as satisfied with the results as I was with what I could get from Lightroom. Now, this could very well be the result of my having years of experience using Lightroom and very little experience using anything else :upside_down_face:. However, my personal feeling was always that Adobe has a huge amount of experience and expertise in their software, and that as a result Lightroom might just be more refined than other options.

Maybe someone else has perceived something similar at some point?

That said, @Manuel_Angel, if you are willing, maybe you can send me the .dng file of the example frame you showed in your post above, and we could have a look at what it looks like with my Lightroom preset applied … if it makes any difference at all.

1 Like

@jankaiser,

I have uploaded the raw-dng file as it has been generated with the picamera2 library to my Google Drive account.

I think it’s a very good idea to process it with Adobe Lightroom to compare results.

In my case I have processed it with RawTherapee, but I have to say that I have not spent a lot of time in the developing process and, on the other hand, I am not an expert in the use of the program either.

I leave the link for download:

2 Likes

Here is the frame that @Manuel_Angel kindly provided processed with Lightroom in more or less the same way I process my own captures.

While I have spent a lot of time trying various settings when coming up with my preset, the final settings are actually very simple, i.e. correct white balance, correct exposure and then recover highlights and shadows using -49 and +49 respectively. Everything else is left on Lightroom’s defaults.

There are some difference here compared to my actual preset owing to the difference scanning setup that was used. I eyeballed the white balance because I have no reference to the light source on @Manuel_Angel scanner. I also had to correct the exposure down, which might slightly affect the final look. Usually I correct my exposure up by a bit more than 1 stop.

@Manuel_Angel, I usually make sure that the frame (ignoring the film gate around it) is 1 to 2 stops underexposed. Your dng file appears rather overexposed in comparison to what mine usually look like.

For future comparisons, I’m also leaving one of my frames here. Feel free to use it and upload your own edits. Also don’t be confused that it’s flipped horizontally … I think it was scanned when I was building my GUI and I might have had the hflip option on :upside_down_face:.

2 Likes

Hi @jankaiser,

In my opinion, with RawTherapee you can get results perfectly comparable to those obtained with Lightroom.

It is high-quality open source software with a long history. The GUI offers a huge number of possible settings.

I’ve revealed the dng file you provided and made the following adjustments:

  • Horizontal flip
  • Rotation of 0.7º counterclockwise
  • Image cropping removing unwanted borders
  • White balance adjustment. Pipette located on the white facade of the buildings in the background. Resulting color temperature 2665K
  • Slight increase in exposure
  • Compensation of highlights (49) and shadows (32)
  • Resize to full HD. Setting the height to 1080 px has resulted in a final image of 1345x1080 px.

The adjustments have been made taking as reference the histogram of the image once the crop has been carried out.

This is the final result:

Best regards

1 Like

From someone who is just in the beginning of the building journey, isn’t it possible to do a Mertens fusion with several .raw captures instead of .jpg, thereby getting the best of two worlds?

@Ljuslykta,

I think you mean taking several different exposures and then combining them into a single dng file so that the best exposed pixels are saved in the resulting dng file.

I suppose it could be done but unfortunately I do not have the necessary knowledge.

Digital cameras have options for taking HDR photos. They take several shots with different exposures that are later combined into a single image.

However, the resulting final image is always jpg. If we decide to save the individual shots, they are saved in raw format.

Therefore I want to think that it must not be easy to do the fusion in raw format…

@Ljuslykta - you probably end up with the worst of both worlds! Seriously, the Mertens algorithm is based on already developed imagery, while raw-files are by their very nature not developed yet. This does not match well enough.

I am also on the starting portion of the journey of considering multi-exposure capture.
As mentioned by @cpixip, the algorithm expects developed images, meaning, ready for visual presentation, which is normally not the case with raw.
The drawbacks of using jpeg compressed pictures would be:

  • The limited to 8 bit per channel.
  • JPEG compression artifacts.

In the context of Mertens, and multiple exposure, the 8 bit limitation would be addressed by the resulting HDR output. If using a higher resolution for capture than the final video output resolution, the impact of the JPEG artifacts would be mitigated.
If going purist, one alternative is to produce uncompressed 12bit TIFF developed images from the raw capture, and use those as Mertens source.
I would think that this approach may provide the option to reduce the number of exposures (compared to JPEG) for a similar dynamic range.

1 Like

@Manuel_Angel @jankaiser: guys, your experiments are very interesting!

A few comments…

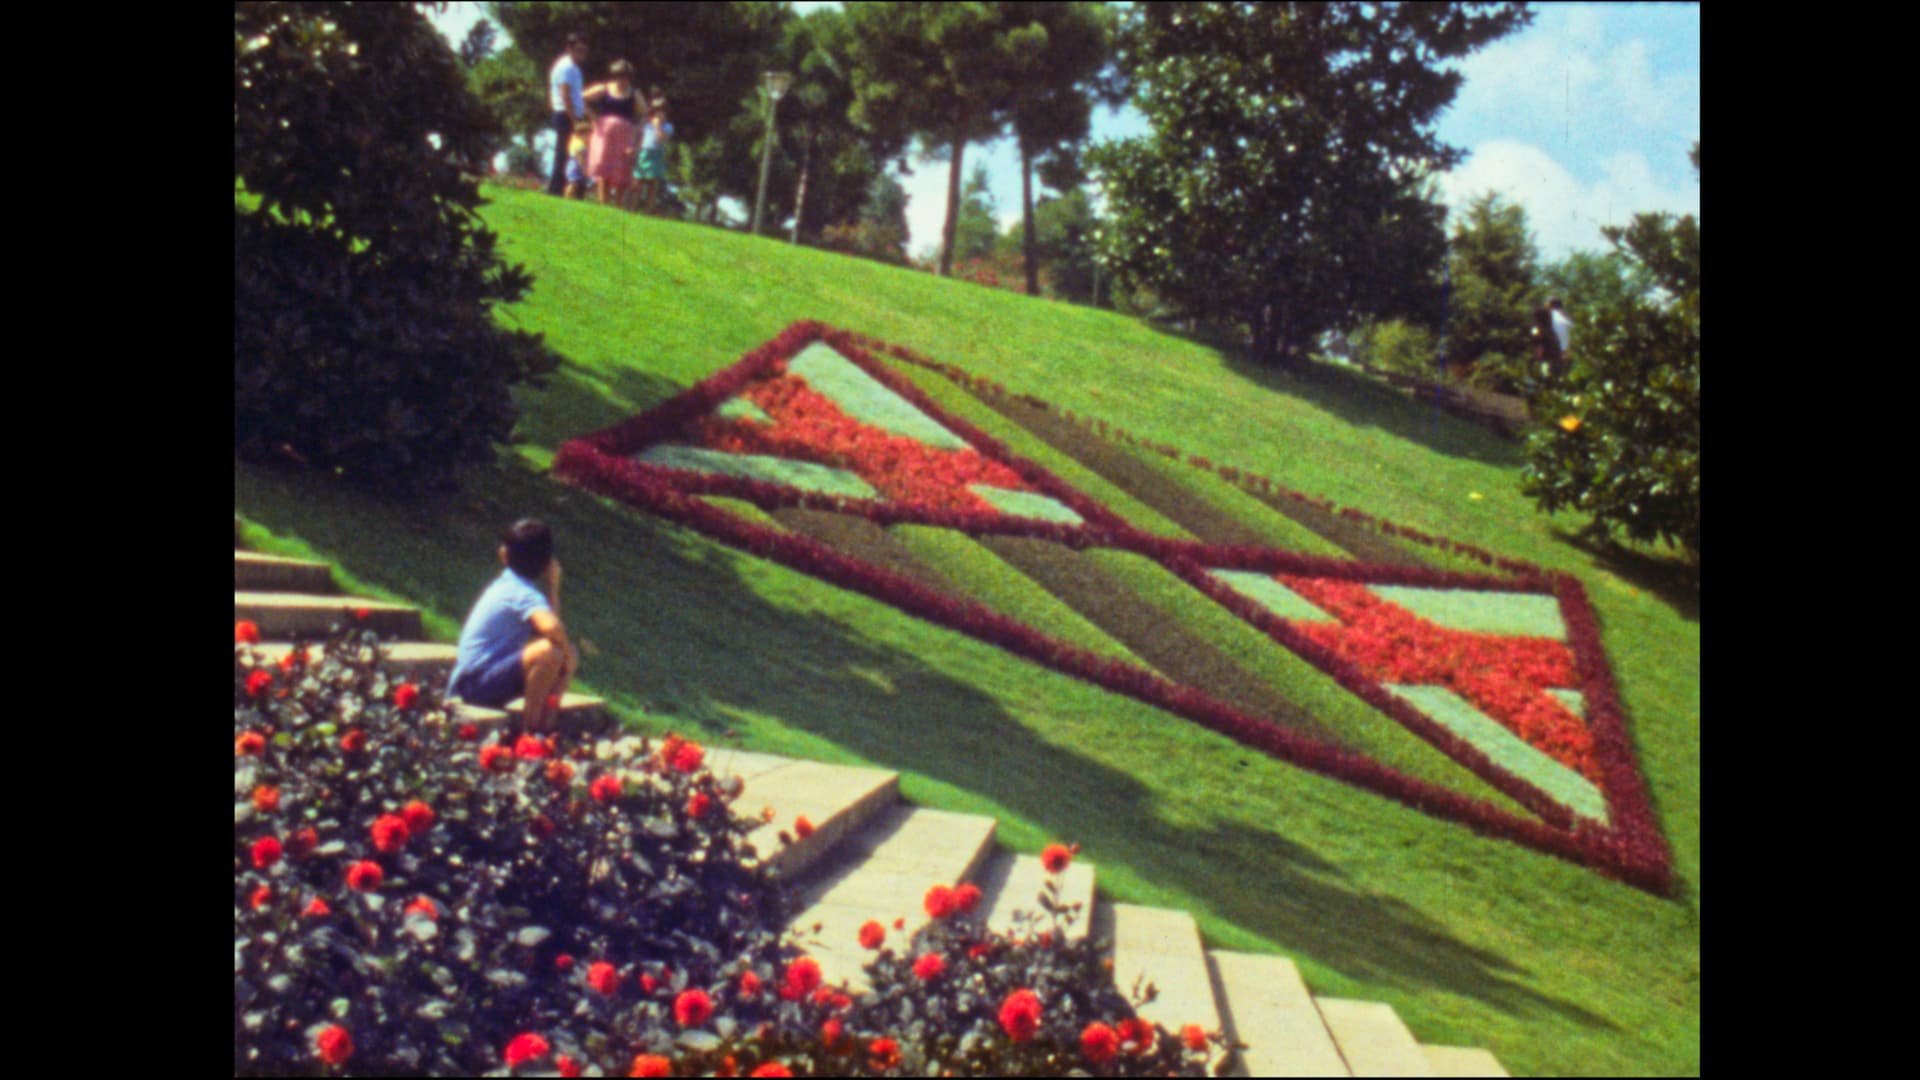
A raw capture needs a finely-tuned exposure. You need to make sure that the highlights do not burn out (cmp this old post here). In fact, the exposure values chosen in your examples take care of that. You want to have the safety margin as small as possible, because every stop you are underexposing leads to missing/noisy data in the shadow regions. Lowering the exposure duration leads to a little bit of quantization noise in dark image areas; however, as the noise caused by film grain is much stronger, nobody will notice.

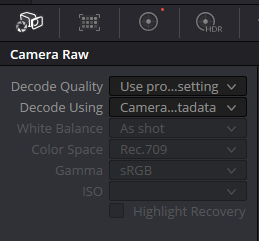
The development of the raw image is a two-stage process. You transform the raw color values into “real” color values with camera-specific color matrices. Normally, the .dng-file features at least two color matrices for two different color temperatures. Once you pick a whitebalance (and a corresponding color temperature) the actual color matrix used during development is interpolated from the two color matrices embedded in the .dng. I did not follow the latest steps of the libcamera development too closely, but I think the two color matrices embedded in a HQ camera raw are taken from data/experiments of Jack Hogan. These should be fine for all practical purposes.

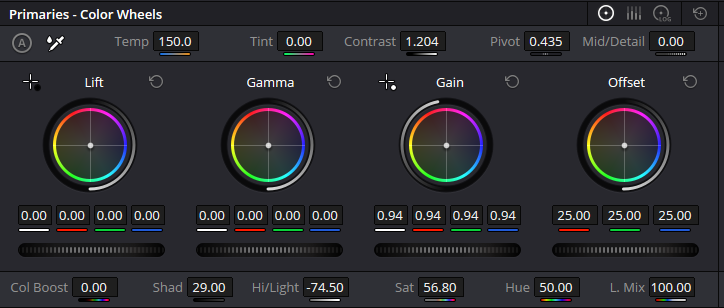
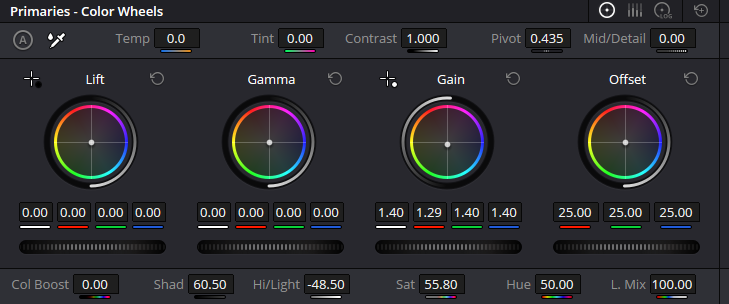
The second stage in the development of the raw image is the intensity mapping - both of you employ a noticably S-shaped curve by setting the highlight and shadow values appropriately. In the end, both shadow and highlight areas feature a reduced contrast, compared to the mid-tone range, and that ensures that you still see image features in these areas without highlights buring out or shadows drowning in the dark.

The Mertens-path (exposure fusion) is quite different. The jpgs used in the exposure fusion are created by libcamera based on the tuning file used for this camera. Typically, the tuning file contains more than the two color matrices stored in the .dng-file. Normally, libcamera itself estimates a color temperature and calculates from its estimate the appropriate color matrix. If you work with preset color gains, a fixed color matrix is chosen.

So: already the color processing is different in the two scanning paths you are comparing against each other.

The second stage, namely mapping the linear intensities of the raw image data into the non-linear jpg-colors, is handled again by a section in the sensor’s tuning file, the “contrast curve”. The curve which is used in the standard tuning file is a non-standard curve, leading essentially to a very contrasty image with increased color saturation and reduced shadow and highlight detail. That contrast curve was probably chosen to satisfy the taste of the standard user. There exists a second tuning file for the HQ sensor which features a standard rec709 contrast curve. Jpgs created by this alternative tuning file have a reduced color saturation in the midtones, but better contrast definition in the highlights and shadows.

Whatever is used to produce the jpgs, the exposure fusion algorithm is designed to take data from the “best” image of a region and merge that together into a single output image. This is done in a way taking into account how the human visual system is processing given image data. The result is an image which has image data in every area where at least one of the input scans shows data.

One specific issue with the Mertens exposure fusion algorithm is that usually, the contrast range of the output image exceeds the standard range [0:1]. Adjusting for this reduces the contrast of the image even further. And: it also reduces the color saturation again.

In the end, the output of the Mertens path is more comparable to a log-image and needs to be treated in postproduction appropriately (adjusting contrast and saturation, of example). Comparing the two approaches is difficult and things are constantly changing. The Mertens path is mostly automatic (with appropriate parameter settings), but time-consuming in capture as well as postprocessing. The raw processing path became only available recently, due to software improvements in the Raspberry Pi software offer. It should be much faster, especially if the raw input feature of, for example, daVinci Resolve is taken into account.

Due to its adaptive behaviour, the Mertens approach should provide better detail in highlight and shadow areas; I think in very dark footage, Mertens will have a small advantage over the raw-based path. Whether that is worth the increased workload during postprocessing will probably depend on personal preferences.

The major drawback of a raw-based approach is the limited dynamic range 12bit per channel can accommodate. With a properly chosen exposure value, this will not be noticable for most of our footage. Even with footage where a multi-exposure scan might have an advantage, the film grain of our small format stock covers that to such an extend that it will not be noticable. A grain reduction step which is recommended anyway for such small formats will iron out even these small differences.

2 Likes

@cpixip,

As usual in your posts, the high technical level is impressive.

In my case, I limit myself to using the different formats as a user, but I do not know the internal functioning of each of them, like the driver of a car who does not know how the engine works.

Thank you for sharing your authoritative opinions.

Best regards

1 Like

@Manuel_Angel - here’s something you might be interested in as relaxed car driver:

I took the two raws which are discussed in this thread into daVinci Resolve and checked out how far one can go in this software. First, the result of your scan:

To arrive on this output, I selected “Decode Quality” = “Full res.” or “Project Settings” (that setting does not change much with the resolutions we are working with) and “Decode using” = “Camera metadata” at the “Camera Raw” section of the Color Page:

grafik

Still on the Color Page, I adjusted shadows and Hi/Light, increased the Saturation a little bit and pushed the contrast as well. It is difficult in this image to find a good spot for whitebalancing. I adjusted the Temp-value in such a way that the whites in the bright area between the tree (top-center) have approximately equal amplitude. In total, the color controls have been set up like this:

Now for @jankaiser’s image. Setup for the “Camera Raw” section was the same, whitebalance was adjusted so that the wall above the stairs in the center frame featured equal RGB-amplitudes. Again, highlight and shadows (this time a little bit more than in your image) were adjusted and saturation a little bit increased. Here are the settings used:

And here’s the result:

I must confess I like the direct input of raw-dng files into daVinci more than employing an external program for this. You have all controls available in the Color Page, you can optimize scenes independently (and daVinci can cut for you the whole footage automatically into scenes), you have quite powerful scopes available to guide your adjustments and finally, daVinci is faster than RawTherapee.

This workflow was not possible some time ago, when Raspberry Pi foundation’s software did not create well-enough behaving raw files. Obviously, times have changed.

3 Likes

@Manuel_Angel - still having fun with your image and daVinci.

I adjusted slightly the color grade and put in two nodes in the node graph of the color page:

Node 01 performs a spatial noise reduction:

grafik

and Node 02 a sharpening operation:

This is the result:

Not bad for my taste with a workflow only utilizing daVinci and no additional software…

4 Likes

This result looks great! I am especially jealous of the sharpening. It’s quite a bit sharper without actually looking sharpened. I remember observing this in one of your previous posts a long time ago already (I believe it was a frame with a bus on a road in the mountains). Somehow, I can never quite get this right, and even when I only apply sharpening lightly, it always looks somehow over-sharpened.

daVinci’s sharpening is very sensitive and difficult to adjust. That’s why I perfer to use my own tools for that. The “bus” is such an example.

The strategy is always the same: you always need to reduce the film grain as best as possible, otherwise only the film grain gets sharpened. That is what node 01 does in the above example. Normally, you would employ temporal denoise as well, because it is much more effective on film grain (while you have a spatial correlation wit respect to film grain, temporally, film grain is uncorrelated). Since in this example I only had a single frame, there was no option here for this step.

Once you got rid of the film grain (by whatever option is available), a mild sharpening can be applied. Main controls in daVinci are the radius (stay close to 0.5), and the scaling, which seems to vary the amount of sharpening applied. But I have yet to find a proper documentation about what these controls really mean in terms of image processing…

@cpixip,

The result of the last treatment given to the image has been truly great.

The image has been absolutely unbeatable: vivid colors, well saturated without exaggerations. Detail in all areas and especially what has surprised me the most is the increase in sharpness.

It has been fully demonstrated what can be achieved by knowing what we do and using good tools.

I have had version 17.3 of Da Vinci Resolve installed on my Linux machine for quite some time, though I have never used it.
It is clear that I have to learn how to use the program, although I have a little respect: the user manual is more than 3000 pages.

It seems that taking the raw-dng route and further processing with DaVinci Resolve is a very good option to follow.

However, in principle, I see two problems:

  • Logically, a film will contain very bright scenes and others that are noticeably darker. Scenes with little contrast and others with high contrast. So we can’t just scan the whole film with the same exposure and with HQ camera and raw shots it’s hard to decide the right exposure, we don’t have help like for example with a digital still camera.
  • On the other hand, the consumption of resources is enormous. For a simple 15m Super8 film, we would find 3600 dng files each 17.6 MB, if we scan at the camera’s full HQ resolution. If we were content to scan at the intermediate resolution (2028x1520 px), the size would be reduced to 4.4 MB per frame.

Here is the same image scanned at the aforementioned resolution of 2028x1520 px, in case you consider it appropriate to give it the same treatment and compare results.

Thanks again for your excellent contributions.

Hi @Manuel_Angel - the current version of daVinci is 18.5. And yes, there is a steep learning curve involved. The reason: this is a very professional program and a lot of advanced stuff is somewhat hidden from the average user.

However, there are free tutorials available from BlackMagicdesign and a lot more if you simply search on youtube with “davinci” and the topic you are interested in. I highly recommend to obtain the studio version, which costs around 330 €. For our specific purpose, the temporal and spatial noise reduction features are important to have. The Studio version features also quite a lot of other goodies, like automatic scene detection.

Anyway, here’s the result with your reduced size raw image:

using the same processing path as the previous example. The differences are tiny, if you compare that to the previous result. This might be correlated to the input setting I used:

grafik

The decode quality is only equivalent to the resolution of the project, in my case 1920 x 1080.

The largest film roll I have contains approximately 50000 frames (about 46 min running time @18 fps) - this would amount to about 0.88 TB of data scanning in full resolution. So a dedicated SSD like the Samsung T5(1TB) is sufficient. And that is actually the disk I am using during scanning (both PC and directly RP).

2 Likes

I think that scanning raw might be even easier, in a sense. The following is getting a little bit technical but I will try to keep the things simple and (maybe) short.

The problem arises with the immense dynamic range a normal color-reversal film can feature. A normal camera with, say, 12 bits per color channel simply can not resolve this dynamic. One would need at least 14 bit, preferably more.

One way out of this is to capture several differently exposed images and combining them into a final one. This is the basis of the Mertens exposure fusion algorithm. Or, if you dare so, to create a real HDR from the exposure stack.

Another, alternative way discussed in this thread is to capture just a single raw-dng file and process this appropriately. Advantage are: speed, as just a single capture per frame is taken, and therfore much faster processing.

The disadvantage is that you need to get the exposure right. If you do it right, a raw 12 bit per channel capture will be visually indistinguishable from a Mertens merge.

But how do you set exposure? Well, if you overexpose your frame, you will loose all highlight detail. But there is a simple and sure recipe to avoid that situation. Simply adjust your exposure in such a way that the empty film gate gives you the full image intensity without being clipped. Since anything in the film gate, including transparent highlight areas in your frame, will reduce the amount of light arriving at your camera sensor, that data will surely not be clipped. In fact, since the raw-dng is a linear record of the intensities your sensor is recording, the situation is actually slightly more favorable than with the non-linear JPG as output, as used in the Mertens approach.

The downside of the raw-dng approach is actually hidden in the shadows. They will not be covered as good as it is possible with a multi-exposure approach. Does it matter? Probably not, because of two things. First, shadow areas will show up in your final footage anyway as rather dark areas. A loss of precision will be barely noticable, especially with small format film and its excessive film grain in those dark areas. And, if you employ an additonal film grain reduction step, this step will also take care of the small errors caused by the low intensity resolution in dark areas of your single raw-dng.

I am still in the process of comparing these two approaches with each other, so I do not have yet a final answer on how much the use of a single raw-dng might affect image quality in dark areas. I think that multiple exposures might have an advantage when it comes to severly underexposed images - a thing which happens quite a lot with non-professional footage - and extreme color challenges, like old Ektachrome film stock faded into pink. But again, that needs to be tested.

In summary: if you set your exposure in such a way that the empty film gate gives you full white in the raw-dng without being overexposed, your safe for all of your scans, irrespective of the film material you are going to scan.

2 Likes