.. ok, trying to solve my own challenge…
I used my Raspi HQCam and my setup to capture actually image data of my standard Kodachrome 40 film stock to see how far I can push this. The Raspi HQCam features a 12-bit ADC, which is average performance nowadays. Some cameras can go up higher with raw capture, but I do not have any available.
When doing raw captures, it becomes immediately clear that only if the exposure is spot on, you are going to get good results. For capturing most of the shadow details, you want an exposure as high as possible. However, even the slightest variation in the original camera exposure will push the highlights “over the edge”, which results in loss in image quality. I will come back to this latter.
The HQCam I used has a modified IR-filter, which results in equal gains for the red and blue color channel - the original HQCam would require the red channel to be pushed (multiplied) during raw exposure by nearly a factor of two, in comparision.
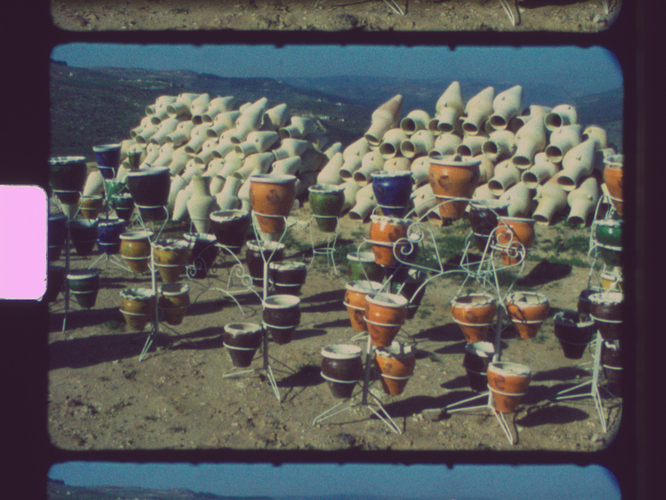
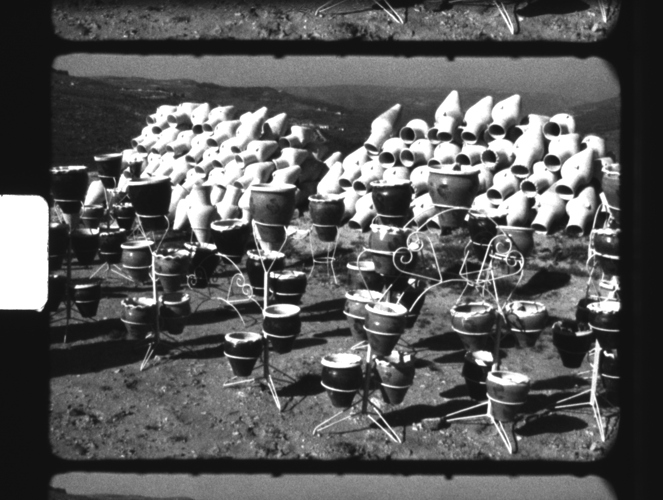
Anyway, here’s the inital result of a raw capture of a single Super-8 frame:
This frame is in sRGB, with blacklevel subtracted, whitebalance and ccm-Matrix applied.
The exposure was set in a way to capture most of the dynamic range of the film stock. Specifically, the raw intensities of the little vase in the shadow, bottom-right of the frame, measure red: 274, green1: 280, green2: 274 and blue:270. This is very close to the blacklevel of the camera, which is around 256 or so. Similar values can be measured in the black frame border, with red:260 green1: 259, green2: 264 and blue: 261.
The brighest image parts are in the white vases in the background, there we find red: 2489, green1:3585, green2: 3502 and blue:1992. Remembering that the maximum value the camera can output is only 2^12 = 4096, so the exposure was spot on. In fact, the purple sprocket hole is over-exposed; the purple “look” being a common feature of raw camera captures saturating (if not taken into account by proper highlight processing, which I switched off here on purpose, to make that point).
Now this or a similar image would probably be the base for further image refinement in raw processing, basically by manually optimizing the tone-mapping of this image.
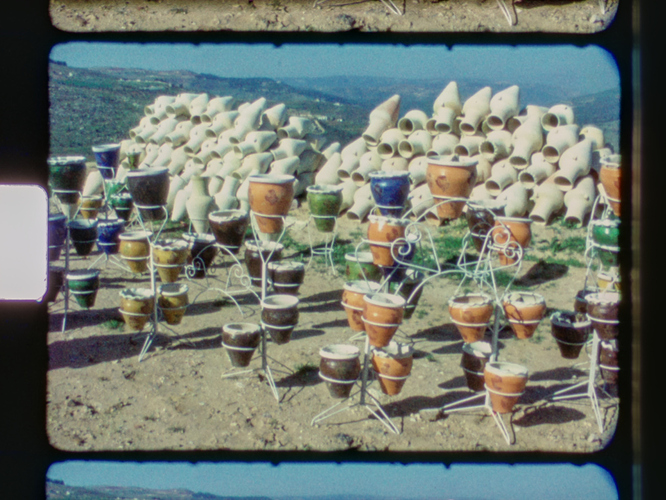
Now, comparing that to the direct output of the exposure fusion algorithm (composed of 5 captures spaced 1 EV apart),
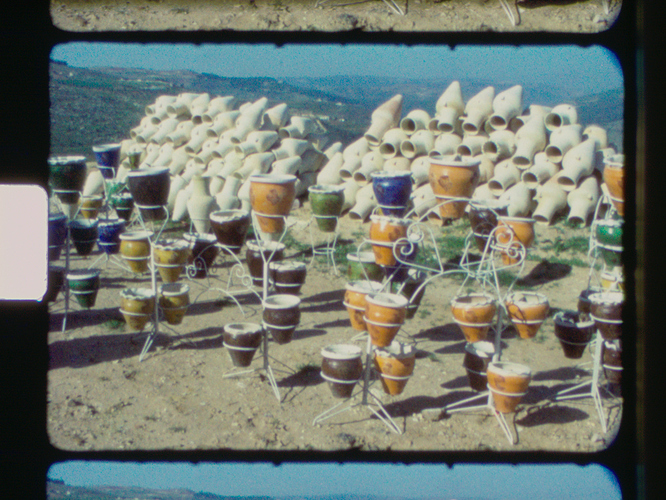
we see that there is a notable difference in appearance. To make a better comparison possible, I transformed the (too dark) sRGB-image above to the same tonal levels as the exposure fusion result. By this, I wanted to mimic the manual “raw development” (which I am too lazy to do). Here’s the result:
Now the differences are only very mute, I must confess. So indeed, if you are working carefully, you can capture with a single raw frame the dynamic range of Kodachrome 40 film stock.
To enumerate some of the differences:
- the exposure fusion result is less sharp than the raw result. This is a result of the extensive image processing necessary for exposure fusion. Also, the limited fidelity of the MJPEGs I am working with kicks in here.
- there is a slight tendency of the exposure fusion algorithm to blow out bright image spots into very dark areas, visible very close to the sprocket borders of the frame.
- the local contrast of the exposure fusion frame as well as the color definition is sligthly better than the raw result. This is especially noticable in the far distance and in the darker shadows of the image.
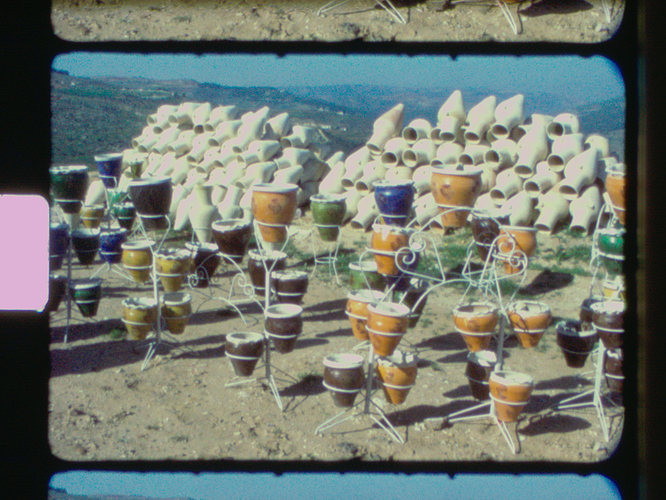
As promised above, I am now coming back to the issue of accidental over-exposure. Here’s the result of a slight overexposure during raw capture:
Note how the vases in the background immediately are loosing their details (and turn a little bit purple as well). If we look at one of the green raw channels,
we immediately see where the problem comes from: the green channels (pictured here is the green1-channel, but the other green channel looks the same) certainly clip in the highlight regions of the vases.
In the course of my development, I did actually consider using raw image files, but the frame rates you can achieve with raw captures were low at the time I tried this and the sensors I had available did only deliver 10 bit at most. While the last point has improved, still today, the amount of data you need to transfer and store is large, and the results are very sensitive to the perfect exposure.
I settled for taking several different exposures as MJPEG(!), which gives me the fastest frame rates for any camera sensor, moderate file sizes and in turn sufficiently fast transfer rates (my captures are transfered via LAN). To arrive at the final scan result, I combine them via exposure fusion.
The results obtained turned out to be fine; exposure fusion gives you also a process which is able to tolerate mildly under-exposed content, and important point in my application. With raw captures, the safety margin is much lower.
Exposure fusion has some drawbacks. You have to accept a slightly reduced image quality in terms of sharpness and, depending on the MJPEG-encoder of the camera, an increased noise level in the final image. The different exposures also need to be aligned perfectly, otherwise the results are not usable - this puts some strong requirements on the film advance mechanism or (in my case) on the post-processing software.
Exposure fusion is also a rather time-consuming (while mostly automatic) process. For a frame size of 1200x900, my rather fast PC needs about a second per frame (I am using my own routines, not the ones available in opencv - they might be faster). This processing time needs to be added to the scan time, which is in my setup between 45 min to one hour for a minute of 18fps film stock. So it’s a rather slow process of digitizing movie material… ![]()
