So, it’s been a minute.
We moved into a new office in January, and we are finally settled back in and I’m working on Sasquatch again. Sadly, our firmware developer became very ill last fall and was unable to complete the project. there were some bugs, and we had to ditch all the backend code he wrote and start over from scratch. And we have come full circle at this point: when I first started this project, my initial idea was to have the front end software control everything: lights, camera, motors, sensors, all of it. But for a variety of reasons, that didn’t happen and more and more stuff kept getting rolled into the backend code. As we learned when our developer was unable to work anymore on this, that left us in a precarious position.
So we got a referral for a guy who has extensive experience with the ClearCore controller that we’re using, as well as the motors. After consulting with him and getting a price, we decided to move forward with the project in the following way:
- The controller firmware would no longer have much logic of its own, it would simply be the relay between my software and the lights, motors, and any sensors.
- the method we’d use is tried and true: Modbus. This protocol is old school. Like, really old school. but it works and it’s reliable and fast.
- He’d use code he had already developed, to speed up the process and minimize testing.
- Most of the logic would be moved to the front end
Because of this, once he was able to start work on the project it only took about a week to deliver the firmware, the first version of which I got this afternoon. And I have to say, this is super cool.
Modbus basically reads and writes registers on the controller and then he responds to changes in these registers accordingly. When I want to move the capstan motor 10,000 steps forward, I simply set the capstan position register to the current position + 10,000. When the register is updated, the firmware handles sending the motor to that location. It constantly reports its position, and I can poll the registers at any time, to know where we are.
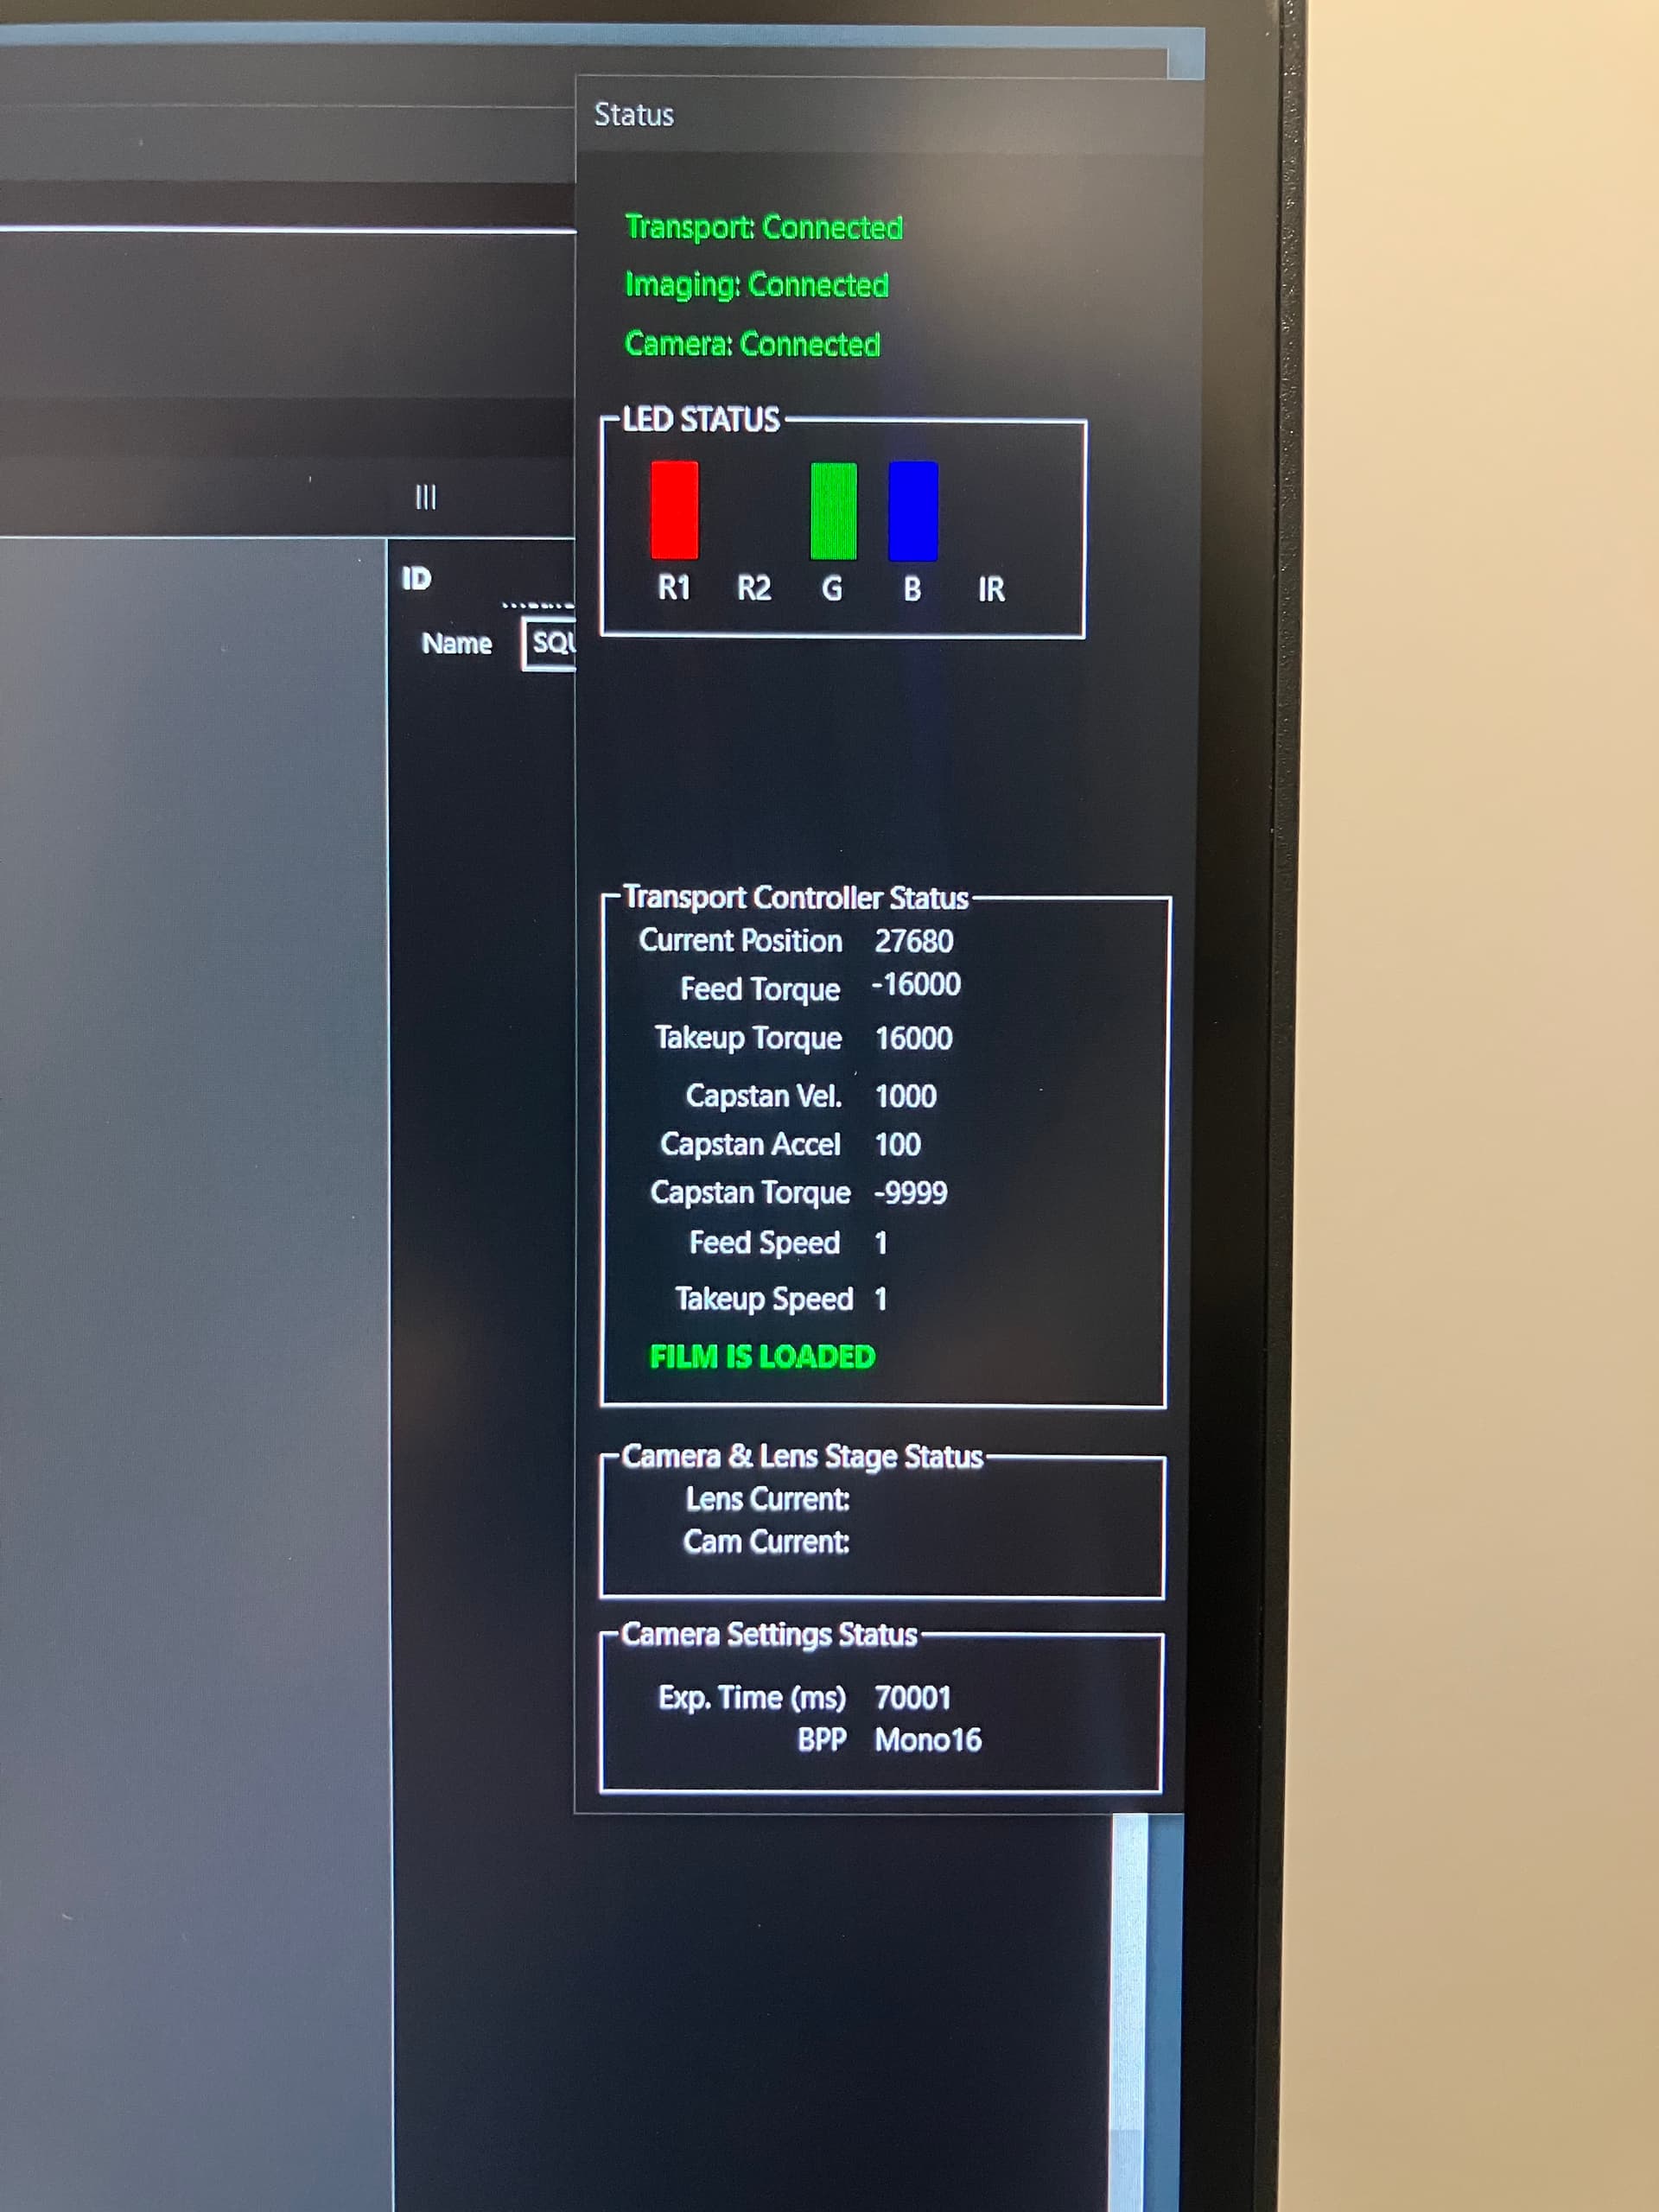
This is what it looks like in a test application called modbusPoll, which is reading the current values from the controller:
There are 60 registers total, some are unused.
We have changed the way we handle the feed and takeup motors. instead of them reporting the torque, the capstan motor reports torque in the form of a signed integer (so it can be positive or negative - if negative, the capstan is feeling more tension on the left. If positive, more tension on the right). The front end software will constantly monitor this and adjust the feed and takeup motor torque values accordingly, to try to get the torque on the capstan to zero.
In the past few weeks I got libmodbus working in Xojo, my front end development environment. In Xojo I instantiate a class for the controller, and then I can read and write the registers on that controller. For example, in Xojo, if I want to tell the motor to move to position 60,000 (steps of the motor):
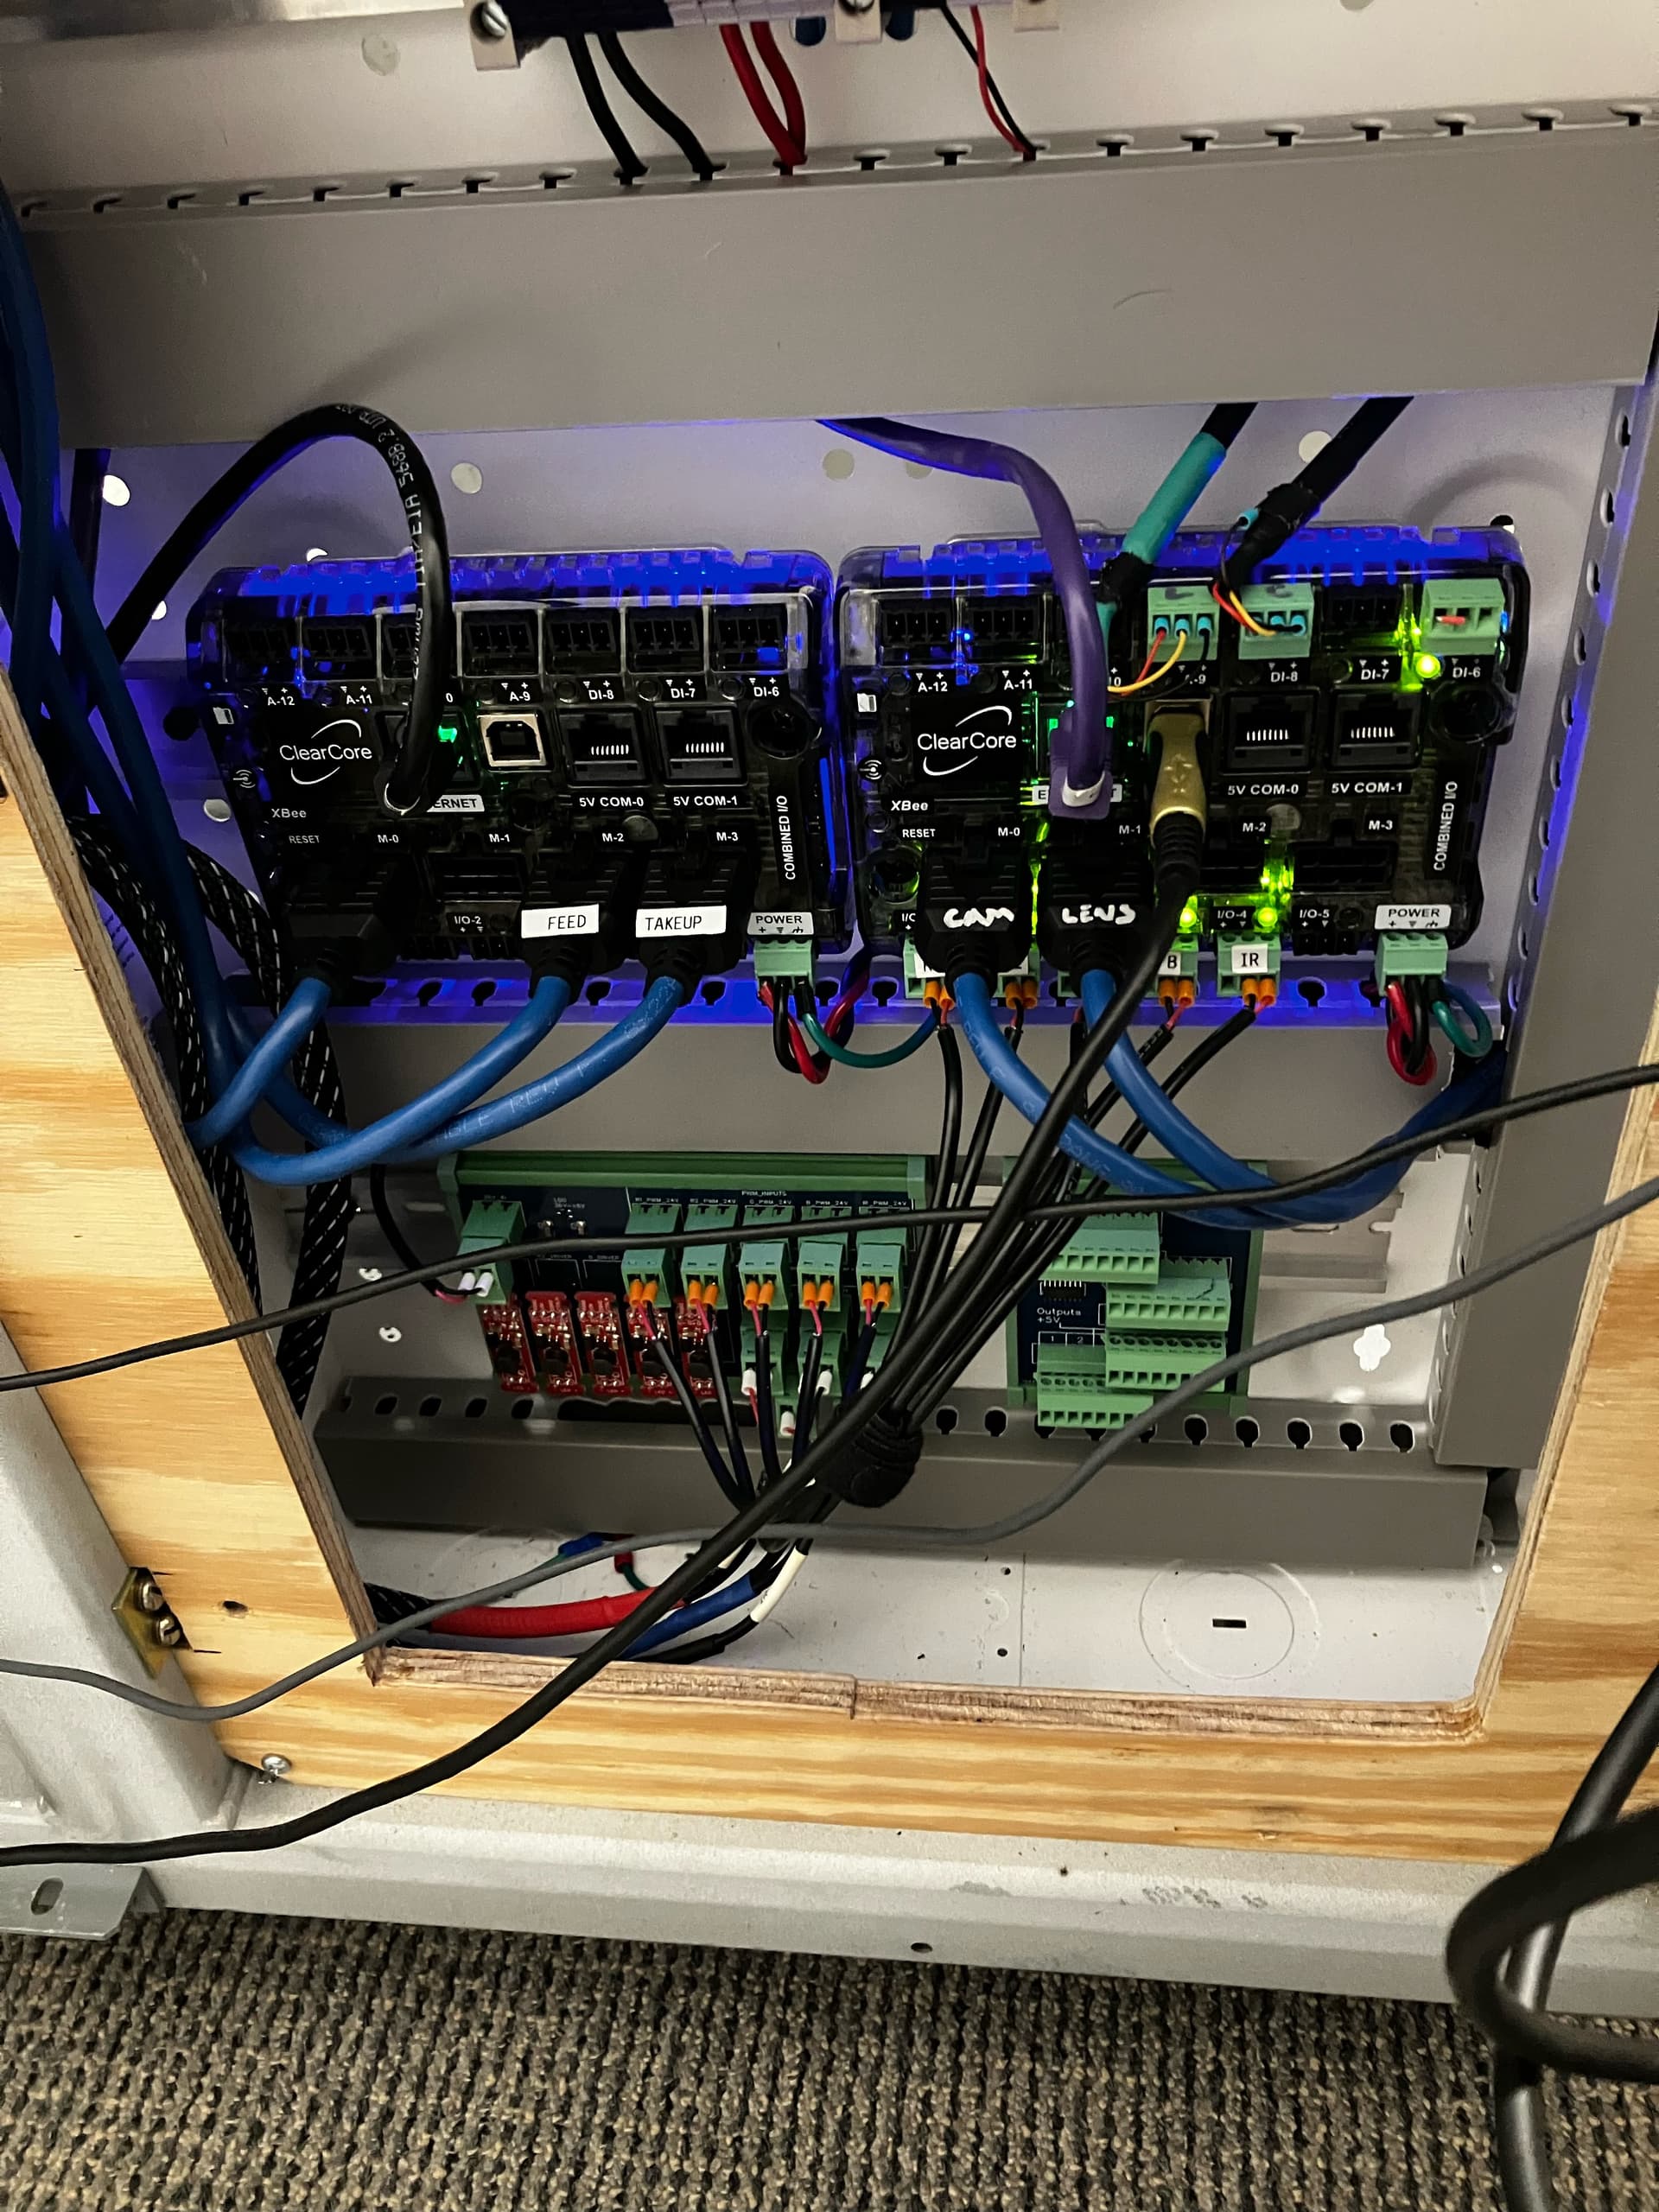
ClearCore1.Write_Register(0,60000)
But wait, there’s more! The way we were handling the camera and lens motors before was sub-optimal and there was the potential that we might not have landed where we wanted with those motors. Now, we’re using the dedicated motor ports on the ClearCore to run the generic stepper motors for the lens/camera stages and this is much more reliable. The thing is, there aren’t enough of these ports on the ClearCore for the 5 motors we’re using. So we just added another ClearCore. in Xojo, I have two instances of the libmodbus class, one for each controller. ClearCore1 handles the transport only. ClearCore2 is the LEDs, Camera and Lens steppers, and some generic clearcore ports we can use in the future for turning on relays or reading from a sensor.
> ClearCore1.Write_Register(0,60000)  //move the capstan to position 60000
> ClearCore2.Write_Register(20,65535) //turn the Red1 LED on at 100%
As long as we don’t get an error when setting a value, then the register we updated is updated to what we want, and we can move on to the next step - we don’t need to check to make sure the thing we set was set, because Modbus will tell us if there was a problem. This is so much cleaner than the crazy message parsing system we came up with for the last iteration, which was not entirely reliable and needed a lot more work.
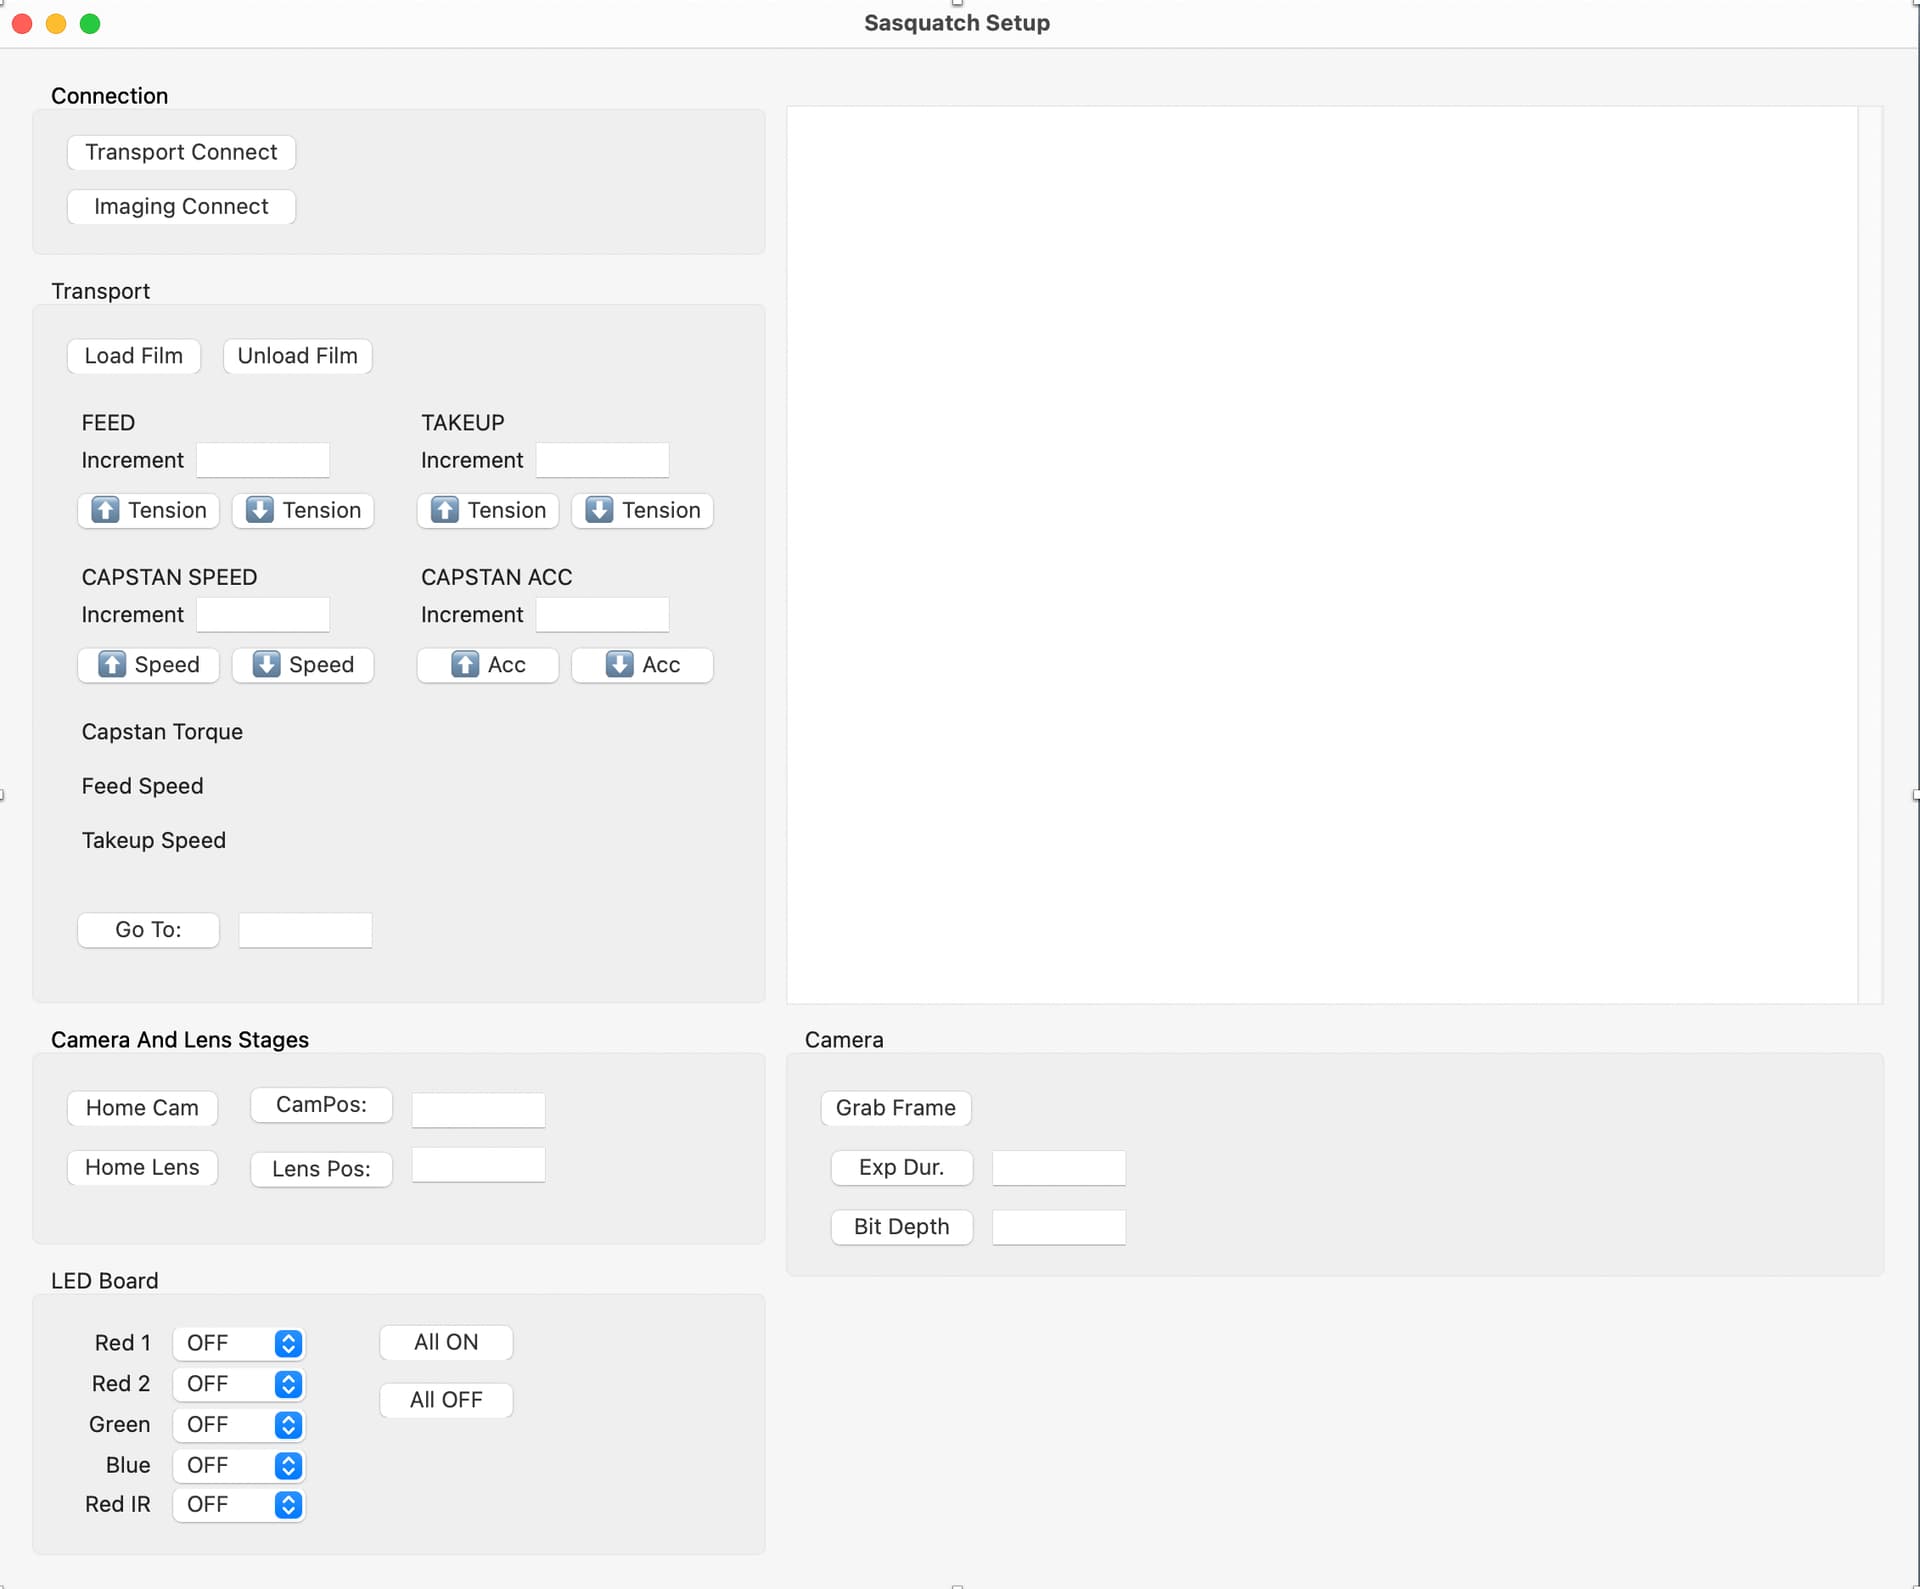
I’ll hopefully be updating a bunch here soon. The next few days are going to be about testing all the registers to make sure they do what they need to do, and that things like homing motors works properly (one of the only functions left inside the firmware that’s not controlled by the front end software).
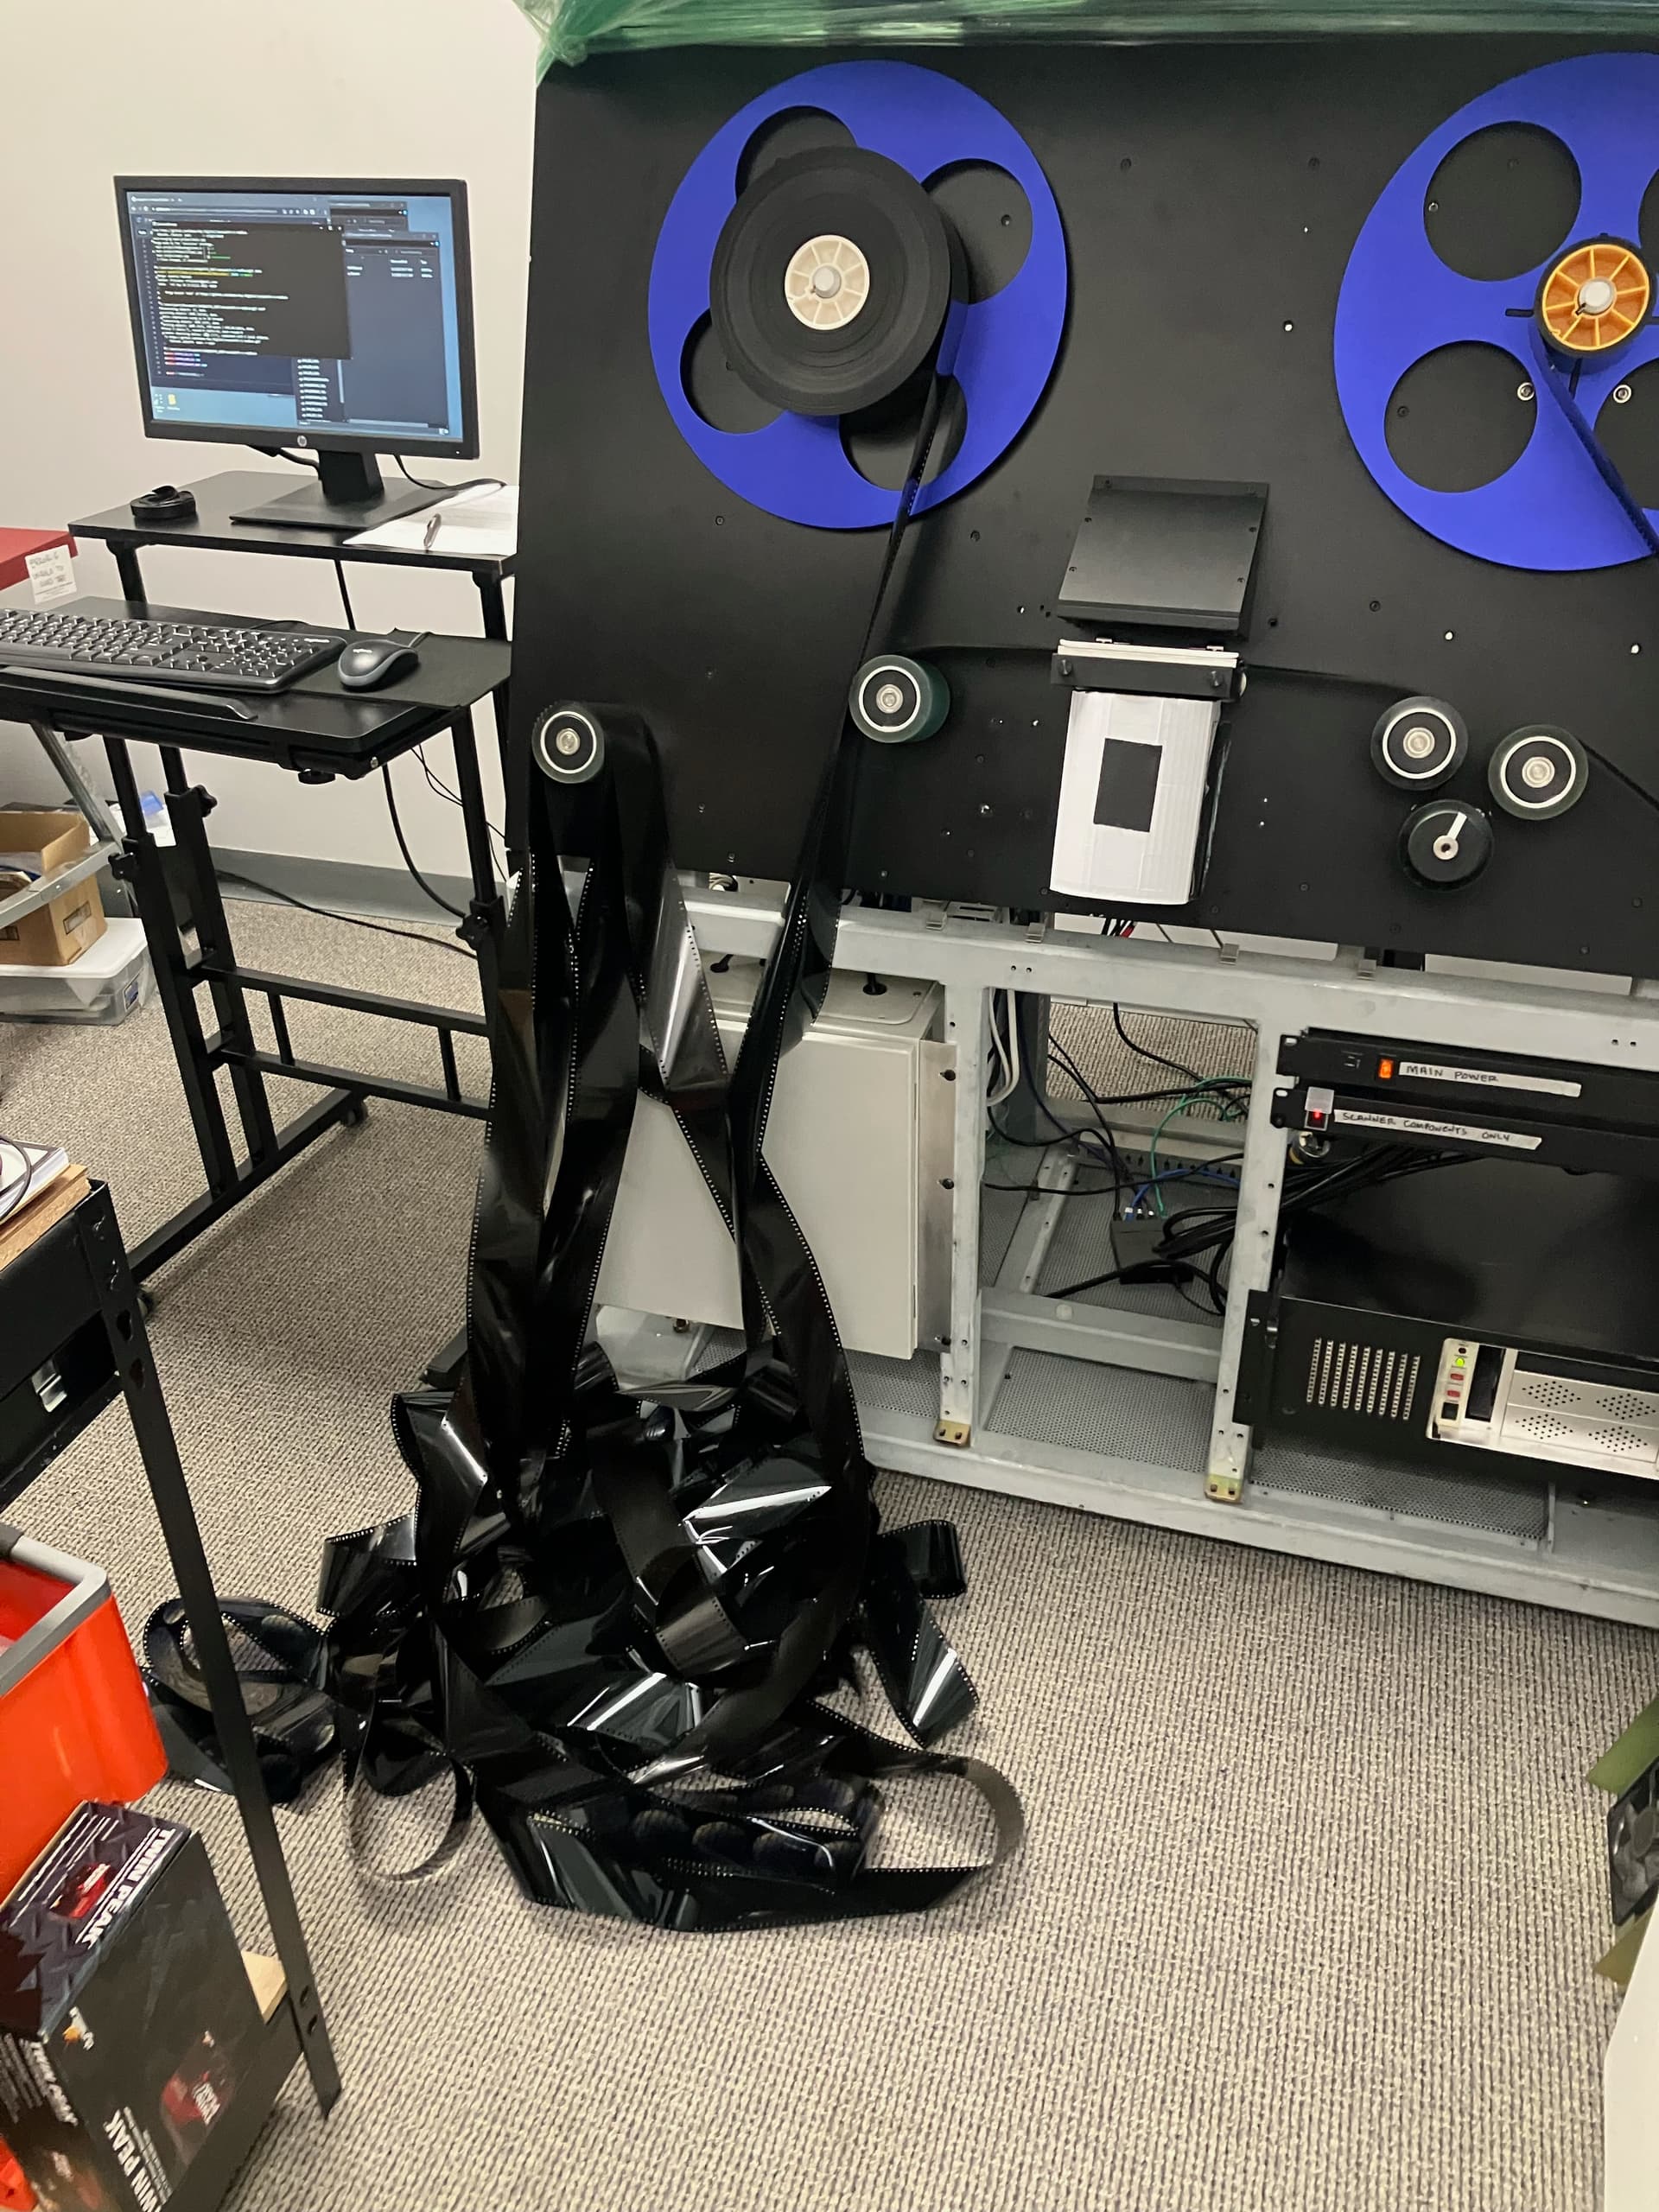
Once that’s done, we will be loading film of various gauges on the machine and figuring out what the optimal settings are for tension for each one. The goal in the next few weeks is to make the transport rock solid and to reliably be able to get to a location, and to be able to repeat that.
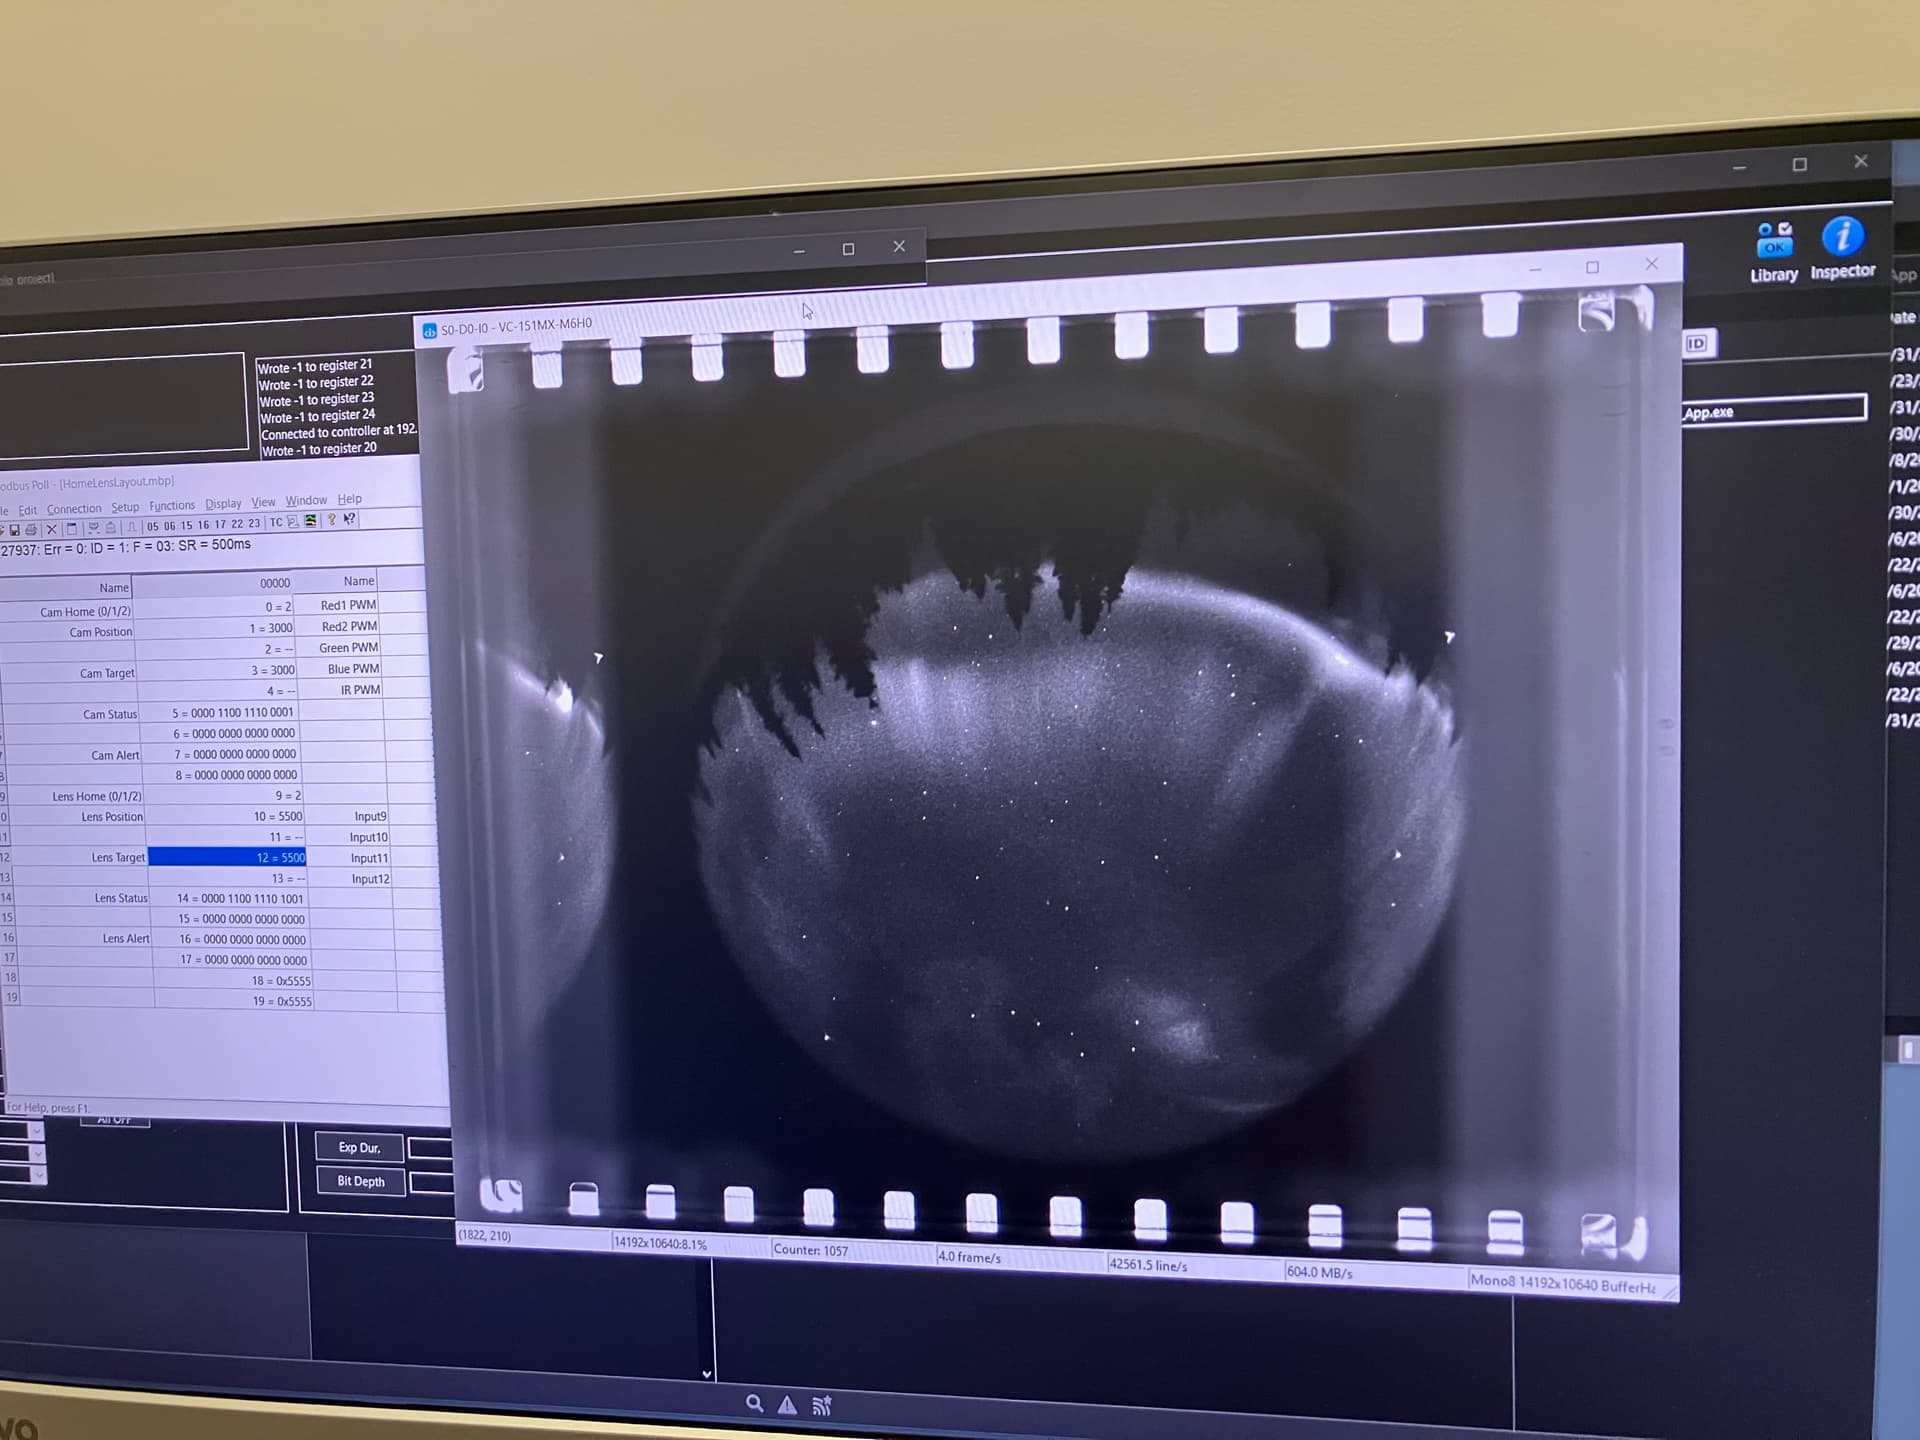
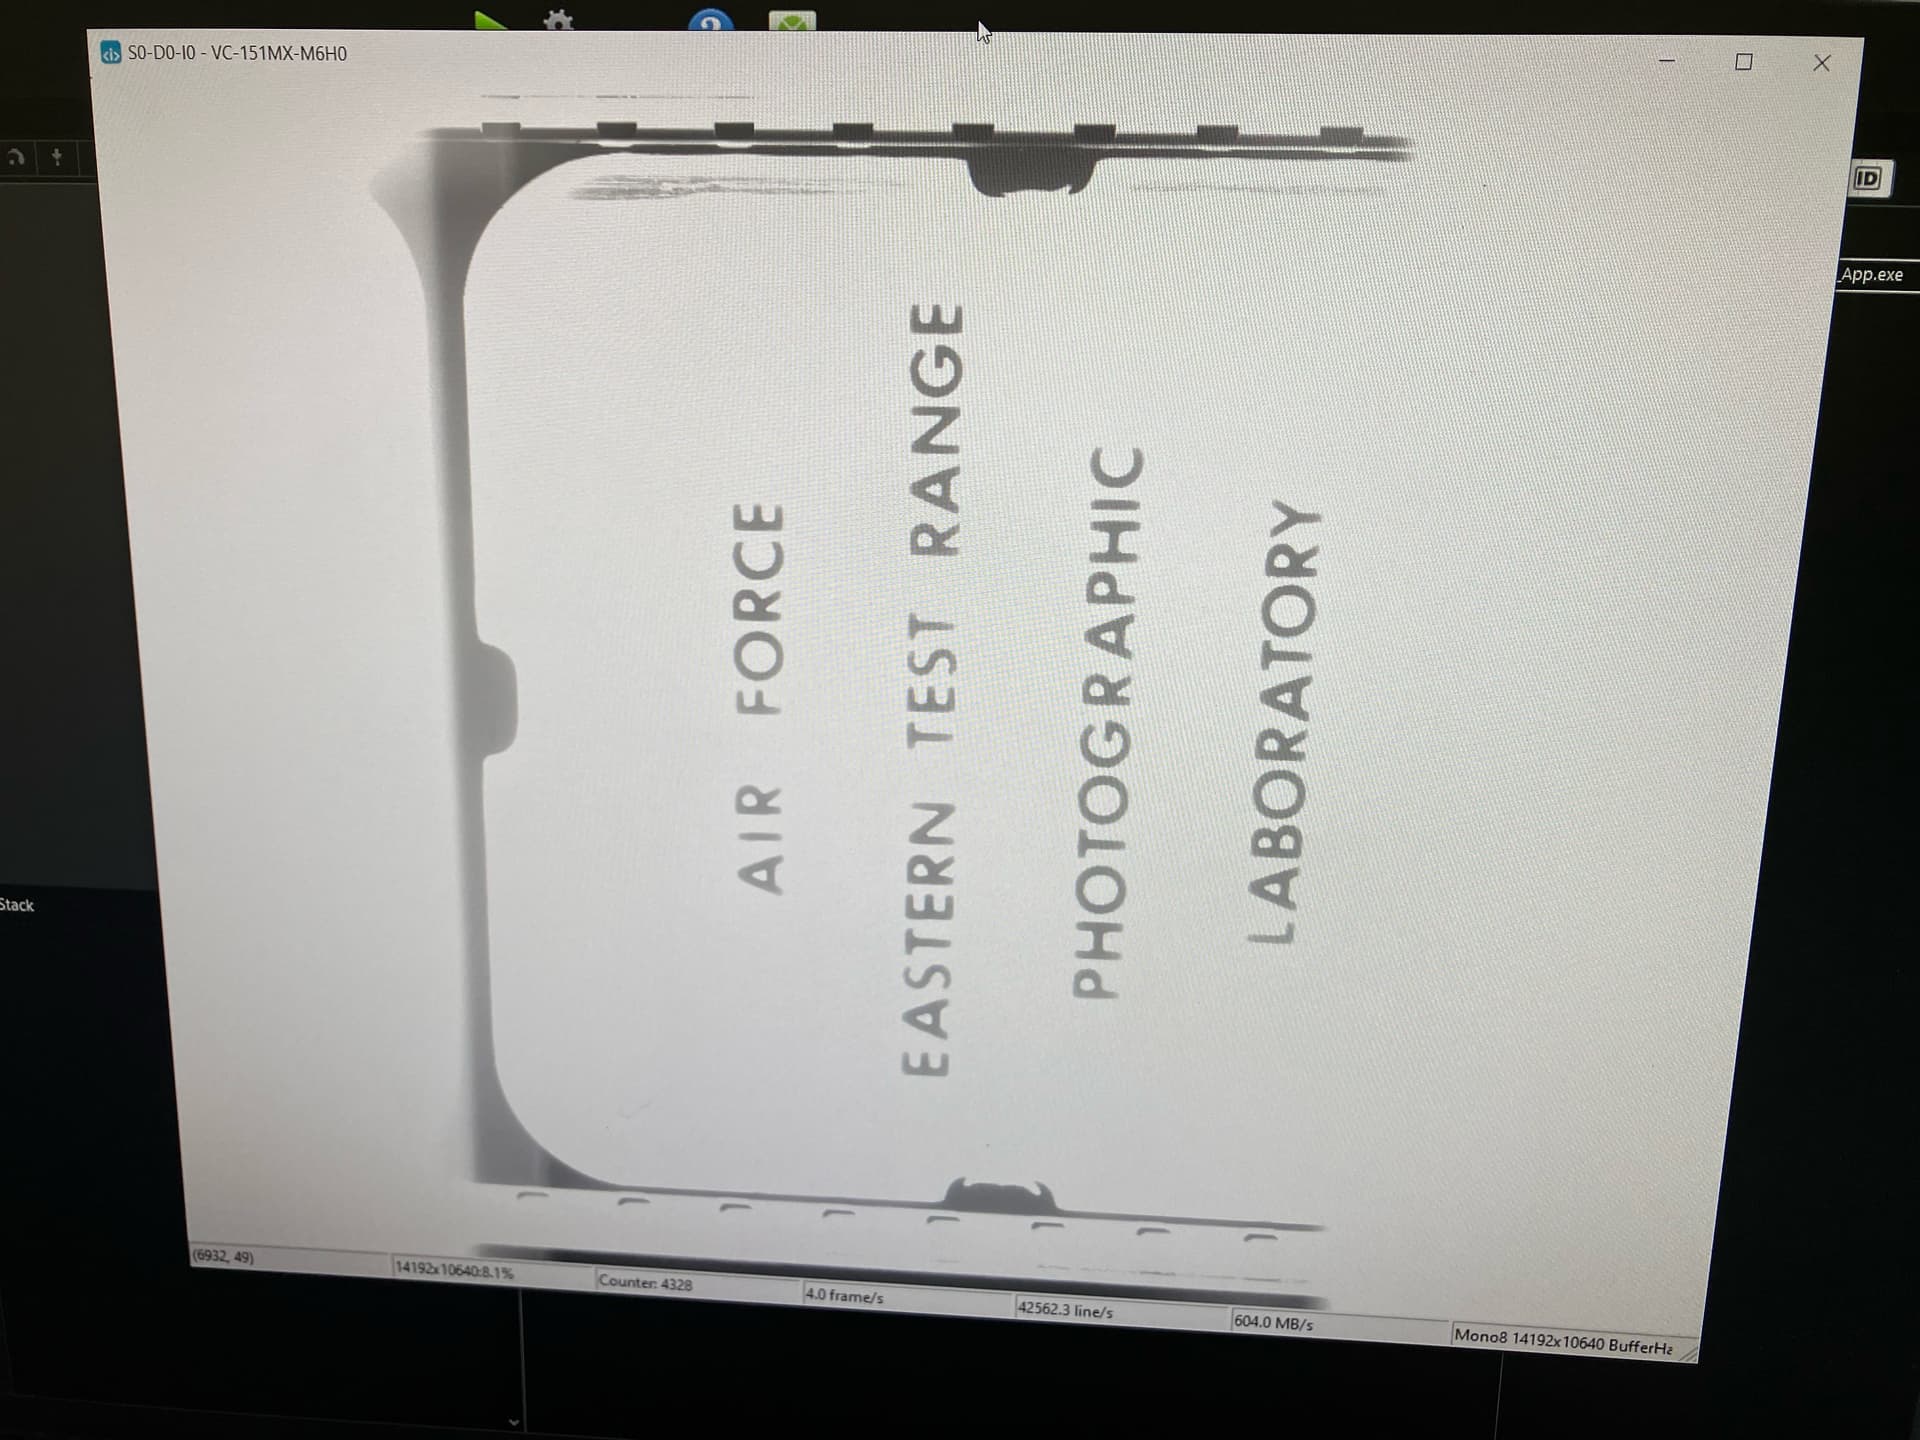
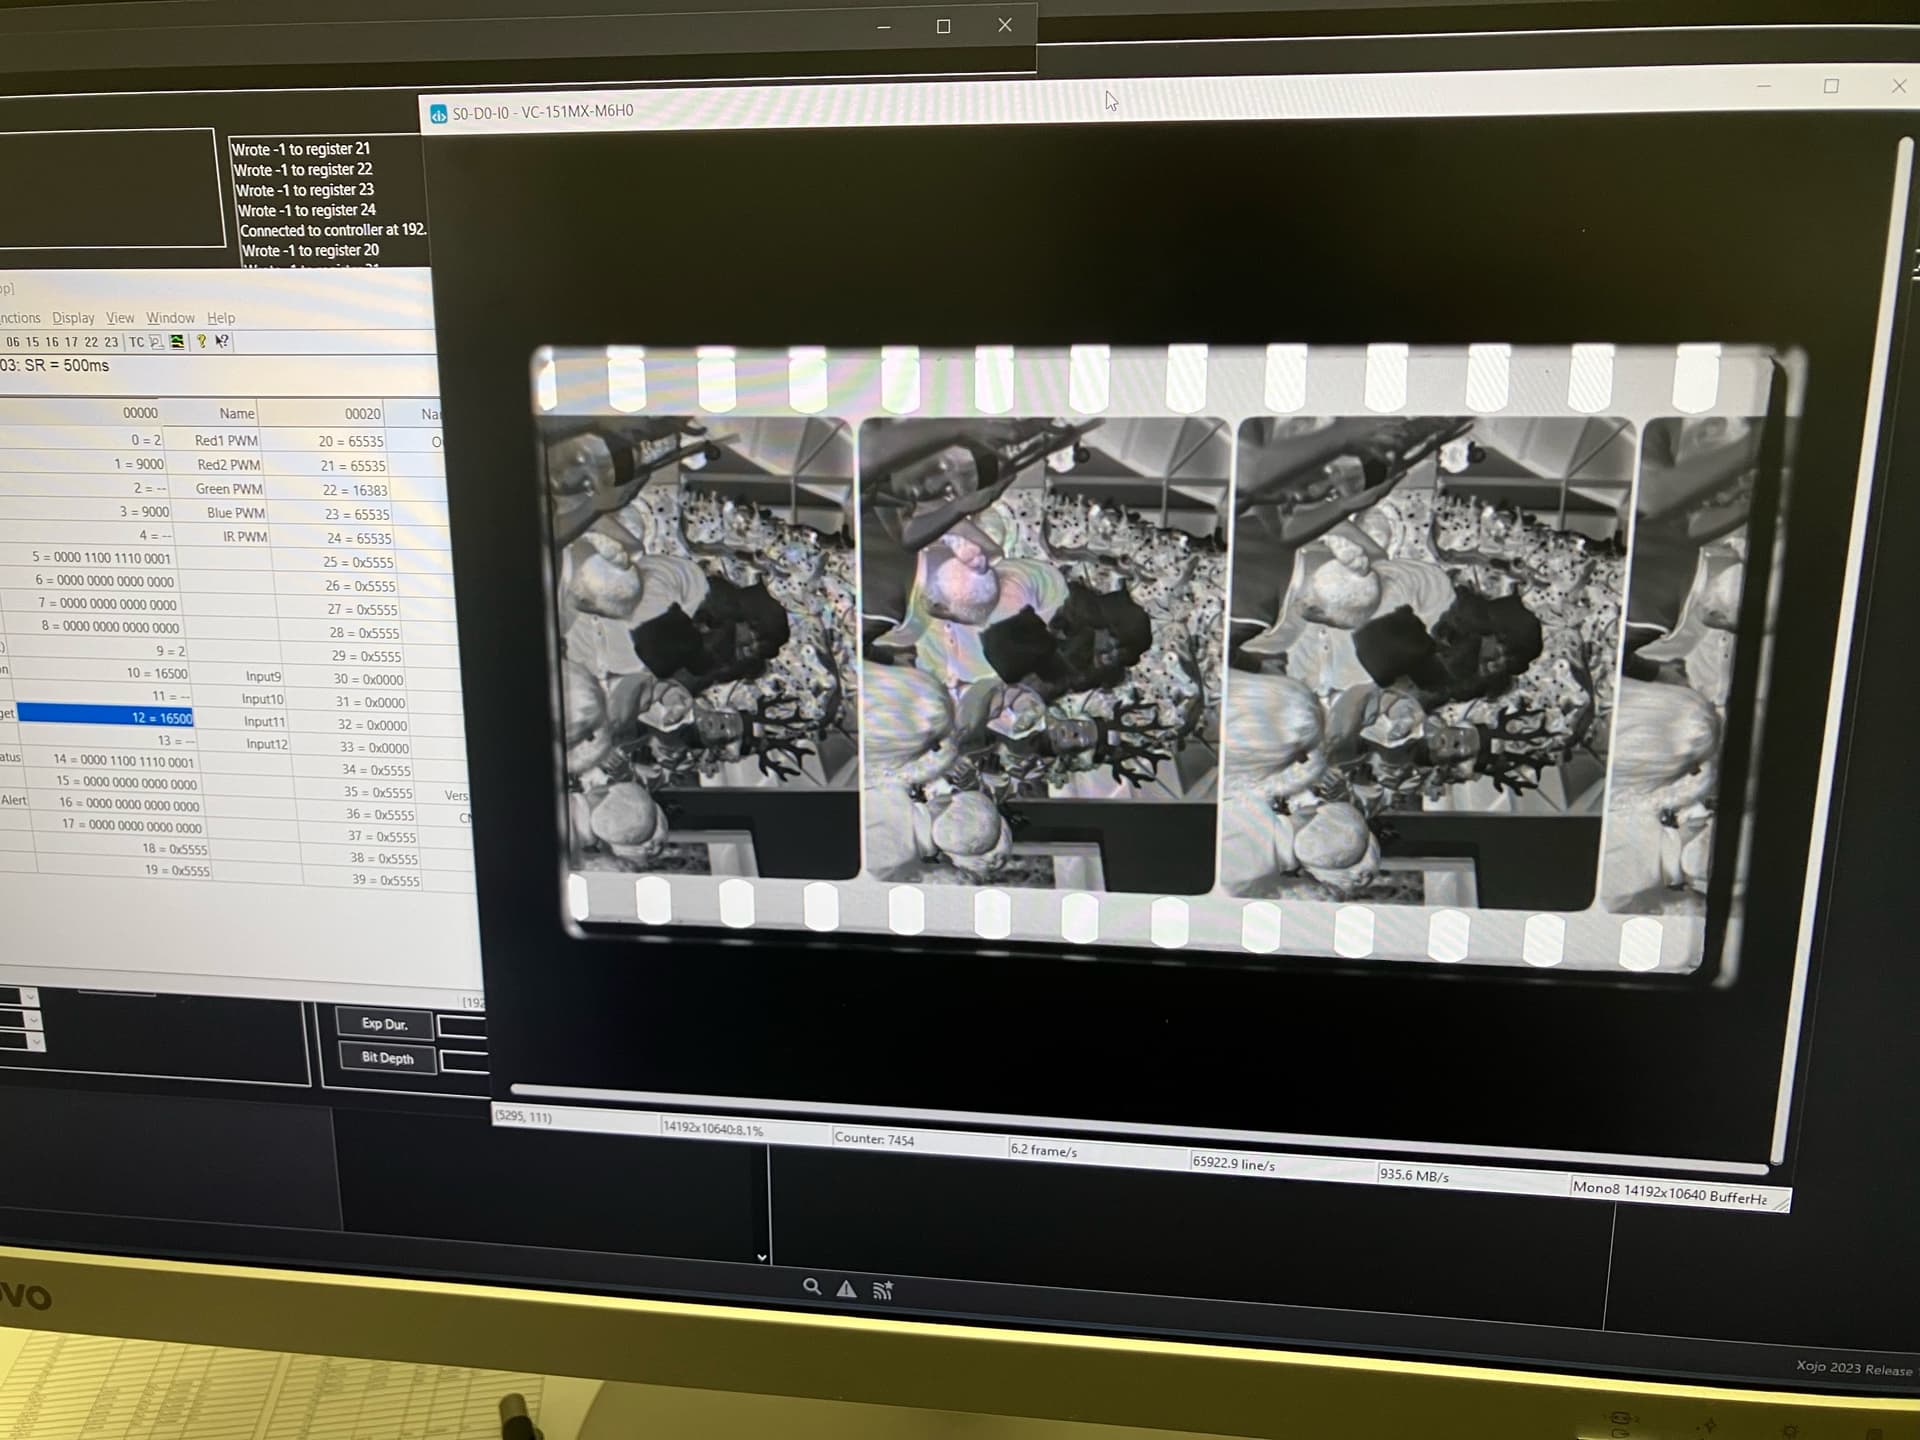
After that, we move onto grabbing images!