Very interesting! I went through some more of my scans and I was not able to spot any similar tints in the highlights in any of them by checking visually.
I did, however, find something else that might be interesting in this regard. When I was dialing in my workflow a long time ago, I actually tested Mertens Merge on my scanner, meaning that I have a reasonable comparison of the results of both post-processing workflows.
For the Mertens Merge version, I captured five exposures at 1 stop apart going from 1/2000 s to 1/125 s. Note that these settings cannot quite be compared to my current settings because I was using a ground glass for diffusion at the time, which let through more light. This is also why there appear to be “cracks” on the film – more on that on another thread.
The code below was used to merge the five exposures. You can find the full Jupyter Notebook in an older version of my repository.
mertens = cv2.createMergeMertens()
merged = mertens.process(images)

minimum = np.percentile(merged, 1)
maximum = np.percentile(merged, 99)
scaler = 1.0 / (maximum - minimum + 1e-6)
scaled = scaler * (merged - minimum)
scaled *= 255
clipped = scaled.clip(0, 255).astype(np.uint8)
Below is a merged frame from the roll I did back then.
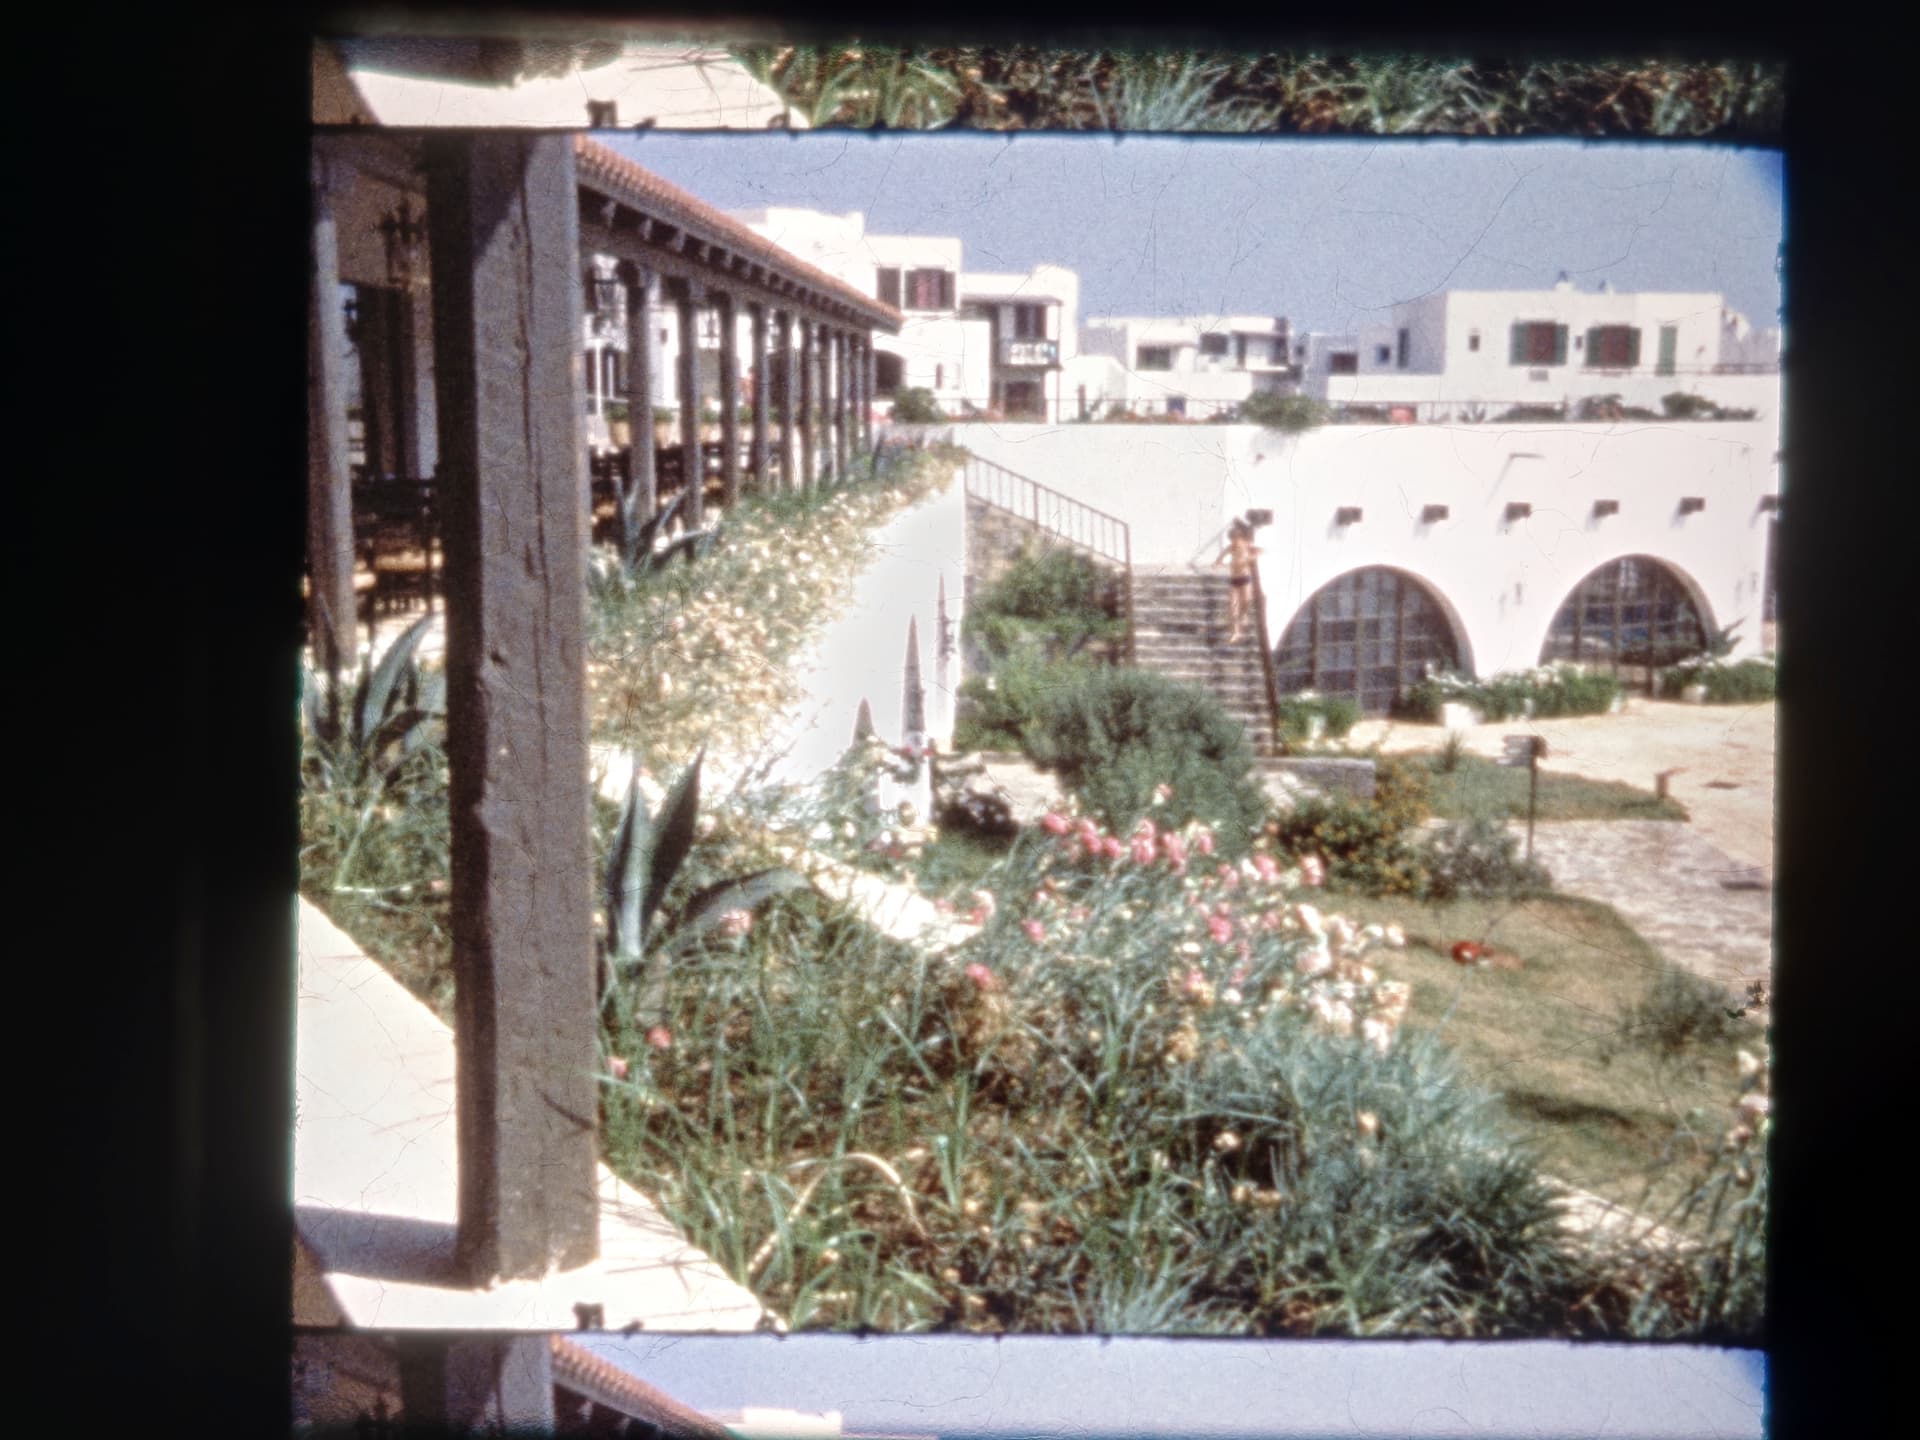
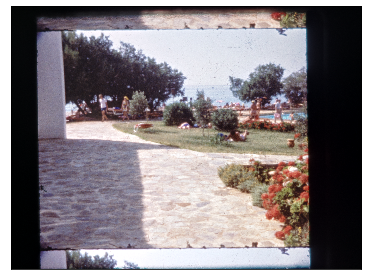
Maybe there is a slight magenta tint in the highlights. On the other hand, the entire frame might be a touch red-ish, which is interesting because the original 5 frames all had good white balance. Below you will find, of a different frame originally filmed just minutes after the above one, the original five exposures as well as the merged one from the Notebook.

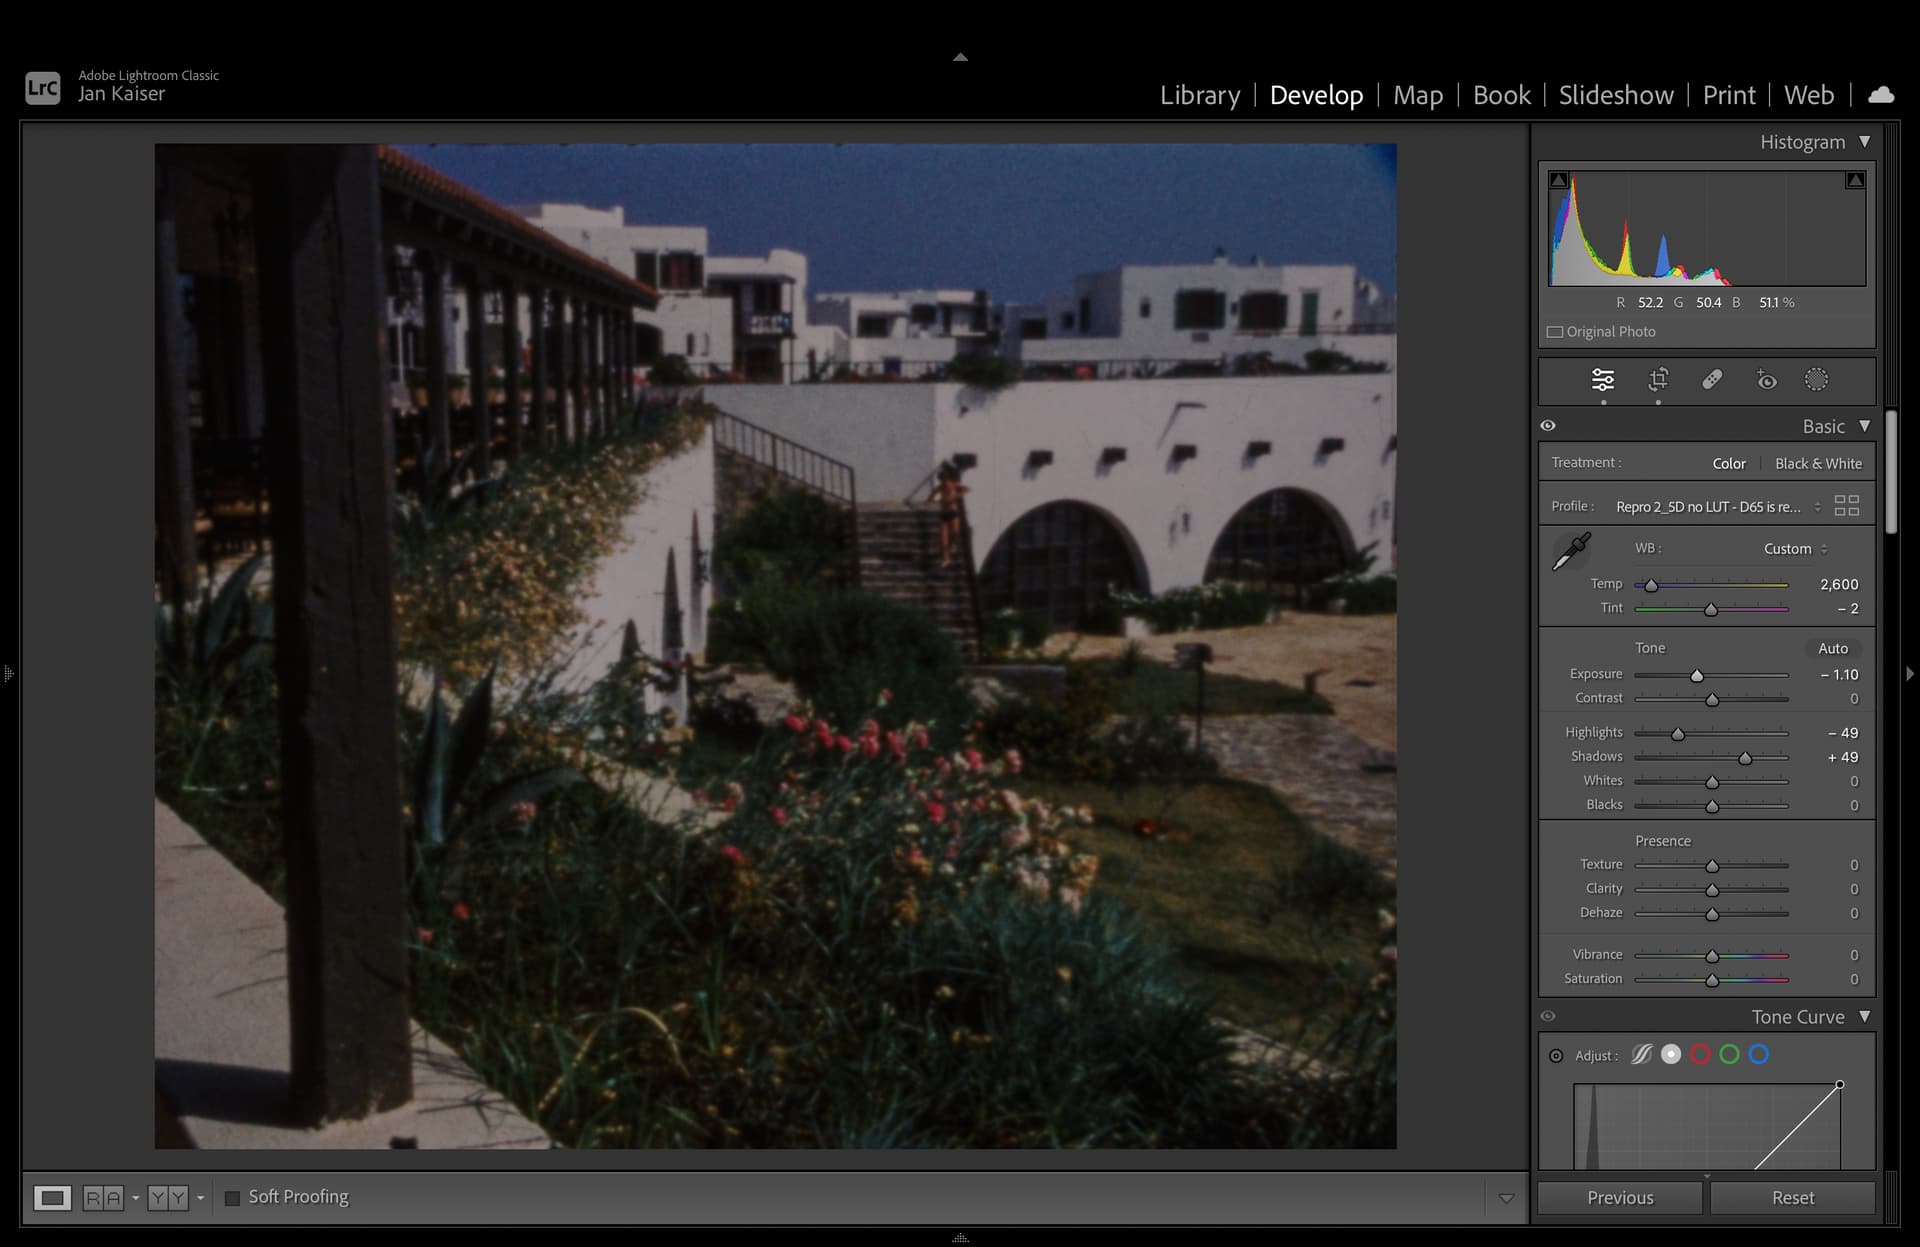
For comparison, here is a screenshot of Lightroom with the same as the original frame but processed the way I current process all my frames. I’ve placed the cursor on the brightly lit facade of the building in the right half of the frame, so below the histogram you can see RGB percentages for that particular section of highlights. You can see that the red component is ever so slightly larger. You can also see in the histogram that the reds are poking out a tiny bit in the highlights on the right.

For fun, I’ve pulled down the exposure to test @cpixip suggestion that the highlights might “lose” their colour. While the bright white facade of the building still doesn’t look too much like it has a tint, if you look at the colour components in the top right, the red component’s “dominance” has indeed become slightly stronger, seemingly confirming his suggestion. Keep in mind that the colour picker might not have been on exactly the same pixel. However, also note that the red channel histogram is poking out more now in the highlights.
All in all, looking at this example, I feel like the film base does in fact seem to have a bit of colour to it, be it from factory or through age. I’m honestly not terribly surprised by that. Furthermore, it appears that my RAW workflow manages to “hide” this colour where it is most apparent, i.e. the highlights, while Mertens Merge appears to preserve highlight colour better, and in doing so makes this “defect” of the film stock more apparent.
Unfortunately, I don’t have a similar example for a different film stock, so I’m not sure if this is unique to Kodachrome. At least with Agfachrome, it would probably also be difficult to say anyways, because there the colours were very difficult to get right across the board.
Edit: One thing I am now realising is that the slightly larger red channel on the facade could also be caused by the orange tiles below reflecting on the facade, so take it with a grain of salt.