… introducing the next cineTool, a program which helps in primary colour corrections.
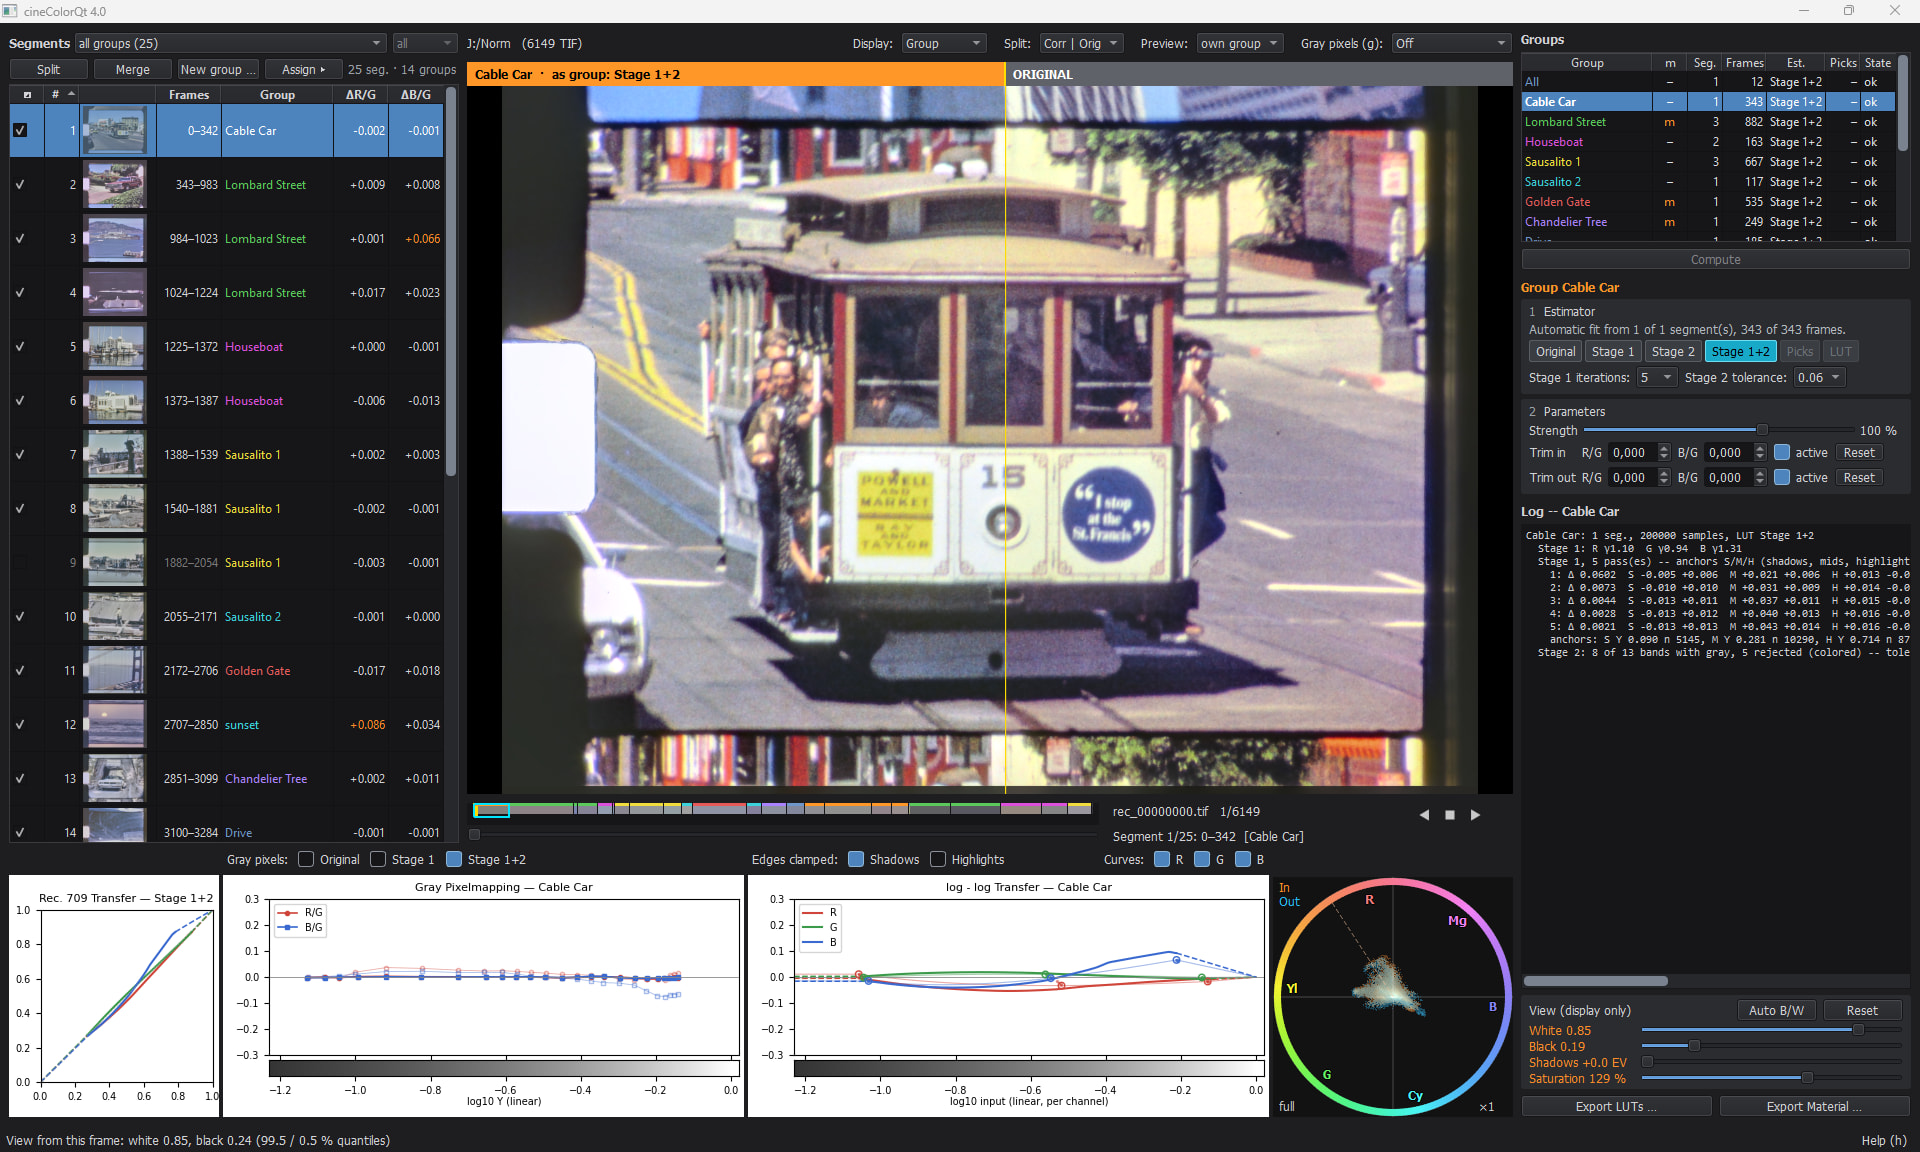
Right half as scanned – note the slight magenta cast on the asphalt. Left half corrected by cineColor.
Super 8 material shows all kinds of colour casts. They can come from the scene, from the film stock and its ageing, or from the scanner. Correcting them with the primary colour wheels of DaVinci Resolve was too laborious for me: too many controls, each affecting the others.
So the idea was to automate it. The result is cineColor:
cineColor analyses a film, divides it into segments of coherent colour and looks for gray areas in the frames. From these it estimates lift, gamma and gain per channel, and then refines the result in 13 brightness bands, so that the gray areas come out gray.
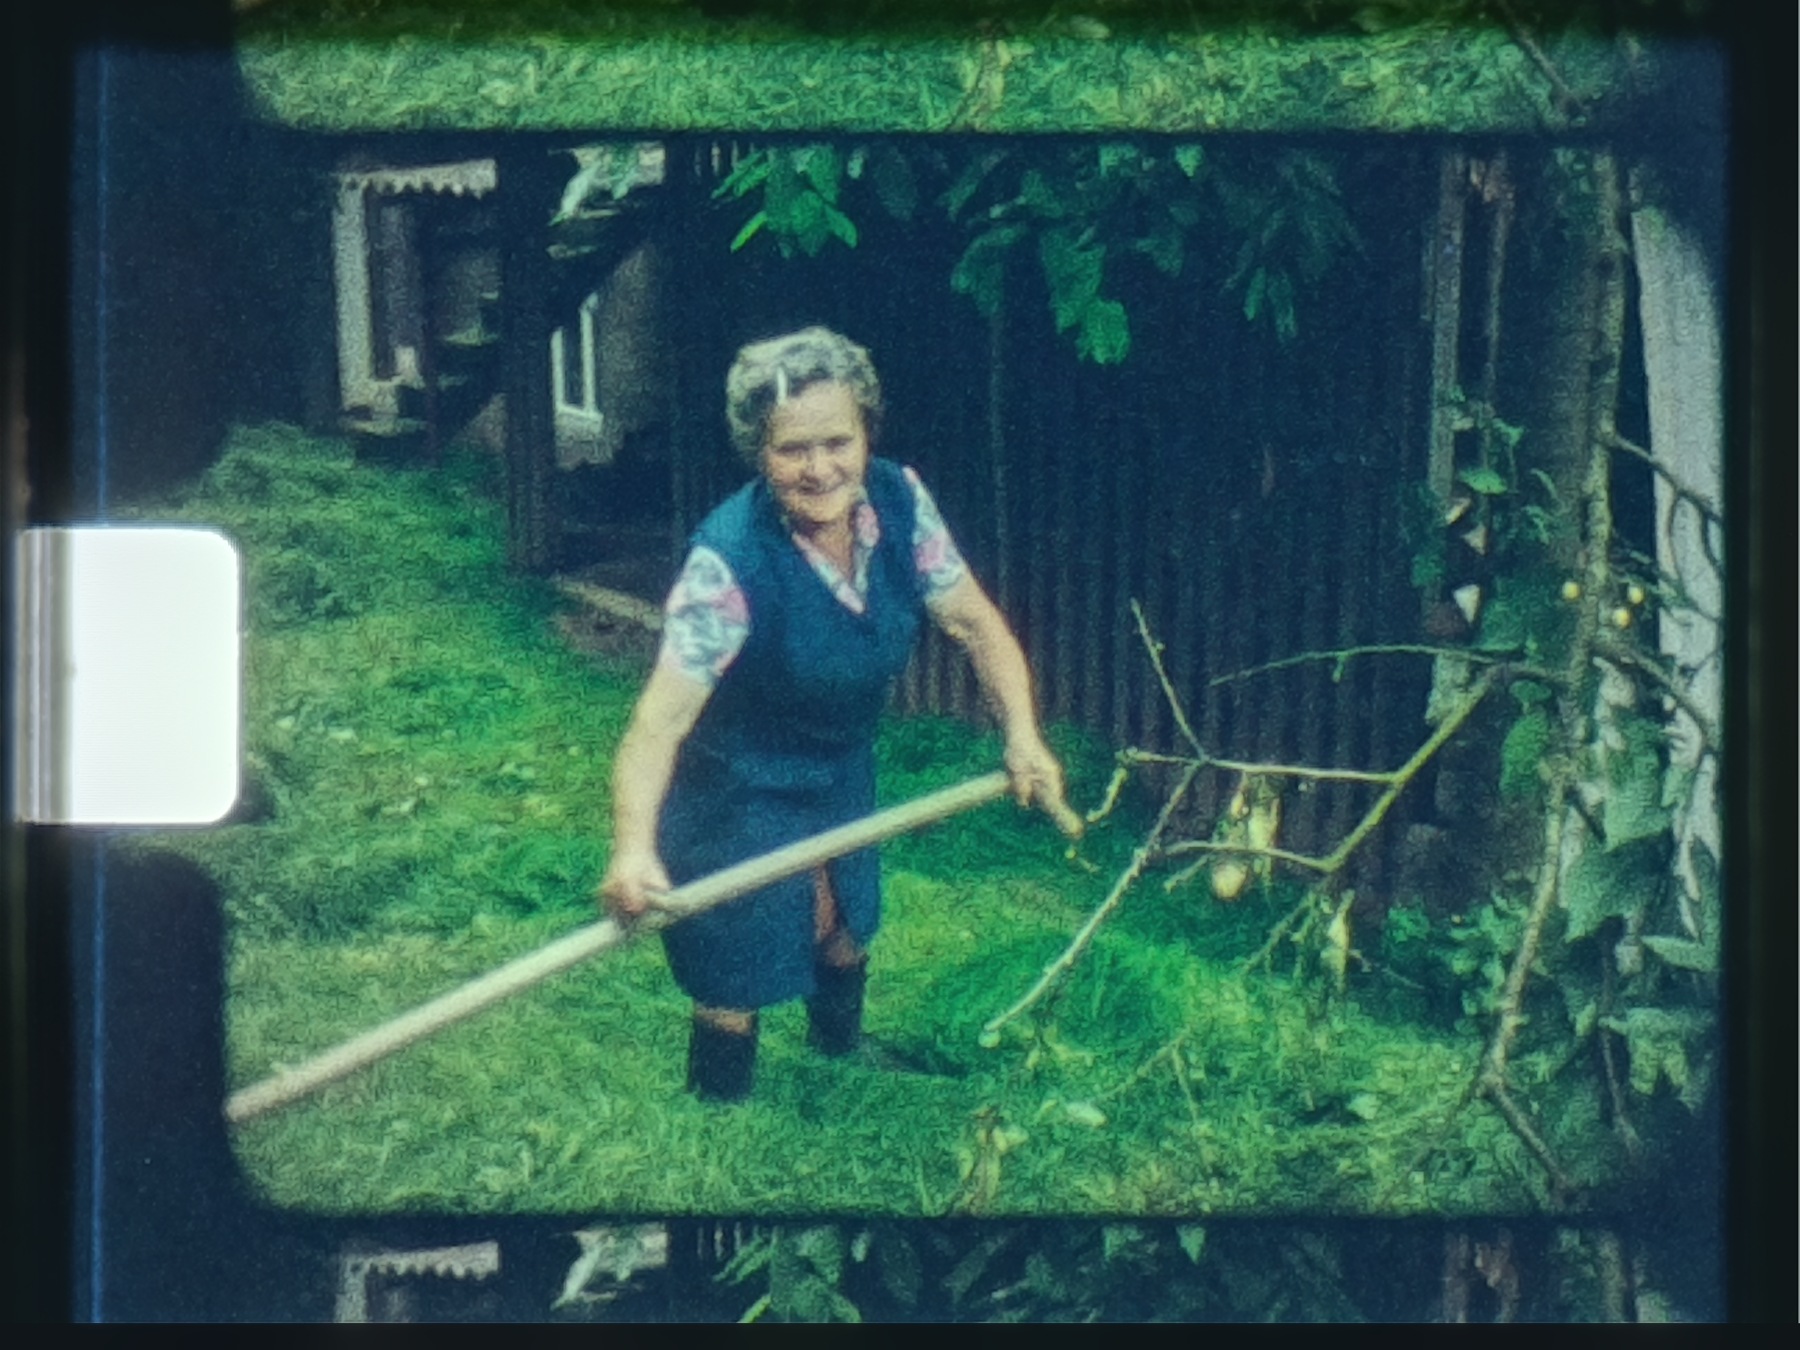
Here is a frame from another reel, as scanned
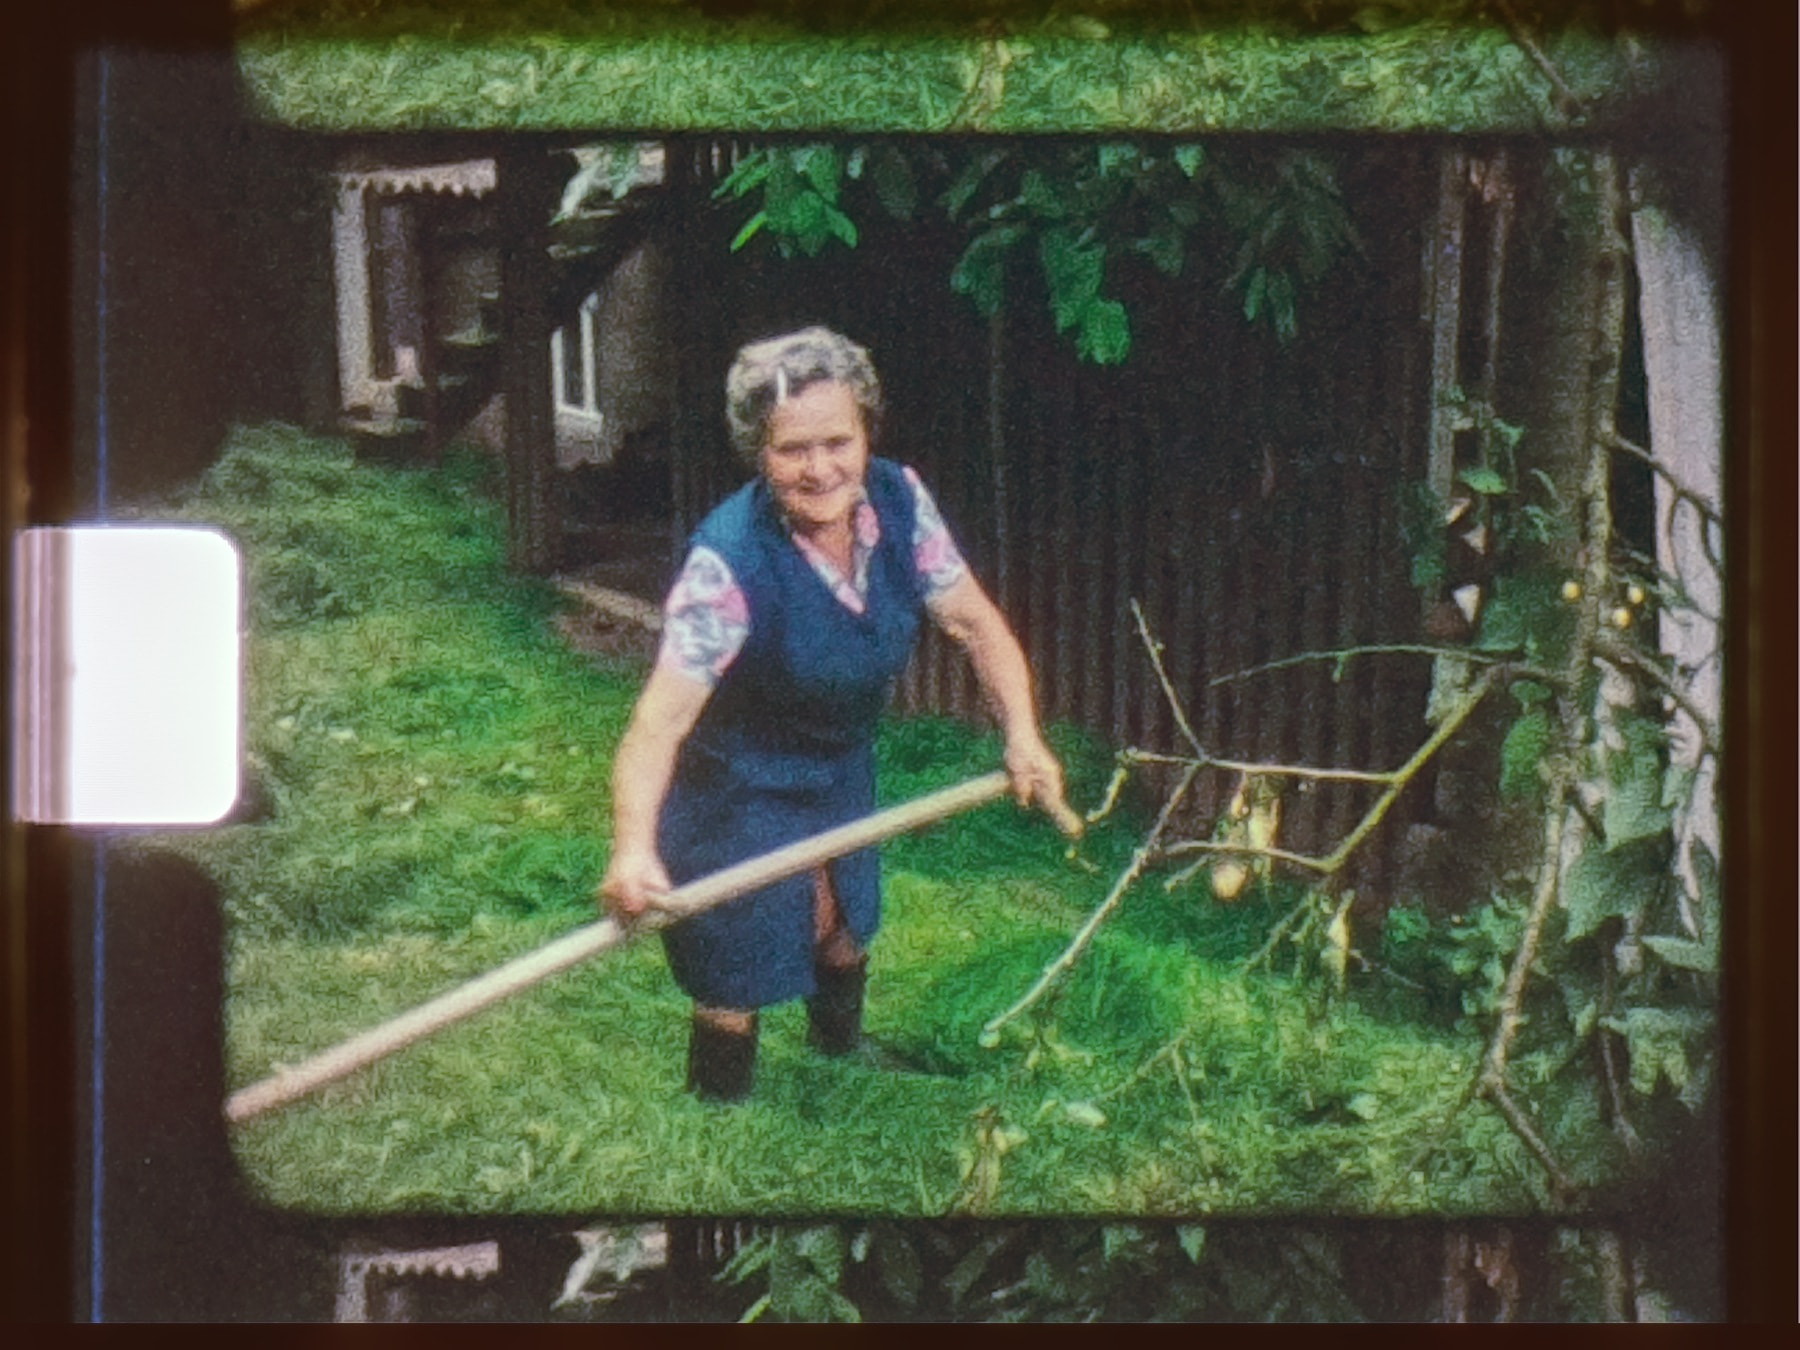
and as corrected, at full resolution:
What cineColor computes is an estimate – a suggestion, not a final grade. That is why it lets you adjust: a strength control scales the correction, colours can be shifted by hand before and after the estimate, and where the automatic search fails, you can mark gray areas yourself. Versions of a group’s settings make it easy to compare one suggestion with another.
cineColor addresses the primary correction only: it tries to take the casts out, it does not create a look. The secondary grade is meant to be done afterwards in DaVinci Resolve or any other NLE – for example to bring some sun back into a scene that came out too cold.
cineColor writes its corrections as LUTs, which cineAlign applies while it aligns the frames to the sprocket hole. Together with cineFlow and cineAlign it forms the cineTools. The normal workflow is cineColor → cineAlign → secondary grading in an NLE (DaVinci) → cineFlow.
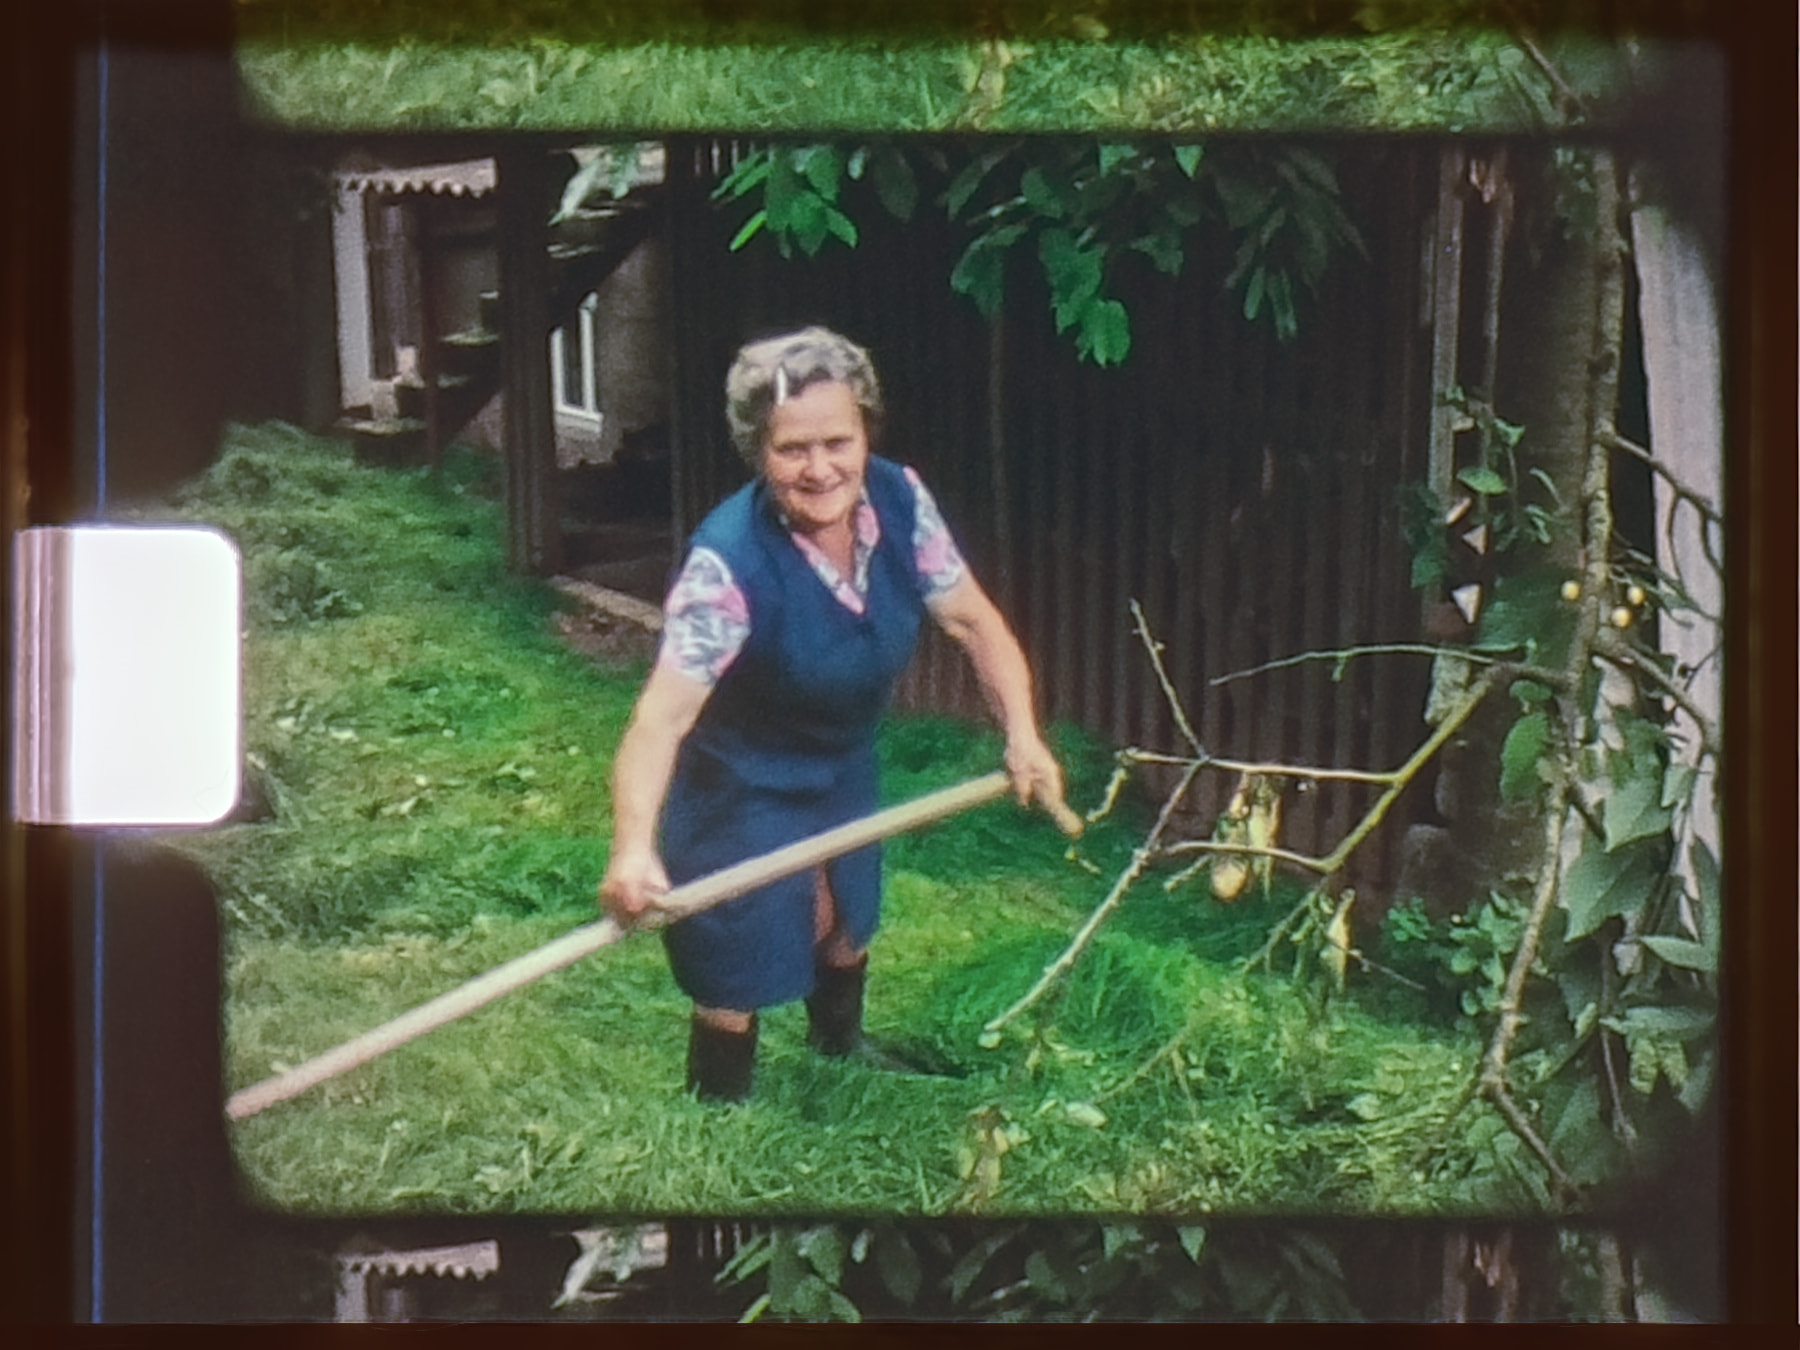
This is the result of the complete cineTools pipeline, straight out of cineFlow, without any secondary grading:
Comments and feedback are appreciated.