cineFlow - optimizing parameters
As noted above, the default parameters of cineFlow should get you going. For challenging scenes, adjusting a few of them can improve the result noticeably.
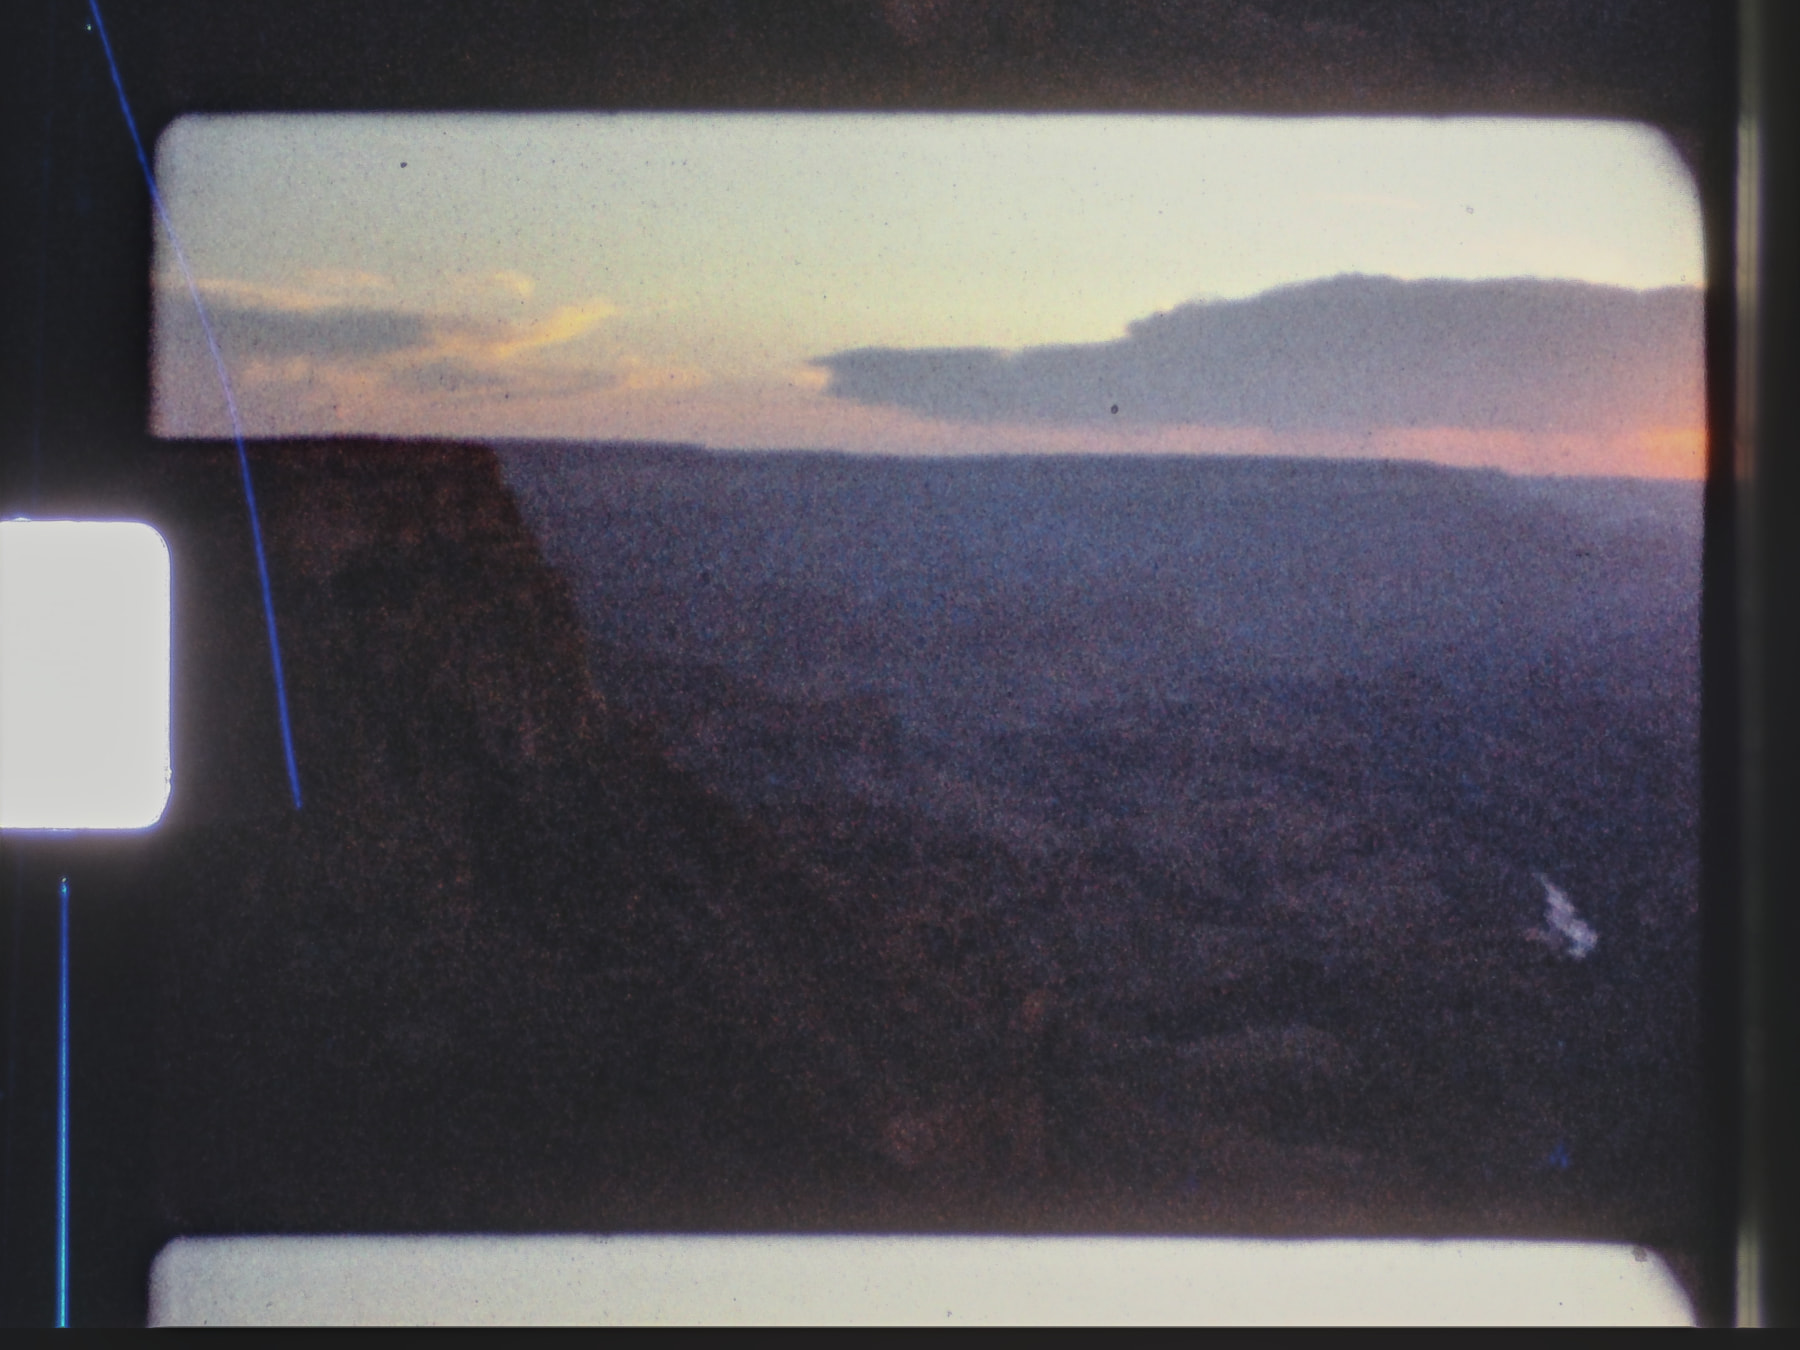
The following scene is such a case. It is a Grand Canyon sunset, again on Kodachrome 40 that was developed about a year after exposure. The scene combines a bright sky with very dark canyon walls, so like all examples so far it was scanned in HDR mode. On top of that, the clip carries plenty of dust and a few scratches.
Here’s an example of an input image - a “raw” HDR scan:
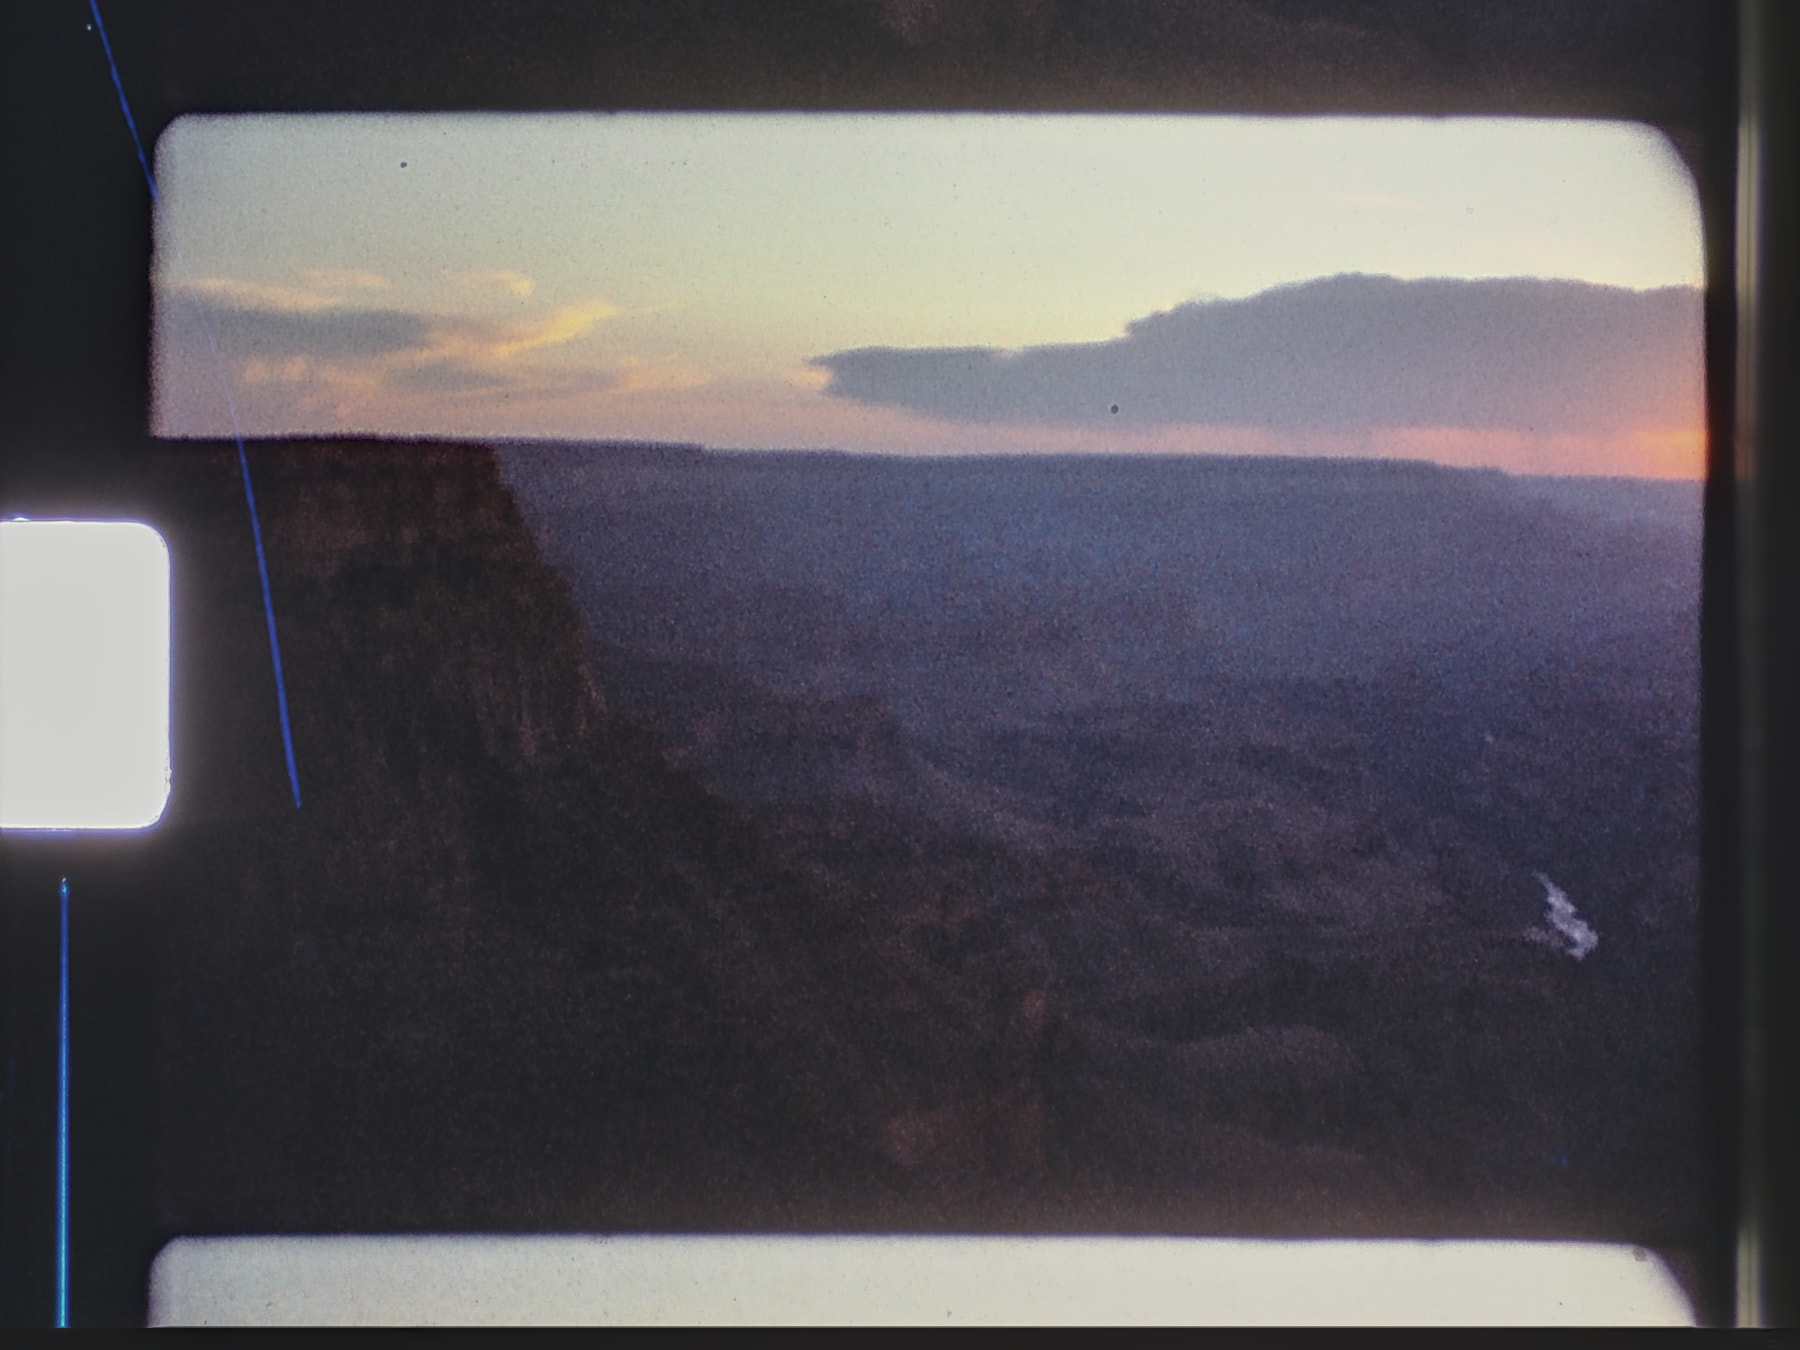
Processed with the default parameters, the grain is reduced, but dust and scratches survive the processing (this is intentional behaviour for best-mode).
The above input image with default parameters prcessed yields this:
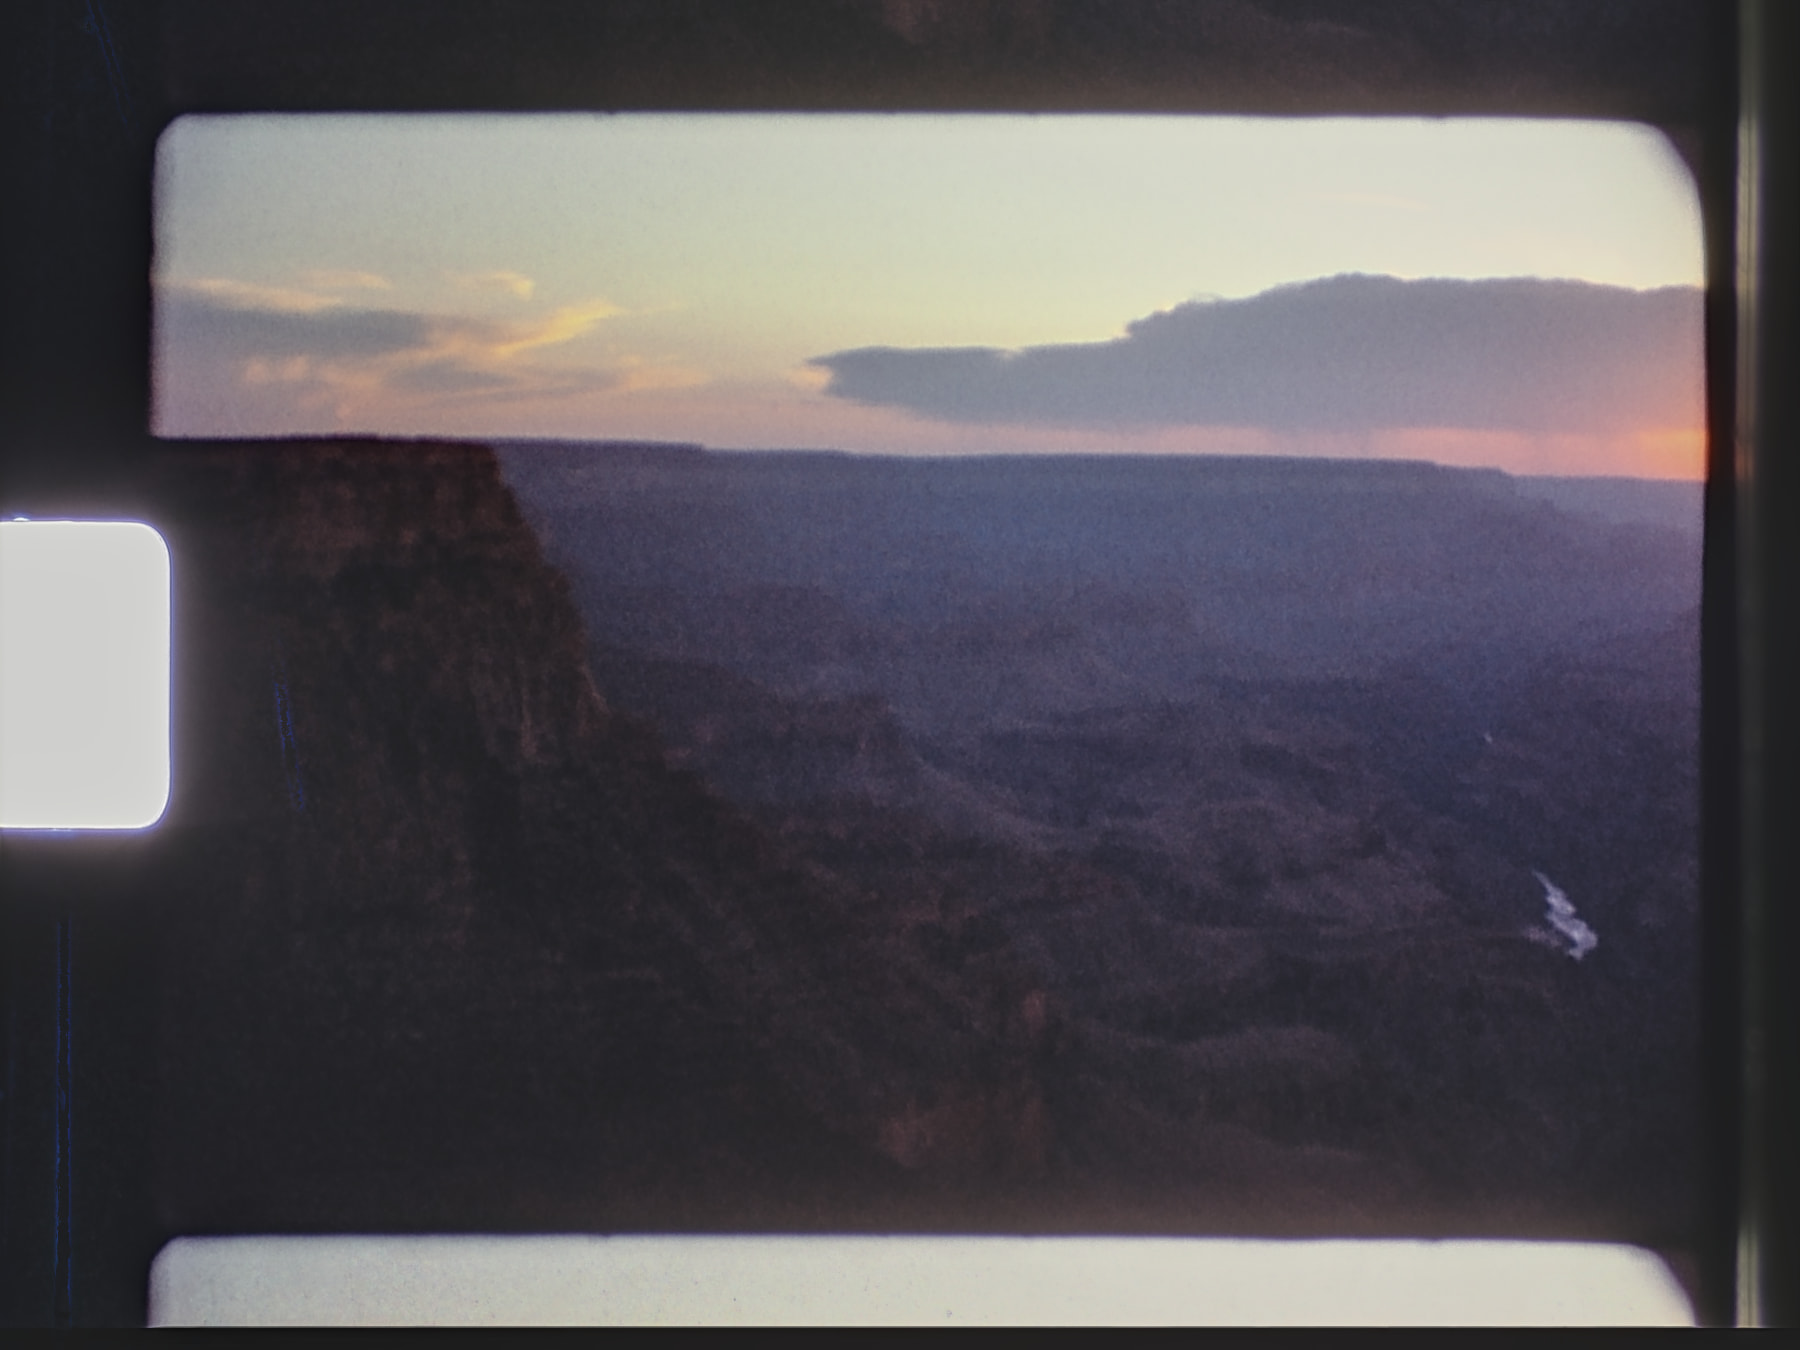
For the optimized version, a few parameters were changed. Processing happened in a single pass.
The flow backend was switched from RAFT to DIS. RAFT, being a neural network, tends to produce plausible-looking flow even where there is no real correspondence between frames, and such flow can pass the trust stages. DIS fails more erratically in those areas, which the trust stages can detect. In short, DIS makes better mistakes.
The mode was set to dustA instead of best, which removes most of the dust and scratches. Note that in the dust modes the photometric trust parameters have no effect on the result; the consensus of the neighbouring frames takes over that role.
The context was raised from ±2 to ±6 frames, and the geometric trust was loosened (threshold 4.0 px instead of 1.9, softness 1.0 instead of 0.5). Together this lets distant neighbours still contribute to the noise reduction. The price is a less strict forward-backward check, so in the darkest areas larger patches can occasionally shift by a few pixels.
The sharpening was adjusted to the low texture of the material.
This is the result obtained with the modified parameters:
The diagnostic views and statistics in flowQt help to understand why a setting works or does not, but tuning by eye is just as legitimate. Changing a value, looking at the result and changing it again is exactly what flowQt is meant for. Beyond the basic choices, the final settings are a question of aesthetics, and there is no single right answer.
The complete comparision clip:
For reference, these were the settings used:
{
  "mode": "dustA",
  "downscale": 2.0,
  "flow_backend": "DIS",
  "context": 6,
  "geo_mismatch": 4.0,
  "geo_softness": 1.0,
  "photo_mismatch": 0.055,
  "photo_softness": 0.008,
  "photo_radius": 3,
  "center_weight": 1,
  "dustA_mismatch": 3.0,
  "dustA_softness": 1.5,
  "sharp_base": 0.05,
  "sharp_full": 0.017,
  "sharp_gamma": 0.8,
  "sharp_amount": 3.0,
  "detail_filter": "guided",
  "detail_sigma": 0.5,
  "detail_eps": 0.01
}