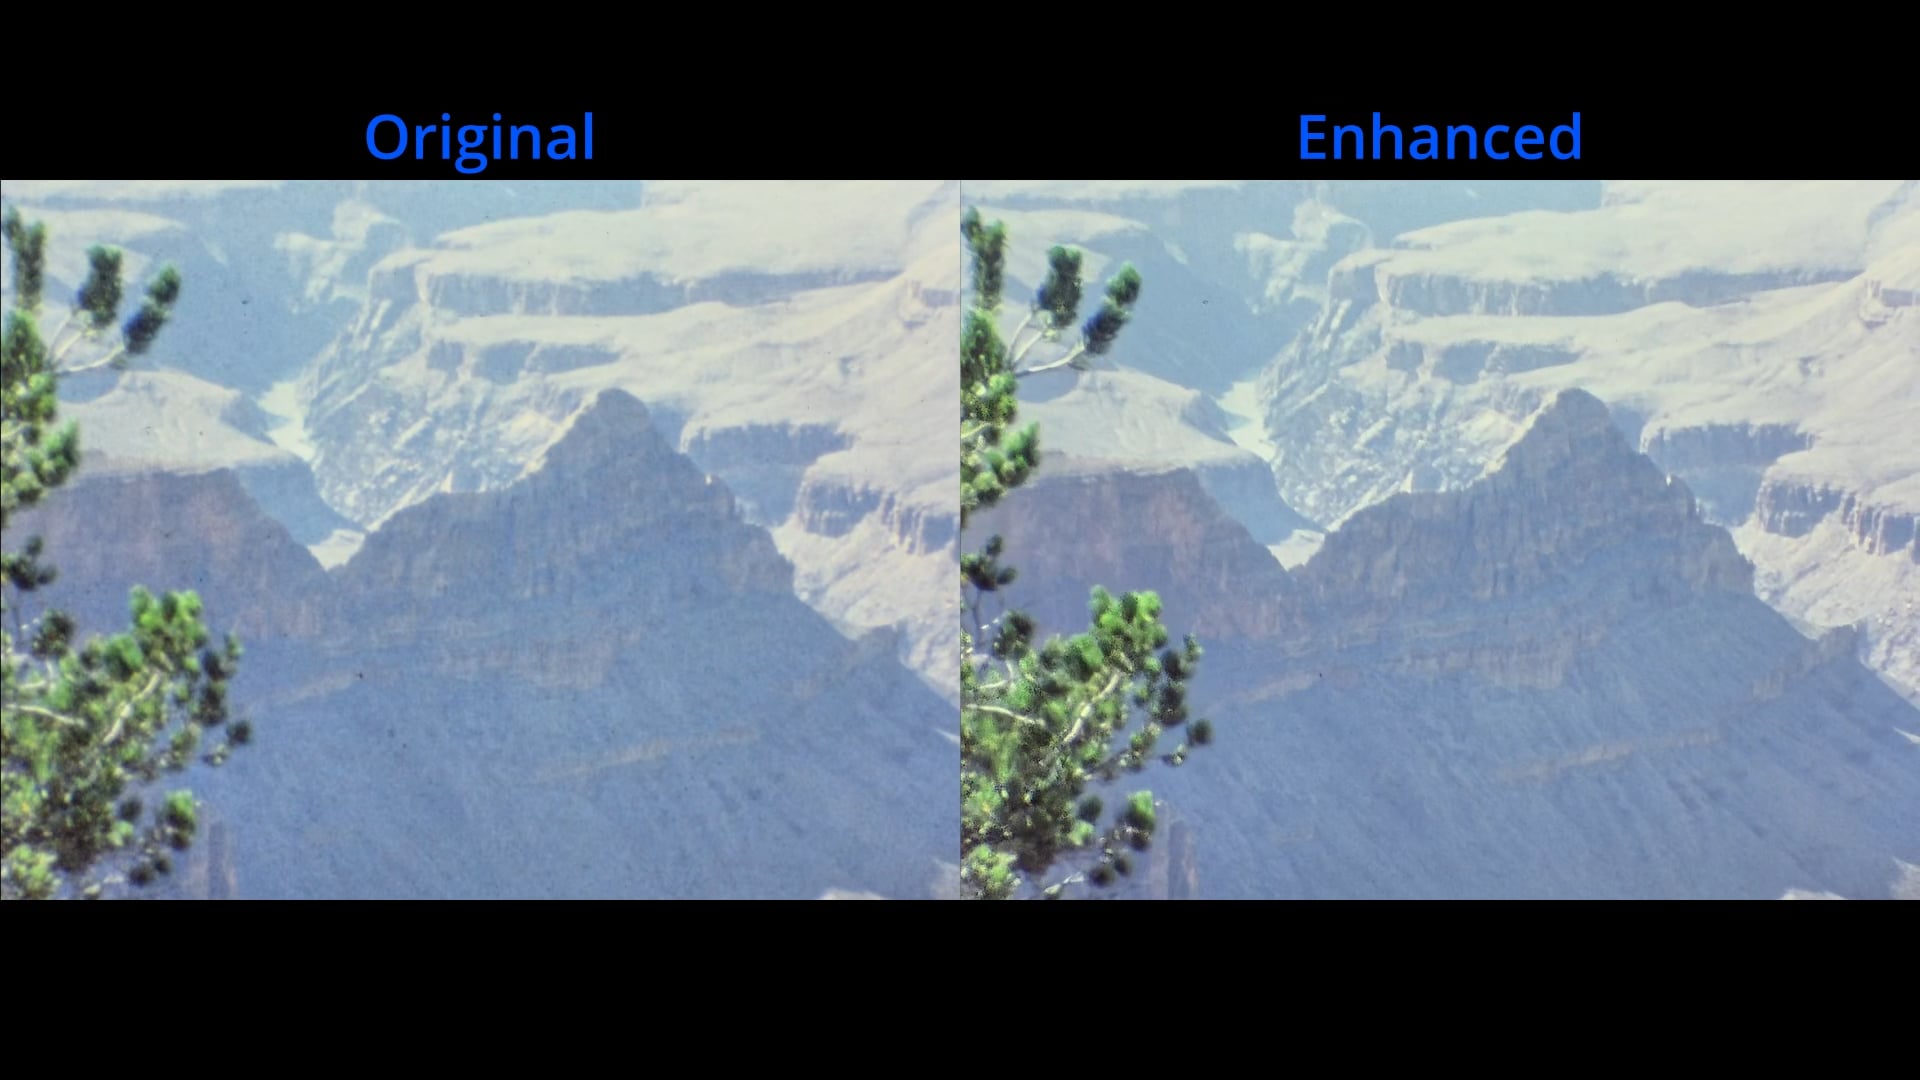
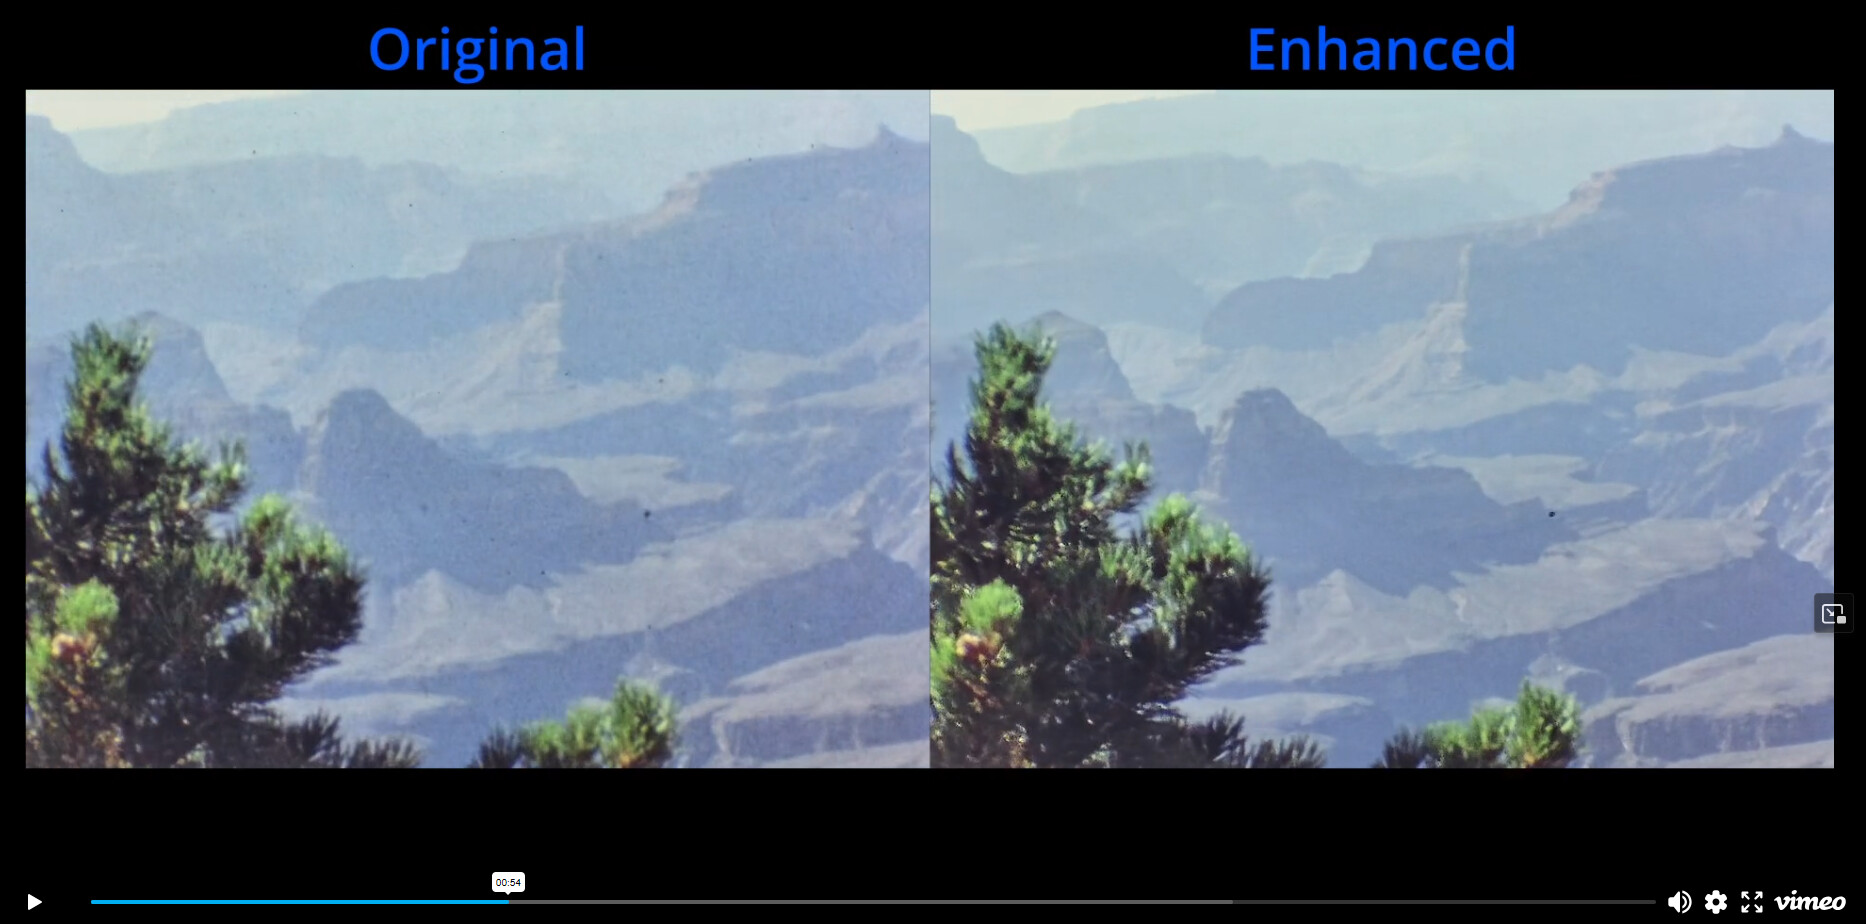
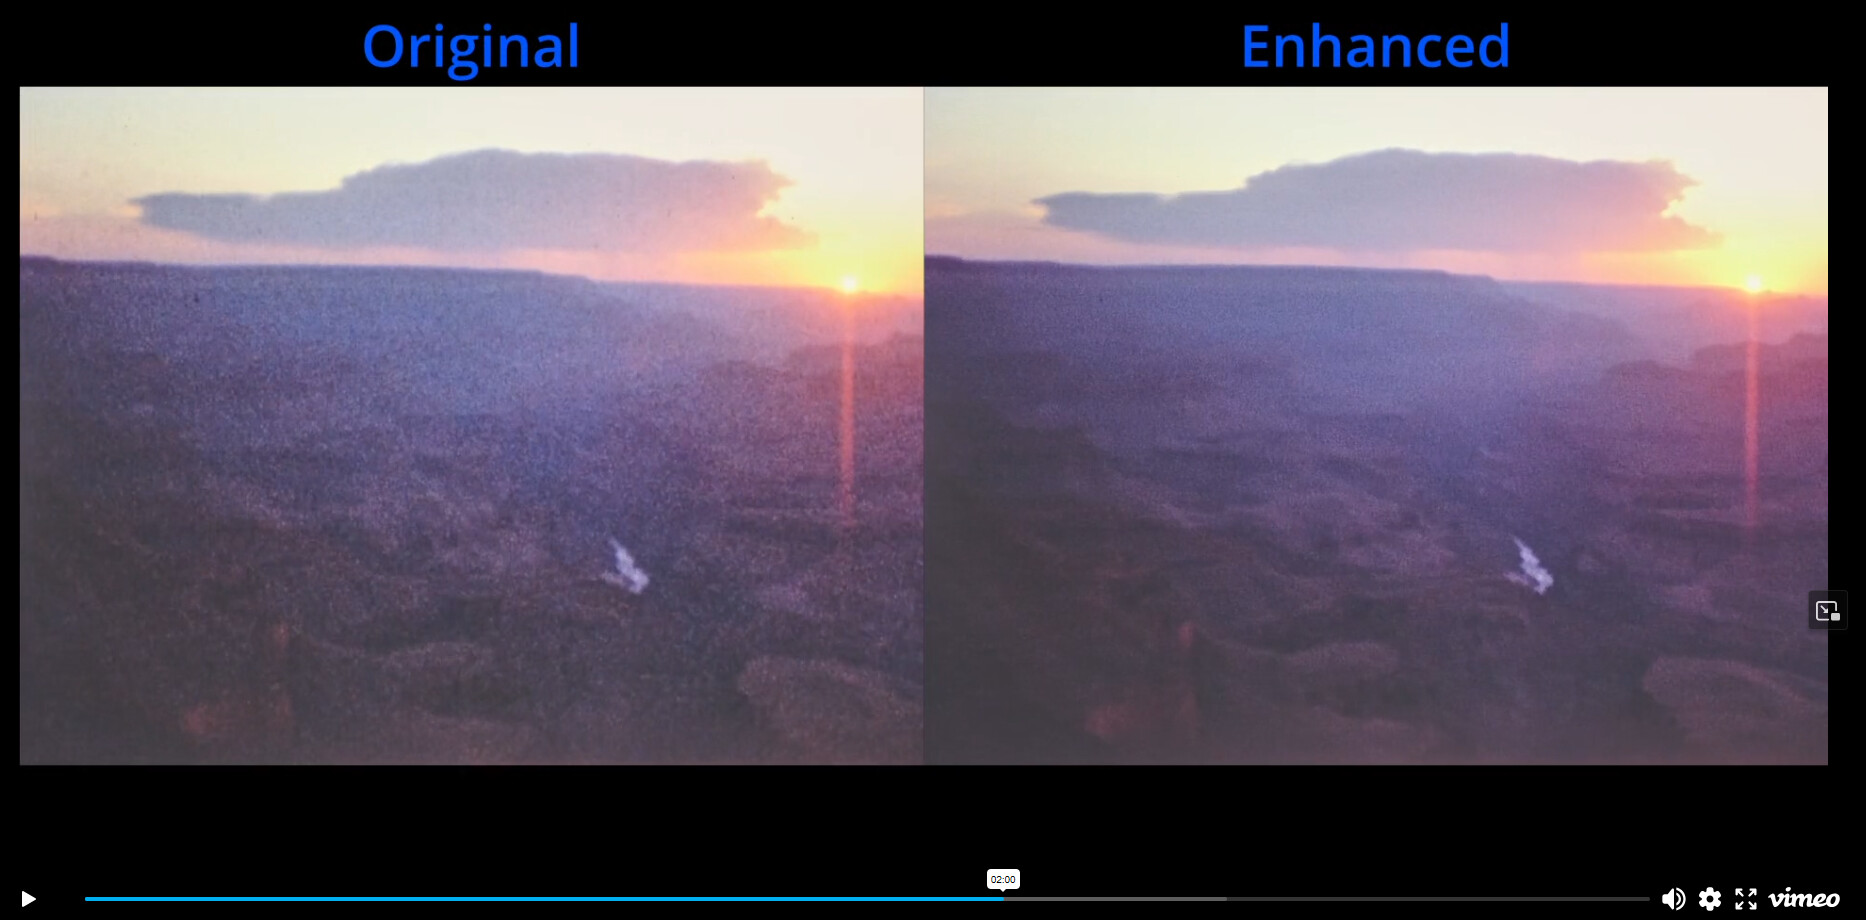
That depends on what “looks wrong” to you…
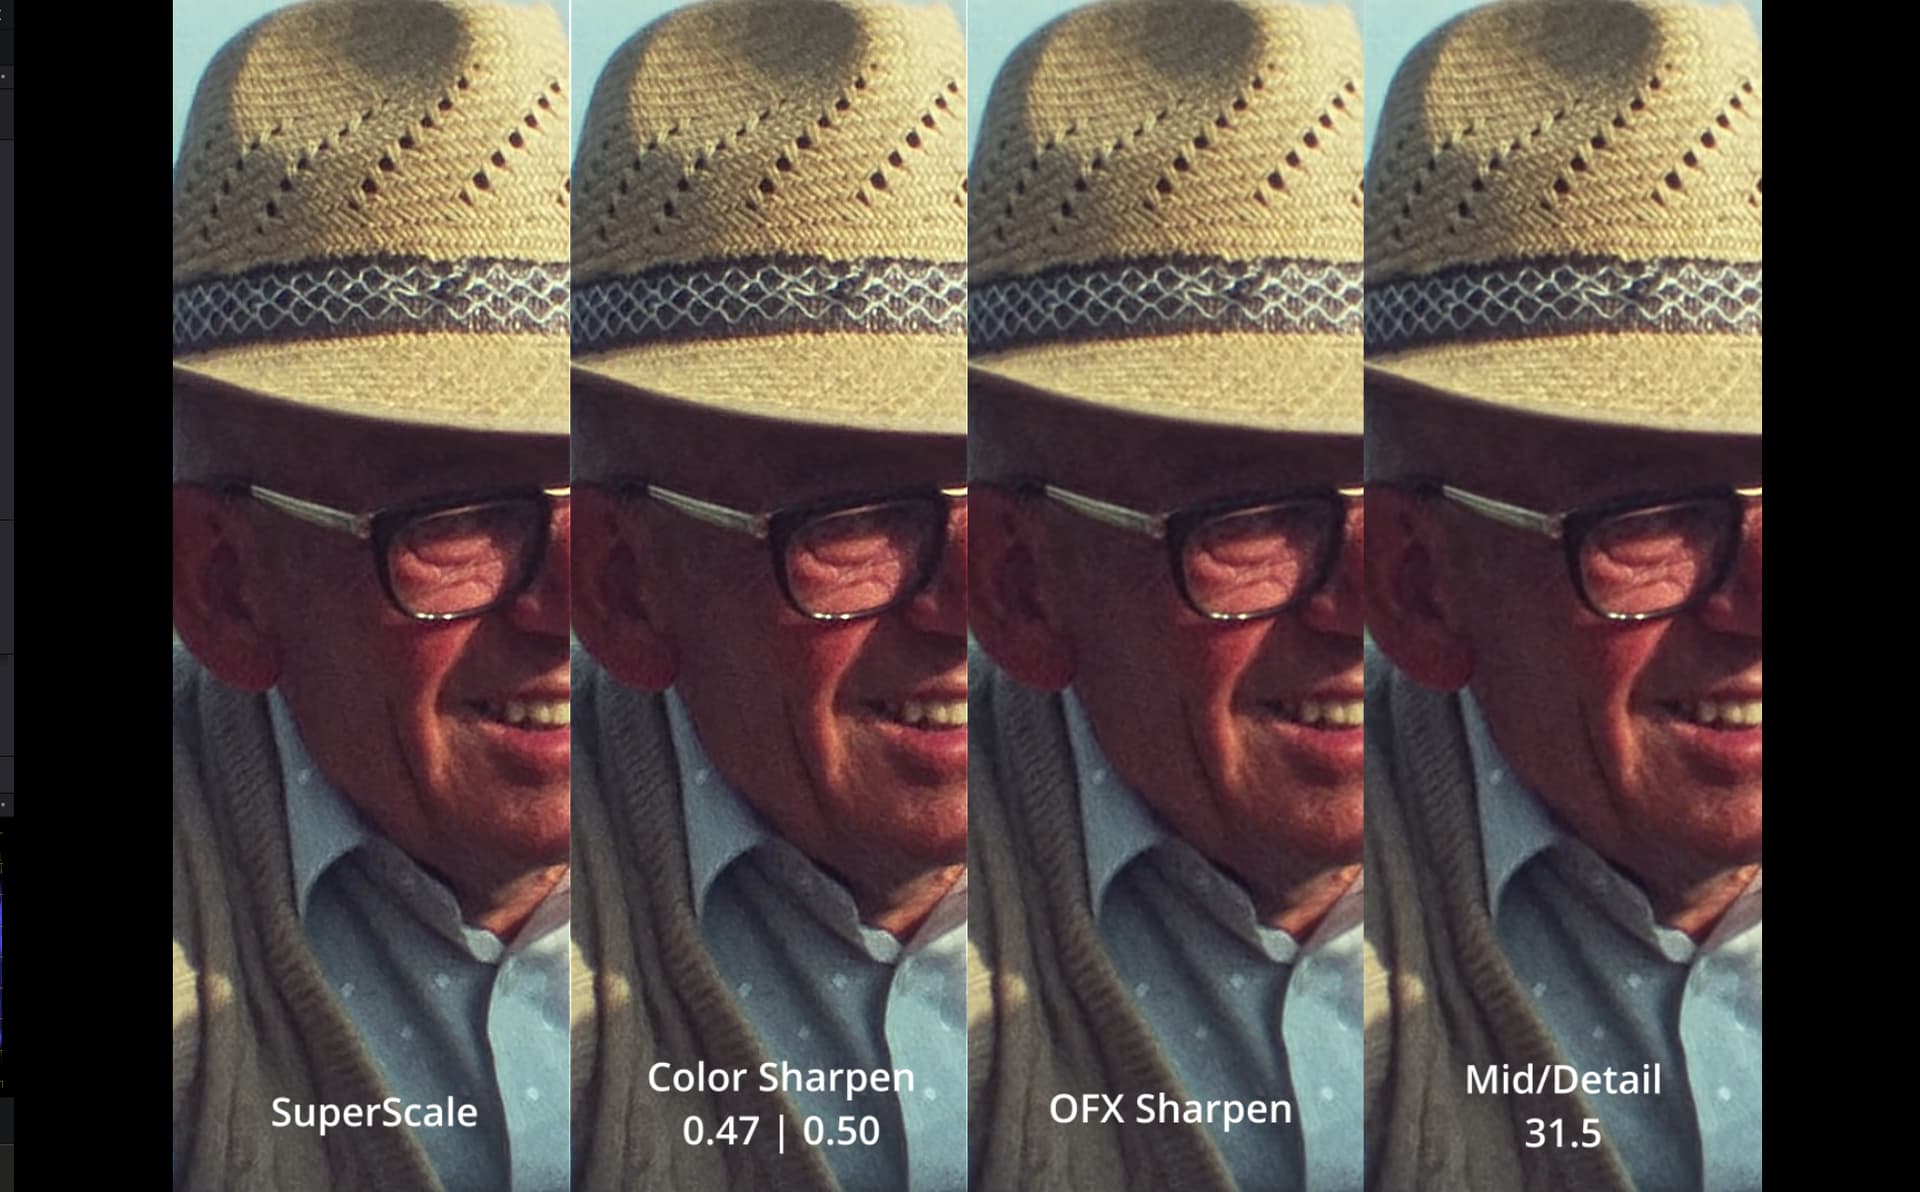
Seriously, there are quite a lot of ways to sharpen footage in DaVinci. Here’s an example of a few:
From left to right:
- SuperScale: just switched this “ON” in the inspector tab (Edit or Cut Page), using the default settings.
- Color Sharpen: the usual sharpening found in each node in the Color Page. Settings were 0.47 for the radius, 0.50 for the scaling - your taste might vary.
- OFX Sharpen: there is a sharpen plugin in the effects lib you can drag and drop on a node in the Color Page. It has a lot of settings. You can vary the sharpening effect of fine, medium sized and large details. Also, you can opt to sharpen only luminance, excluding chroma. Which is mostly a good idea.
- Mid/Detail: is a simple value available on every color processing node. The setting used in the above example was 31.50.
The general problem with S8-footage is that any sharpening operation will also enhance the film grain. Some guys do actually like this somewhat artifical film look.
Especially in S8-material film grain structures can be very large, easily covering up small image details you might want to present to your audience. It gets worse when the film grain is sharpened by processing.
Ideally, you would want to enhance image detail as best as possible while leaving the film grain as uneffected as possible by the sharpening process.
In the extreme case, you might opt to get rid of the film grain all together.
Indeed, that’s my current mode of operation, as the degraining process also recovers image detail which is simply not visible before.
Once you are “grain-free”, you have a lot of of options for sharpening the footage - what works best depends on taste and source footage. You might even end up in selecting different sharpening options for different clips.
If you still want to have that “film look”, that is, give your audience the feeling that what they are watching is analog material, you can actually opt to add an artifical film look to your degrained, noise-free enhanced image, by employing DaVinci’s “Film Look Creator”. This may sound strange, but in essence this complicated setup allows you to precisely define the visual appearance of your footage while giving you the full range of sharpening options.
Summarizing this, the processing tactic is as follows: get rid of the analog film noise (by degraining) → sharpening only the image content → add simulated visual clues for “analog film”
Of course, the alternative option is to simply drop the degraining step and work just with the original, grainy image. That means however to sharpen image detail as well as film grain simultaniously in a single step.
From my experience, you can get good results with this simplified approach as well. But finding the sweet spot on the sharpening settings (not too much grain enhancement, but enough sharpening of the image details) can be quite challenging, especially if your footage is composed of scenes with different visual qualities (bright daylight = less film grain/darker scences = much more grain in darker areas/film stock with different grain characteristics, etc).
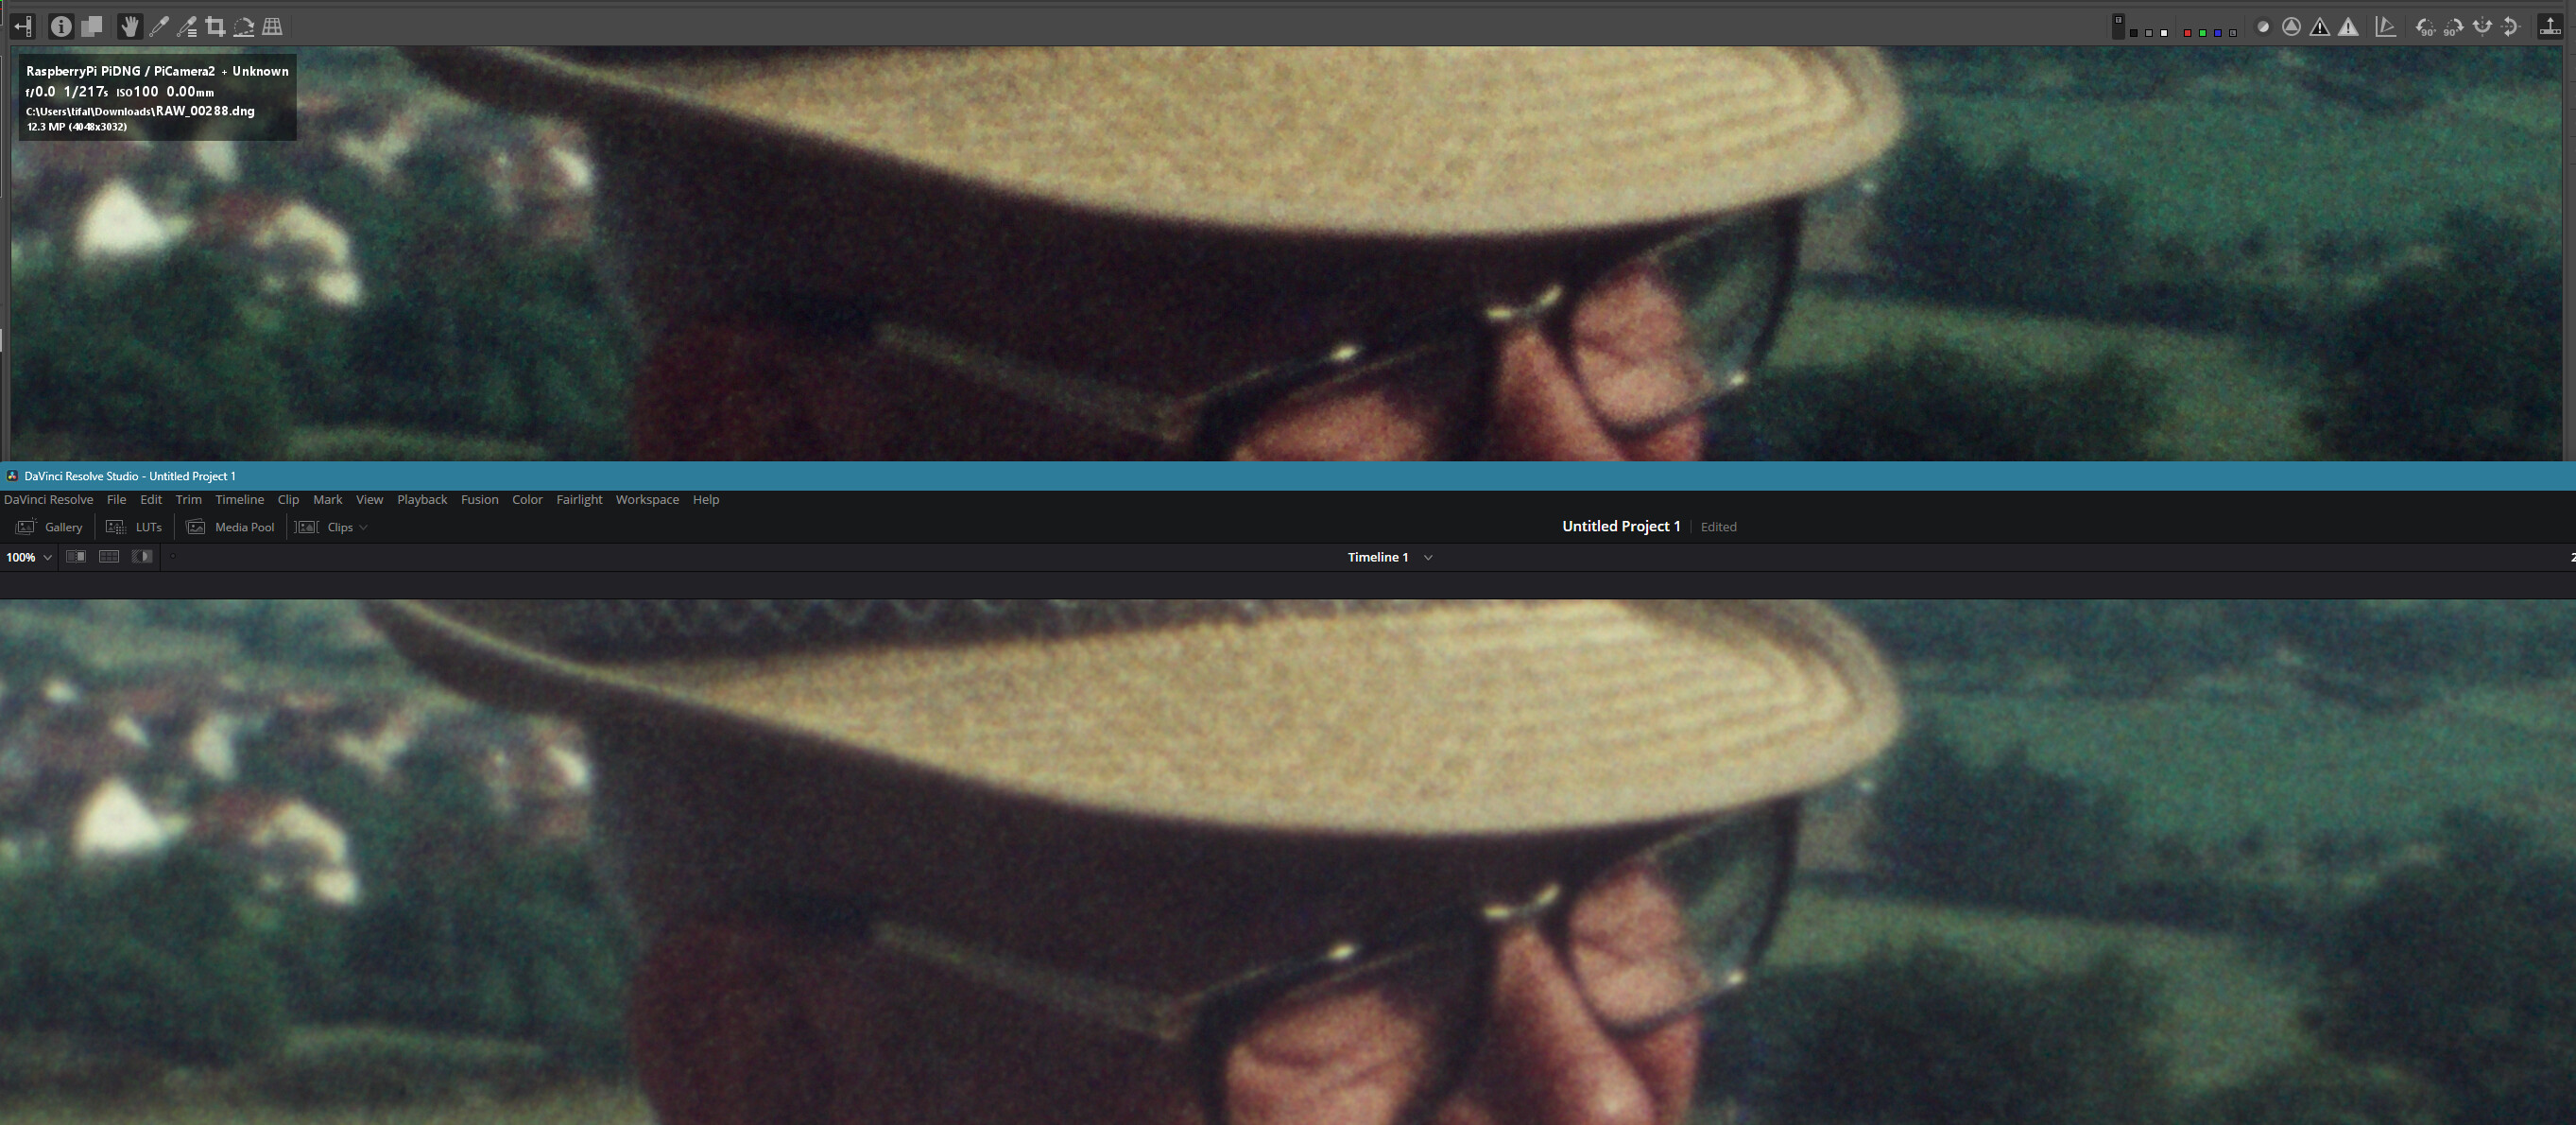
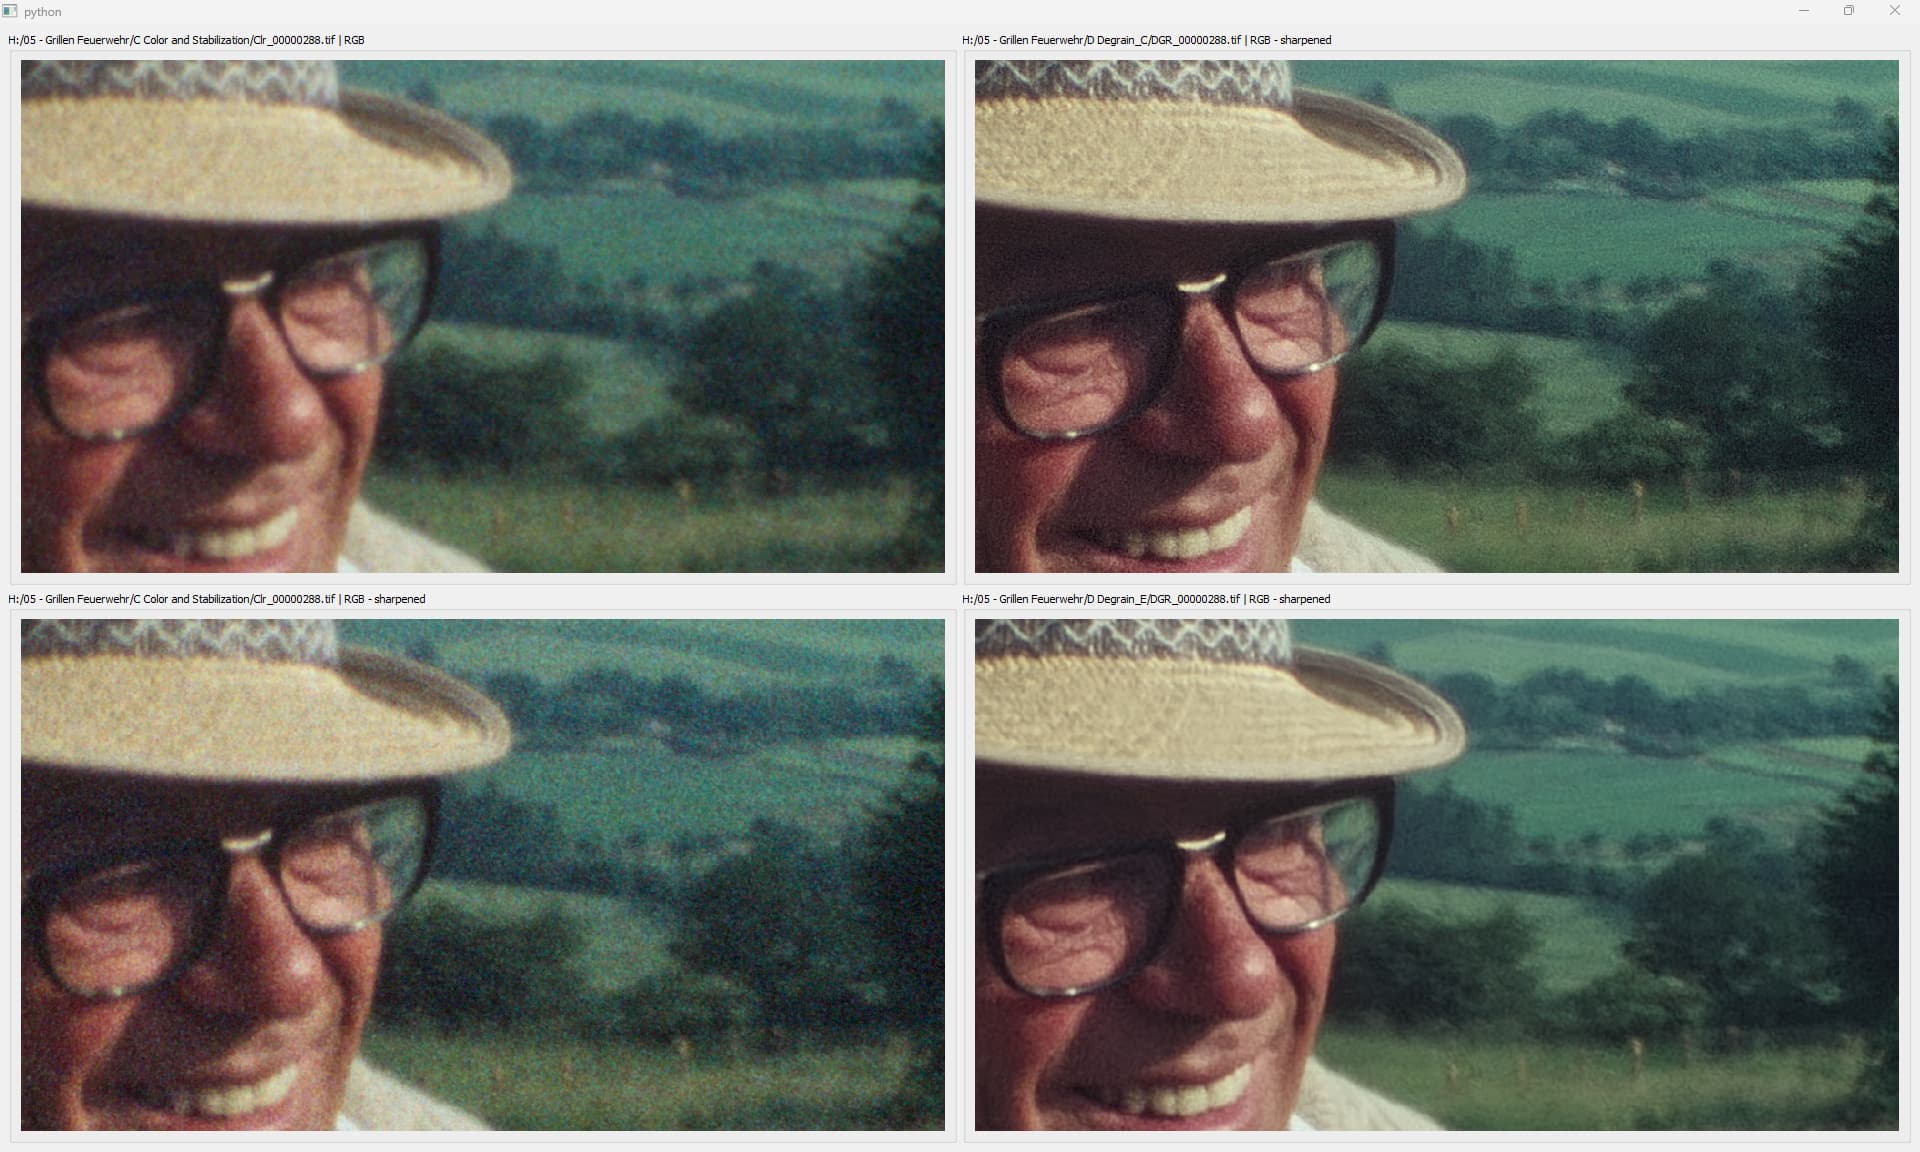
Here’s an example of what I mean (image below). Top-Left is the original source image. Bottom-Right is this source image sharpened (by an external sharpening filter, not DaVinci). Note that the image structures only improved marginally, while the film grain is notably “better” visible than in the original plate. That’s the type of result you can expect from the simplified approach skipping the denoising step.
Looking now at the denoising → sharpening pipeline, I have included two different results on the right side of the panel. These denoised results had the same sharpening filter applied as the lower-Right example, to make things comparable.
The top-Right denoise appears to be the sharpest image overall, but has still some film grain left. The lower-Right is degrained more and appears in certain image areas to be sharper than the Top-Right one. The choice of the noise reduction algorithm that delivers the best results depends mainly on the type of film stock.
So… looking into “sharpening Super 8 footage without making it look ‘wrong’ in some way” opens up an interesting rabbit hole - enjoy the journey!

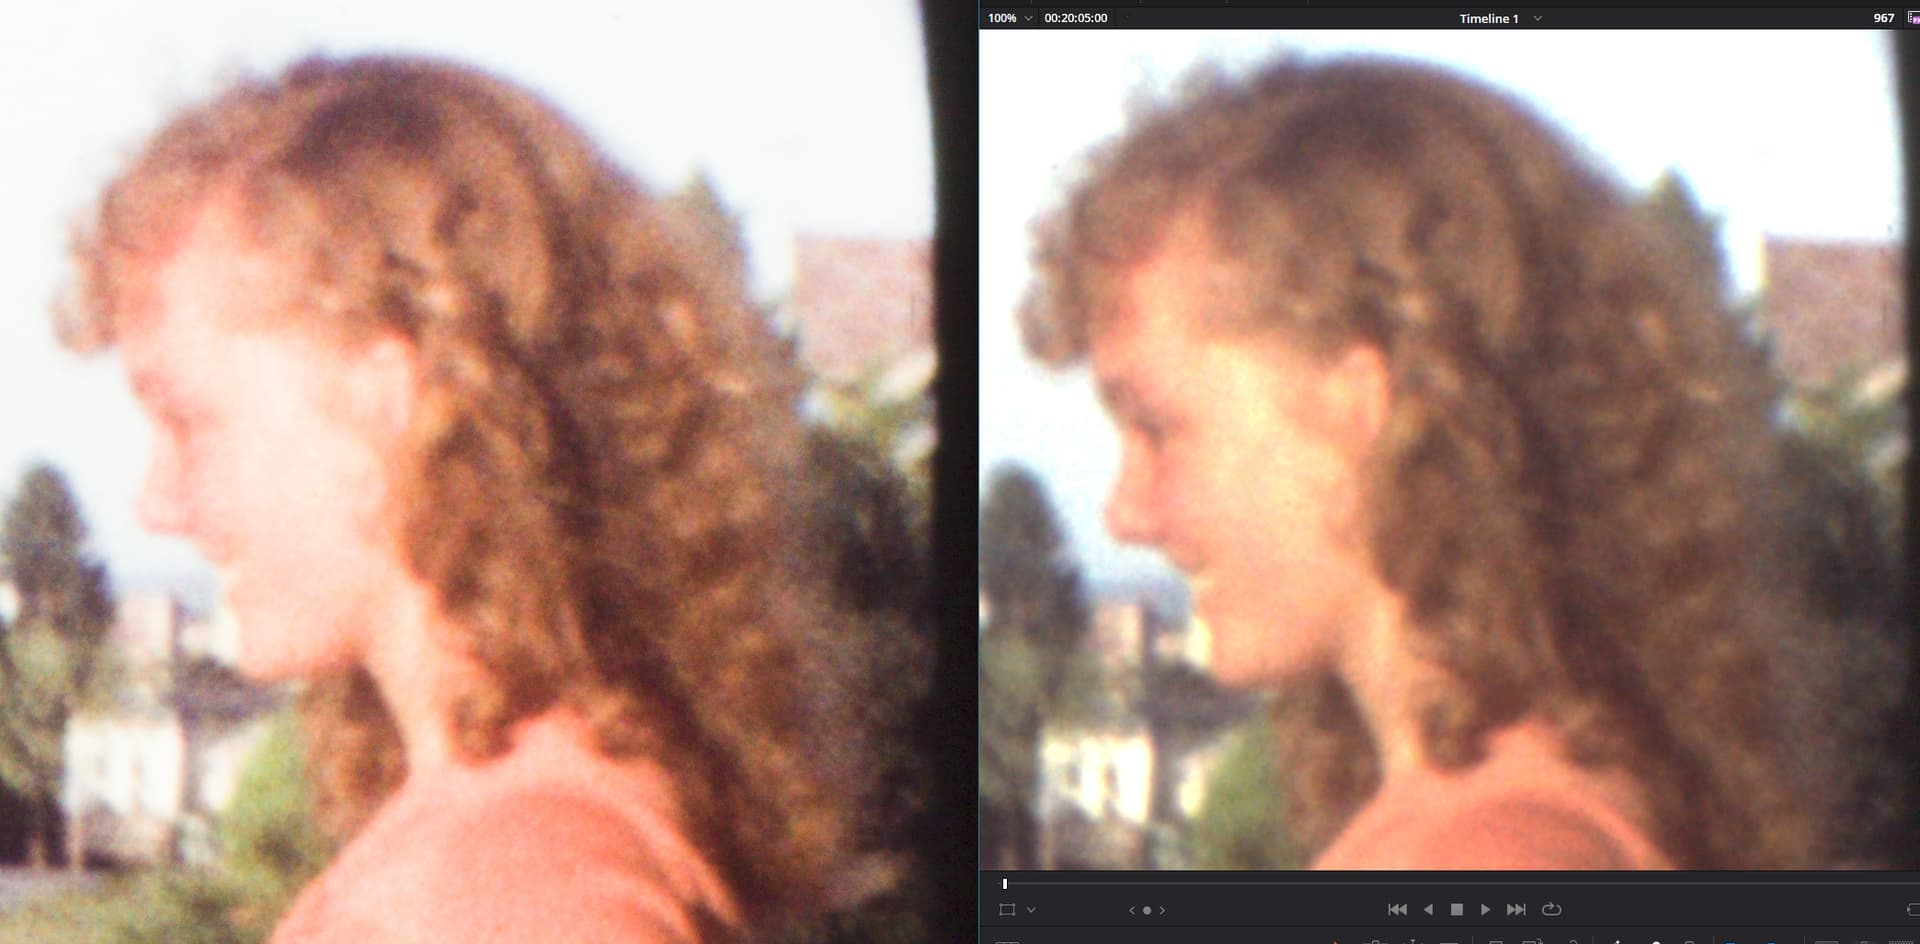
 ), but let me give some details about that specific scan, from raw to final.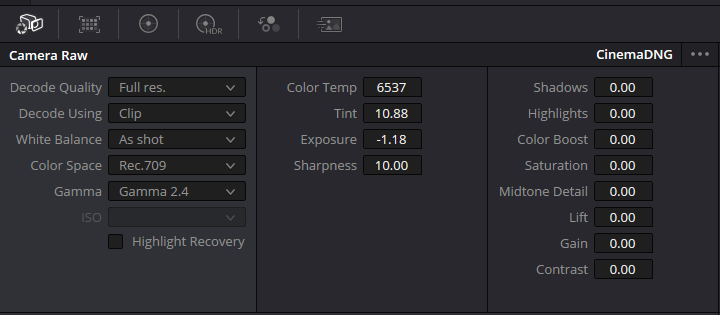
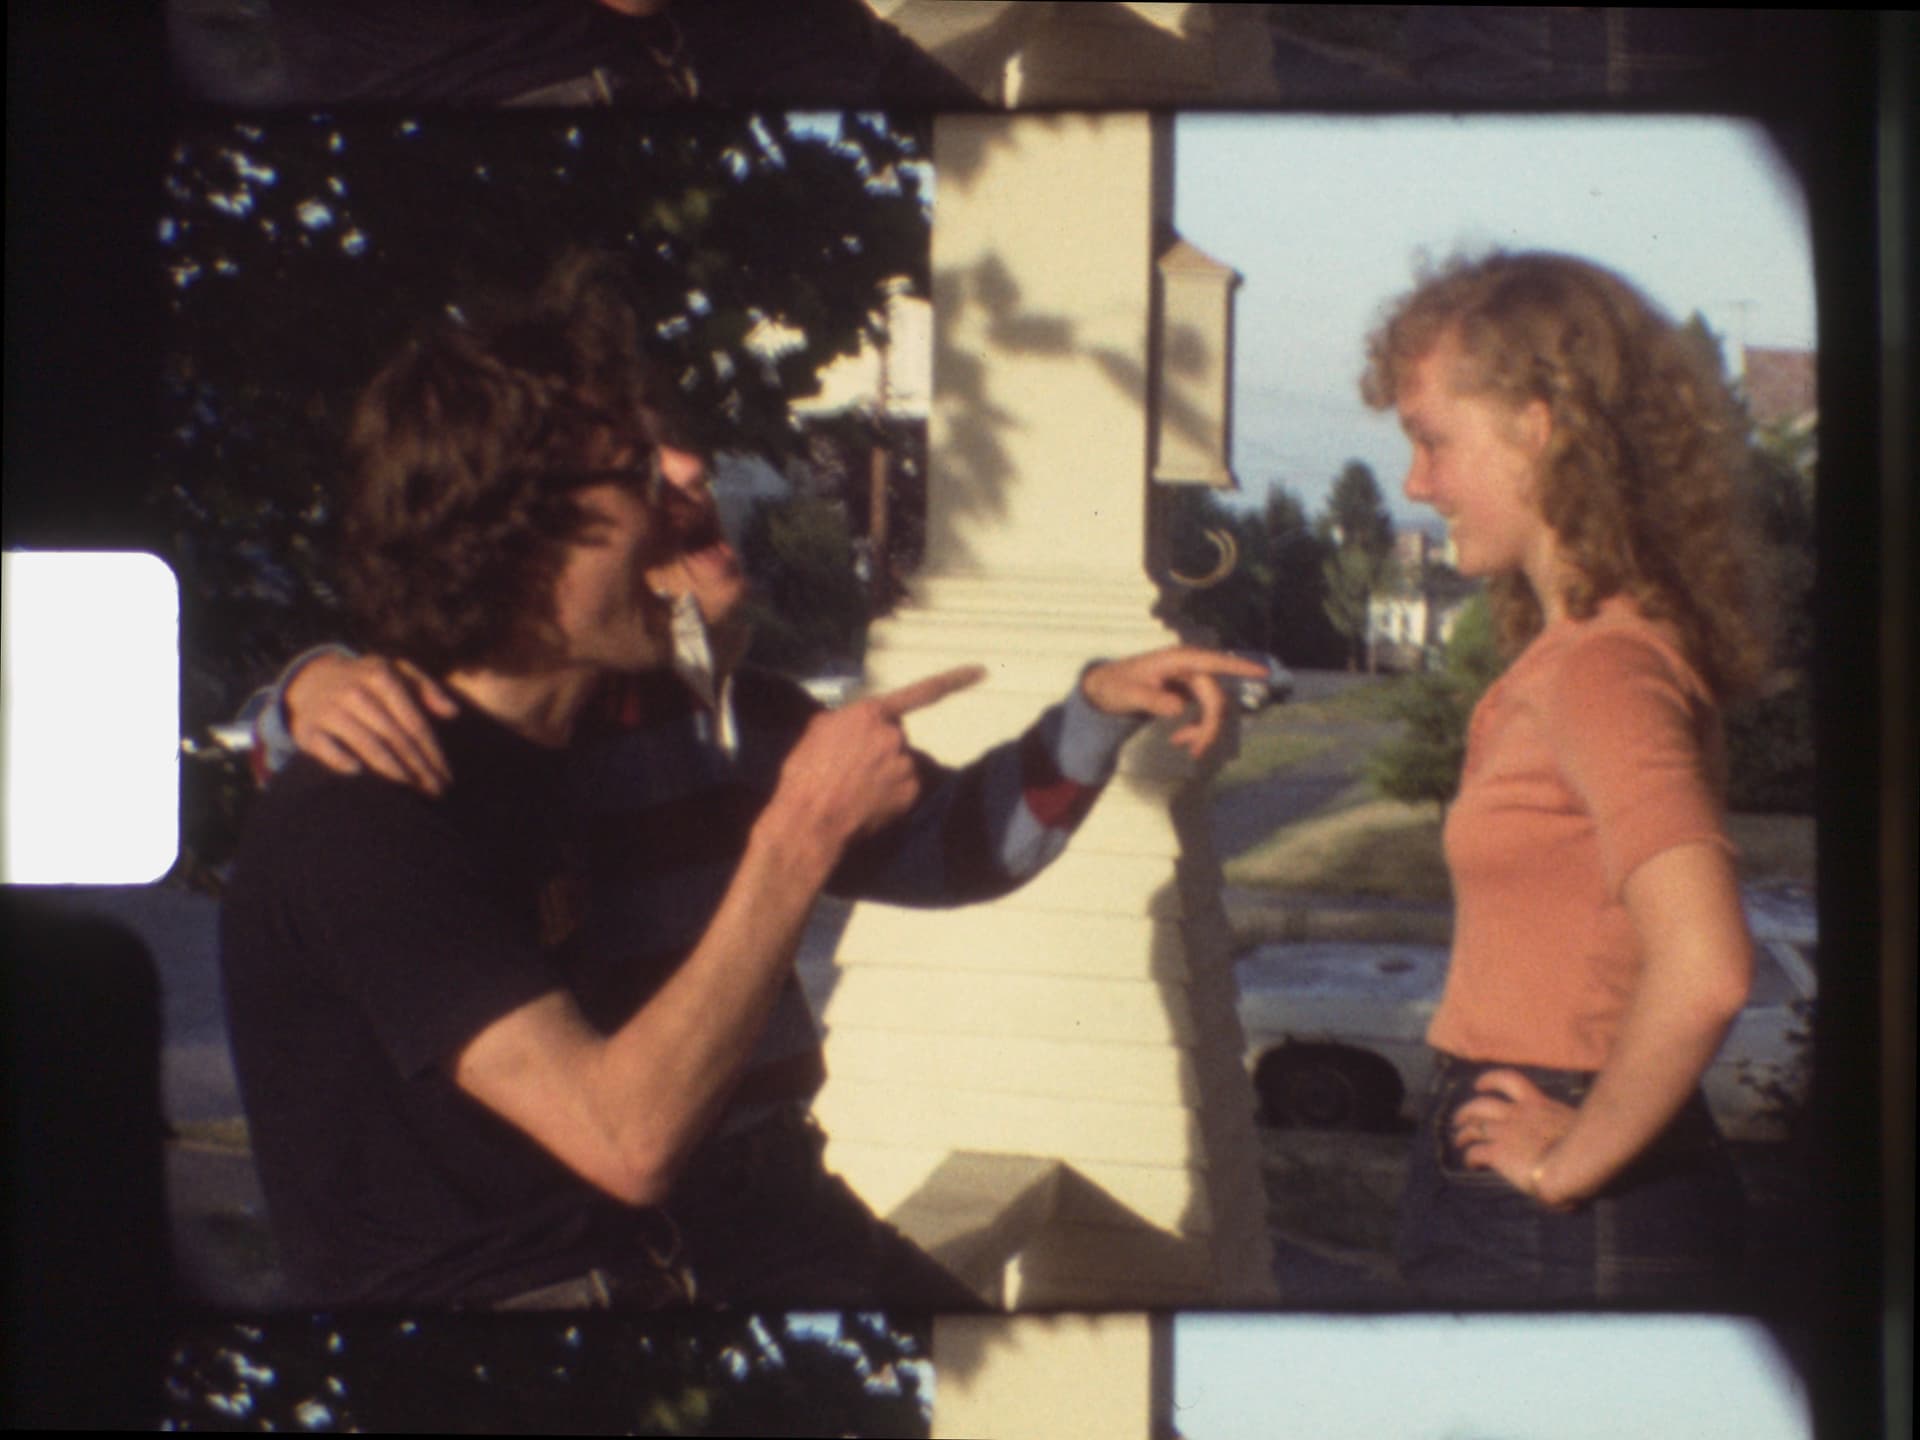
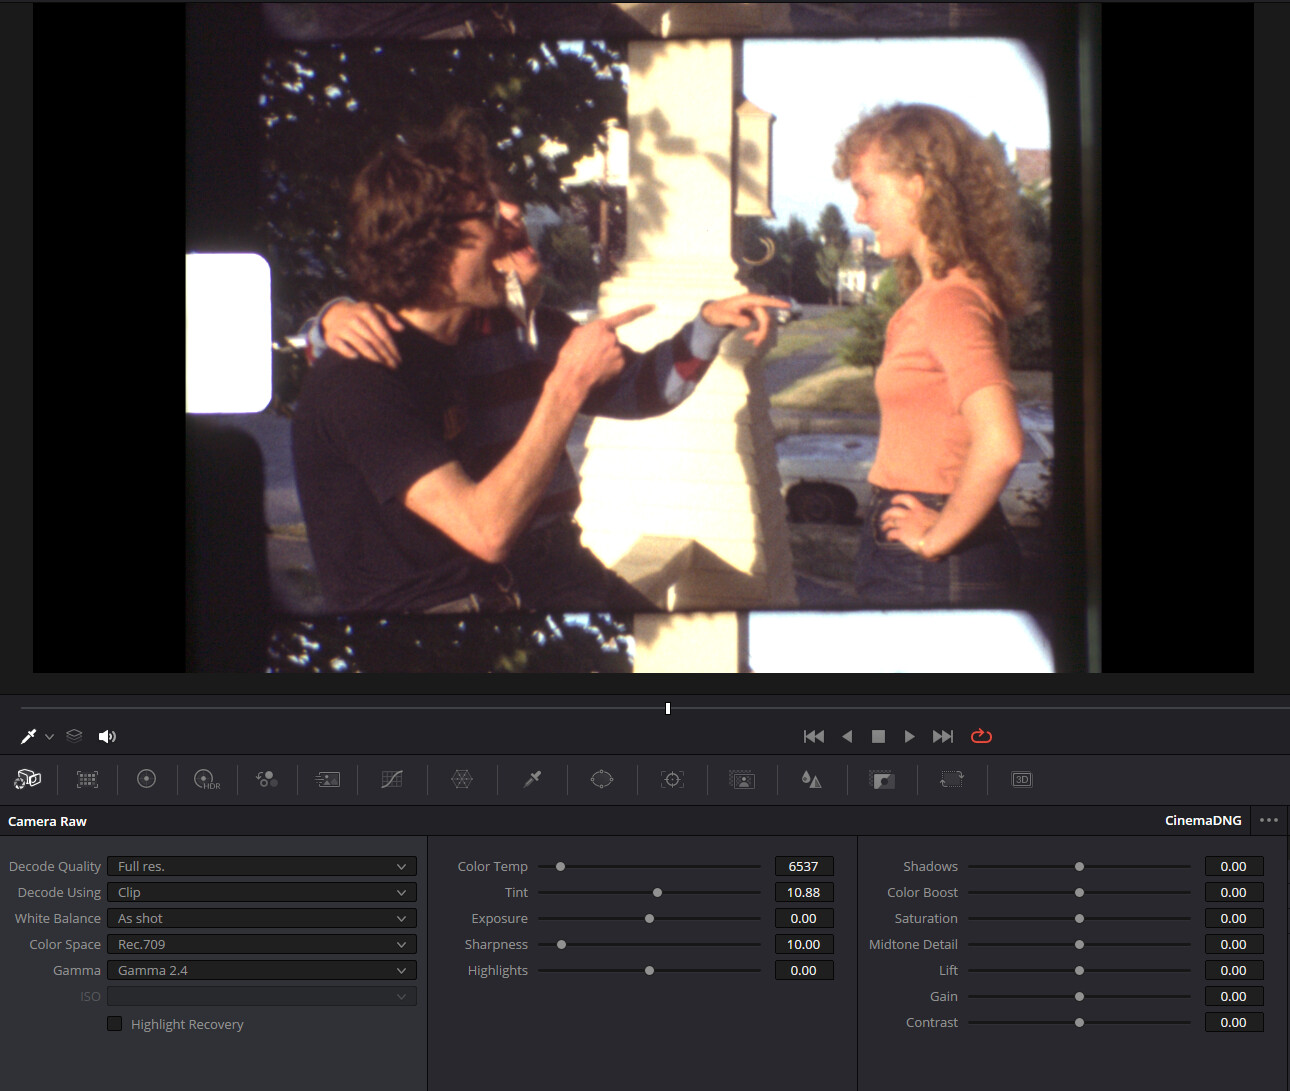
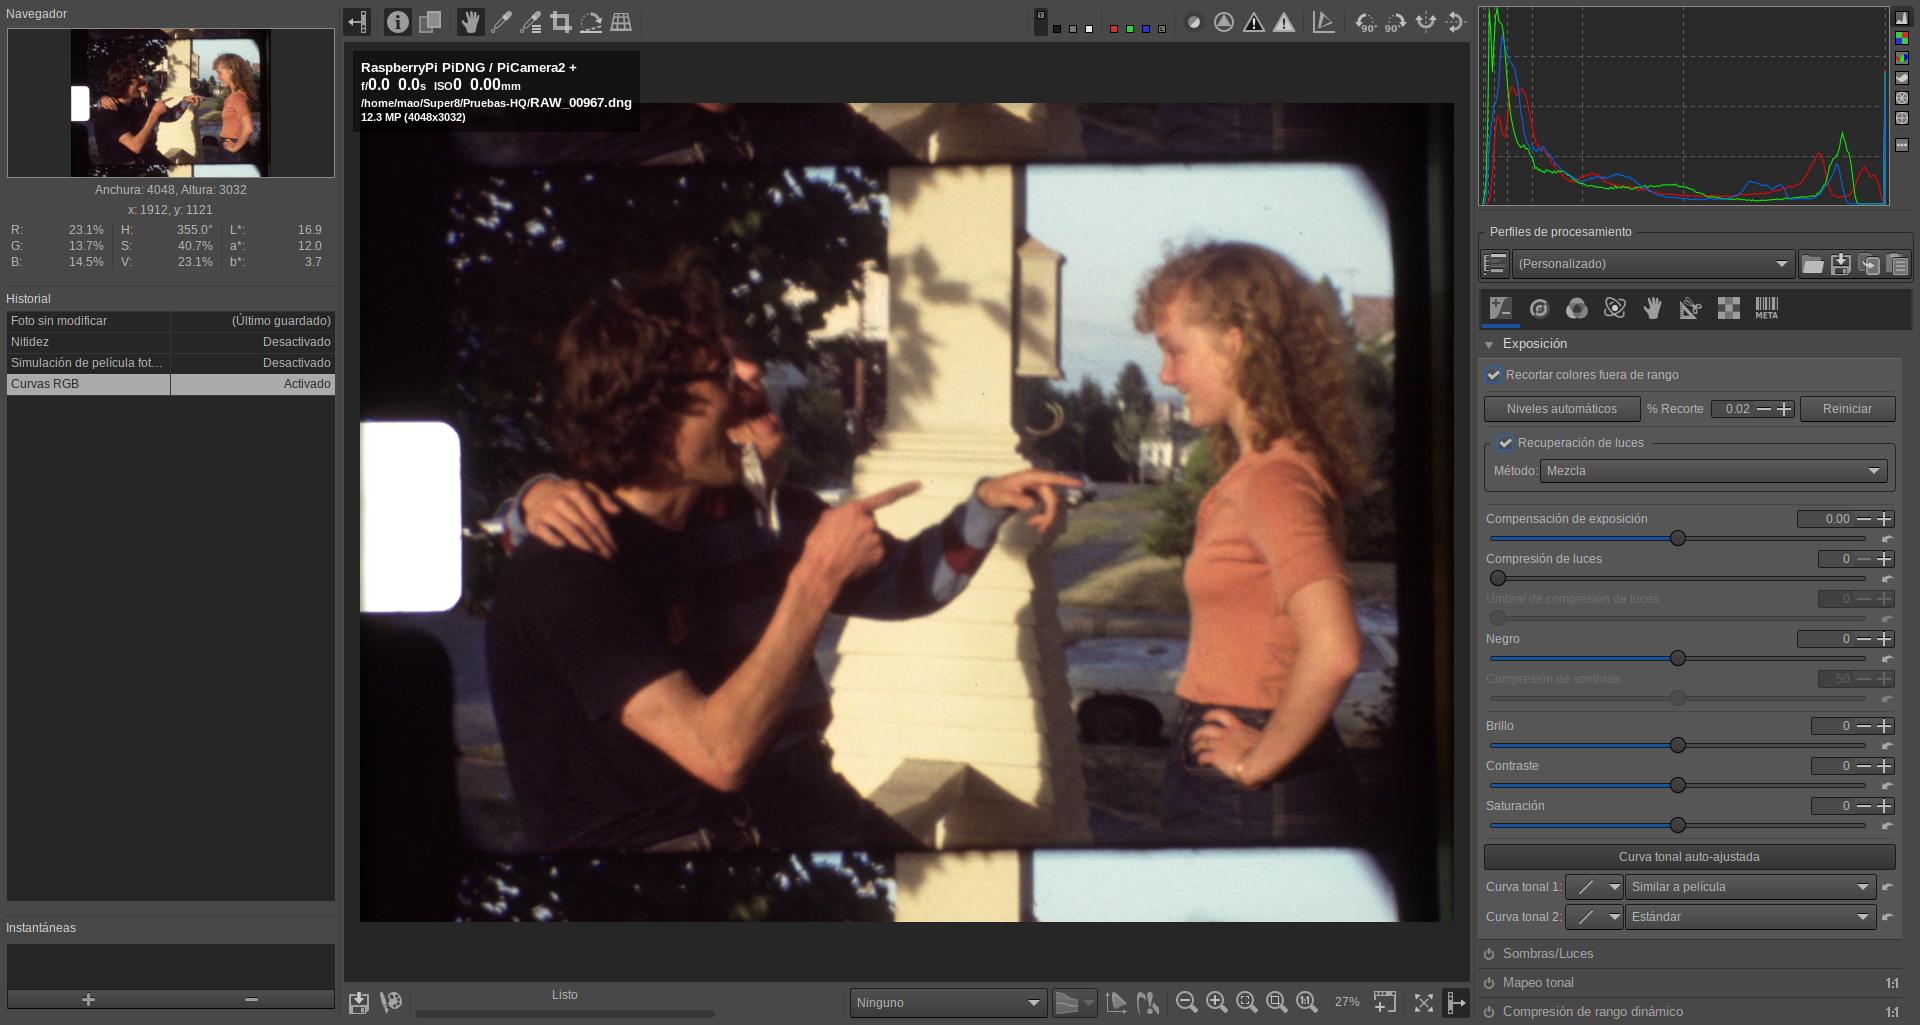





 . It’s a preference, as you say.