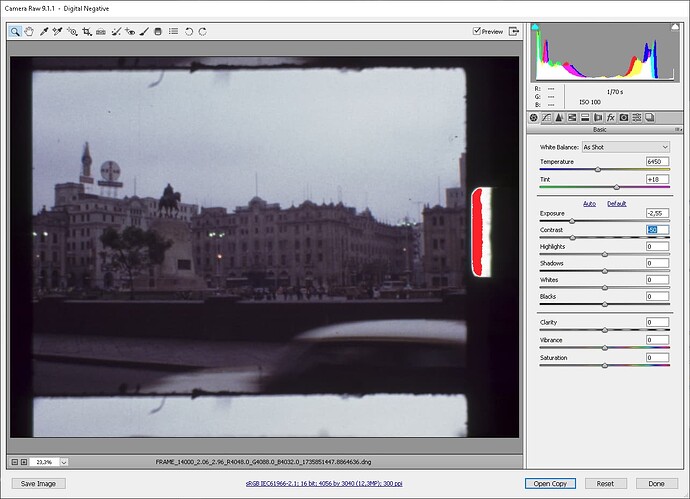
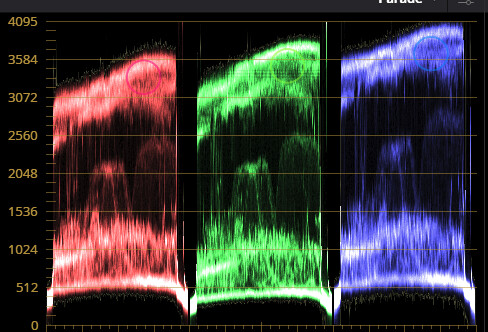
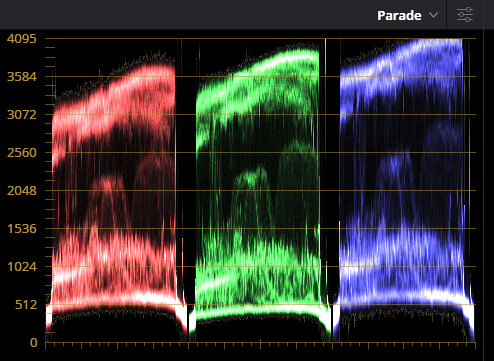
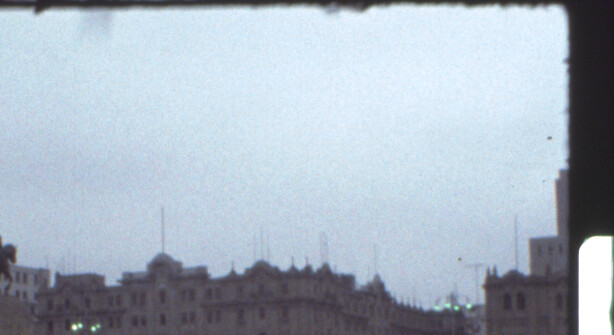
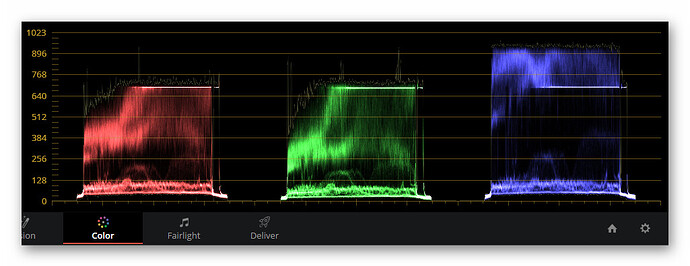
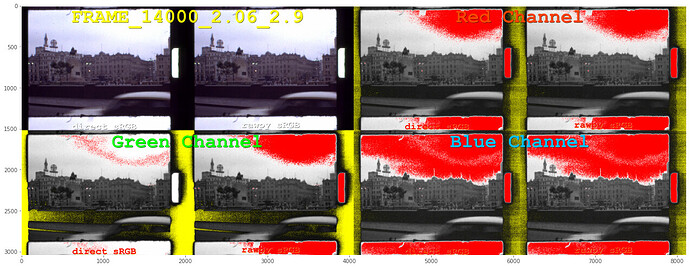
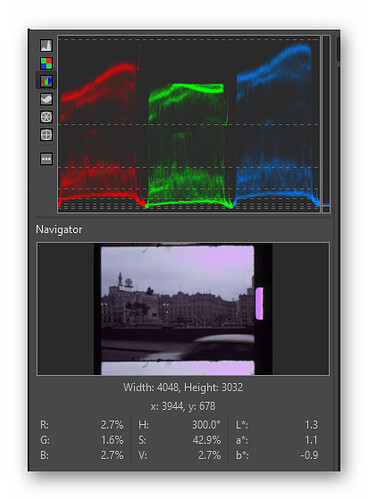
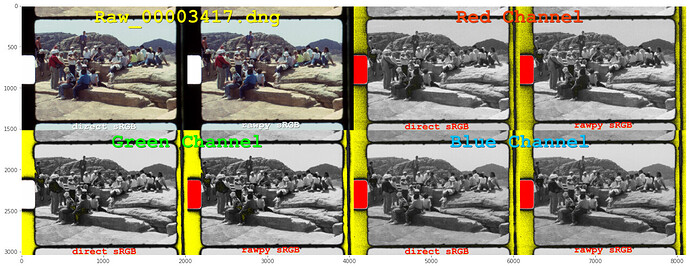
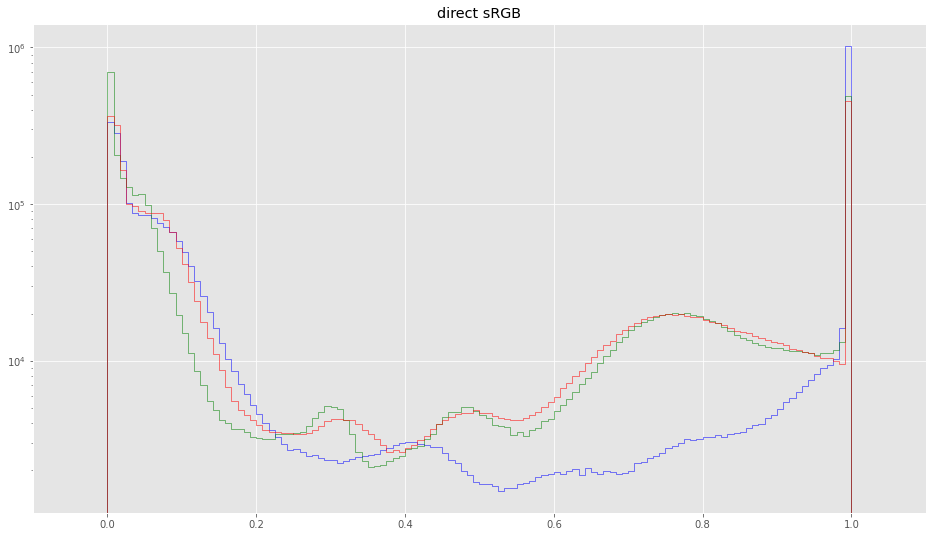
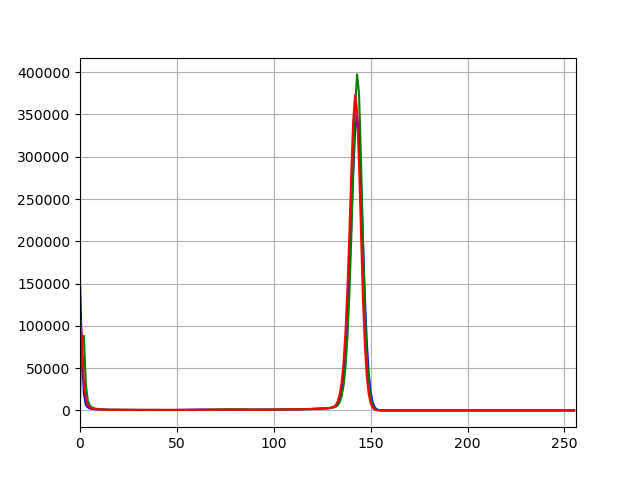
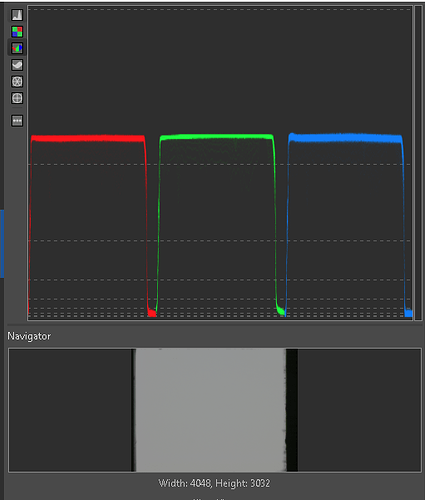
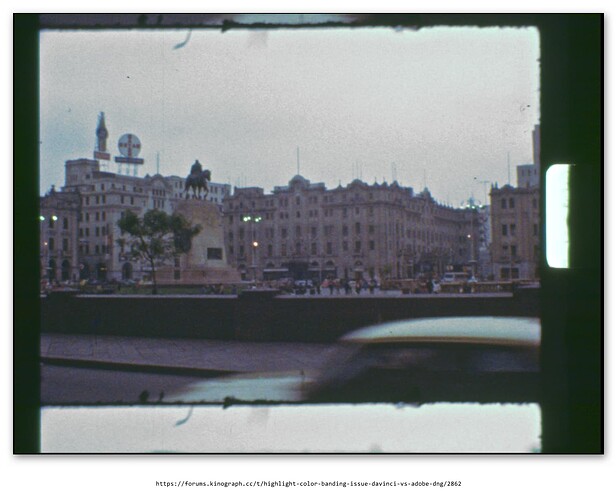
Well, that looks actually fine with respect to WB. So the cluprit is probably the clipping introduced by a too high exposure time. The WB from your raw is given by:
WB: [ 2.05719995 1. 2.96280003]
which features a rather large value for the blue channel. For comparision, my WB is usually somewhere around
WB: [ 2.8900001 1. 2.09990001]
What WB you need to select depends solely on your illumination source in case you whitebalance to the empty film gate. That approach is easy and works most of the time. It assumes however that your film is showing the colors in a correct way - that is, it should look ok when projected.
If however the film itself is faded or has other problems color-wise, you might want to adjust WB to the film itself. In that way the color cast introduced by the film is taken into account during the capturing. I know that some people actually are scanning with automatic whitebalance enabled - could be worth doing some experiments here with faded film.
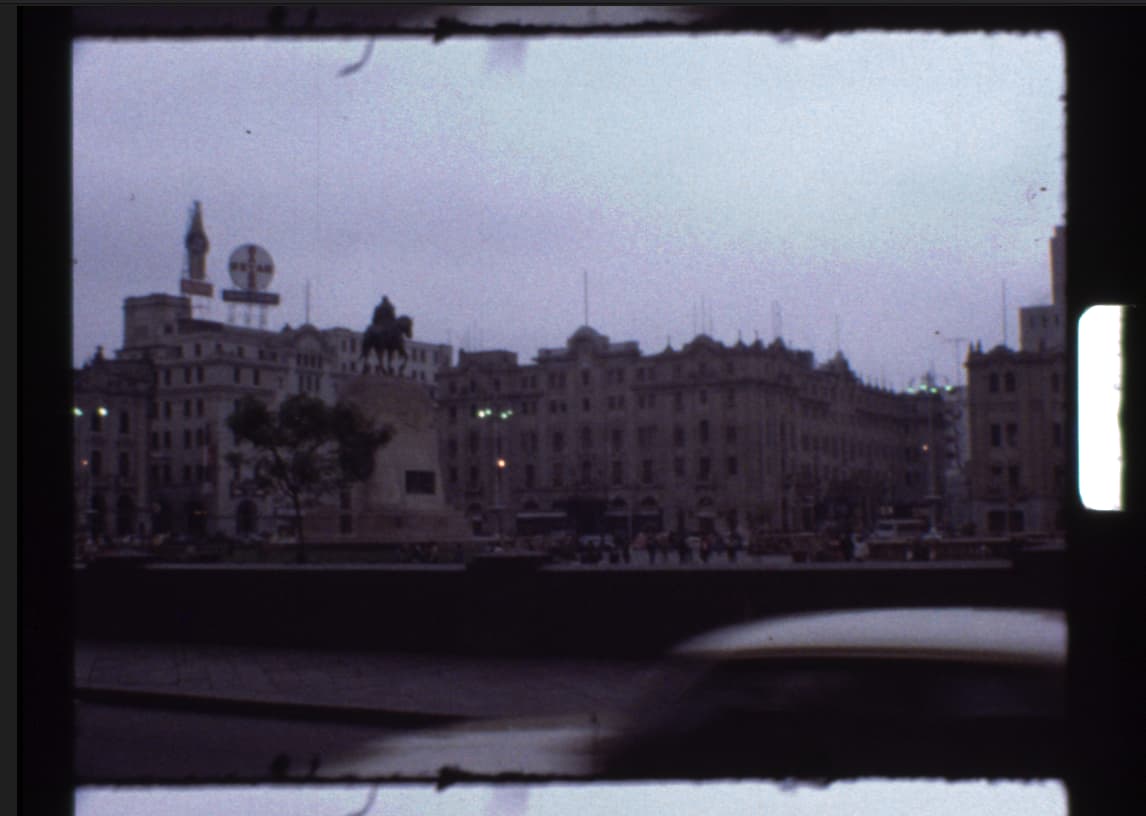
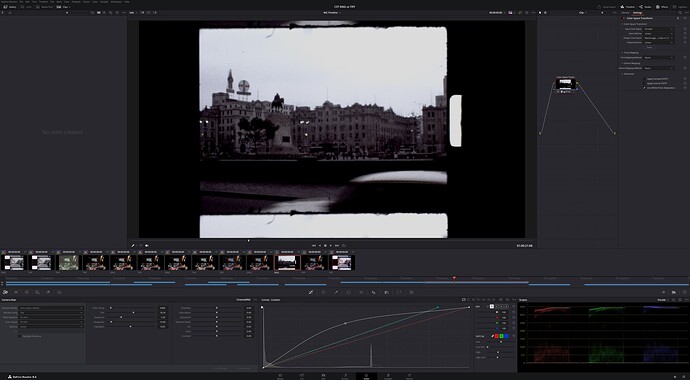
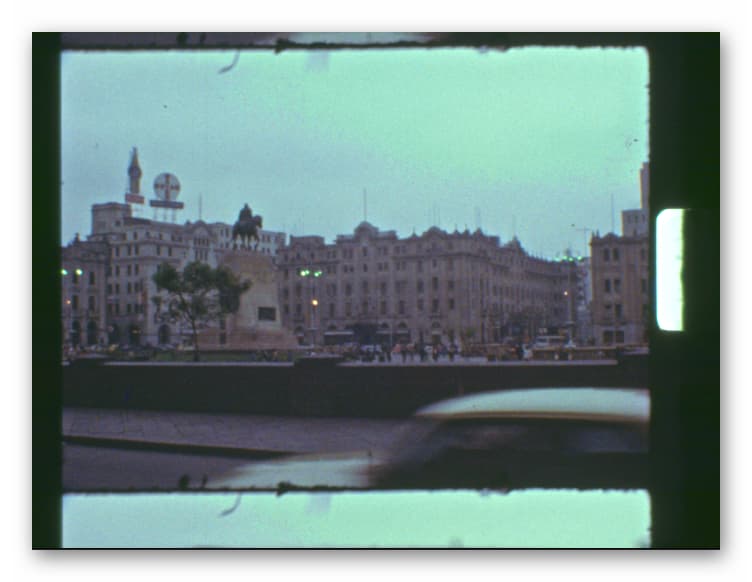
I could not resist to try to see how far one could come with this capture by using only DaVinci. Here’s what I came up with in a quick node tree:
Here’s how I arrived at that result:
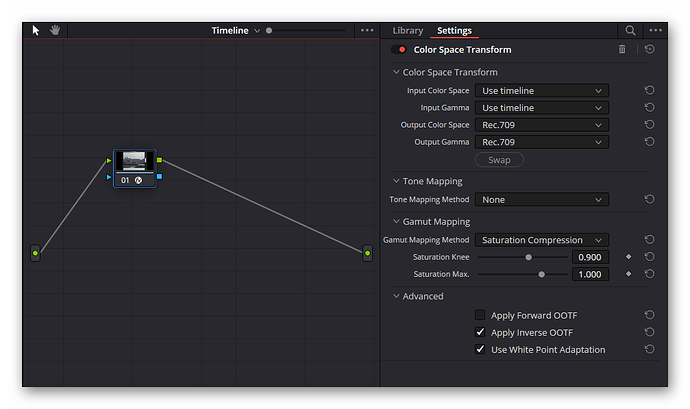
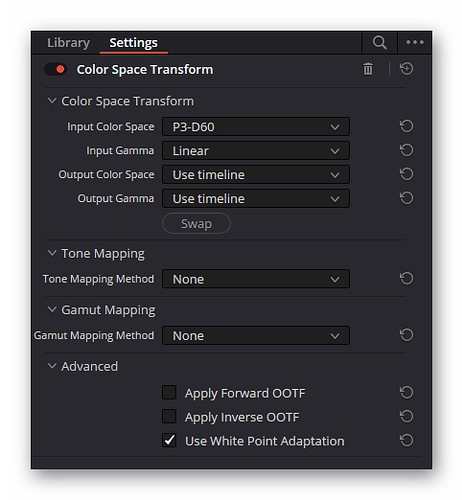
Remember, in the timeline’s node graph, there is a single CST transforming from timeline color space (DaVinci WG) to Rec.709:
Here’s the clip’s node graph:
For illustration purposes, I did every step in a separate node.
Let’s start with the raw input node:
Only important thing here: the
Highlight Recovery is checked.
The first node in the clip’s graph (01) is working in linear space - I did not use it here. The 02 node is transforming the data from the raw into the timeline’s color space:
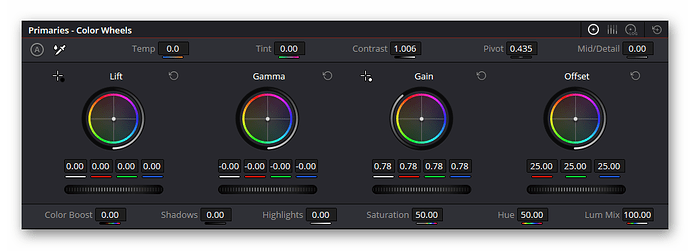
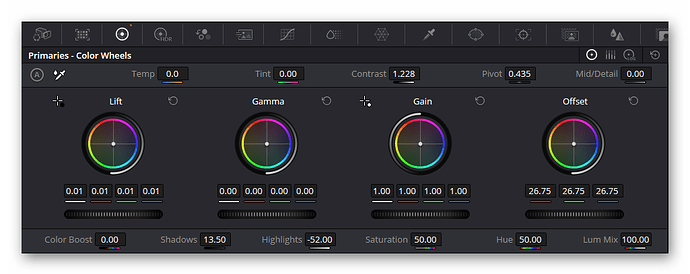
In node 03, basically the gain parameter is set:
In fact, I also adjusted slightly the
Contrast and
Gamma after setting the complete processing scheme - such iterative optimization will always be required.
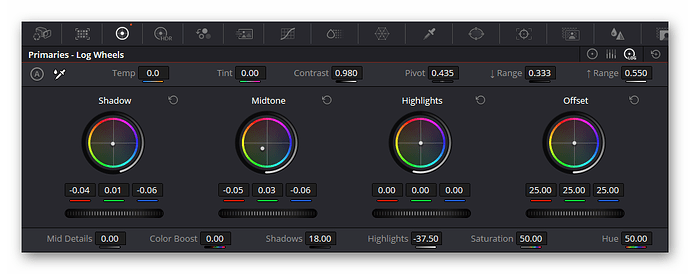
Node 04 which I labeled LogColor is used to set the basic color adjustment. That is done mainly with the Shadow and Midtone settings.
In fact, looking at this node’s setting, I discover that I played here with
Contrast,
Shadows and
Highlight settings as well. That happens when I forget to select the appropriate node before changing parameters. Not too much of a problem, due to the unique processing implemented in DaVinci.
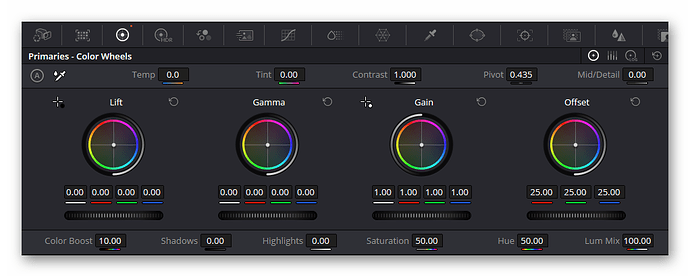
Ok, the next node, 05, handles the saturation. Here, I opted not to use the overall saturation, but only the Color Boost:
In node 06 which I labeled “Shadow”, I actually try to give a final look intensity-wise to the image. In this case, pushing the Shadows, reducing the Highlights correspondingly. Also changing the Contrast a little bit:
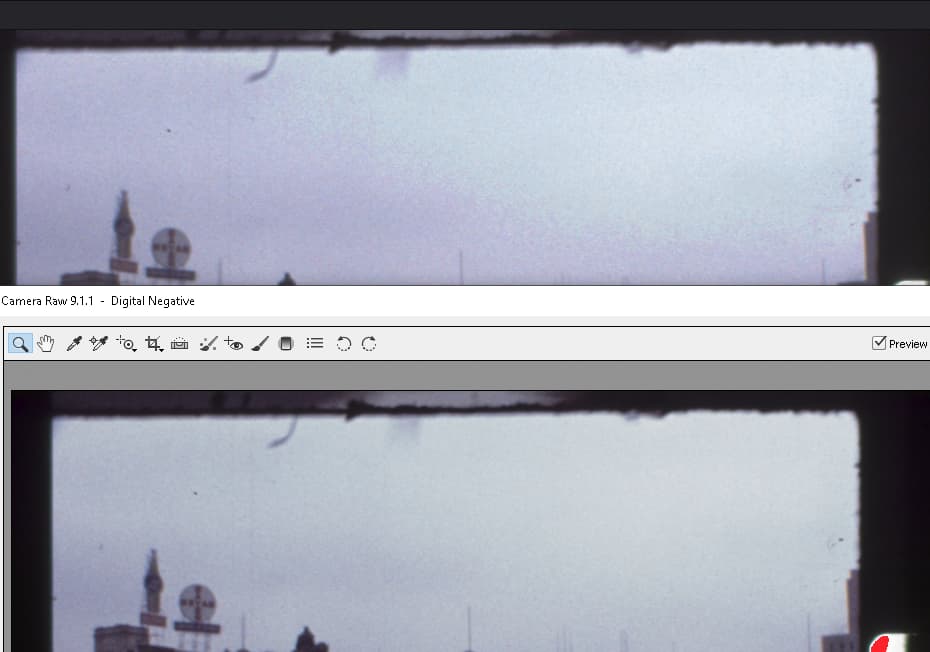
Finally, node 07 is a special node handling the burned-out and colorwise not convincing “Sky”. Due to the highlights being clipped here, we get a rather noticable grainy boundary between some slightly magenta tinted part of the sky and a rather intense blueish part. Here’s what the image looks like without node 07:
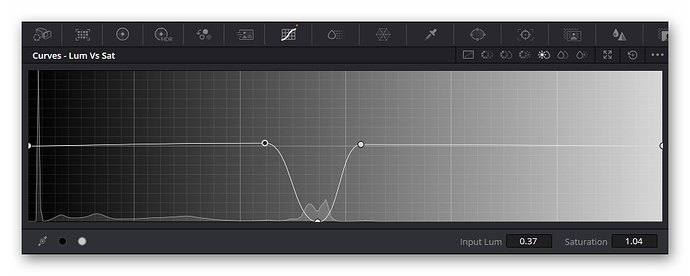
That does not look convincing. I opted to handle this with a “Curves - Lum Vs Sat” node. With this tab and the “Qualifier” in the preview window selected, I clicked in the center of the sky - which gave me an idea where the offending image parts are located, histogram-wise.
Grabbing the central point of the selection and dragging it down to zero saturation solved for me the sky issue, with the result displayed above.
Given, that’s a quick hack. And if you observe closely, the roof of the car in the front of the frame is also affected by this secondary grading. One could use masks and other means to get a finer control here.
![]()
