Hi @Luc_Hagopian !
And happy new year to all of you !
I’ve decided to answer you, as a “testimony” from someone who, before march 2020, didn’t know what an arduino was, never have done any programing or coding, an didn’t even have a drill or a soldering iron at home… So to resume, I was an absolute Neandertal man in front of building this kind of machine… At the begining of the lockdown in France, and as I’m a musician (and lost all my work for monthes), I began to build a telecine for Super8 films (I’m filming and hand hand process at home).
I’ll give here advices, not as a pro, but as a novice, and perhaps it will have some interest for you.
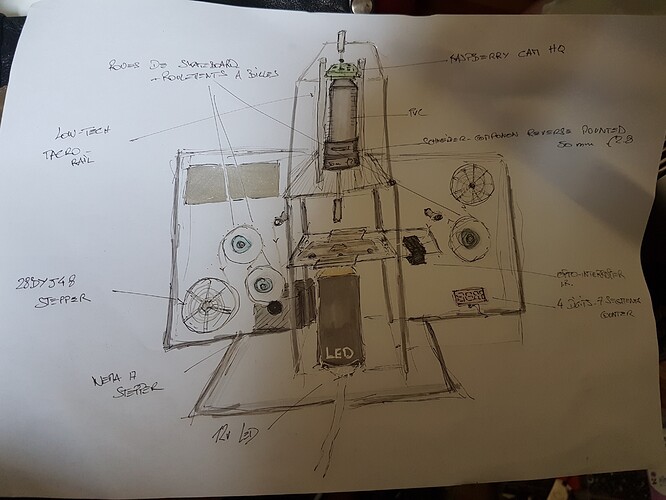
Here you can see my telecine, with some explainations, a beginner telecine…simple, fragile, slow.. but .. working.
First advice I could give: Don’t be afraid, and don’t be obsessed by the goal you’ve set to yourself. The best way, I think, is to really enjoy learning and making your machine… There will be frustrations, and (as I’ve read in last @matthewepler’s post with his problems last day) you have to keep on doing things with motivation ![]()
I think there are 5 important things to think of:
-You need a structure. You can work on a projector, or build something yourself, and here, you’re free. I’ve made it with my 10years son, and as I’m not a technician, here is the only plan I’ve done (it is really precise and accurate, and I changed everything after I made the plan… ![]() )
)
I used parts from an old broken projector (reel holder, gate etc…), Plexiglas plate, and a makerbeam kit. All of this was made as if I was 8 years old, enjoying doing things (and just thinking about the way the film will take).
2- Your film will need to move. Here you have 2 choices and I only can talk about mine: The film can move without stopping, or it can move image after image. I choose this one, slower but simplier (with what I had to build it). So in this case, you can choose the way of doing this. I choose to put a stepper motor (Nema 17) directly on the take up reel. I don’t say it’s the best solution, but it’s mine. And then, there are a lot of tutorials about how to move those motors using arduino… I’ve copy/pasted some parts and found something working for me.
I’ve found on my phone my first test of the motor, the sound of the video is the only interest here: https://youtu.be/wzIZieelHQo
3- Your machine need to know when the image is in the window of your gate. That was the harder thing to resolve for me. Last week I bought a cheap laser and a sensor (I think 4euros), construct a gate with cardboard, plastic and anything I had under my hand, made a pinhole with a nail in a dark plastic sheet and made everything working in…2h. The laser is exactly at the level of the sprocket holes, when the laser touche the cell (under the film) at a certain level, that mean that the image is at the right place in the gate, and through the sprocket hole. You can find a lot of tutorials about that (don’t forget that a tutorial about taking temperature outside with a temperature sensor, or any sensors you can find, will work… Don’t be affraid about that… The sensor only gives informations, and the codes are the same for a lot of different applications)… After that you just have to give the information in your arduino: When the sensor says OK, the motor stops and the camera shoot. That’s, in a way, simple, harder to code but… you’re on the best forum in the world about that, I’ve learned so much here.
4- After that, I’ve work on the camera. I bought a cheap Rasp HQ camera, took a enlarger lens I had, create extension tube with plastic tubes and tried to build this with ruber bands, tape, cardboard and all I can find. There are tons of tutorials about making this camera work with a raspberry pi computre (I didn’t know Linux and python). The sensor trigger the camera, then the machine “waits” 2s and the stepper moves again to the next image. You can choose resolution of the camera. Under the film you need a light. You can start with something simple, just a white LED and a plastic diffuser. And try a lot of things. When I read all the discussion about leds here, I know it will be the next step for me…one day.
5-You need to compile all of those 3500 images in a film, and stabilise it. There are on this site a nice tutorial about Blender (free), you can also use DaVinci Reolve (free but I didn’t find a way to export at 18 fps.. and I use it a lot in super8 to save film ![]() )
)
I don’t pretend it’s a perfect way of doing this, that was just my way as I didn’t know anything about programming, making etc… But what I can say, is that you can allways improve your build monthes after monthes… when it works, changing the leds is some work but not impossible, moving some parts, consolidate everything, buy a focusing bellow, buying a better camera, all I can say is that when you’ve done it once, you’re sooooo happy it works that it gives you more energy to make everything evolve.
That’s just a testimony from my experiences, and I know that here, a lot a people are really MORE qualified to explain you those things but perhaps it could motivate you to begin ![]()
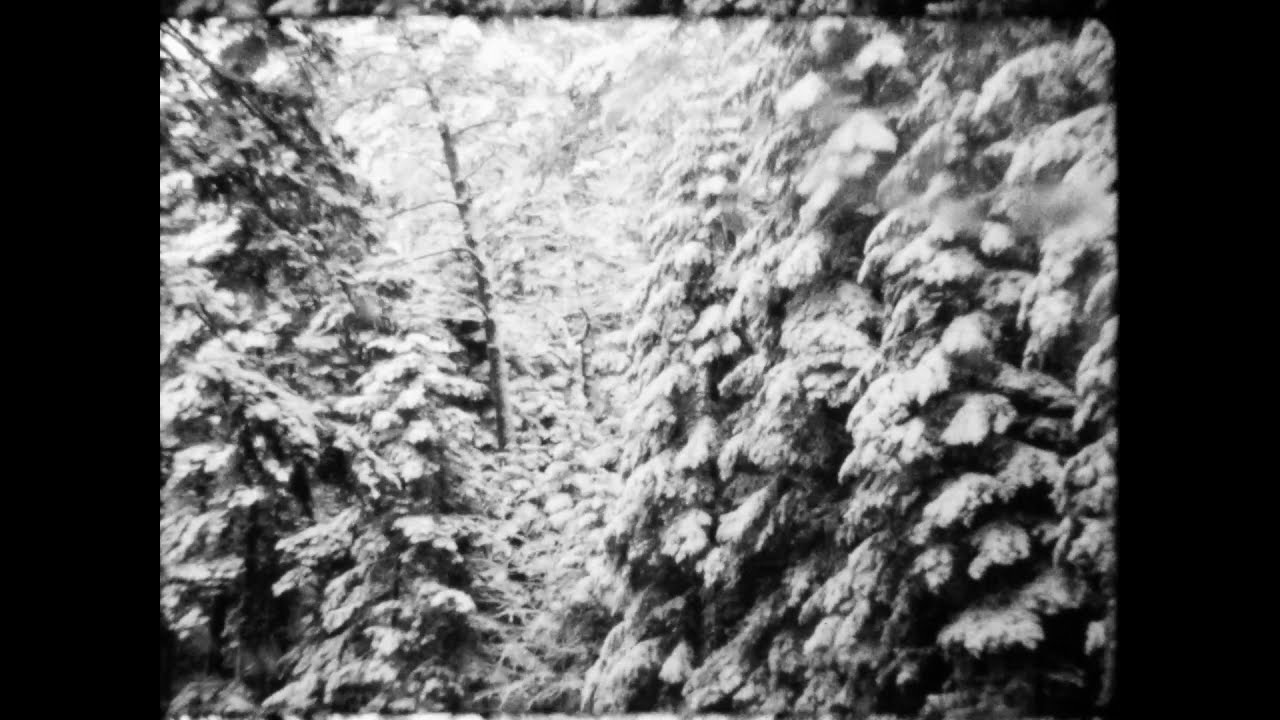
Here are a few seconds of the last film I shot 2 days ago, it’s snowing here in the forest…
Poor stab applied, no grain removal (but no need I thnik), still shaking but I will work on it to stabilize more ![]()
and something in color (Kodak 50D reversal), home processed and dirty as it s one of my test strip:
Happy new year everybody !
Gregory


