Machine Vision cameras/ Mirrorless DSLR for 4K

Hi @Udayarangi - One thing I’d watch out for with that particular sensor is the relatively lower dynamic range, ~56db is perhaps a bit low when there are sensor options that approach 70+db. Although it will depend a lot on what kind of material you plan to scan. The advertised spec on the IMX265 that I’m using is 71db and I’m finding that with careful tweaking of the pipeline that it’s just enough to handle older Kodachrome.

I’m very curious and hope you share your thoughts on the continuous movement transport - it certainly puts a different set of constraints on how the film is illuminated and how the shutter is configured on the camera!

Yes, I have noticed the low dynamic range. The camera with a lens was available @ ebay for a reasonable price. (but later learned that when I have to pay for the required cables, it is not) I only wanted to test my assembly, so I needed a cheap camera with external trigger, flash connection, at least 1 fps frame rate.
I am planning to use a continues movement transport only for old 35 mm black and white materials, with damaged sprockets. I had developed a scanner using an old 35 mm projector for the prints with undamaged sprockets. (details will be published at Kinograph forum). I am going to use a Nikon J1 which I own to test, but it takes nearly 4 seconds to store the image.

Udayarangi - Nikon J1 Recording frame to a card or PC? How?

Either methods can be utilised. In camera recording is much faster but 3 seconds per frame. Externally using digicam software it takes at least more than 6 seconds to capture to the PC. What I wanted to test was the triggering.

Hello,

Just a question. Can this camera be used as an “all-rounder”? For 8mm, 16mm, and 35mm? The website is in Dutch but the specs are hopefully understandable. :slight_smile:

LINK: Sharp 5M sensor CCD (2448X2048)

@Gunther_Weygers I couldn’t find the dynamic range specification for that camera. That is one important thing to look at when looking for a good camera. See johnarthurkelley’s commend above regarding good numbers for dynamic range.

Ok @matthewepler

But I’ve found something else, as you know the Point Grey camera Flea3 (FL3-U3-88S2C-C), it’s maybe an “old” camera, but for that price point, I couldn’t refuse it. It was €320 (~352US$)

And this is the dynamic range of the camera, I don’t know if this is good or not? FL3-U3-88S2C-C_Imaging_Performance.pdf (141.4 KB)

Hi @Gunther_Weygers - the Flea3 camera that you’ve got should work pretty well as an “all-around” solution. The general rule of thumb I’ve tried to follow for scanning is to get a minimum of 4K at S35mm, 2K at 16mm and ~720 lines for 8mm. This depends on how much of the film outside the actual frame area you intend on recording with your build, and as always, what you intend to do with the footage later. You may need or want more or less. The dynamic range in the high 60’s is also pretty darn good for the price.

Now that you’ve got an imager you’ve got the fun part of picking the lens!

@johnarthurkelly Yeah for that part, I’ll wait first for the Kinograph V2 :wink:

@johnarthurkelly There is one thing that I want to ask, you said a minimum for shooting S35mm is 4K.
I could have two settings that I might use:

MODE 0: 16-BIT RAW 4096x2160 (8.8mp) max of 12fps
MODE 10: 16-BIT RAW 4000x2750 (11mp) max of 10fps

What should you use? The pdf give’s the full spec.

FL3-U3-88S2C-C.pdf (2.5 MB)

@Gunther_Weygers All other things being equal (and assuming you won’t break 10fps on capture) I’d go with the Mode 10 option. My reasoning is that the aspect ratio of the image you capture will more closely match that of the film frame, meaning you can more optimally use the area of the sensor. A 4K sensor isn’t really any good for 4K capture if you’re only able to use the middle “3K” of its photo sites for the actual area of interest. (Unless you want to do 3K capture in which case it works perfectly!)

This links up to a much deeper discussion on resolution and sampling, really fascinating stuff to get into when you consider that the illumination and optics and processing that are part of the chain all work together.

@johnarthurkelly @matthewepler So I received my camera from eBay today and it test it what it could do and I saw that it has a ton of dead pixels… Is there a work around, or is this normal?

I made a TIFF file (Packbits)

TIFF File 25.5MB

@Gunther_Weygers Do you happen to have any of the settings recorded from when you acquired this image? On first glance it appears pretty noisy, which is consistent with high gain settings or interference. Pretty much all sensors will wind up with stuck or lit pixels eventually, but very high gain can accentuate them. To me though this looks like an unusual amount.

I haven’t experimented with pixel masking specifically on these cameras or in my post pipeline, but that may be able to help some if this sensor really does have an issue that can’t be resolved with lower gain or less interference (if either is a contributing factor).

@johnarthurkelly I have to apologies but I have zero experience in this camera/software. :frowning:

When I made that picture I hold my hand in front of the sensor to make it black.

But I dump to some trouble, the connection with the USB3 is very unstable, it’s connected correctly but I keep hearing “bling connected” and “bling unconnected” I will upload some screenshots.
But when it does, I want to set it on 16-bit en it does but when I export images/frame’s RAW, PPM, TIF,… it’s all 8-bit?
My PC has USB3 connection… does it need it’s own PCI USB3 slot?

And mode 10 isn’t visible (only 0 and 4) so I think the firmware needs updating, but everything that Point Grey mode is all gone… it’s all FLIR now and new models… I tried with “The Way Back Machine” but no luck it needs login to access the download page and that function doesn’t even work.

I hope I can make this work somehow.

@Gunther_Weygers No worries! I didn’t either when I started. Are you using the FlyCapture SDK to communicate with the camera? If you haven’t downloaded it already, it is very helpful in setting the camera up and acquiring images from it. The account on Flir’s website should be free to make, they tend to have very detailed documentation and lots of supplemental information available for each product. I’d really highly recommend poking around the Flir website.

An unsteady connection might have more to do with the USB cable and the ports you are using, they might just be loose. I’ve found some cables are better than others with my particular setup, and not moving it around too much once it’s on.

@johnarthurkelly I bought an USB Host Controller on their website maybe that will resolve many issues that I currently experience. It contineus “bling on bling off”, I don’t even touch the camera…

And I saw that my Firmware is very old, and i need definitely an upgrade on the firmware so I contacted FLIR and I’ve got a ticket so the waiting begins.

EDIT: I got the latest update for my camera (FL3-U3-88S2C-C) From FLIR: Please note: to update Flea3 firmware from 1.x to 2.x, you will need to first update your Flea3 to firmware version 2.7.3-01, then the latest 2.x firmware.

FL3-U3-2.07.3 ZIP (3.4 MB)
FL3-U3-2.20.3 EZ2 (6.26 MB)

@Gunther_Weygers you are a pioneer along with @johnarthurkelly. I haven’t even plugged mine in yet. I’m sorry you’re having trouble but I’m also happy you’re posting about it so others can learn from your trials. Please keep us updated!

When I contacted FLIR about the firmware I also asked them how it could be that, when I set it at RAW16BIT my picture export all on 8 bit and this is their answer:

“I’m afraid our software supports saving color images only with 8bit per color channels.
Which pixel format did you set on the camera?”

I didn’t check the *.RAW files I have to find a way to open them by converting BAYER to color.

I bought myself (from FLIR) a Host Controller Card (ACC-01-1201) and hooked up my FL3-U3-88S2C-C and run the firmware update and it worked like a charm no error messages so far! My Firmware is now up-to-date!

FL3-U3-88S2C-C Update Success | 690x374

I’ve you wanna use a Point Grey/FLIR vision camera, I strongly recommend using a Host Controller Card! If you decide to use the USB3 version!

1 Like

When I got myself my vision camera I was trying the exporting on “image mode” just to see what kind of material I get from it and I was stuck on the same size TIFF file.

I doesn’t matter in what kind of Pixel Format I set its always the same size, RAW8, RAW12, RAW16, YUV411,… always the same.
So I contacted FLIR again, and I get it now.

It doesn’t matter if you set your Pixel Format at RAW8 or YUV444 if you check TIFF as the export file it will be debayered as RGB8 and RGB8 is 24bit.

So if your vision camera can handle the width and the height that you want on Pixel Format RGB8, so in this way, you can get the best image quality/detail.

In this way I hope I can help others with the same question that I had. :slight_smile:

Here is the mail:
His response is in bold

[BEGIN MAIL]

I think I got it.

So hopefully you can confirm this:

So If I export the image as a TIF file and the TIF file will always be
“RGB8” aka 24bits?

That is right.

So when I set the Pixel format on RGB8 or YUV444 and export as TIF
file this image will be at 100% (24Bit sensor-24bit image)?

It doesn’t matter what pixel format you set on the camera.

And a Pixel Format RAW16 or YUV422 the image is 16bit and if I
exported it as a TIF file the image will be upscaled by 8Bits?

It is not that simple. RAW16 is a Bayer pattern image and it will be converted to RGB8, not just upscaled by 8 bits. YUV422 is will also be converted to RGB8.
Same for all the other formats you mentioned below.

And by a Pixel Format RAW12 or YUV411 the image is 12bit and if I
exported it as a TIF file the image will be upscaled by 12Bit?
And by a Pixel Format RAW8 the image is 8bit and if I exported it as a
TIF file the image will be upscaled by 16Bit?

Yes, RAW8 is 8bit per pixel but also a Bayer pattern image.

So that’s why the image size remains the same around 33MB. (4000 x 2750)

Yes, because color will always be converted to RGB8 (24 bits per pixel).

[END MAIL]


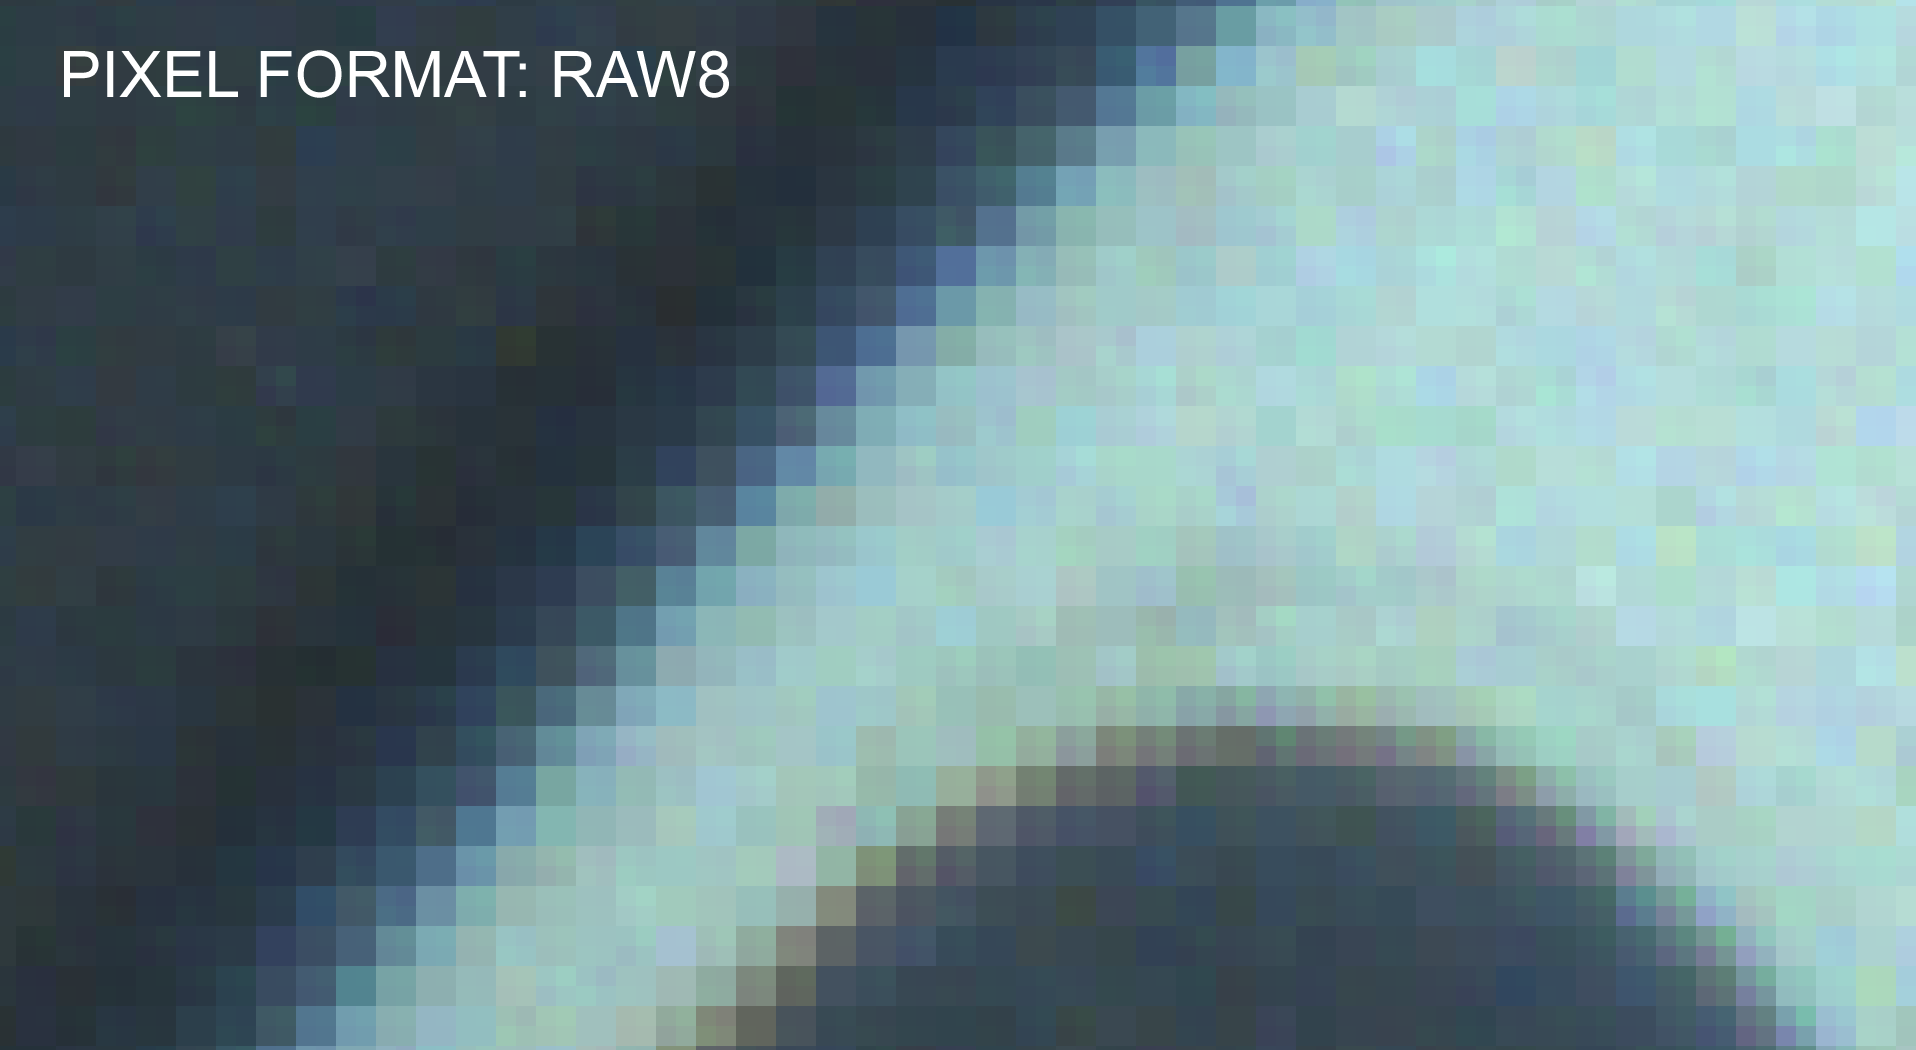
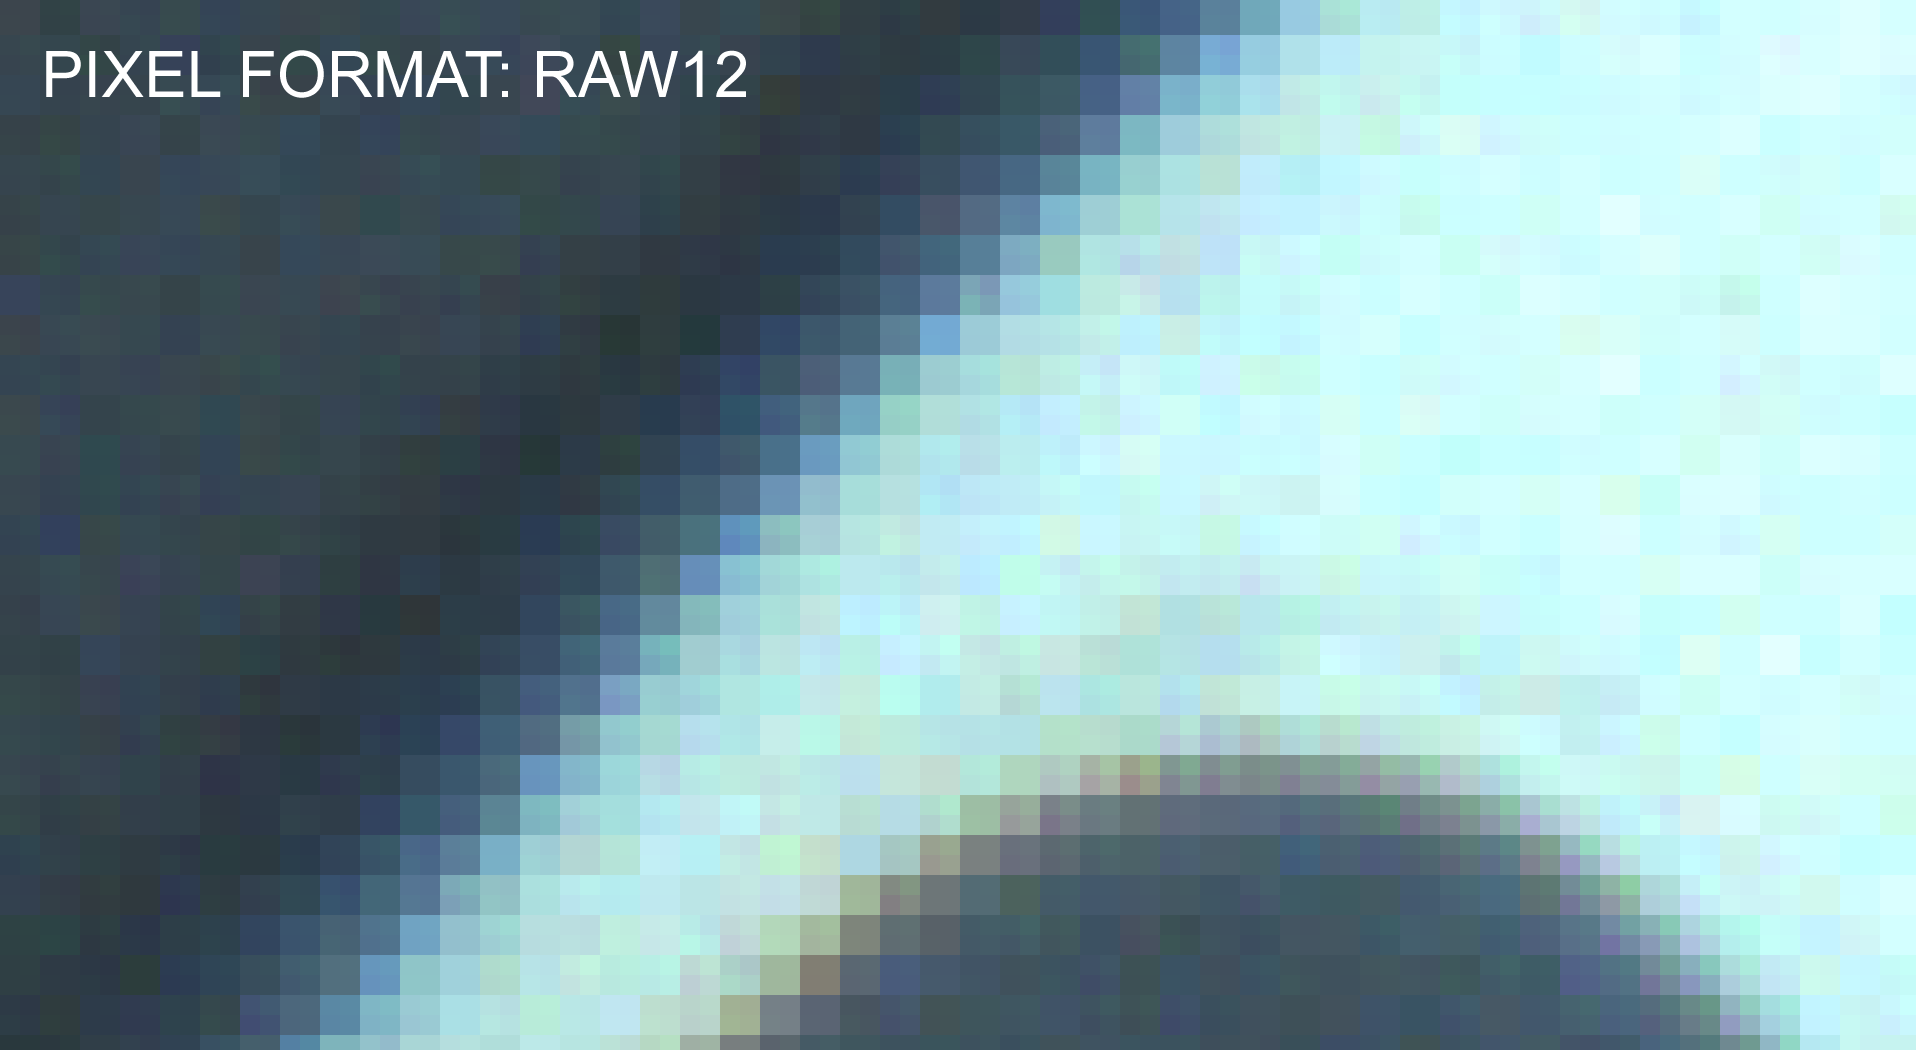
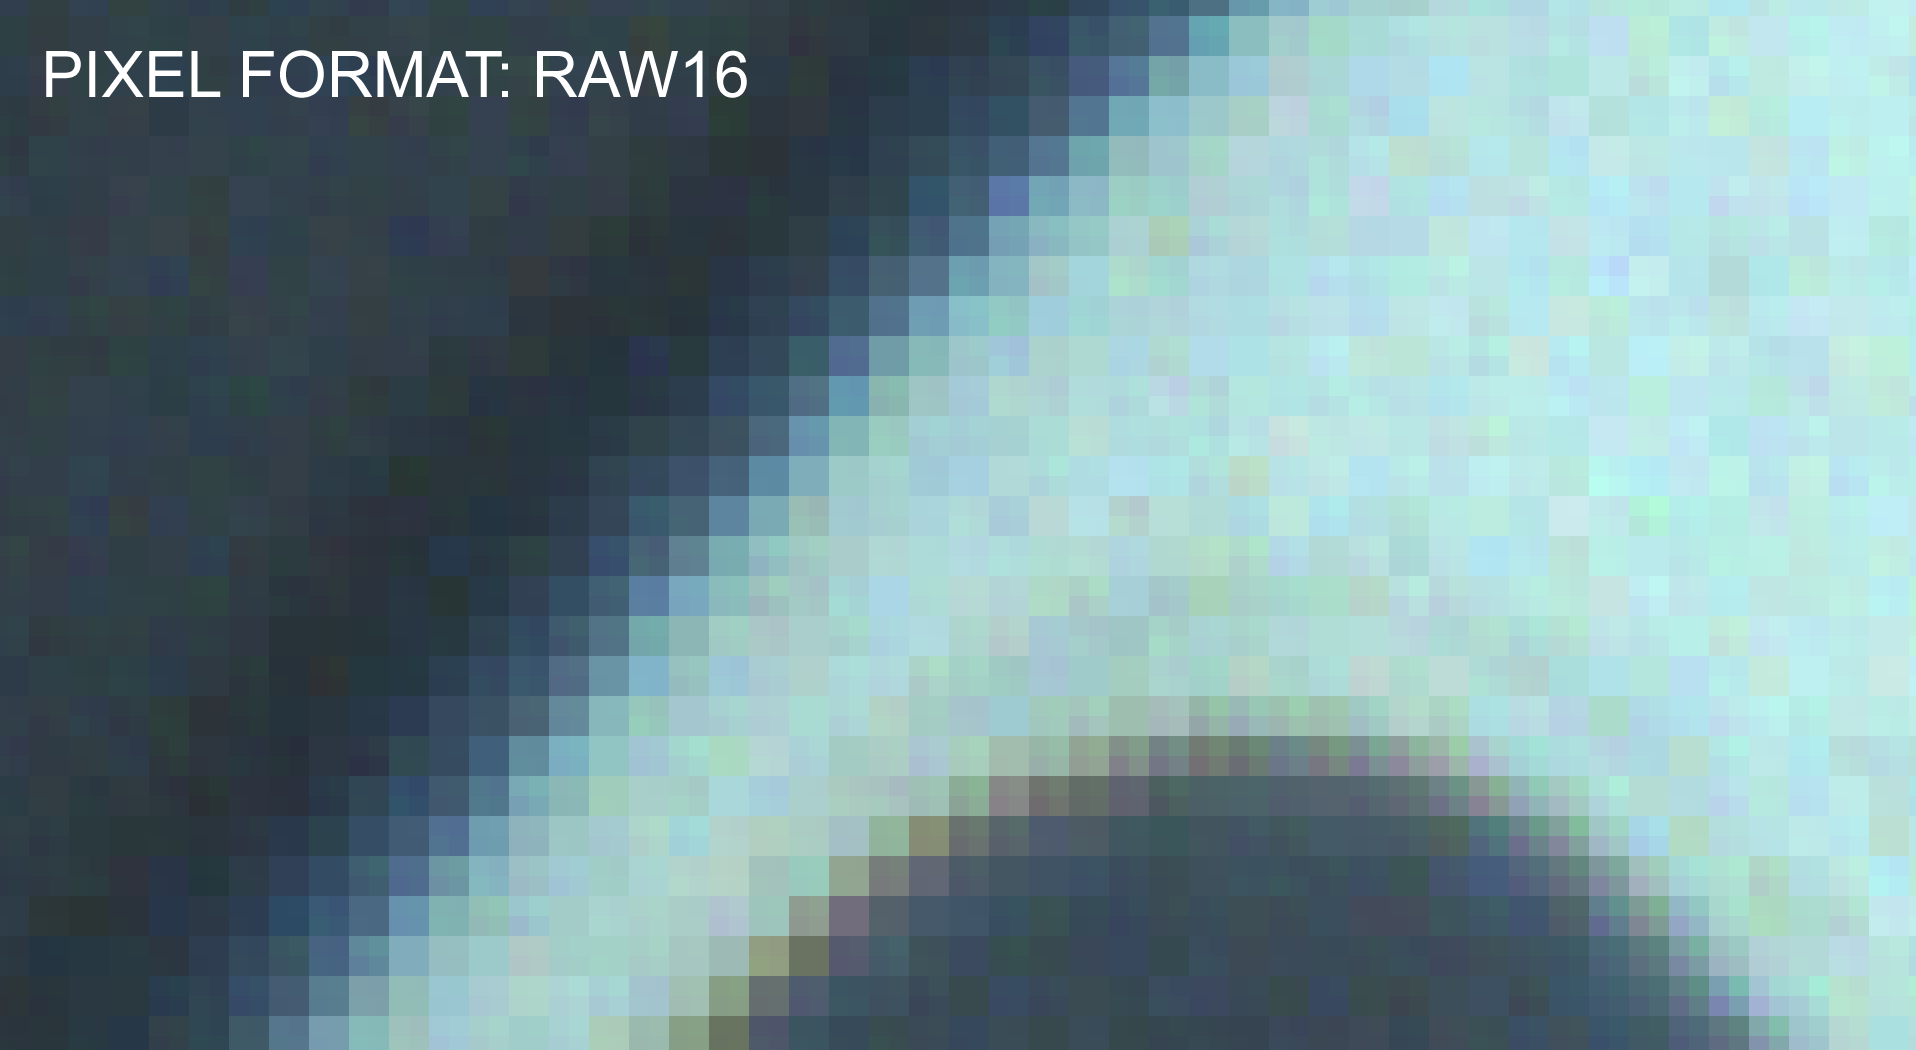
All this pictures where exported as TIFF file but this is just zoomend in just to show you how the pixels are in the different Pixel Format’s:

As you can see, RAW8 to 16 they look the same, at first glimpse, I don’t now how they will response if I edit them but RGB8 got more detail and is smoother.
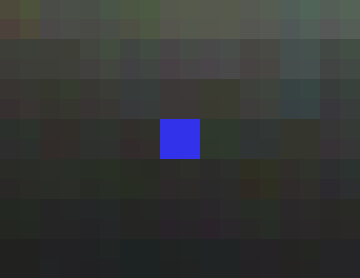
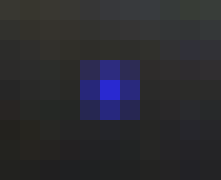
But there is a different story for dead/hot pixels. For this example, I used one image for the 3 (RAW8, RAW12, and RAW16).

RAW’s: BLUE_RAW8-12-16
RGB8: BLUE_RGB8

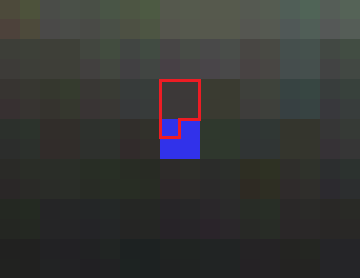
As you can see the RGB8 has 9 unusable pixels, but the RAW’s only 4 and that’s, what I think, makes it easier to recreate. What my intention is to solve this is, I’m going to use the top 4 pixels, extract the average color of those 4 and color the first pixel, left above. The 4 pixels on the right for top right, and so on…

Example:

BLUE_RAW8-12-16_RECREATE

The files:
(all 6MB)

1080x1920_RAW8.tif
1080x1920_RAW12.tif
1080x1920_RAW16.tif
1080x1920_RGB8.tif

And give this post a like for my Totoro he was my model for this photo’s :wink: