My Telecine Software

Thank you Manuel for the info! I am using Ubuntu 20, maybe there was something there that was missing. As for the driver, I replaced with the TB6600 and works fine.

The last thing I am seeing as an issue is offset of a single rotation on the stepper motor vs the single rotation of the original projector rotor/pulley. One rotation of the projector rotor is equal to exactly one frame which is not the same as one rotation of the stepper. What is the best way to approach this problem? Is there an offset value that can be calculated in the program? Adjusting the length or size of the stepper pulley? Please advise, thank you!

Hi @Wheaticus ,

For the progress of the frames to be correct, several factors must be taken into account:

  • Number of steps per revolution of the stepper (normally 200).
  • Number of microsteps per step that we have configured in the TB6600 microstep driver.
  • Relationship between the rotation of the stepper shaft and the main shaft of the projector. It logically depends on how we have made the coupling between both.

As an example I put my case:

  • Steps per motor revolution: 200
  • Microsteps per step: 32
  • Turning ratio: 1/2 (that is, with half a revolution of the motor
    shaft advances one complete revolution, one frame)

With these data we calculate the number of microsteps required to advance / go back a frame:

steps per frame = 200 * 32 / 2 = 3200

In the server software we edit the config.py file and look for the line:

steps_per_frame = 3200

We will replace this value with the one that is correct in our case.

Regards.

1 Like

Okay making some progress, thank you so much! Finally, have a precise rotation of the projector shaft so that is good.

Also, I went ahead and installed Anaconda and updated it to the most recent client/server versions of DSuper8. I noticed that after doing that the histogram info was showing useful information.

I then updated my camera from ver1 to HQ and since then, the two problems I am now noticing are I can no longer press the Test button to examine the image exposure AND I no longer seem to have any useful information in the histogram window as shown in the image below. To me, it doesn’t make any sense, but it just could be some other coincidence.


Please, don’t think I am complaining. I am ecstatic that I’ve gotten this far. If I were to Start the capture, all that seems to work fine. I thought I should bring it to your attention.

Hi @Wheaticus,

I am glad that your system is advancing. It’s exciting to see how it progresses and starts to pay off.

Well, as for the histogram, the curves that appear are normal. They correspond exactly to the image you have captured.
Notice that there is a large black or very dark area around the image. This area has more than 450K pixels, hence the peak that appears at the value 0. Compared with these, the rest of the values ​​have a much smaller number of pixels, so they hardly stand out on the curve. To view these types of histograms, use the logarithmic scale.

It is best to adjust the captured image. To do this, use the zoom and pan controls on the Setup tab. Subsequently, in the Post-capture tab, finish adjusting the frame using the rotation controls if necessary and above all remove the unwanted edges with the cropping controls.

The resulting histogram will be the real one of the image, it will no longer have irrelevant dark areas. Ideally, the left and right ends of the curves touch the vertical axes (values ​​0 and 255), but do not “crash” into them or be far apart.

Stranger it seems to me that the Test button is disabled. I have been testing the same version of the software and have not been able to reproduce the problem. It is possible that it was a specific failure.

I end by telling you that the GUI is optimized for a screen resolution of 1920x1080. If you configure your desktop for this resolution, the GUI will appear correctly without truncated words and the windows better distributed.

Regards.

Hey there Manuel, I apologize for that last post for it was a stupid user error on my part. Apparently, I neglected to enable the “in position” check box in the previous panel. I thought I had done it since I knew to do it from before. Anyways, all is good!

For what it’s worth, as someone that color corrects in Davinci Resolve, I came across this and thought this would be a cool option to enable, even if only as a black and white waveform <wink!>

Thank you for everything!

2 Likes

Stupid question from a newbie.
Any chance that your promising looking software will work on a Mac and Raspberry Pi 4 with 4Gb memory?

Hi @Hans,

There is nothing stupid about the question. The doubts are to try to answer them and not stay with them.

I understand that you mean using the Raspberry Pi 4 as a server and the MAC as a client.

As for the operation of the Raspberry Pi as a server, the answer is resoundingly yes. I use Raspberry Pi 3 with 1GB and it works without problems.

Apart from this, I also have a 4GB Raspberry Pi 4 and have tested it as a server and as a client. As a server the operation is correct. As a client it works but is much slower than a PC, especially in the HDR image blending algorithms.

The client software is tested on Linux and Windows. In both cases the operation is correct.

I have not had a chance to test it on MAC. I imagine it will work just as well as long as the software dependencies are installed. All software is written in Python 3. Python Anaconda distribution recommended. In addition to the Python interpreter, most of the additional modules are included and there is a version for MAC.

Good luck

1 Like

Anaconda Navigator is a bless indeed.

Raspberry Pi:
2021-10-05 16:22:55 - INFO - Starting
2021-10-05 16:22:56 - INFO - Initialized camera
2021-10-05 16:22:56 - INFO - Starting MotorDriver
2021-10-05 16:22:56 - INFO - Waiting for connection with the client…

Mac:
Traceback (most recent call last):
File “DSuper8.py”, line 73, in
(img_conn, ctrl_conn) = setup_conns(image_socket, control_socket)
File “DSuper8.py”, line 51, in setup_conns
image_socket.connect((config.server_ip, 8000))
ConnectionRefusedError: [Errno 61] Connection refused

Thats why I don’t like CLI. :wink:

I think you are directing your client software to the wrong ip.

In both the client and server software, edit the config.py files and make sure you configure the correct data.
Specifically, in config.py of the client program, you have to configure the ip address of the server (Raspberry PI). It can be done either by the name of the server (for example “HAL9004.maodog.es”) or in numerical format (for example “192.168.1.15”). In the first case, you must have the name resolution correctly configured in the operating system of your MAC machine.

If you think so, in order not to overload the forum thread, we can communicate by private messages. I will gladly answer your questions.

Regards.

1 Like

I appreciate your proposal to communicate via private messages.
The ip address in confg.py is correct.

I actually have a variety of GPUs I have upgraded from over the years. Just curious if there is any benefit of having one installed. Does it matter if AMD or Nvidia or is it negligible performance enhancement? I was thinking because of the Mertens algorithm, and if there is thousands of frames, even a small performance enhancement might be worth it, especially if I’ve got the hardware. Thanks.

Hi @Wheaticus,

The Mertens algorithm is applied with functions from the opencv library.
It does not affect the speed of the GPU, but of the CPU.

For my part, I have carried out tests using Raspberry Pi 4 as a client and although it works, it is very slow compared to PC.

Specifically, to perform the fusion of 6 images with the Mertens algorithm, I think I remember that it took about 8 seconds in the PI

Regards

1 Like

well, for some basic math, there exists a trick in opencv to do computations on the graphics card. If you are writing a line like

img = cv2.UMat(img)

the image will be transfered to the GPU for further processing. However, before you get too excited:

  • you are creating overhead by transfering data from CPU to GPU and back. Do not underestimate this, it can take longer to transfer the data than to use optimized CPU-code.
  • some stuff does not work, like img.shape needs to be recoded as img.get().shape. Which incidently grabs the image stored on the GPU, transfers and recodes it to a CPU image which has a shape-attribute.
  • most importantly: many advanced image processing algorithms have not been reimplemented to run on the GPU - I bet mergeMertens is one them.

To round up this comment: well, it might be possible to utilize the computing powers of the GPU within the opencv context, but it is probably of no help in our mergeMertens-case and not worth the effort (feel free to start here for some details on how this UMat-thing works).

The thing is that for each single final frame, a lot of incoming image data would need to be transfered to the GPU and back again. However, the computations which are done in the mergeMertens-code by itself are not that challenging, so a speed gain vs. the CPU by using the GPU might be eaten up by the supporting/transporting code. Also, if you are programming in Python, you are too far away from the original code base to even judge what is going on - you are totally dependent on the specific implementation (library) you are calling with your python code.

Well, if you are working with small format films, there is another easy way to achieve some speed-up: just work with the smallest resolution you need to use for the quality you are aiming at. Here are some timings for the exposure fusion algorithm and varying image size (I’ll give just the horizontal size, the vertical size scales accordingly; this is for a 5-image-stack):

  • 960 px: 530 ms
  • 1200 px: 660 ms
  • 1600 px: 1000 ms
  • 1920 px: 1300 ms
  • 2880 px: 2800 ms

Clearly, the processing time scales badly with image size.

The trick to speed up processing: for every processing step along your pipeline choose a resolution which just works, maybe with a little safety margin. That is especially valid when working with small movie formats, as their native resolution is not that great anyway.

Scale down material as early as you can, not at the end of your processing pipeline. You have to try out what is possible. You mileage will vary, depending on the software you are using and the release format you are choosing.

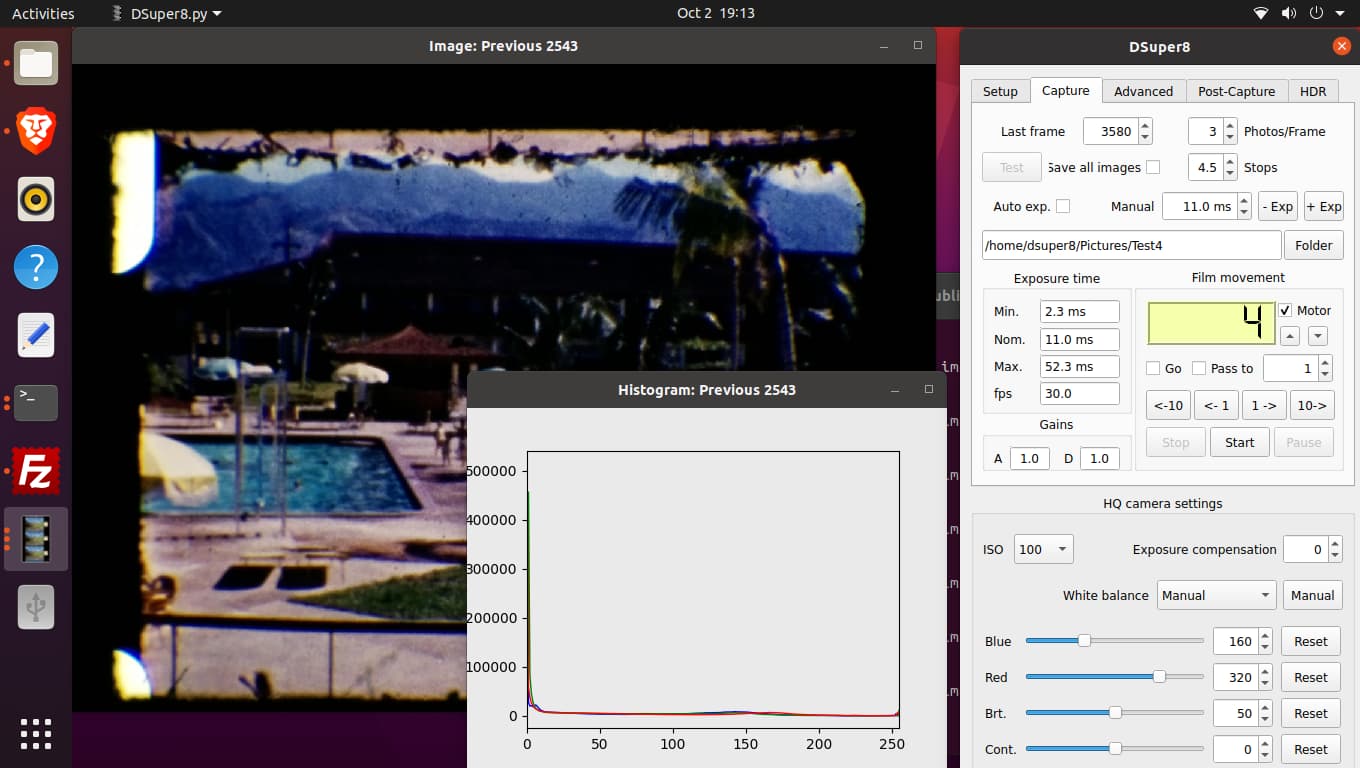
For example, I scan with 2880 px width (but: overscan), do exposure fusion with 1800 px (still overscanned), cut-out/stabilize/color-grade as other stuff with 1440 px (full frame) and aim generally at only 960 px output resolution for Super-8 material. At least for my material, anything above that 960x720 px output resolution is wasted.

2 Likes

Im having some issues getting this up and running. namely the python module installs. Are they still working repositories? Some give 404 errors.

As an example I did:

python -m pip install queue
ERROR: Could not find a version that satifies the requirement queue (from versions :none)
ERROR: No matching distribution found for queue

I get 404 errors on the following modules, the rest installs fine:

  • time
  • threading
  • socket
  • struct
  • queue
  • io

Im running Raspberry Pi Zero with Raspberry OS v10.

Help appreciated.

Hi @bassquake

I apologize for not making the installation instructions clear enough.

On the server (Raspberry Pi), you only need to install the following additional modules:

  • PyQt5
  • picamera
  • Rpi.GPIO

The rest of the modules belong to the standard Python 3 library and are installed together with the same package that contains the interpreter.

To install the missing libraries, I recommend that you not use the pip utility and instead use the Raspbian repositories, with the apt command as follows:

  • Update Raspbian:
    apt update
    apt full-upgrade

  • Search for a package (for example picamera):
    apt search picamera

  • Install a package (for example python3-picamera):
    apt install python3-picamera

  • Cleaning after update and installation:
    apt clean

If you have doubts about the installed modules, you can open an ipython3 console and use import commands, as shown in the screenshot.

If the module is installed, the import command should not report any errors.

Good luck.

Hey there, I am using the HQ pi camera and when I’m in Preview mode, I notice the preview image brightness tend to shift just enuff to where it is noticeable. The color sometimes also shifts a tiny bit too. My final captures however, I don’t seem to notice any color/brightness shifts. Just curious if anyone else has this phenomenon? Was concerned if it was my camera?

Other notes: When the Preview mode is enabled, the preview window has a number that is constantly increasing as it displays each preview image. I don’t think the displayed number seems to amount to anything with the scanning process. Just bringing it to your attention.

Also, when I have to stop the scanning process to make an adjustment or skip ahead and then Start again to continue, I am greeted with a pop up window to warn me that I would be overwriting all the images in the Capture folder. So, I have to create a new folder before scanning continues. Should it be doing that with the most recent version of the software? Just wanted to make sure if this feature was not yet implemented.

Thanks again!

Hi @Wheaticus

Everything you say is perfectly normal and intentional.

The mission of the preview images is the focus and framing of the image.

In preview mode, a single image is taken and sent to the client in order to have an almost real-time visualization.

The image is taken using the time you have defined in manual exposure or the time determined by the automatic exposure algorithm.

Therefore no HDR process is performed. It is normal for the preview image to be different from the final capture images, but in no way indicates that there is a problem with your camera.

The number that appears increasing is not important, it is only to see that the server is sending images, it has no other purpose.

The image overwrite warning window is just that, a warning.
You don’t need to open a new folder to save your images unless you want to keep them.
The warning message says that there are image files in the selected folder, which can become overwritten if the new files have the same name.
The name of the new files is imgNNNNN.jpg, where NNNNN is the number that appears in the frame number indicator.
Only files with the same number are overwritten, but just in case, the program warns.

I hope I have clarified the doubts.

Regards.

2 Likes

Thanks for that. In the end, I had to do the following:

sudo apt install python3-pyqt5

Then run this while in the files folder:

python3 DS8Server.py

Currently using a V1 camera which it seems to work with, so we can verify it works with a Raspberry Pi Zero! (Although a little slow but to be expected).

Ah, regarding the shifting colors I was seeing, it was my light fixture and dimmer setting. If I maxed the light fixture I wouldn’t see the obvious shift I was seeing before.