… continuing the testing of the Raspberry Pi HQCam further.
Here’s some information on the behaviour of the sensor + processing pipeline with respect to the quality setting.
The sensor used in the HQCam is primarily designed for video applications, not actually for taking still images. That’s probably why it has more video modes available (4) than image modes (2).
Well, that matches my use case, namely capturing massive amounts of data which are only later combined into an image representing the scan of a film frame; I use as camera output neither raw, nor any RGB-format, but straight video.
The camera outputs video as compressed MJPEG frames. There is a quality setting available in the JPEG/MJPEG-format, and it might be interesting to see how the camera performs with various settings.
Here’s a small cutout of a 3456 x 1944 px frame at a quality setting of 60; which I will be using as reference:
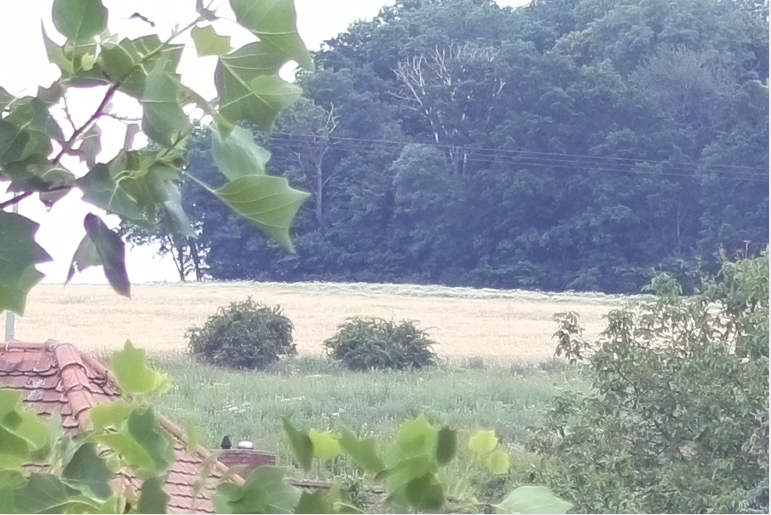
It was taken with the Raspberry Pi standard 16mm lens. This lens performs quite good here (f-stop was at 5.6 in the experiment). By the way, forget about the alternative 6mm lens for scanning purposes - the quality of that wide-angle lens is inferior.
Let’s compare the capture above (q=60) to one with a quality reduced to q=5:
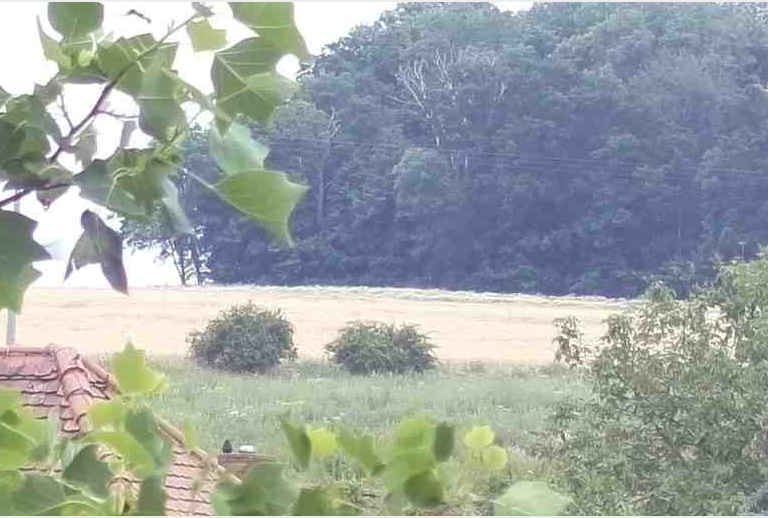
Clearly, there are JPEG artifacts showing up here, but it is still an amazingly good result. The file size of such a single frame with q=5 is so low that my image capture pipeline can run the 3456 x 1944 px resolution at the maximum speed the sensor chip is able to: 10 fps. For comparision, with the q=60 setting, the frame rate achievable is currently about 2 fps. That is mainly caused by my decision to use a client-server setup which transfers the images via LAN - a direct storage of the images at the Raspberry Pi might be a better approach here. I am currently not doing this, as the Raspberry Pi tends to get quite hot during capturing: 81°C CPU-temperature is easily achieved if the Raspberry is not actively cooled.
Well, the Raspberry Pi used in the film scanner is actively cooled and stays less than 50°C always.
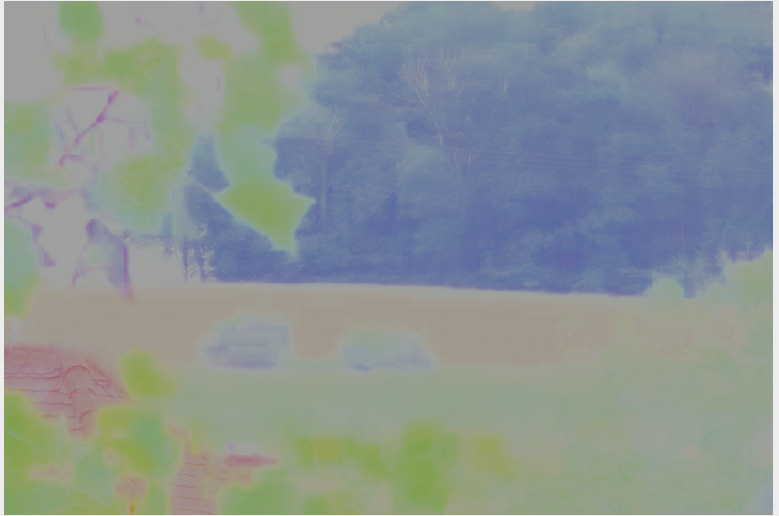
The effect of the quality setting can more easily seen by looking at the pure color information of the frames. Here’s this color signal extracted out of the q=5 frame:

One clearly sees now the beloved blocking artifacts of low JPEG-compression. Raising the q-factor to 10, the results improve:
One step further, at q=20, the color information
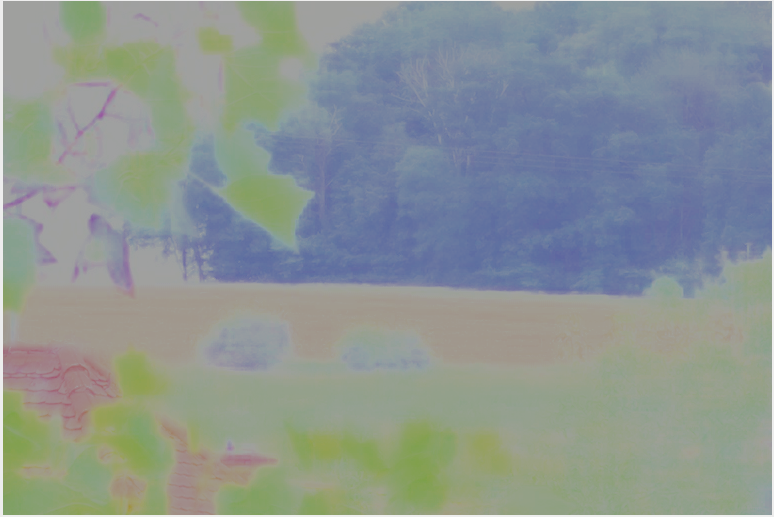
improves further. This is especially noticable in the top-right corner of the image. But already at that low q-factor, a useable frame is received. Comparing with the q=60 image,

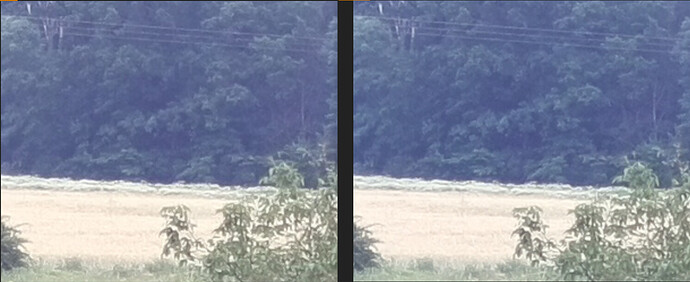
one sees especially in the dark area of the trees some further improvements. However, returning to the real image data, the difference between a q-factor of 20 (left image) and 60 (right image) is visually rather low:
The JPEG-encoder of the new HQCam seems to perform much better than the encoders of the old v1- and v2-cameras; here, such low quality settings did not perform well at all. I am currently using a q=10 setting (7 fps) for focus adjustments, and a setting of q=60 for scanning. The above posted exposure fusion examples were actually captured with a low quality setting of 10.
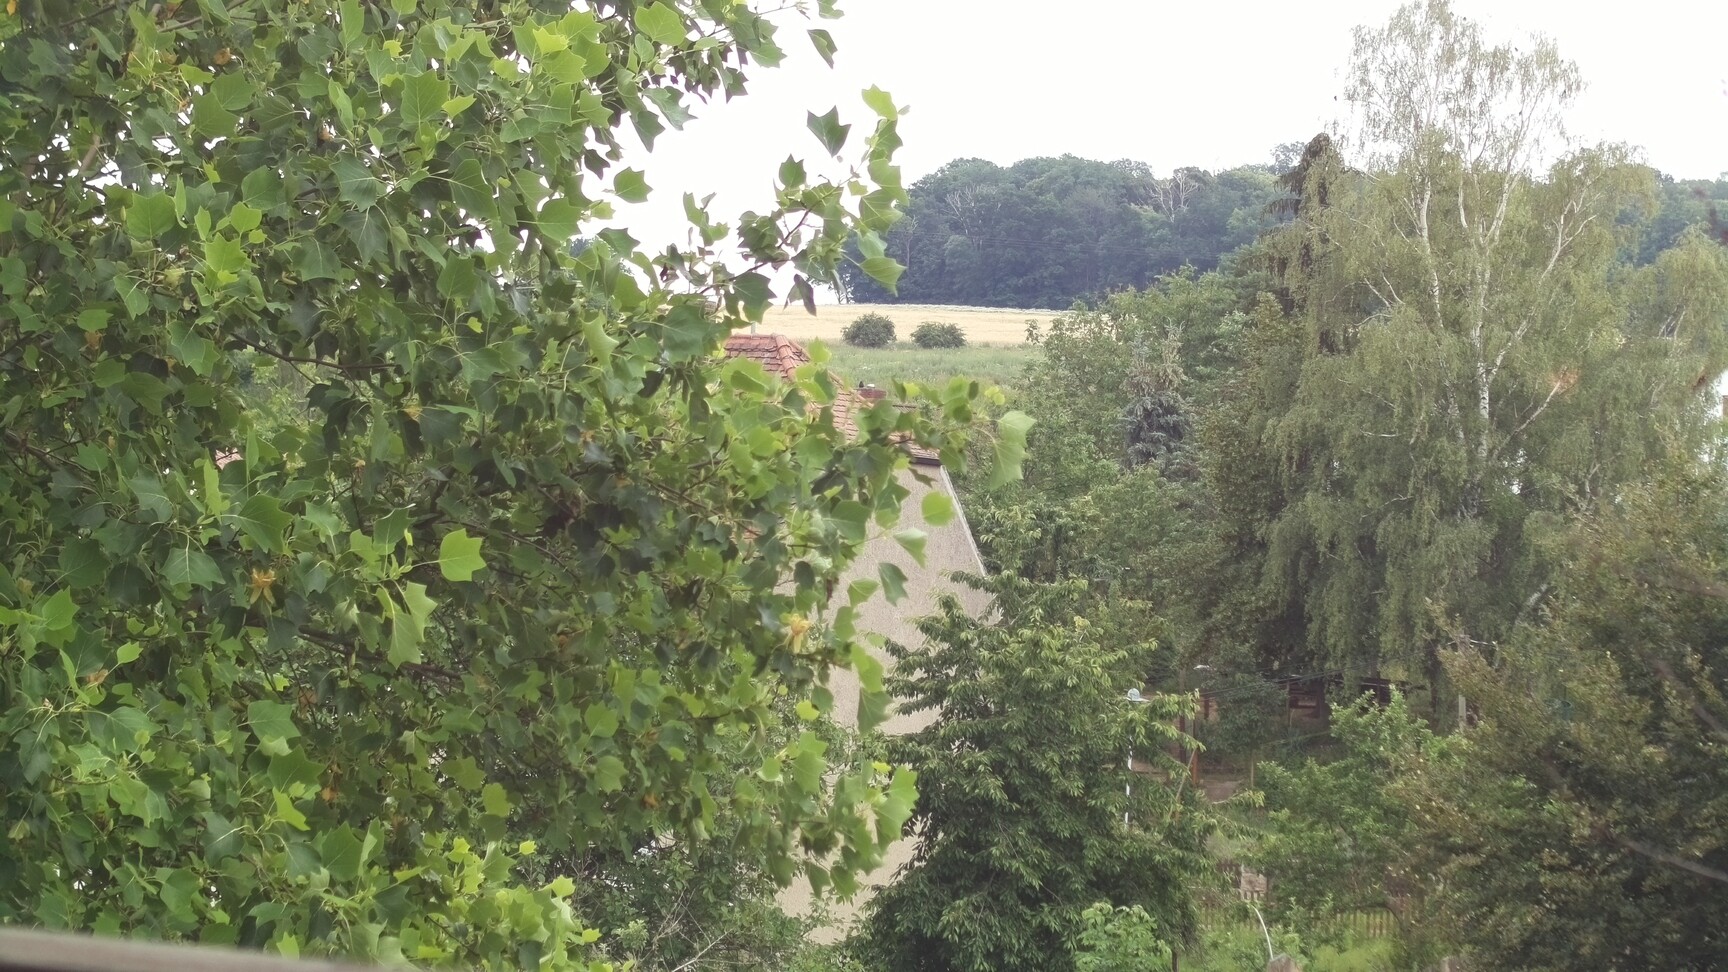
Finally, here’s a full frame of the scene, with 3456 x 1944 px resolution and a q-setting of 99 (close to the max), for reference (acutally, the original resolution was lost - the following image is only 1728x972 px):
… to complement my above experiments with MJPEG-output of the HQCam:
The " Strolls with my Dog" blog has two excellent and detailed investigations concerning raw image capture with the HQCam:
and
Very informative for the technical minded, right to the point - actually, so much that the blog-author got banned on the Raspberry Pi Camera forum for asking too detailed questions… ![]()