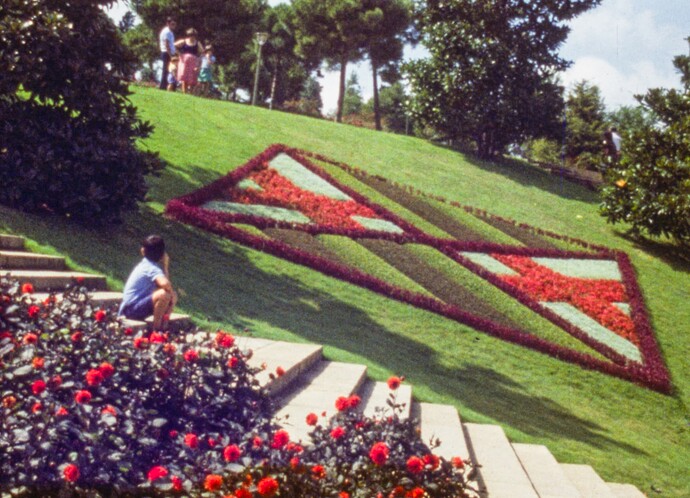
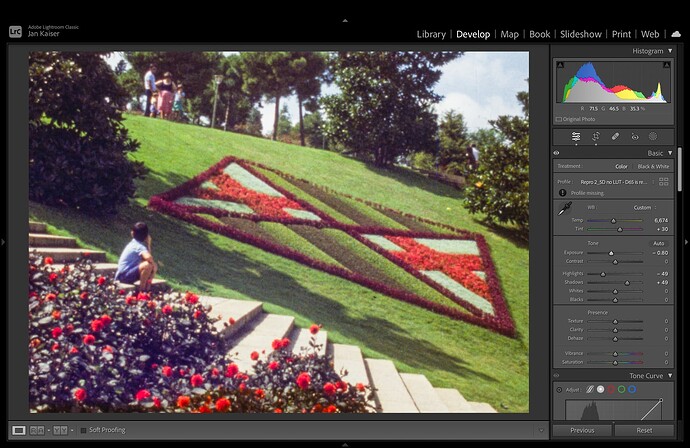
Here is the frame that @Manuel_Angel kindly provided processed with Lightroom in more or less the same way I process my own captures.
While I have spent a lot of time trying various settings when coming up with my preset, the final settings are actually very simple, i.e. correct white balance, correct exposure and then recover highlights and shadows using -49 and +49 respectively. Everything else is left on Lightroom’s defaults.
There are some difference here compared to my actual preset owing to the difference scanning setup that was used. I eyeballed the white balance because I have no reference to the light source on @Manuel_Angel scanner. I also had to correct the exposure down, which might slightly affect the final look. Usually I correct my exposure up by a bit more than 1 stop.
@Manuel_Angel, I usually make sure that the frame (ignoring the film gate around it) is 1 to 2 stops underexposed. Your dng file appears rather overexposed in comparison to what mine usually look like.
For future comparisons, I’m also leaving one of my frames here. Feel free to use it and upload your own edits. Also don’t be confused that it’s flipped horizontally … I think it was scanned when I was building my GUI and I might have had the hflip option on ![]() .
.

