Summary: ffmpeg works beautifully to stitch still pics into a movie, and then stabilizes it in two passes into something beautiful. (Windows command line examples at the end.)
Perhaps this is old hat to most of you, but thanks to the shutdown I have had an opportunity to revisit ffmpeg, and I have the following developments to add.
First, stitching.
If your still pictures are in a natural number series, ffmpeg will take that and make a movie out of it. You can control the level of compression, and define framerate. Most importantly, ffmpeg will make the video the same resolution as your stills. I took 3232X2424 stills, and my video was also 3232x2424. This carried over into stabilization, and any post processing can happen after that.
Next stabilizing:
Over the past couple of years or so ffmpeg has included another piece of code, called vidstab. This works in two passes. The first calculates how the content “moves” from frame to frame, and the second uses this information to create a stablized video. In both passes there are parameters we can pick to change the sensitivity. Finally, if you are experimenting, you can finish the first pass, and then do multiple second passes with different parameters to compare.
One of my issues with the previous workflow was that AEOLight would often create a warble since I was not able to stabilize my video to the last bit. ffmpeg seems to be doing a better job.
Finally, after all this is done, I can keep the video as it is, or chop it down to UHD or HD as needed.
Some caveats: If your source pictures were taken too dark or too light, it may make sense to pre-process them to reasonable levels to avoid the loss of information in the first step.
Finally, here are the command line prompts I used. I actually put them in files with the .bat extension (they are basically text files), and then I can run it directly from the Windows explorer once they are “set”.
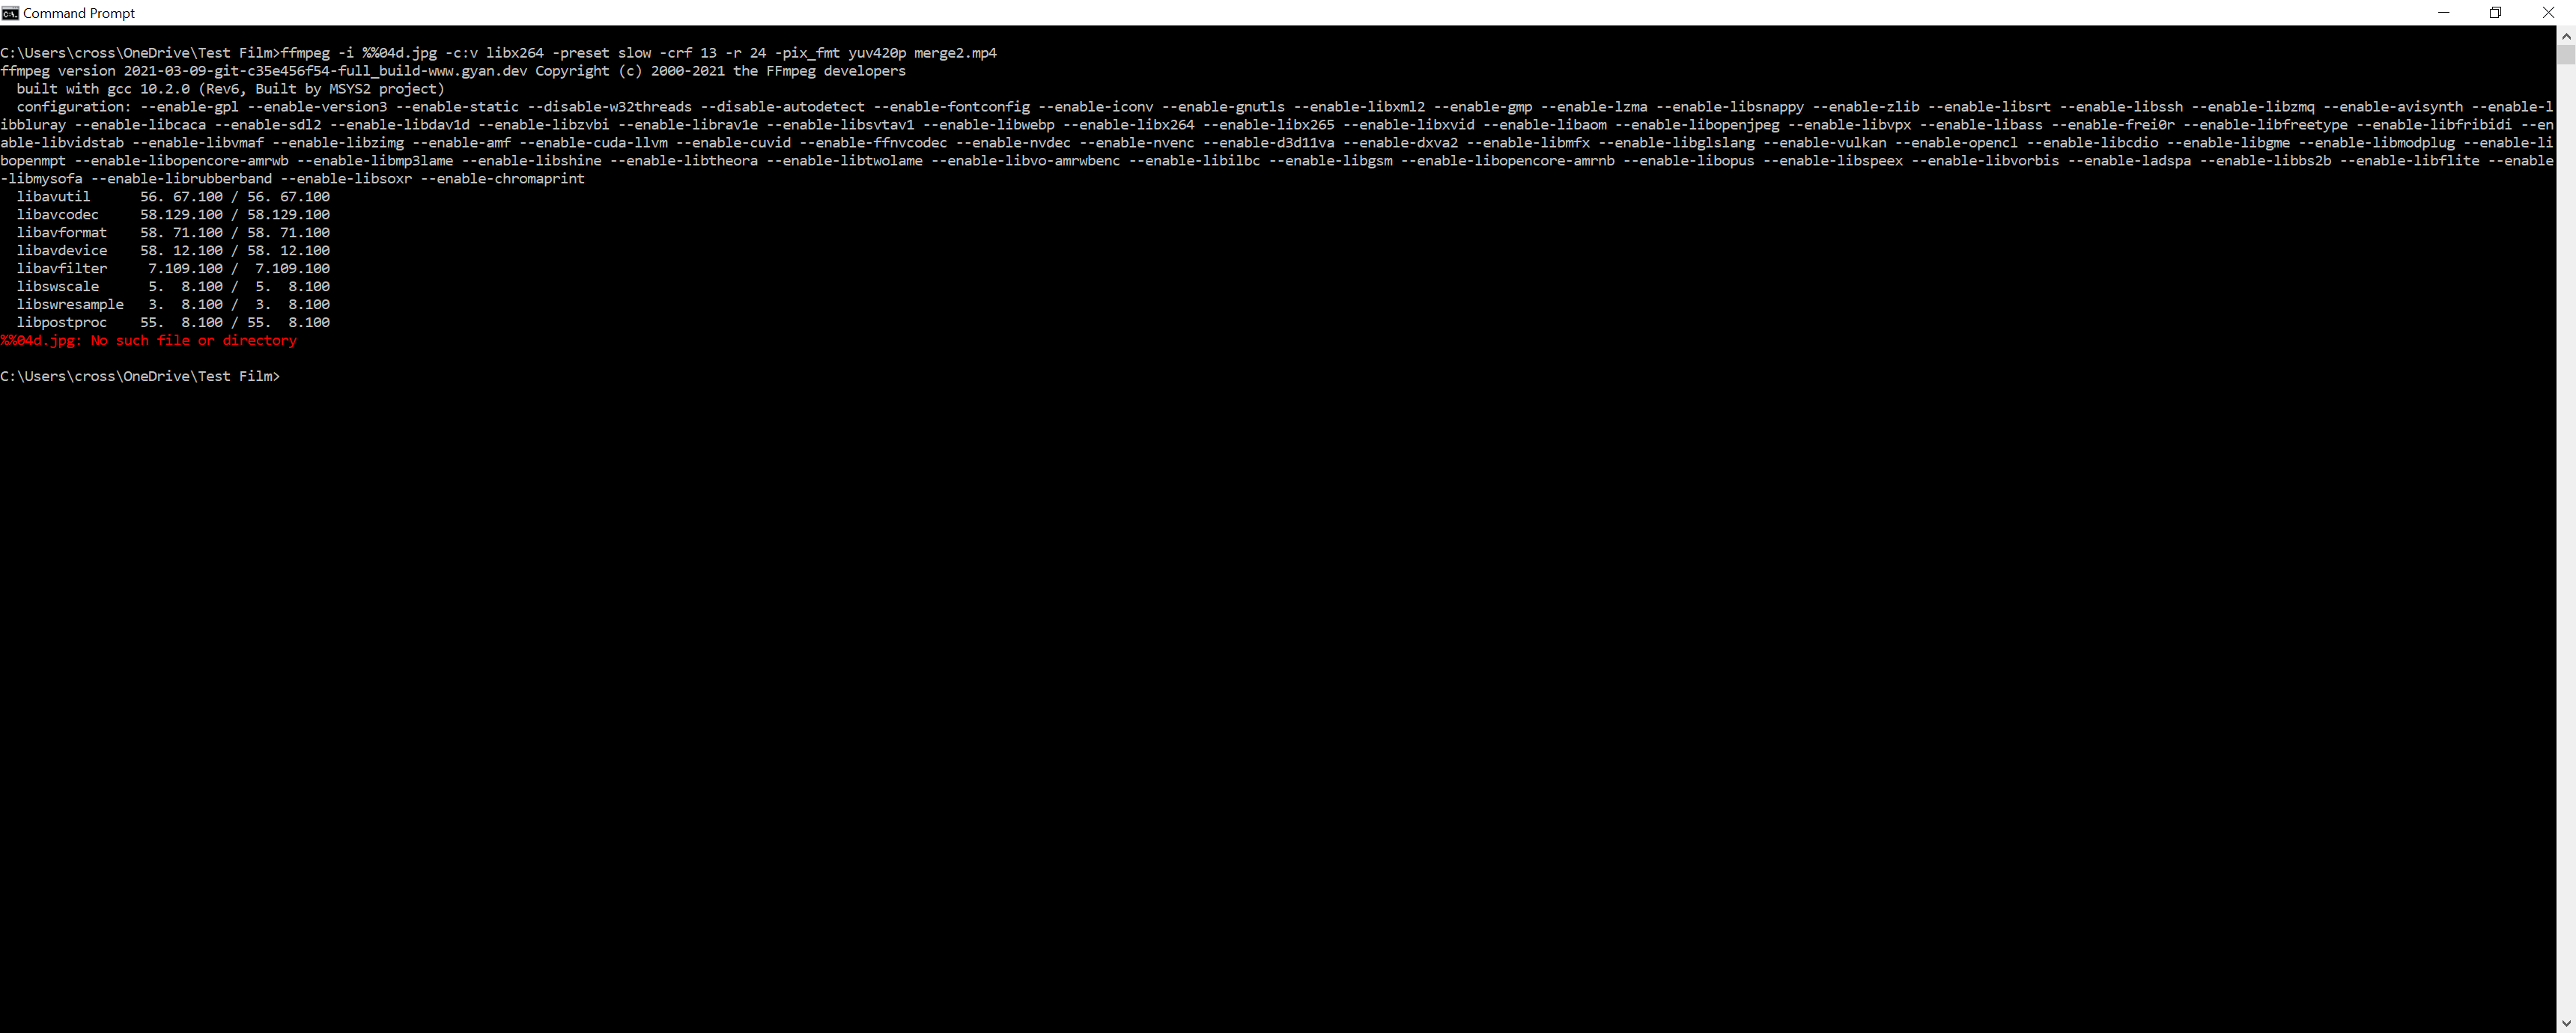
For stitching into a movie:
c:\programs\ffmpeg\bin\ffmpeg -i %%05d.jpg -c:v libx264 -preset slow -crf 13 -r 24 -pix_fmt yuv420p merge2.mp4
Explanation:
- -i %%05d.jpg: takes all 5-digit numbered jpg files (e.g. 00001.jpg, 00002.jpg etc)
- -c:v libx264: uses the H264 codec
- -preset slow: takes more time to compress better
- -crf 13: This is a factor that produces larger files with lower numbers. 0 is lossless
- -pix_fmt yuv420p: This specifies the pixel format
For stabilizing:
c:\programs\ffmpeg\bin\ffmpeg -i 1.MP4 -vf vidstabdetect=stepsize=32:shakiness=10:accuracy=10:mincontrast=0.2:result=transform_vectors.trf -f null -
c:\programs\ffmpeg\bin\ffmpeg -i 1.MP4 -y -vf vidstabtransform=input=transform_vectors.trf:zoom=0:maxangle=0:crop=black:smoothing=10,unsharp=5:5:0.8:3:3:0.4 vidstab_out.mp4
Explanation
- -i 1.mpg: is the input file
- vidstab_out.mp4 is the output file
- transform_vectors.trf is the temporary file created that contains the interframe changes in the first pass, and is used in the second pass.