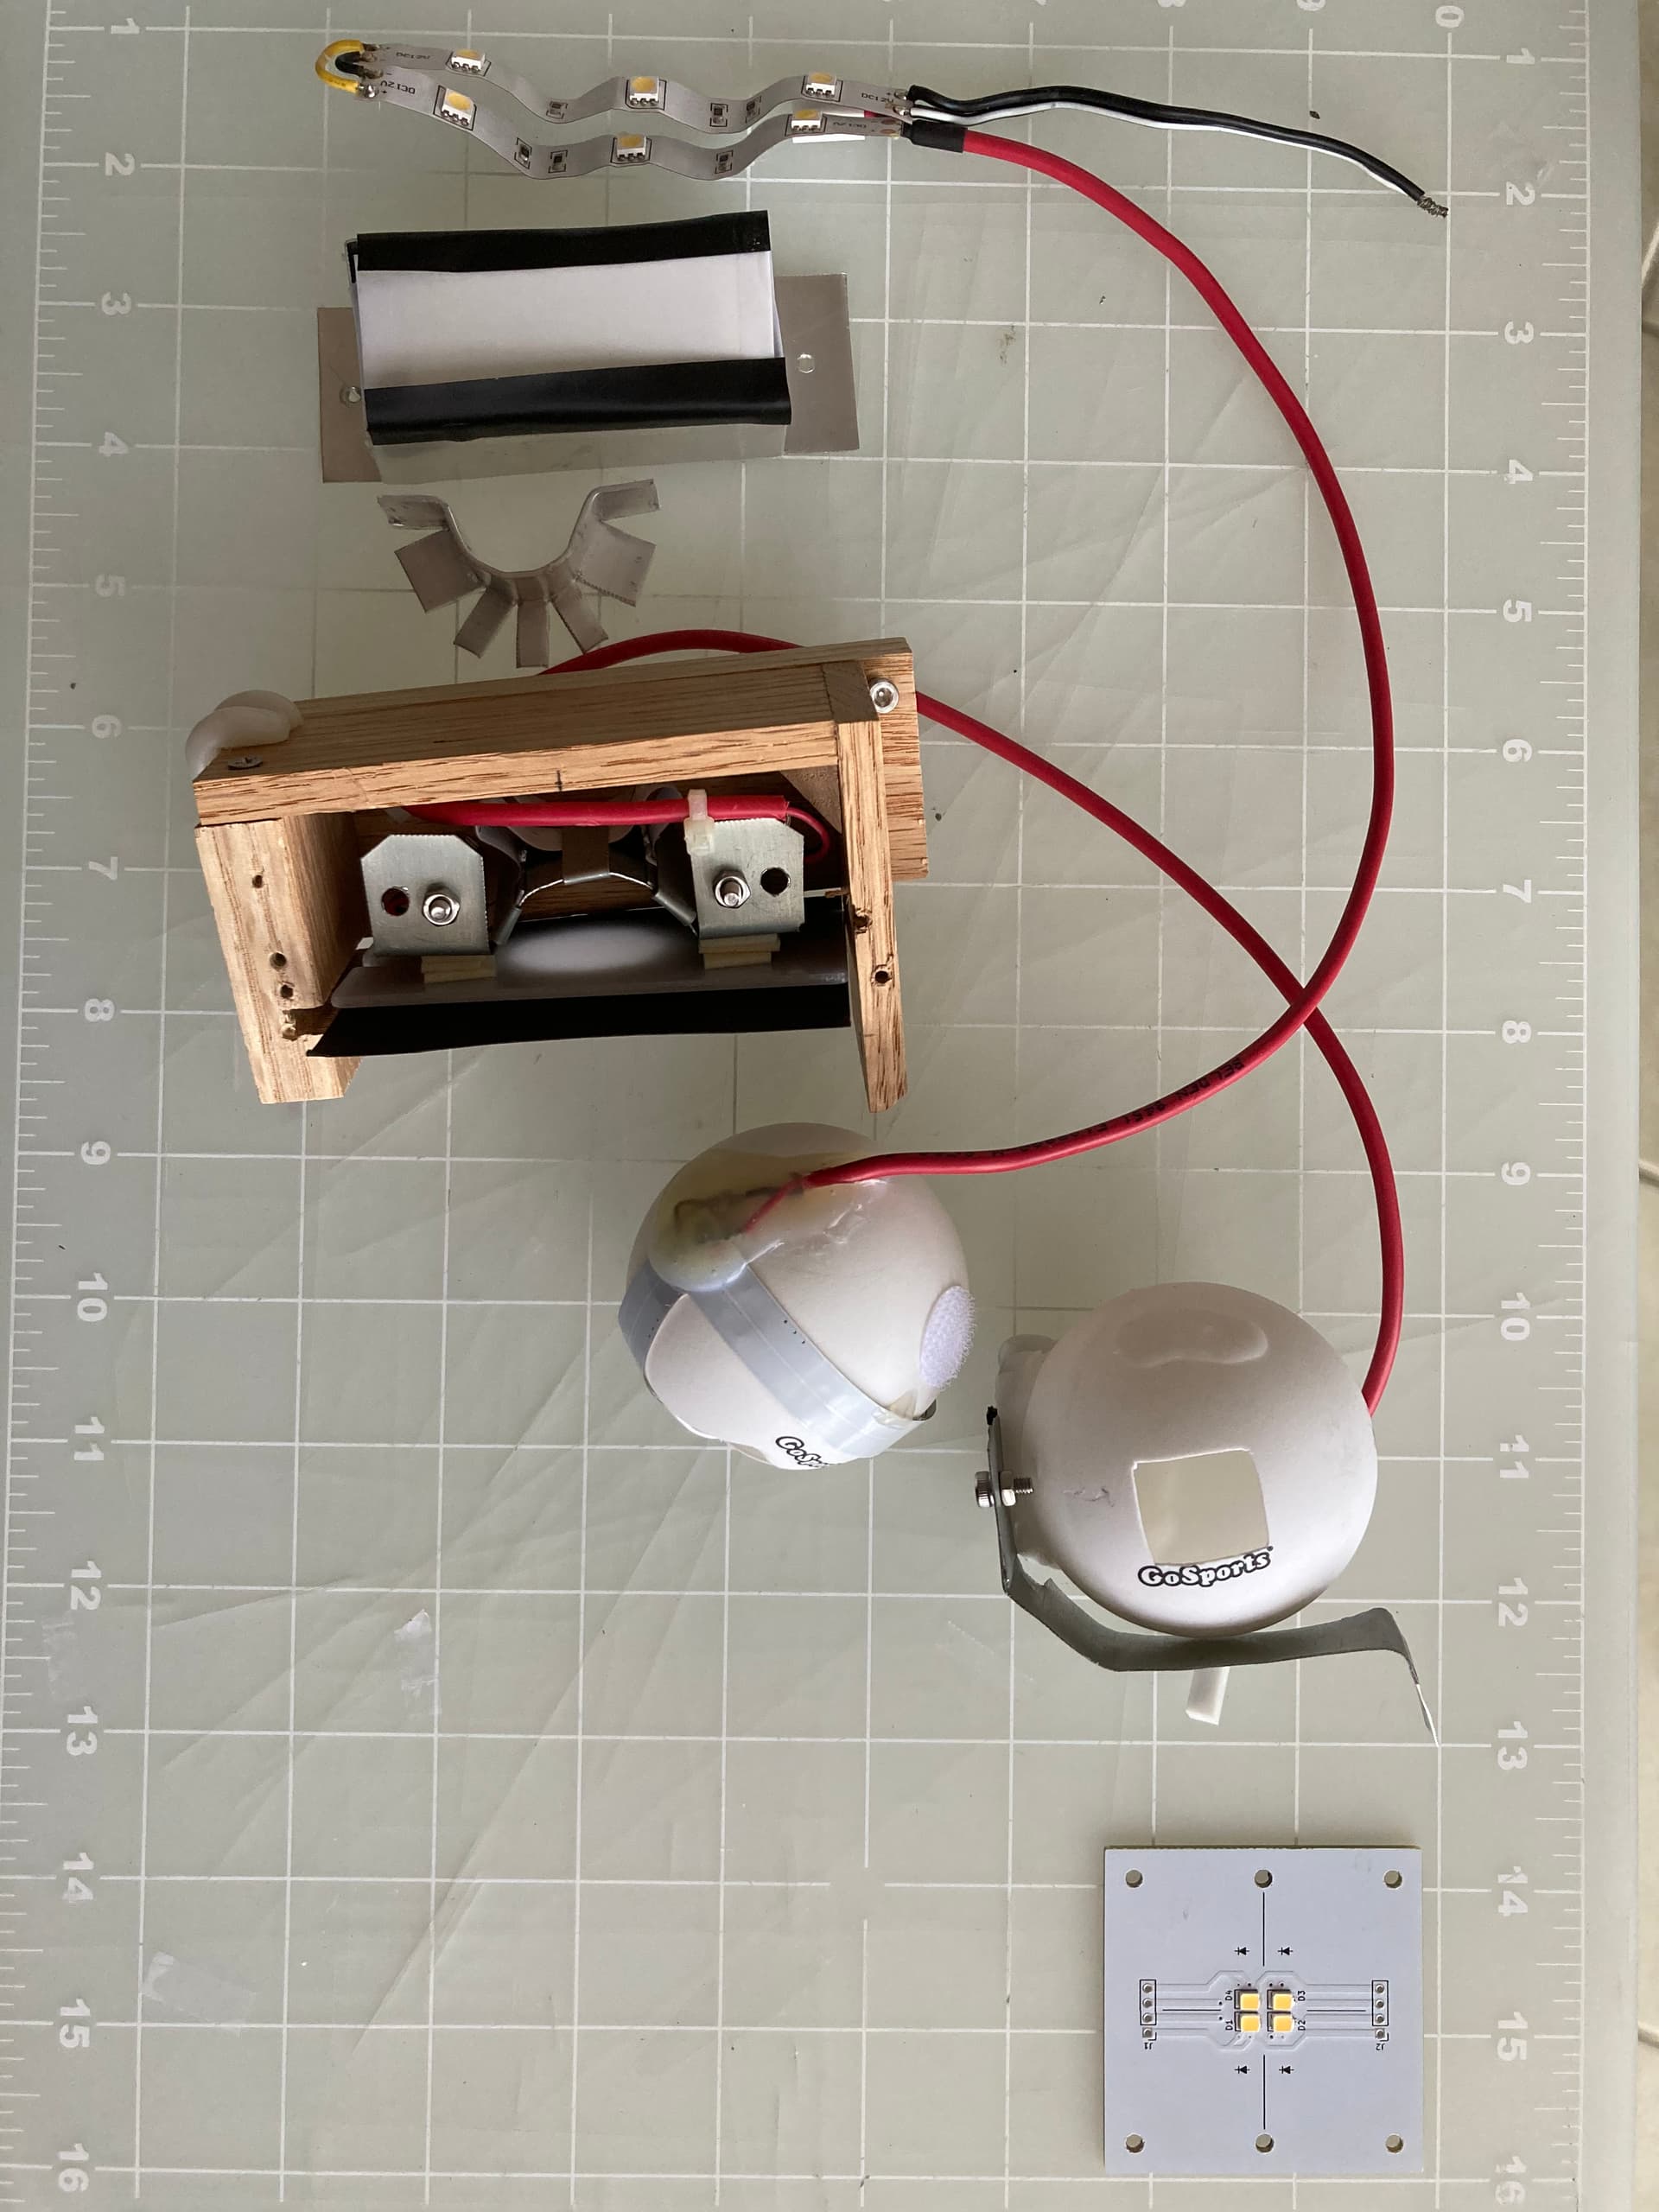
This picture is a good illustration that -at least for me- the 8mm DIY scanner is a journey.
From top to bottom:
-
The first light with LED strips arranged
-
Same for the second with better box and better diffuser
-
First sphere trials using an oversized ping pong ball and LED strips
-
Second sphere trials with smd LEDs.
-
And lastly, the PCB to assemble the new light/sphere.
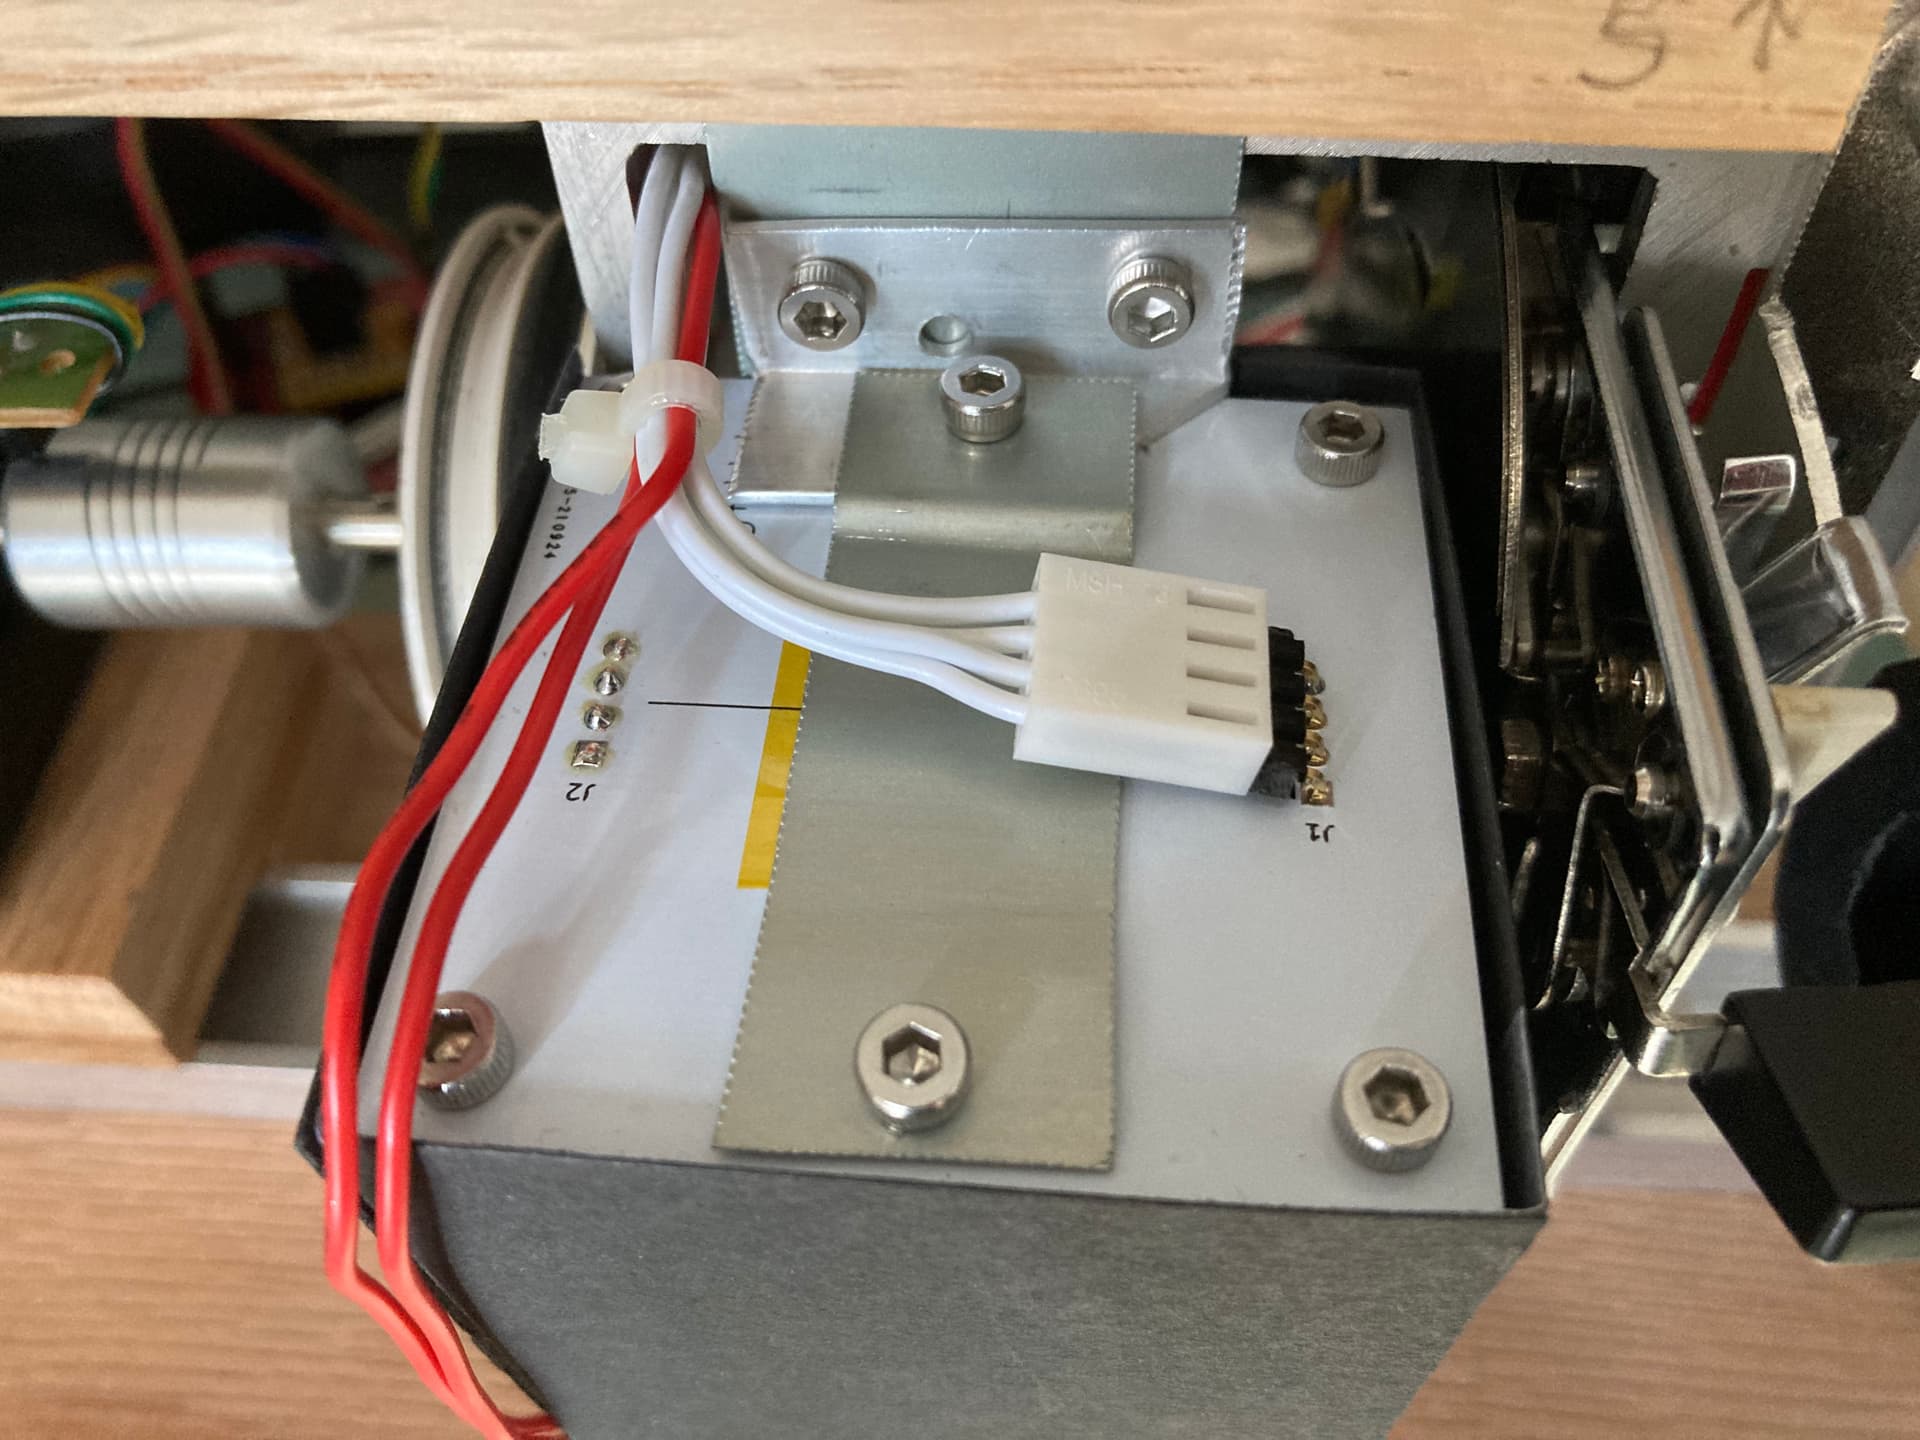
And this is how the assembled sphere fits and looks: