Time for a new year progress update on SnailScan2 (AKA Tingopix).
The Goal: A low-cost, repeatable DIY scanner for 8mm and 16mm film, utilizing the Raspberry Pi HQ camera. No projector parts, just off-the-shelf components and 3D prints.
The Reality: High color quality, very low budget, but slower speeds.
Updated Parts: The All-Printed Path
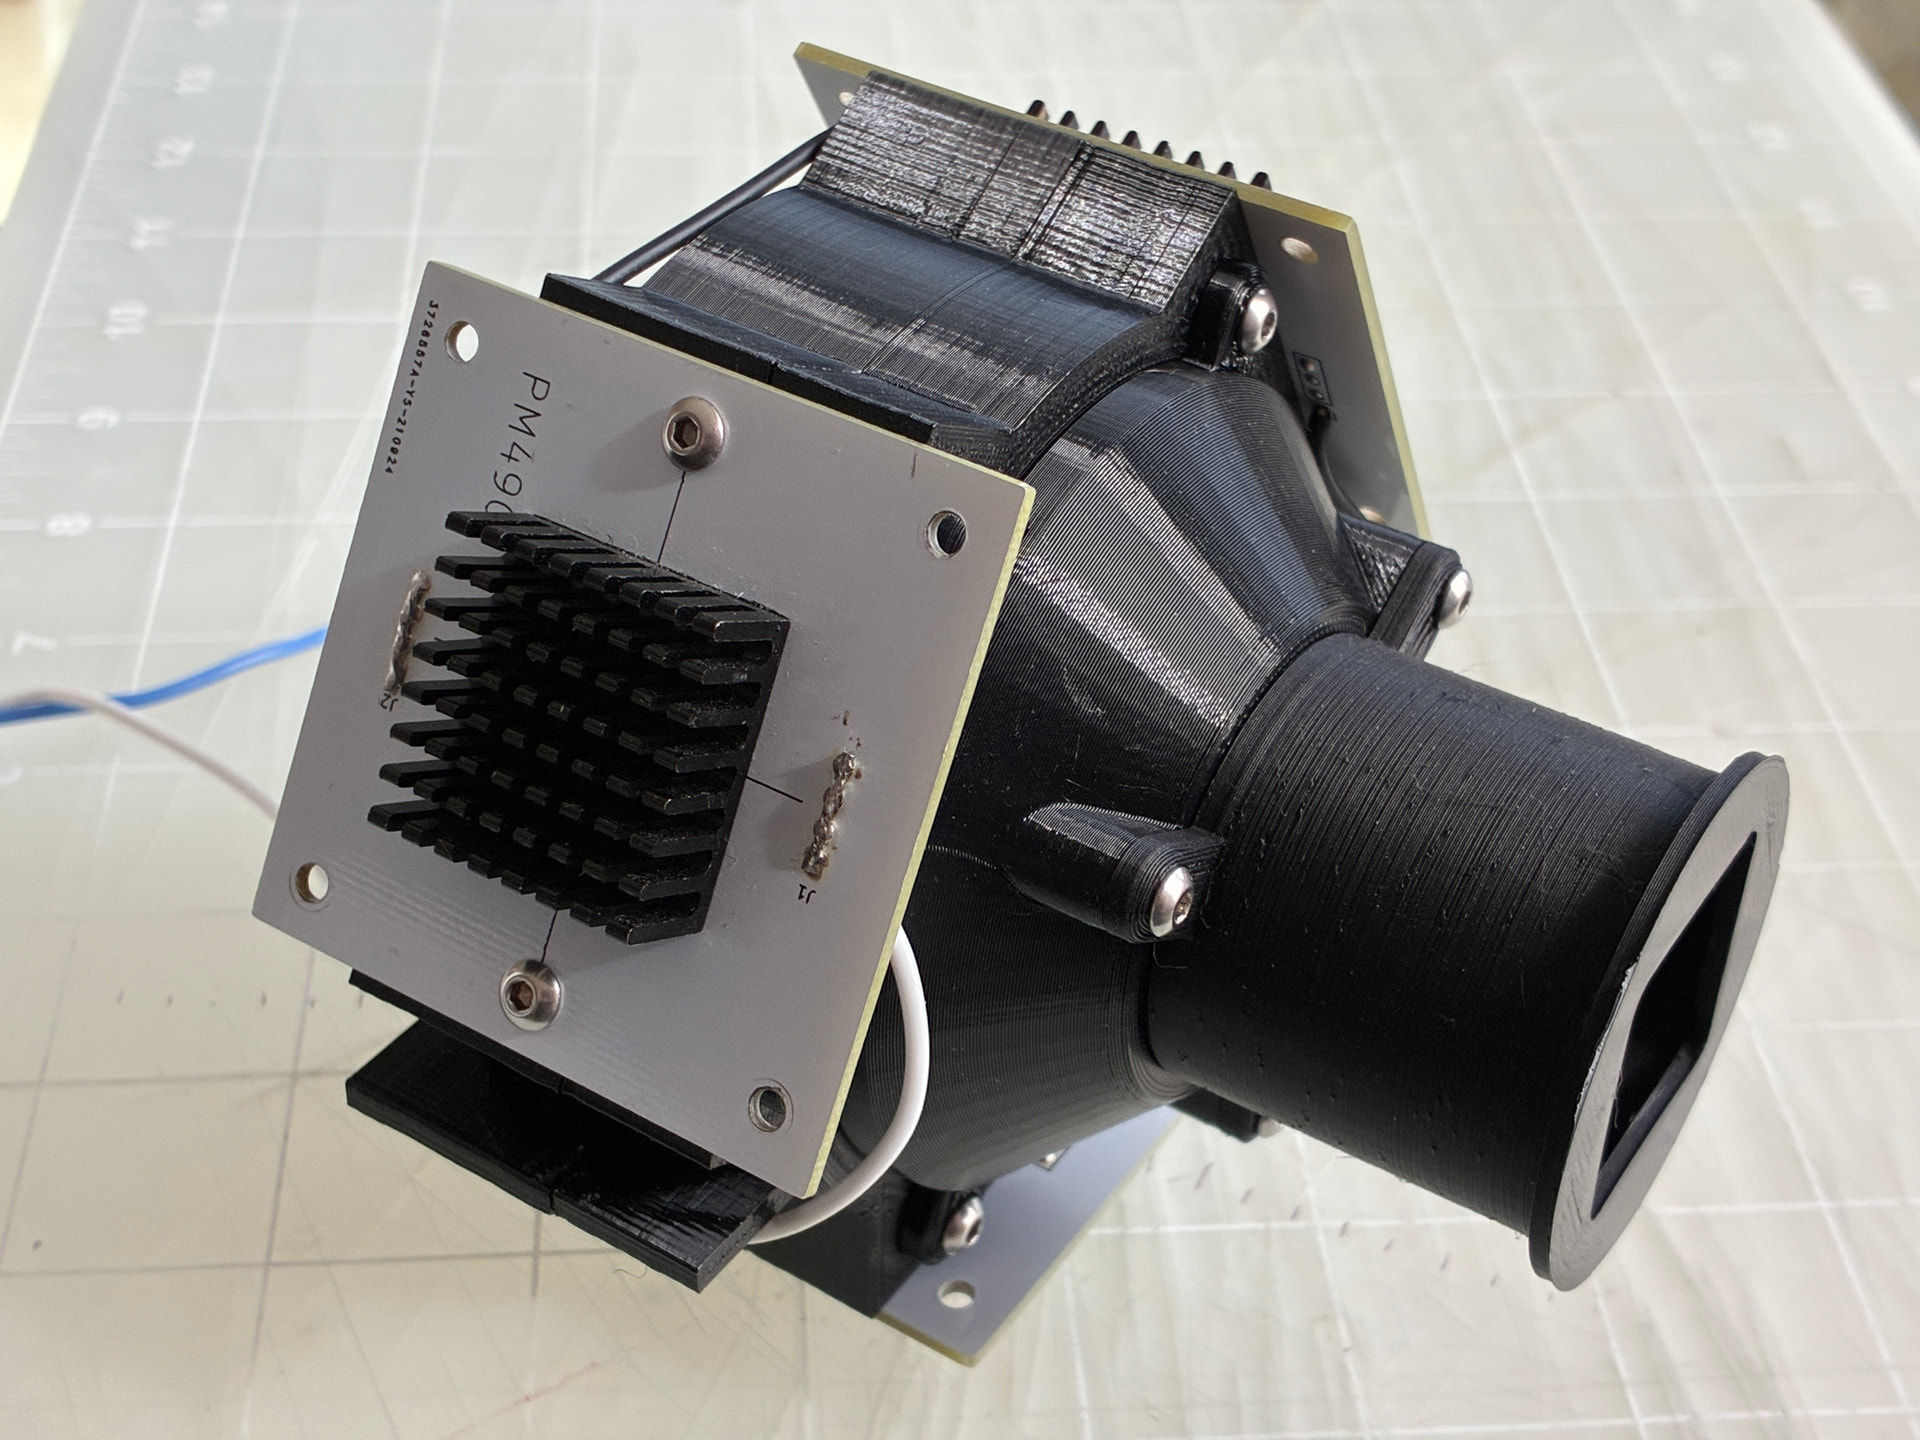
With the newly updated parts, every film path component is now 3D printed. This simplifies the build significantly and uses fewer third-party parts.
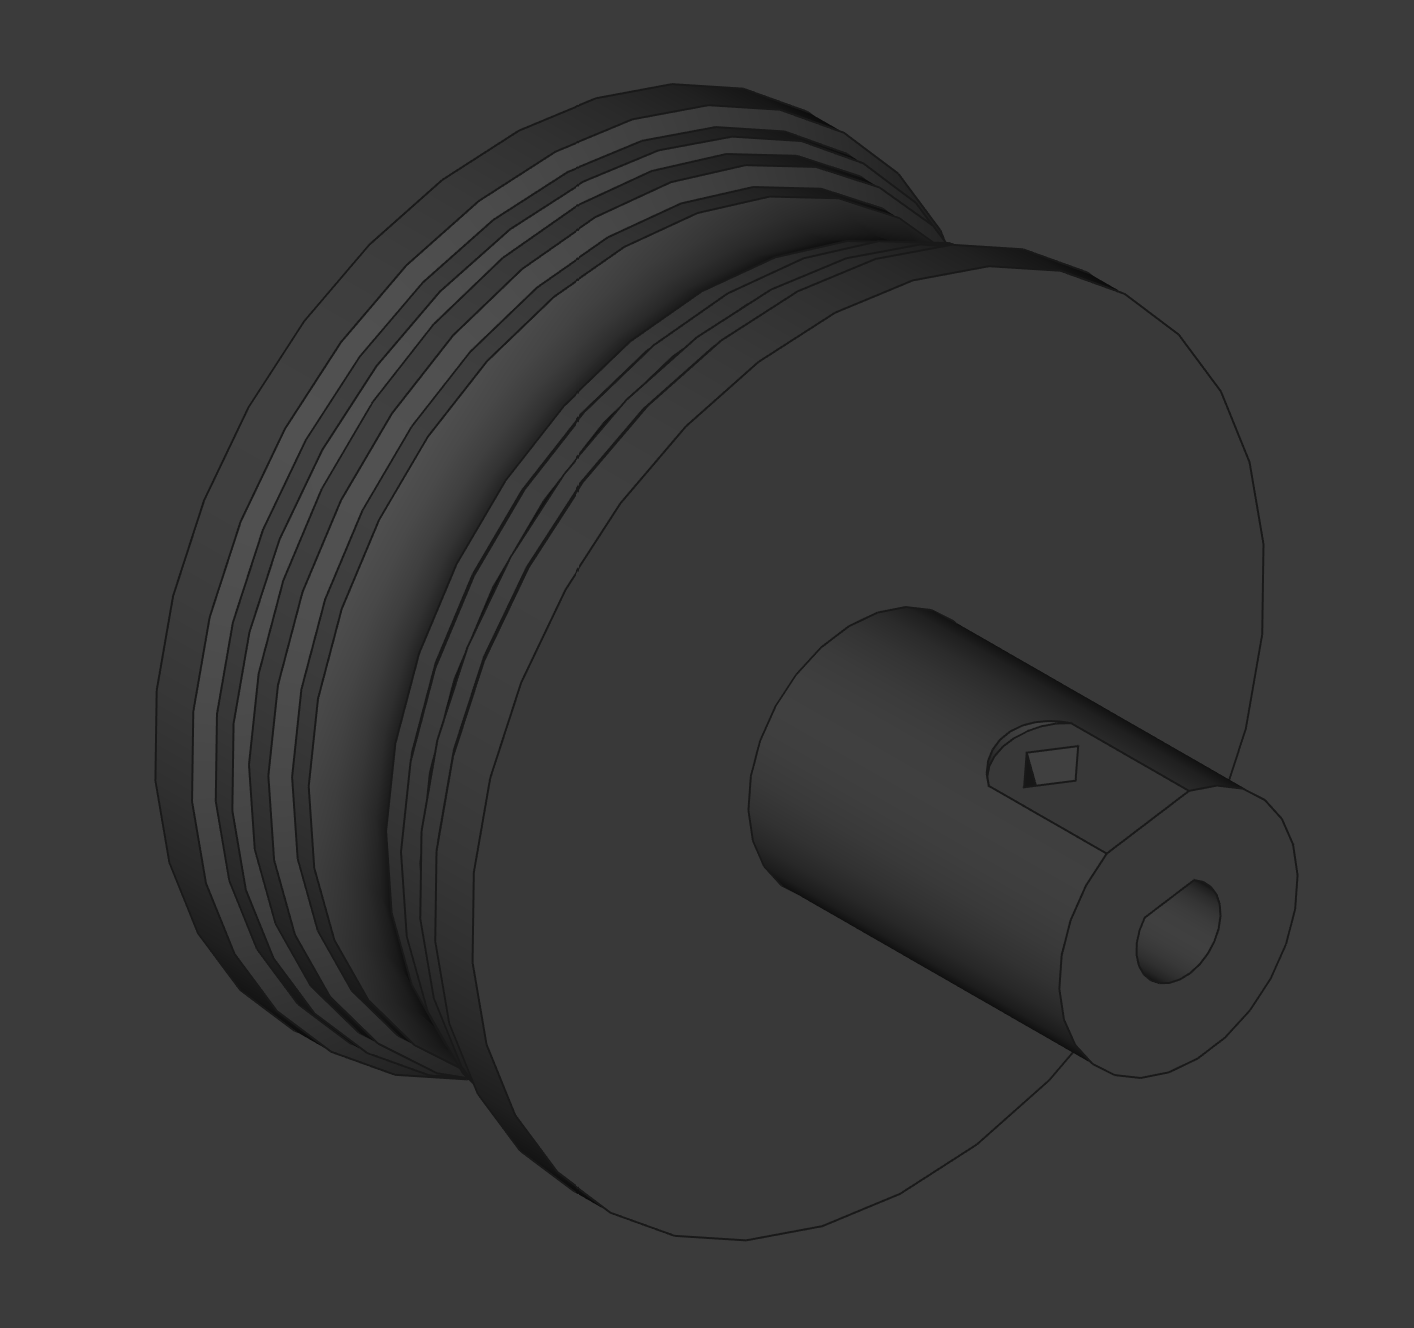
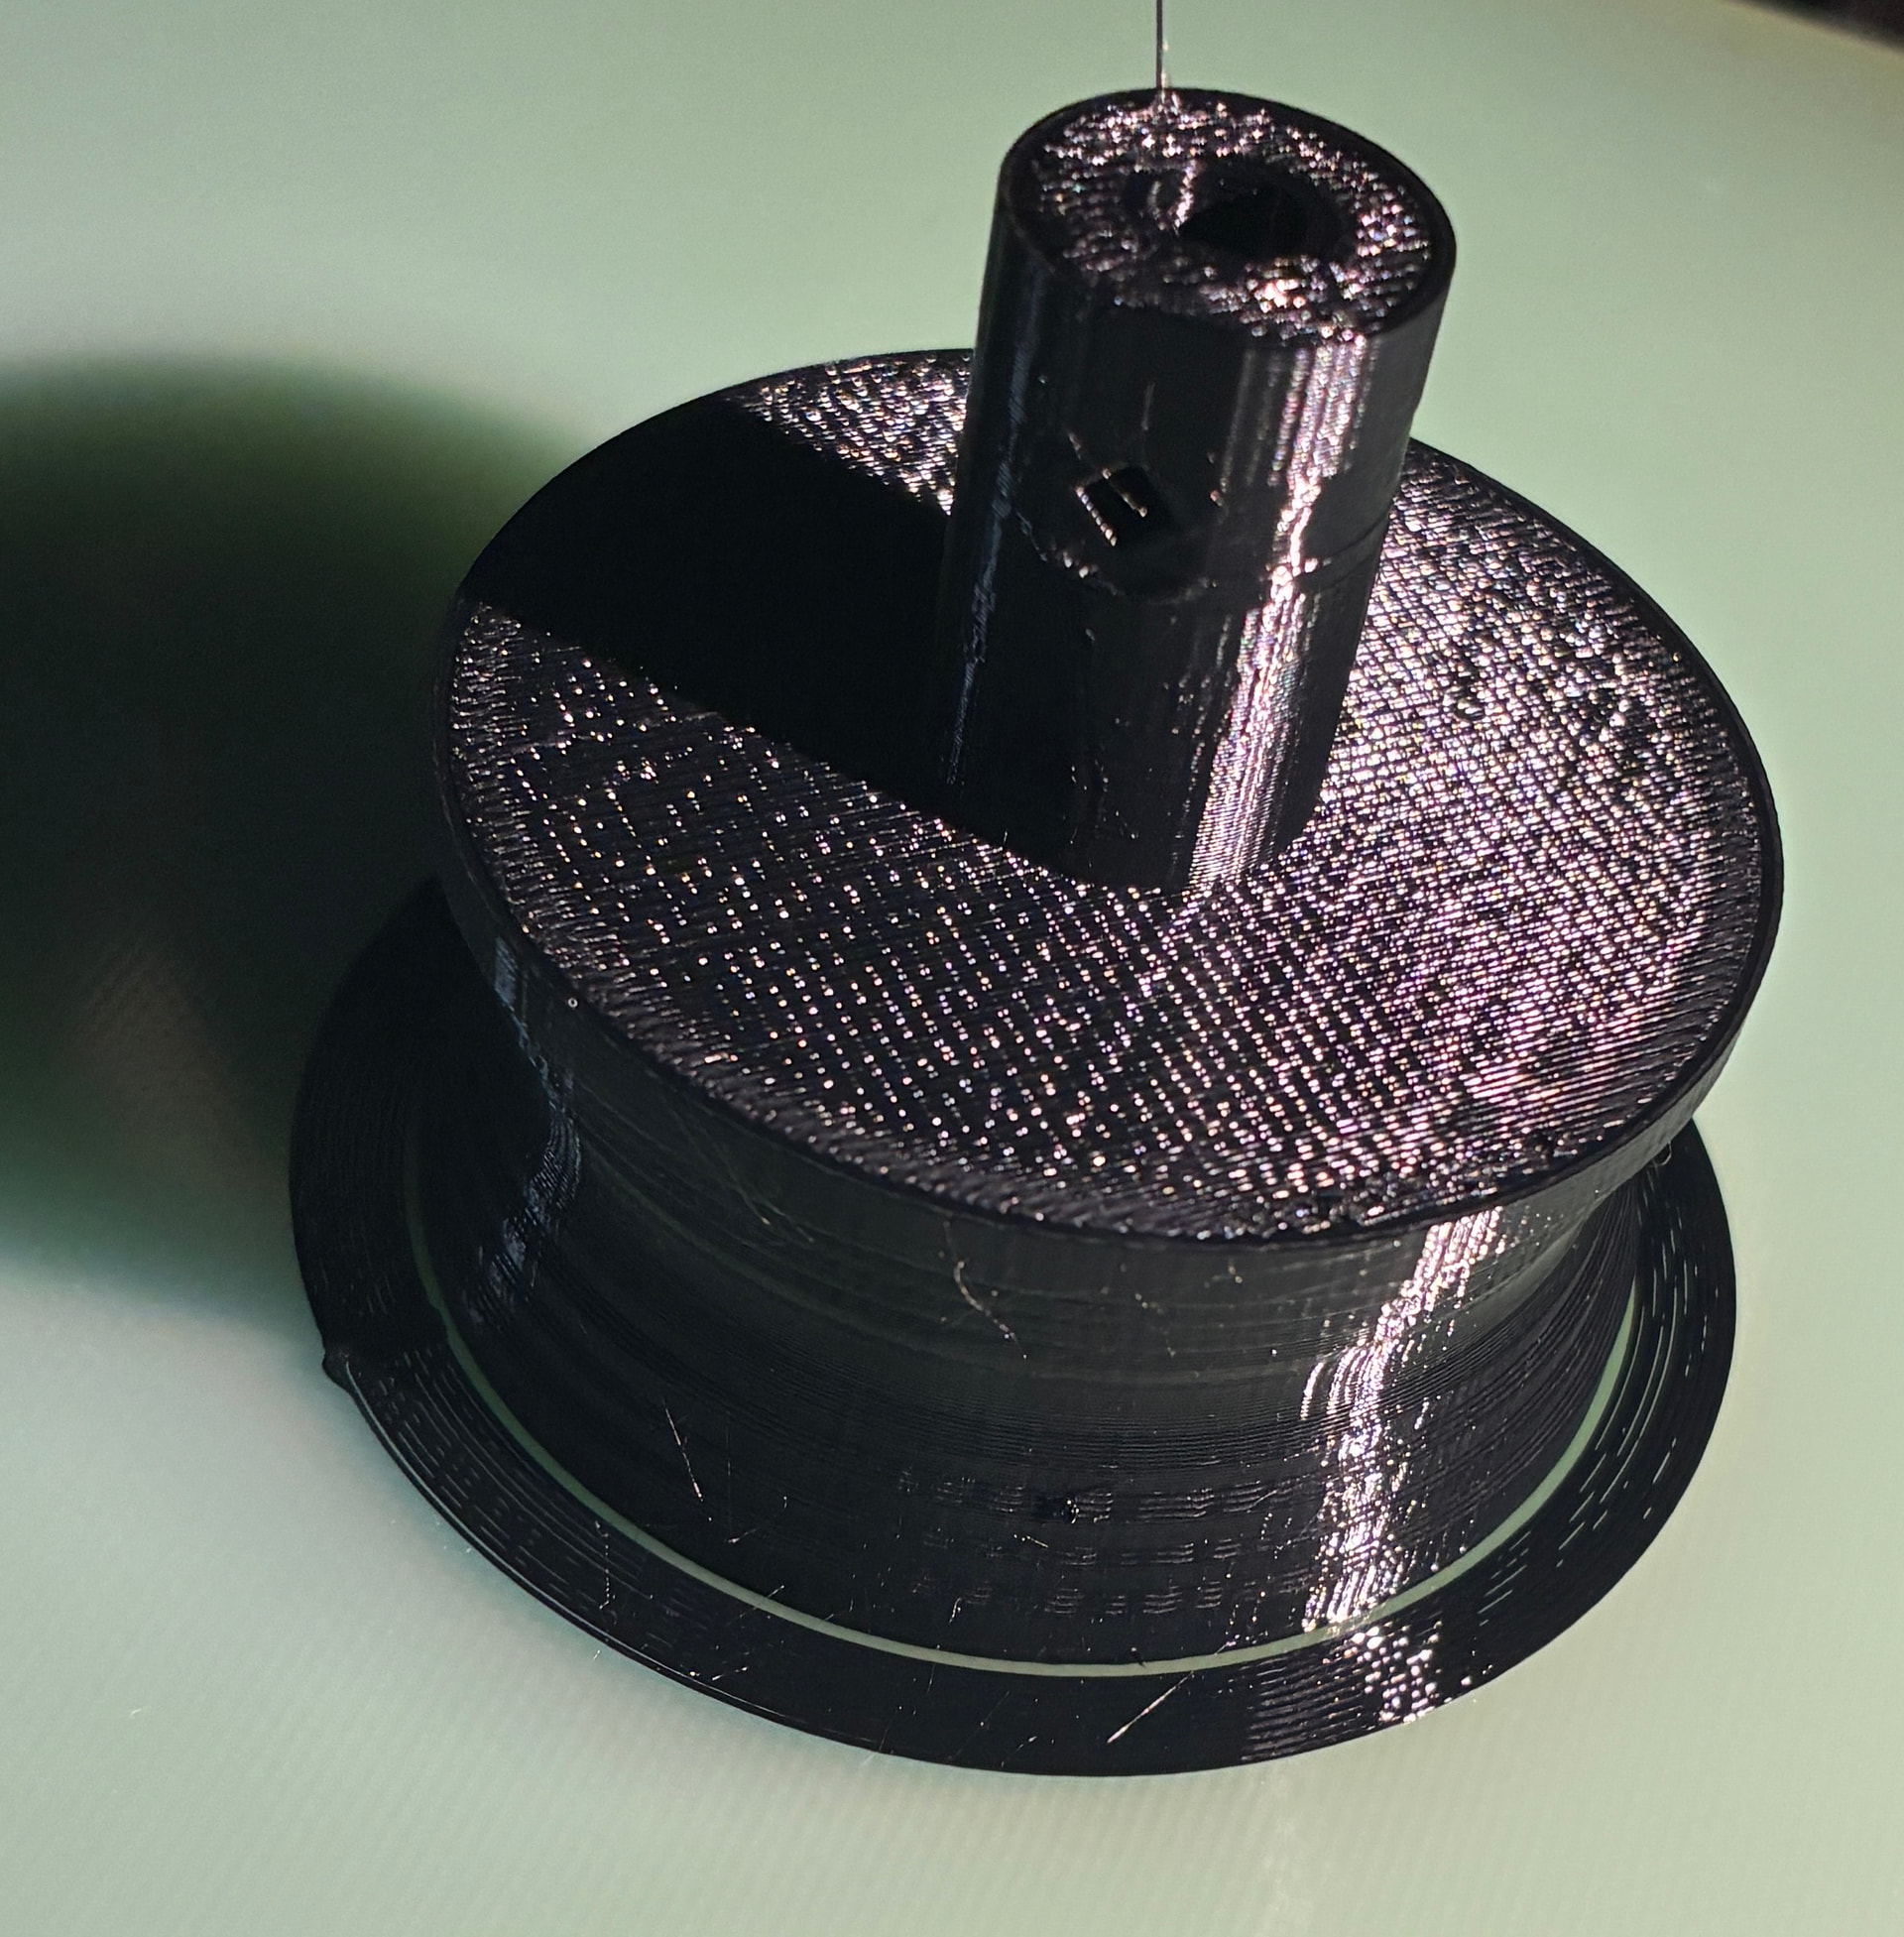
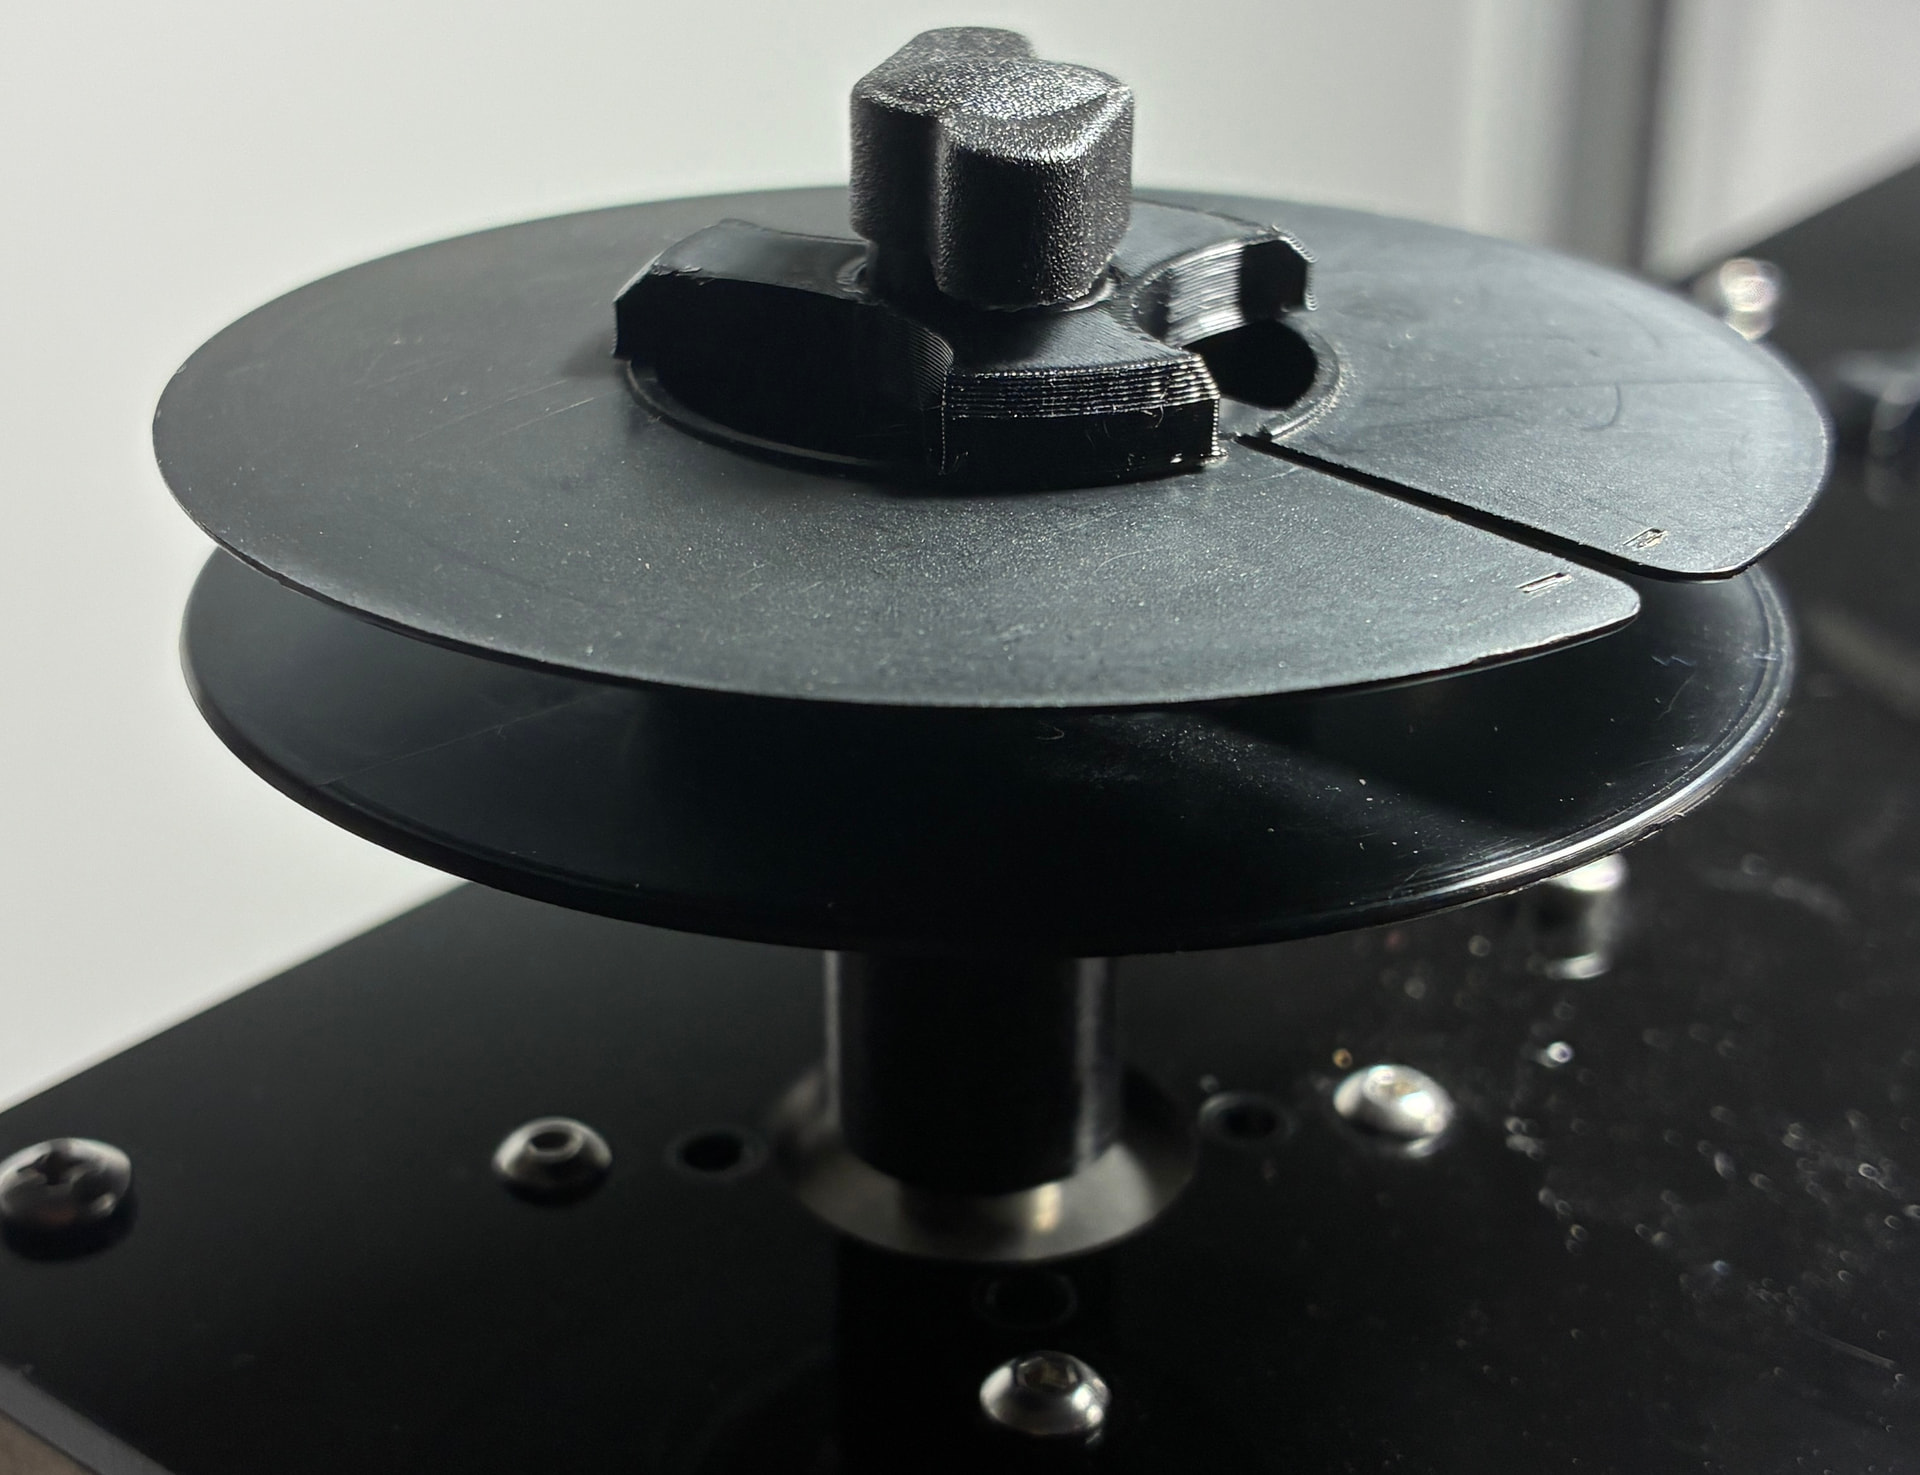
Friction Capstan
The design has been using a friction capstan (no pinch roller). The silicone encoder previously used had significant runout (eccentricity) issues, which contributed to film position errors.
- New Design: A new 3D printed version (PETG) that installs directly on the stepper axle was designed.
- Benefit: Significant improvements on runout, and it eliminates the source for the parts (axle, coupler, and encoder).
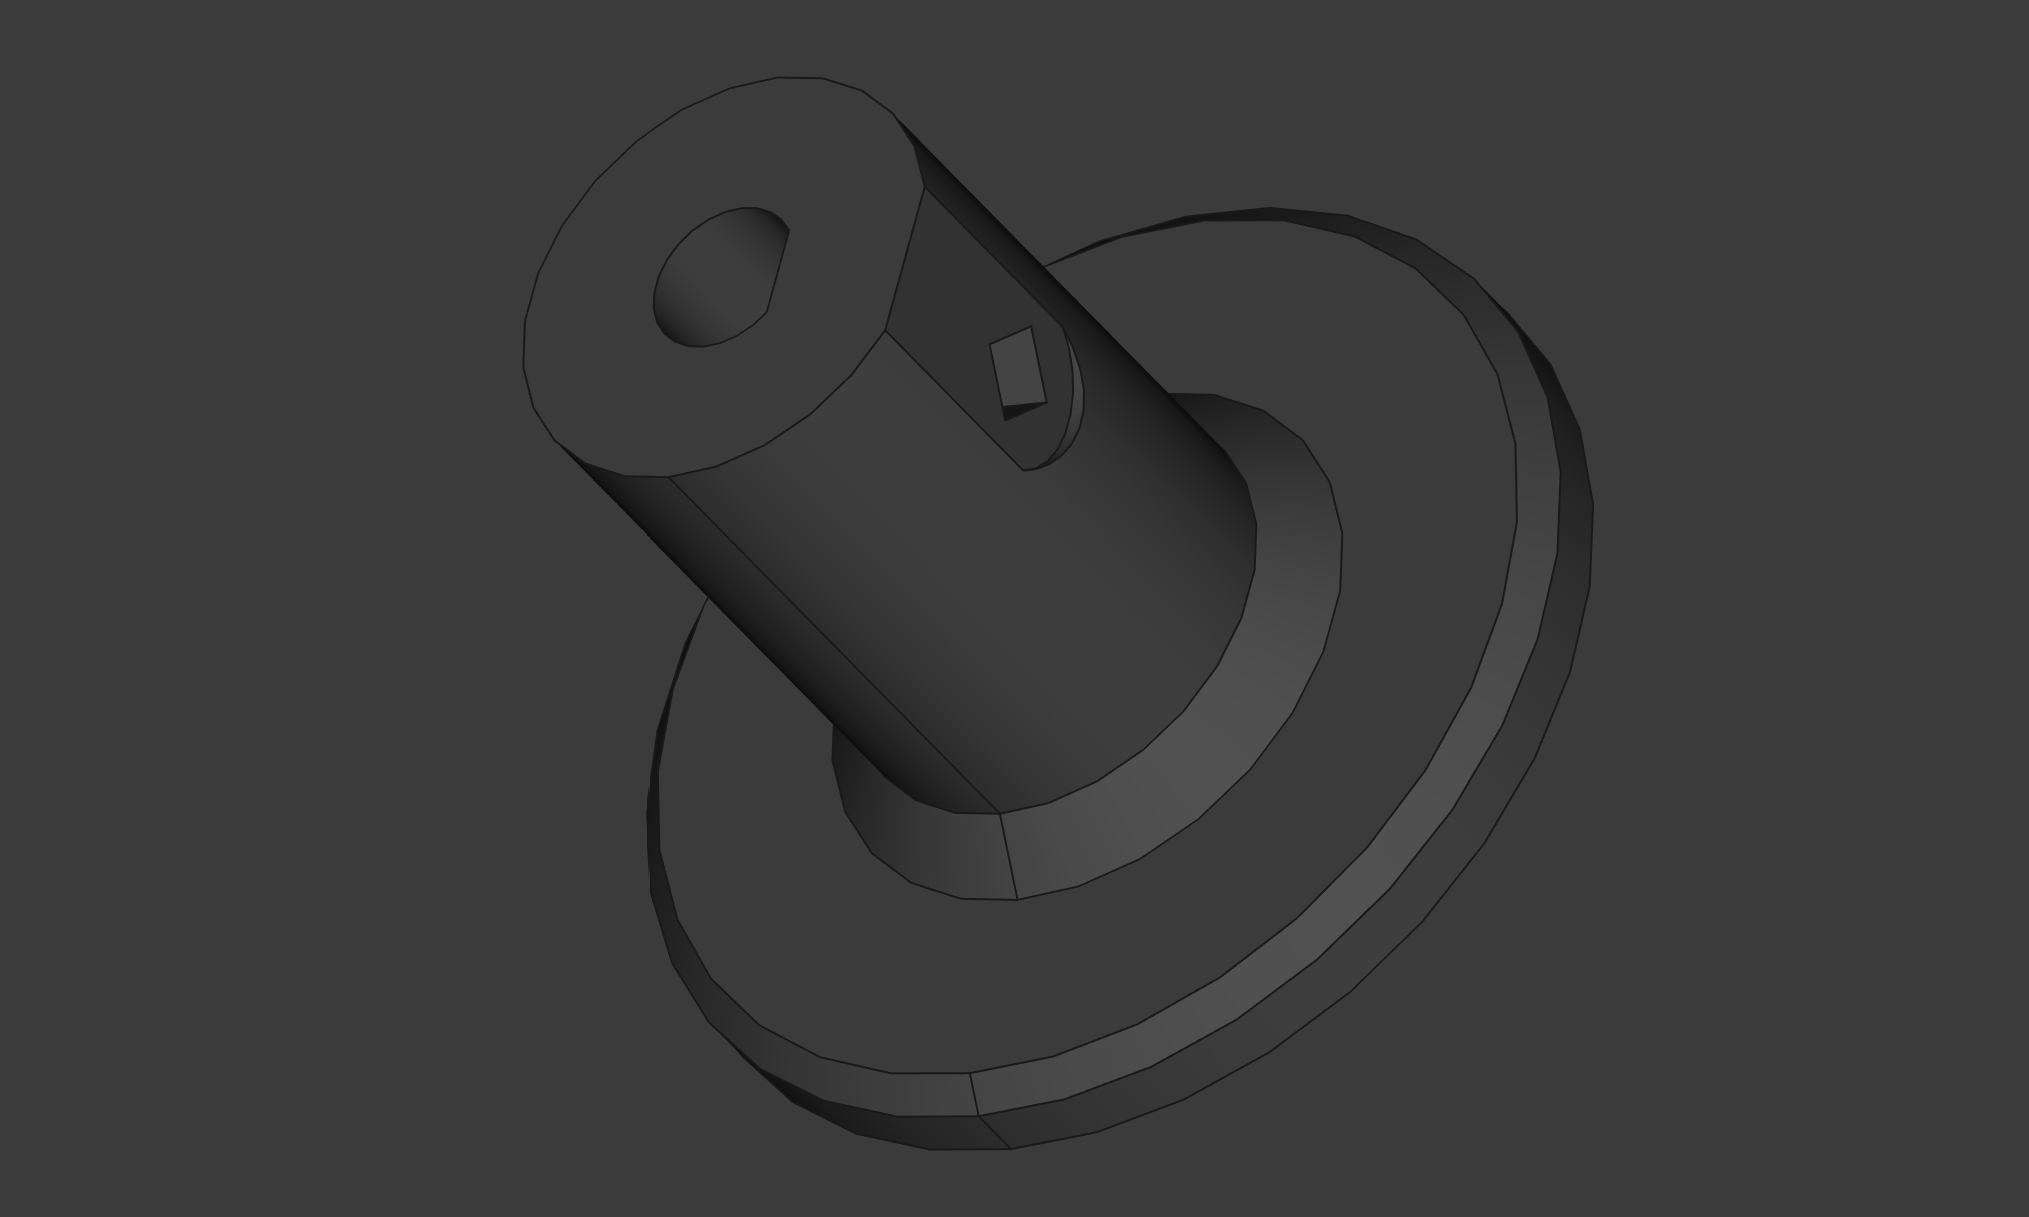
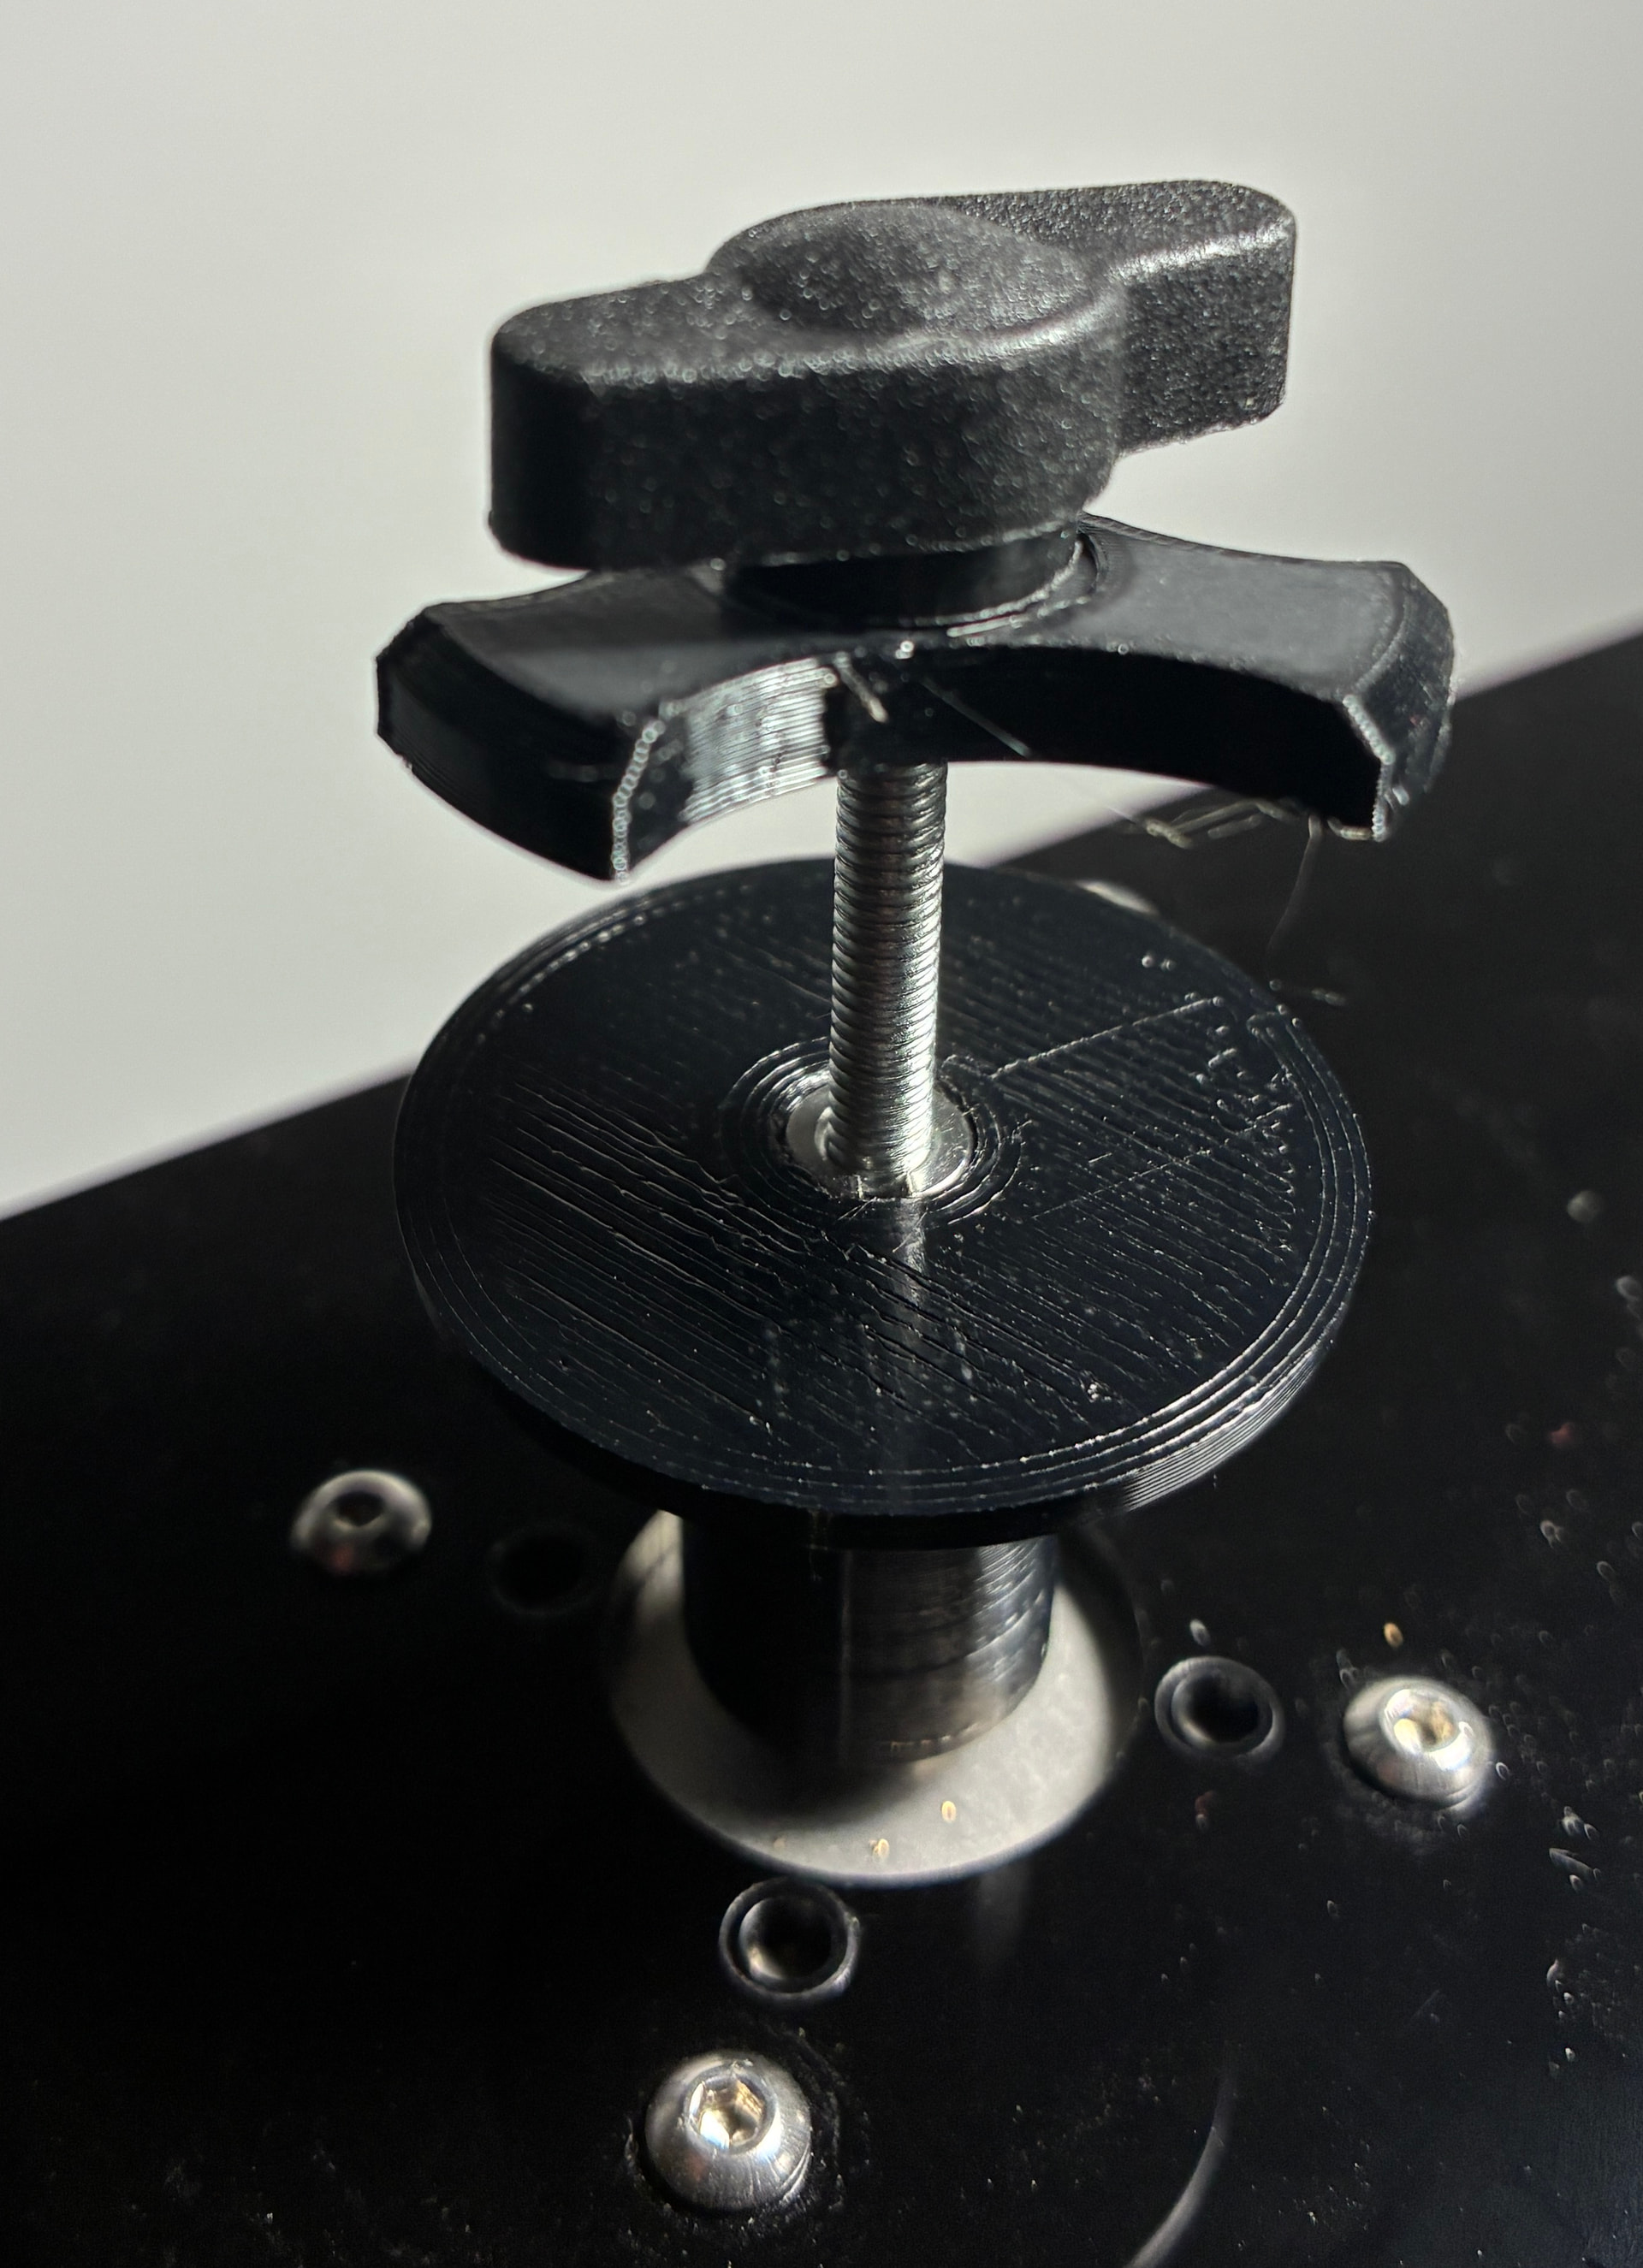
Supply and Pickup Reel Mounts
The reel mounts previously used an 8mm threaded axle, with couplers to go from 8mm to the stepper axle.
- New Design: A new 3D printed version was designed to simplify the reel mount. It uses a self-tapping thread insert (8mm to 4mm).
- Benefit: This new setup is lighter, and the adapters for 8mm, Super 8, and 16mm reels provide a better fit.
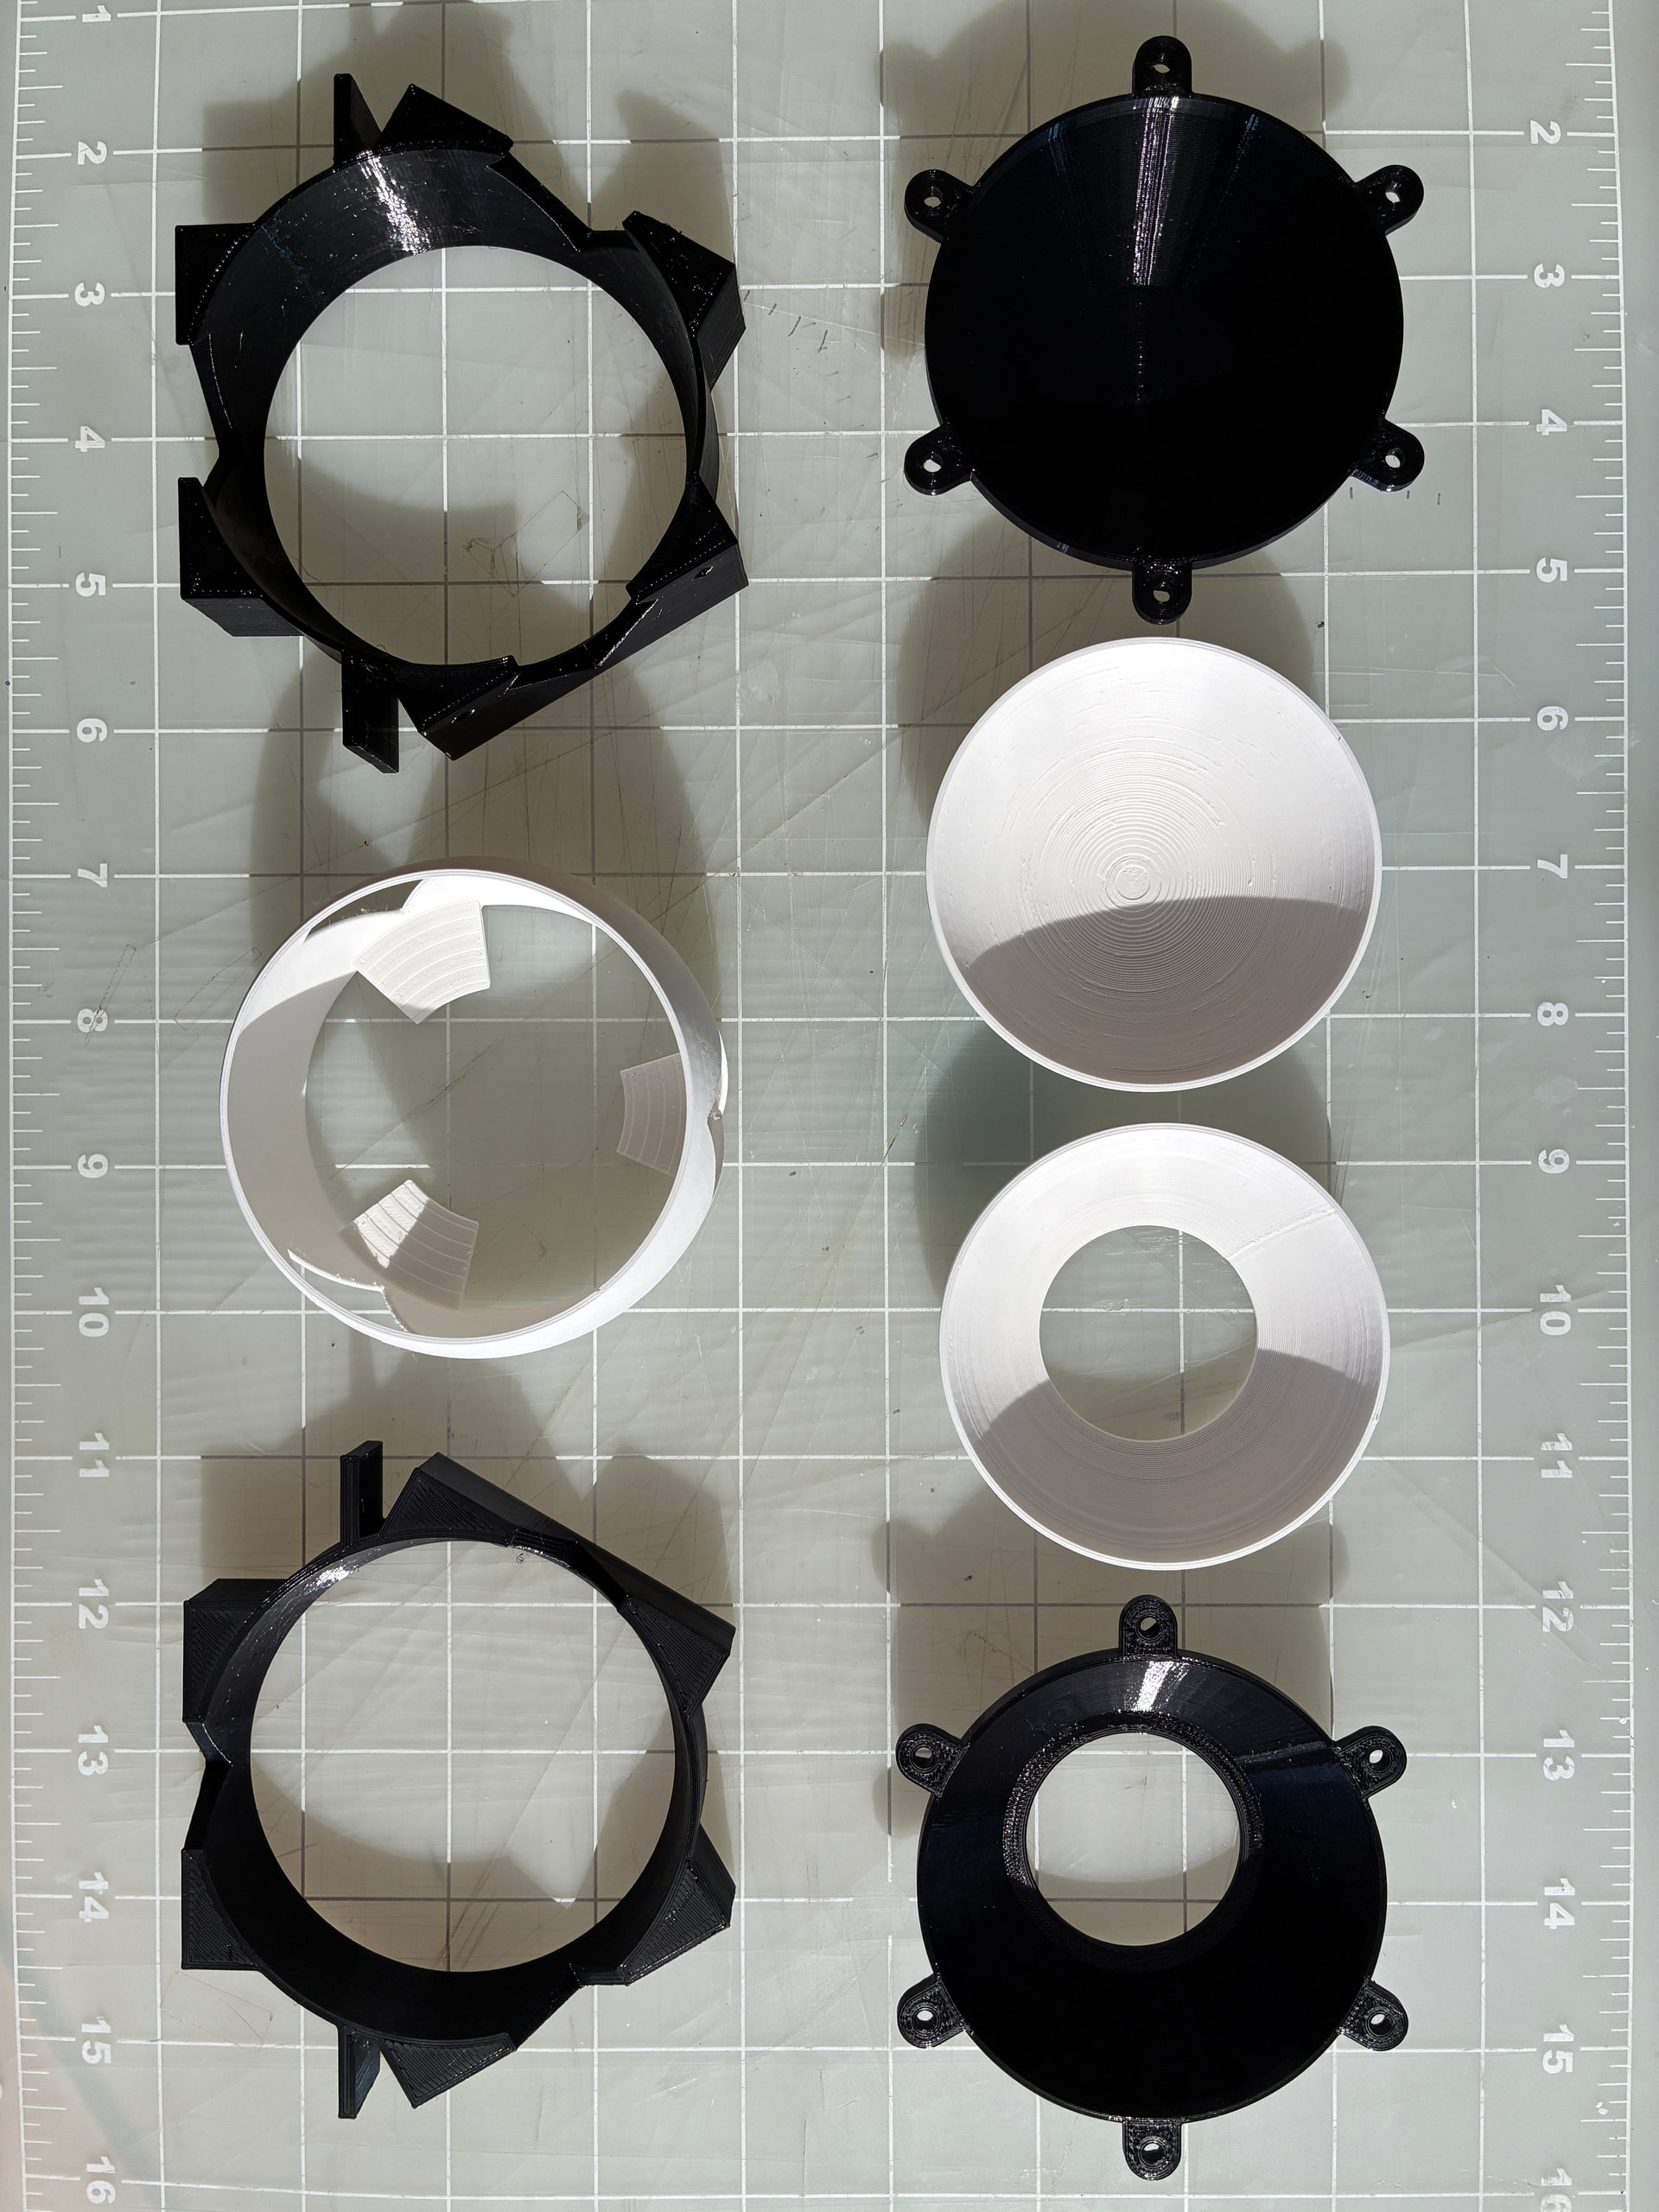
Updated Parts: A covered Shere
- Dark-mode Sphere To reduce glare from the translucid white PLA, the sphere was redesigned into an external shell (printed in black PETG) and an internal reflector with baffles (printed in white PLA Matte, same as the previous one). The center core is divided to keep the sphere to three sections.
PICO Controller & Film Code
I have completed the command-set to run the scanner, including full control of the micro-stepping settings for each stepper, and a command-set for separate control of each stepper if/when needed.
- Sigmoid Advance: A single film advance command coordinates all three steppers. The capstan advances the commanded number of steps using a sigmoid curve (see previous update), while maintaining tension with the supply and pickup steppers.
- LED Control: Intensity settings can be controlled as 16-bit linear (direct DAC value), 12-bit exponential value, or percentage.
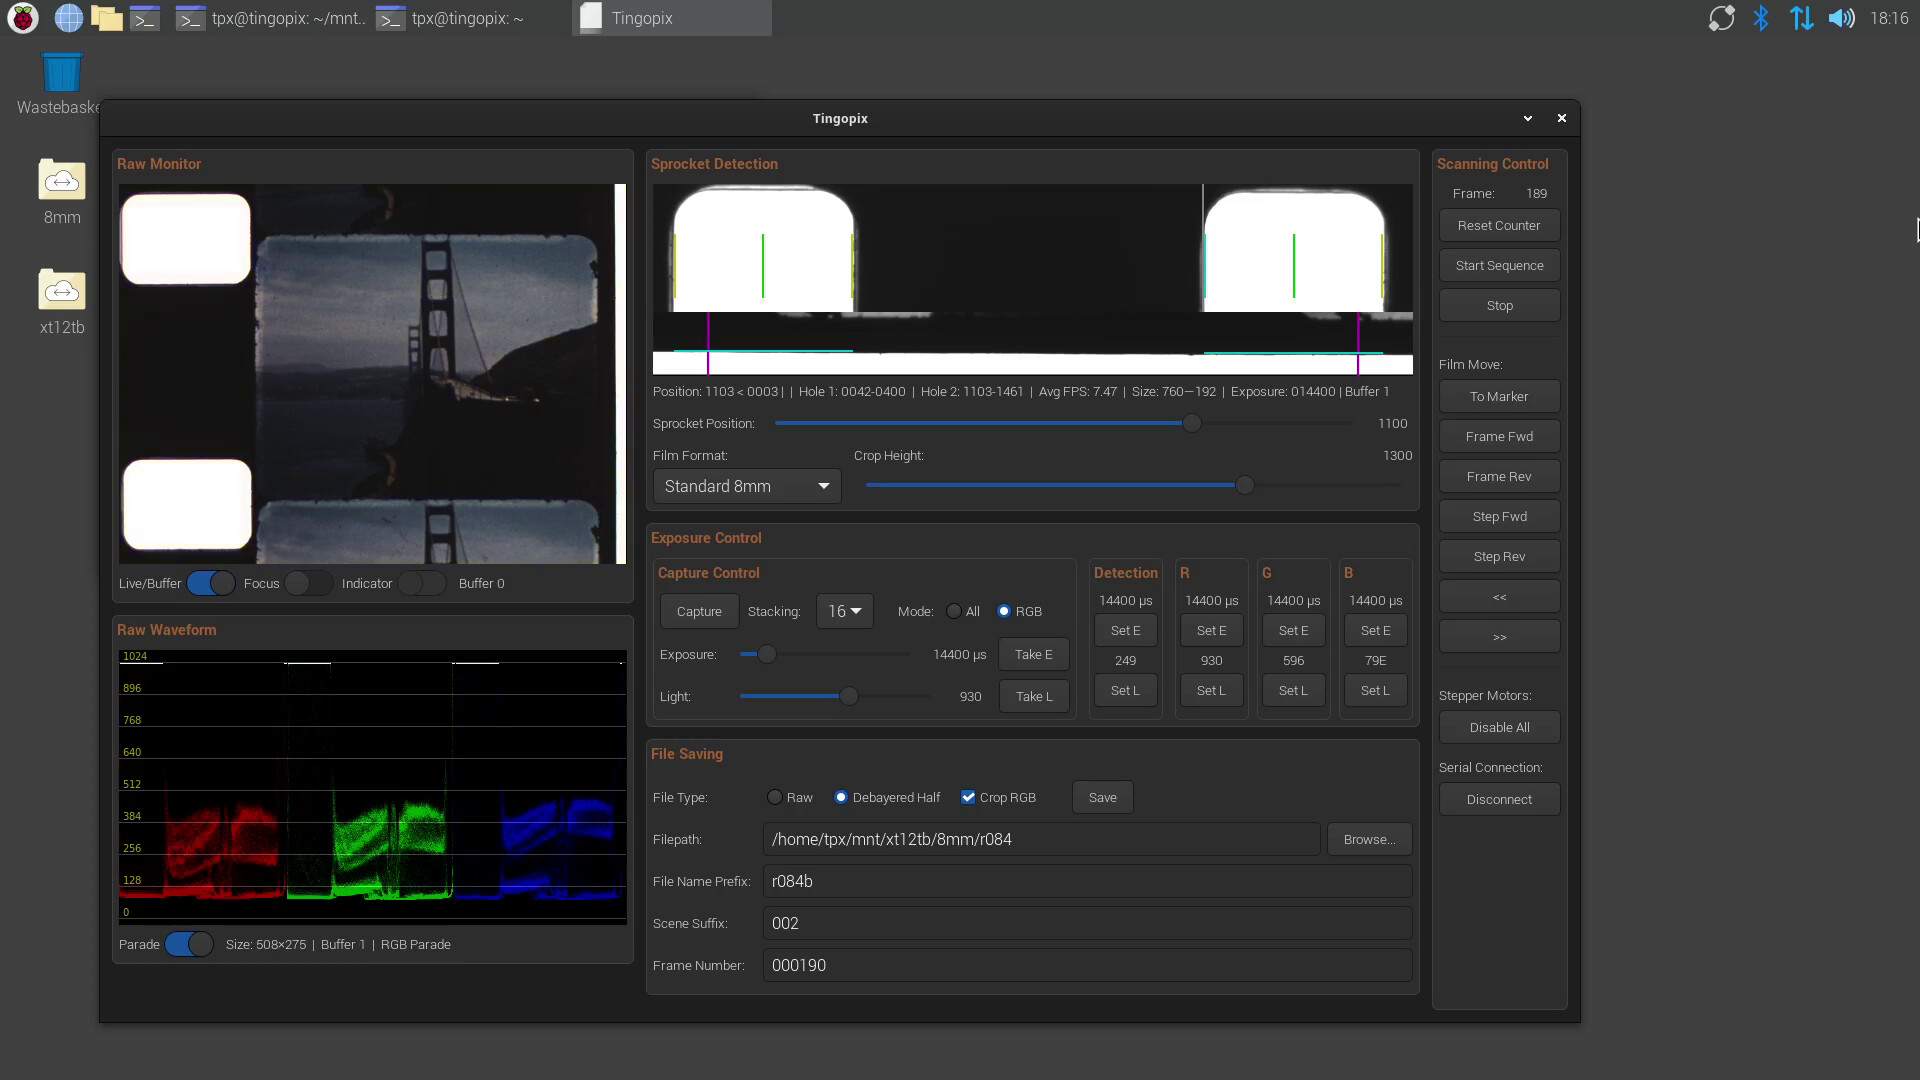
Raspberry Pi Control GUI
This project had a long aspirational wish list accumulated over years. The list included:
- Interface responsive enough to be workable via VNC.
- Full resolution raw processing.
- Real-time sprocket hole detection and capture preview.
- Real-time waveform (from raw full-resolution capture values) with parade mode.
- Easy selection between film format parameters from GUI.
- Stacking (averaging multiple captures) for each channel separately or all channels simultaneously.
- Capture image stabilization from sprocket hole edge and film edge.
GUI Toolkit: GTK4
The previous GUI framework was based on Tkinter, and chances of getting the wishlist done with an RPi4 were near zero. Also, Raspberry OS (Bookworm) updated the display server to Wayland.
The Solution: GIMP Tool Kit (GTK4). It provided the best combination of performance while staying open source.
Multicore Framework: “Everything Everywhere All At Once”
The RPi4 is a challenge for data-intensive apps, but it is an ideal test platform to optimize code performance. The new software was rewritten from scratch using a modular multiprocessor setup and shared memory manager.
The simplified processing pipeline:
- Libcamera Raw Capture → Area of Interest (blue only) debayering → Sprocket Detection
- In parallel: Debayer Preview (RGB from full res raw to 1/8 size) → Waveform
- In parallel: GUI
- In parallel: Controller → USB communication (Transport/Light)
- On Request: File Saver → Full Res Raw (Bayered) OR Half Res RGB (Binned)
“Out of the Blue”: Sprocket Detection
The system figures out where the film is by analyzing a 384×1520 pixel slice of the blue channel.
- Vertical: The detector creates a vertical intensity profile. Sprocket holes show up as bright peaks. Once the peak is found, edge detection kicks in (85% brightness threshold) to nail down the exact top and bottom of the hole.
- Horizontal: The same threshold-based approach is used horizontally to locate the film’s right edge. This is crucial for the Super-8 wobbling sprocket and electronically compensates for film shift without a physical gate.
File Formats & Capture Strategy
The Compromise (Speed/Space)
VNG debayering is great but computationally expensive.
- Strategy: Save half-resolution debayered images (stride-2 binning down to 1520×2032, with black level correction and CCM applied). This delivers excellent color at reasonable file sizes for 8mm film, with options for stabilization and cropping applied.
The Raw “Trick” (Max Quality)
For full-resolution work, the system saves the Raw Bayer data (3040×4064) as a TIFF.
- The Trick: Sprocket detection values (vertical/horizontal position, markers, crop height) are embedded into the last column of pixels in the raw file.
- Benefit: This defers the heavy VNG debayering to post-processing while keeping the precise sprocket detection data that was captured during the scan.
Stacking and Multi-Channel Options
Two capture modes are offered to handle different film conditions:
- “All Channels” Mode: Captures all three color channels simultaneously. Simple and faster.
GUI: All Channels - One Capture (16mm) - “RGB” Mode: Captures each color channel separately and sequentially, using independent exposure and LED brightness. This allows compensation for fading while maintaining wide-band illumination.
GUI: RGB Separately - 1 Capture = 12 bit depth (Super8)
Both modes support Frame Stacking (1 to 16 captures). Stacking 16 frames of 12-bit data delivers a full 16-bit image, reducing noise and extending dynamic range.
GUI: RGB separately - 16 captures = 16 bit depth (Standard 8mm)
Retrospective & Future
It is interesting how the landscape has changed. Just this year, Black Magic Design launched a separate Cintel dedicated to 8/16mm, and CUIMAGING is launching one as well. Somehow, a low-budget DIY scanner seems less out of sync today than a couple of years back.
In the trade-off of Quality-Speed-Budget, this scanner fits my priorities: high color quality images with a very low budget. An order of magnitude lower in cost… and higher in time.
Future Design Improvements:
- Software: Optimize RGB camera/light changes to improve capture time; PICO code cleanup; Fine-tuning film movements.
- Hardware: Replace laser-cut stepper mounts with 3D printed versions.
From October 2022 and the “time-of-flight” failure to today, the pending part of the goal is repeatability.
That is essentially: Tingopix.
Super 8 Test Capture (The tank actual color was teal)