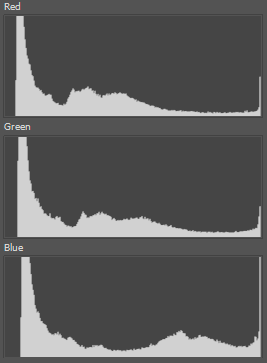
For a final/delivery image, I agree. But if we’re talking about initial capture, it’s nice to keep some headroom for correction. If you’re already clipping during capture, you’ve lost some information.
(It looks like we were both composing our replies at the same time; you’ve said a few similar things as I have, below.) ![]()
My experiments over the last few months (which I’m hoping to write-up at some point) use a very different workflow than anything described here but I just ran into a near-identical situation to this one that took a while to work out what was going wrong.
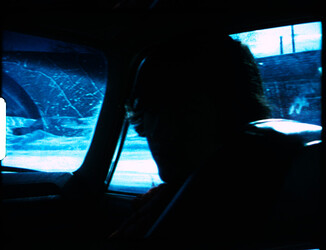
This is a frame from one of the most challenging scenes I’ve scanned so far. I believe the camera/film was incorrectly set to an indoor color temperature (the indoor footage immediately preceding and following it are a lot less blue!) and the exposure is clearly set for the background.
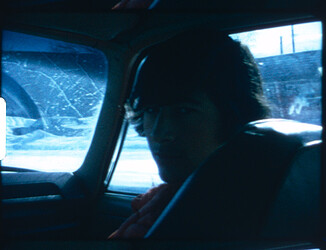
Those are the linear values straight from the sensor. If you assign the color profile I measured from my sensor/lighting setup and then export as sRGB, you can at least see a little more than silhouette:
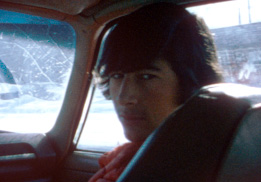
This is where it gets interesting. The best I was able to do manually with the original was this:
Which, all things considered, I’m happy with. (That there is any skin tone able to be recovered is a bit of a miracle.) That was manual tinkering in Photoshop using a combination of their automatic correction tools and some manual tweaking. Everything was pretty straightforward and I didn’t run into any trouble.
Since then, my experiments have veered into unusual territory involving mosaiced thumbnails, HALD LUTs, and command-line tools like ImageMagick to do some pre-processing.
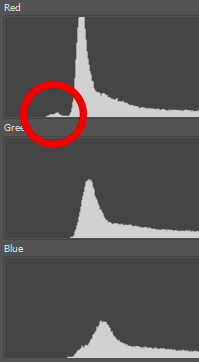
When I was running these same images through that process, I ran into a new problem I hadn’t seen the first time, which presents itself as the same kind of distortion at the bottom end of the red channel.
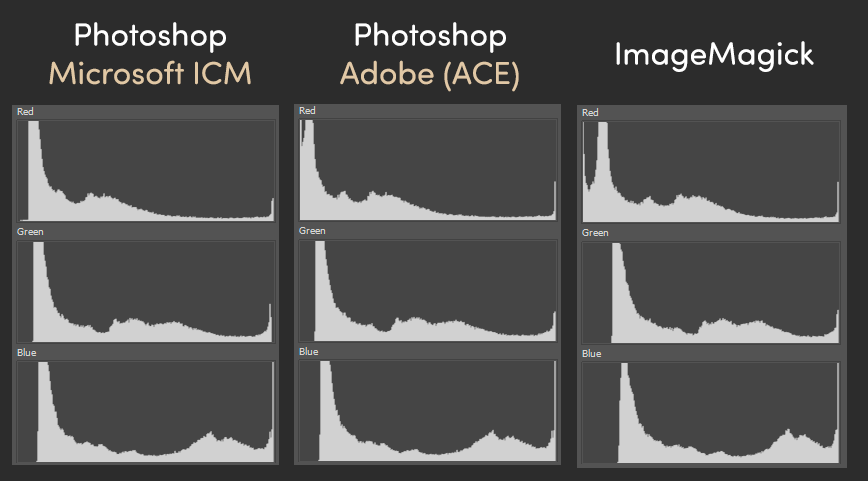
The first two steps in all of the following are “assign ReelSlow8 color profile” followed by “convert to image P3 color profile”. But depending on who you ask, you get very different histograms! Photoshop gives you a choice of which color engine–theirs or Microsoft’s–you’d like to use when doing conversions:
Check out those red channels! (EDIT: Er, the ImageMagick version also has a bonus 1.3 gamma bump applied. That’s why things are shifted a little vs. the other two.)
It’s worth emphasizing that all three of these started from the same image and were converted using the same ICC color profiles with the same options (Relative Colorimetric intent with Black Point Compensation).
What I’ve been able to gather is that there are some out-of-gamut regions in the image and the (soft) clipping behavior of all three engines is different.
(I only discovered these color conversion engine differences when the automatic tools were failing to give good results when I was tinkering with the ImageMagick-converted versions of the images.)
Maybe a wider intermediate gamut than P3 would solve the problem?
Even Rec.2020 (zoomed in here quite a bit) still gives a little clipping hiccup:
I didn’t like the idea of working in ProPhoto RGB (because the primaries are imaginary/impossible colors), but presumably this is a little like working in DaVinci Wide Gamut for intermediate steps. All three color conversion engines show no problems when working in ProPhoto RGB:
No clipping at the bottom end, automatic correction tools work well again, and everything is reasonable. (It’s hard to believe just how wide a gamut this camera sensor acquires!)
Continuing to experiment in DaVinci, I like that they retain the negative values (instead of clipping) throughout the whole process. That seems like a great way to avoid a lot of this sort of trouble. The more I use Resolve, the more it seems like more of my process should go through it…
