June/July: Early Direct Drive Transport with Load Cell
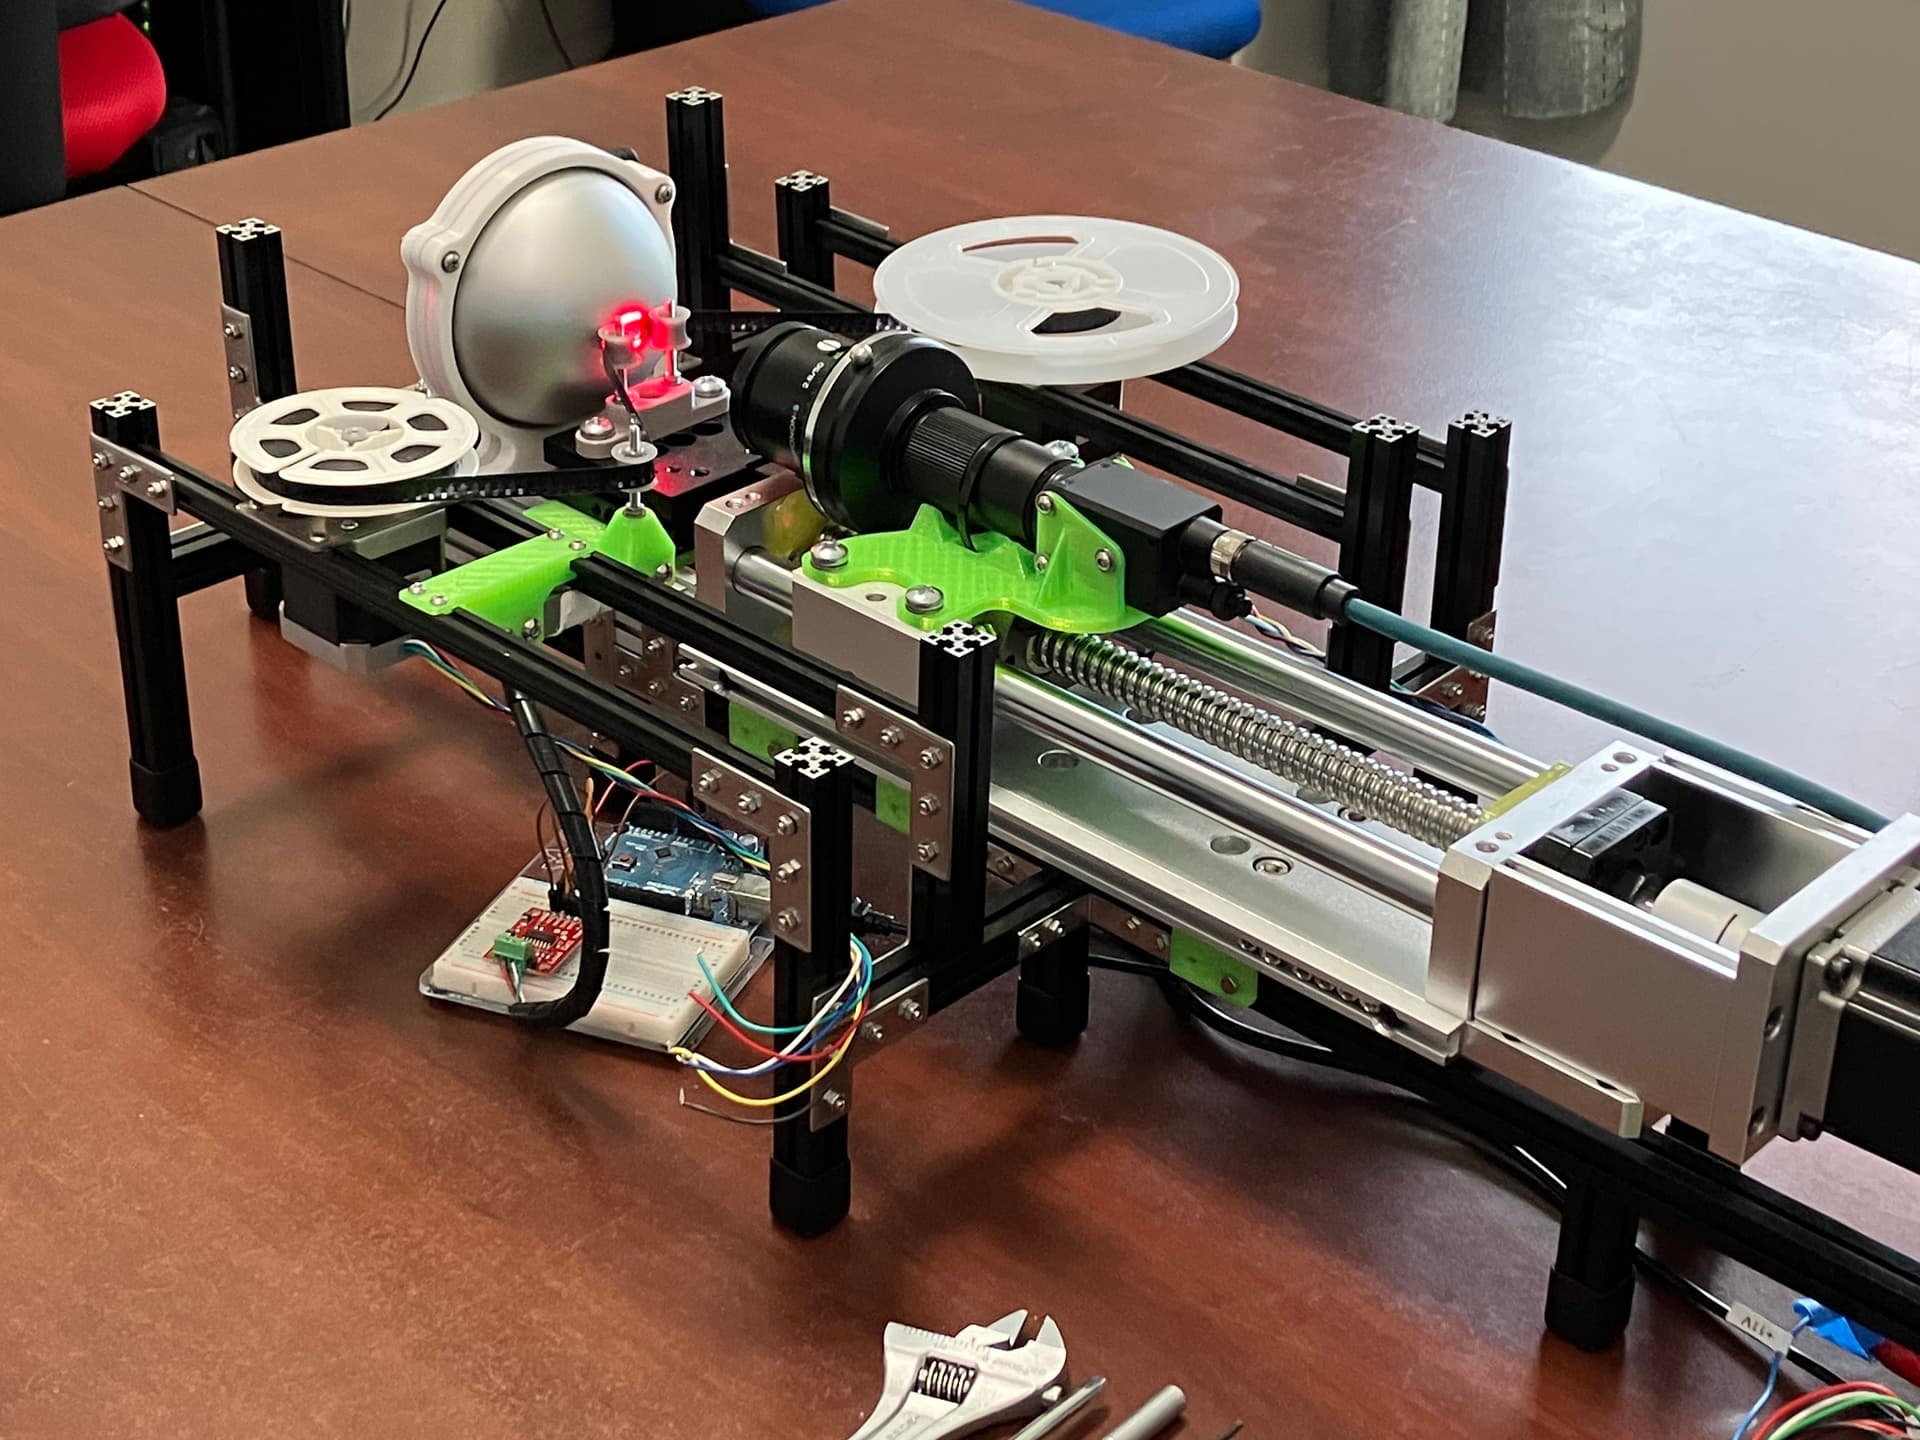
The ReelSlow8 has sprouted legs (and more). I wanted to get it off the table so I could run wires and have easier access when building the side arms.
My 7 year old started his summer break from school so my hobby time took another hit. I didn’t have enough to show in June alone, so I’ll do a June/July and July/August update instead.
Even then, instead of working on auto-focus I decided to finally tackle the pain point I experience anytime I need to carefully hold film in front of this thing for a test. It was time this film scanner could actually scan film. ![]()
I opted for the simplest film path I could imagine.
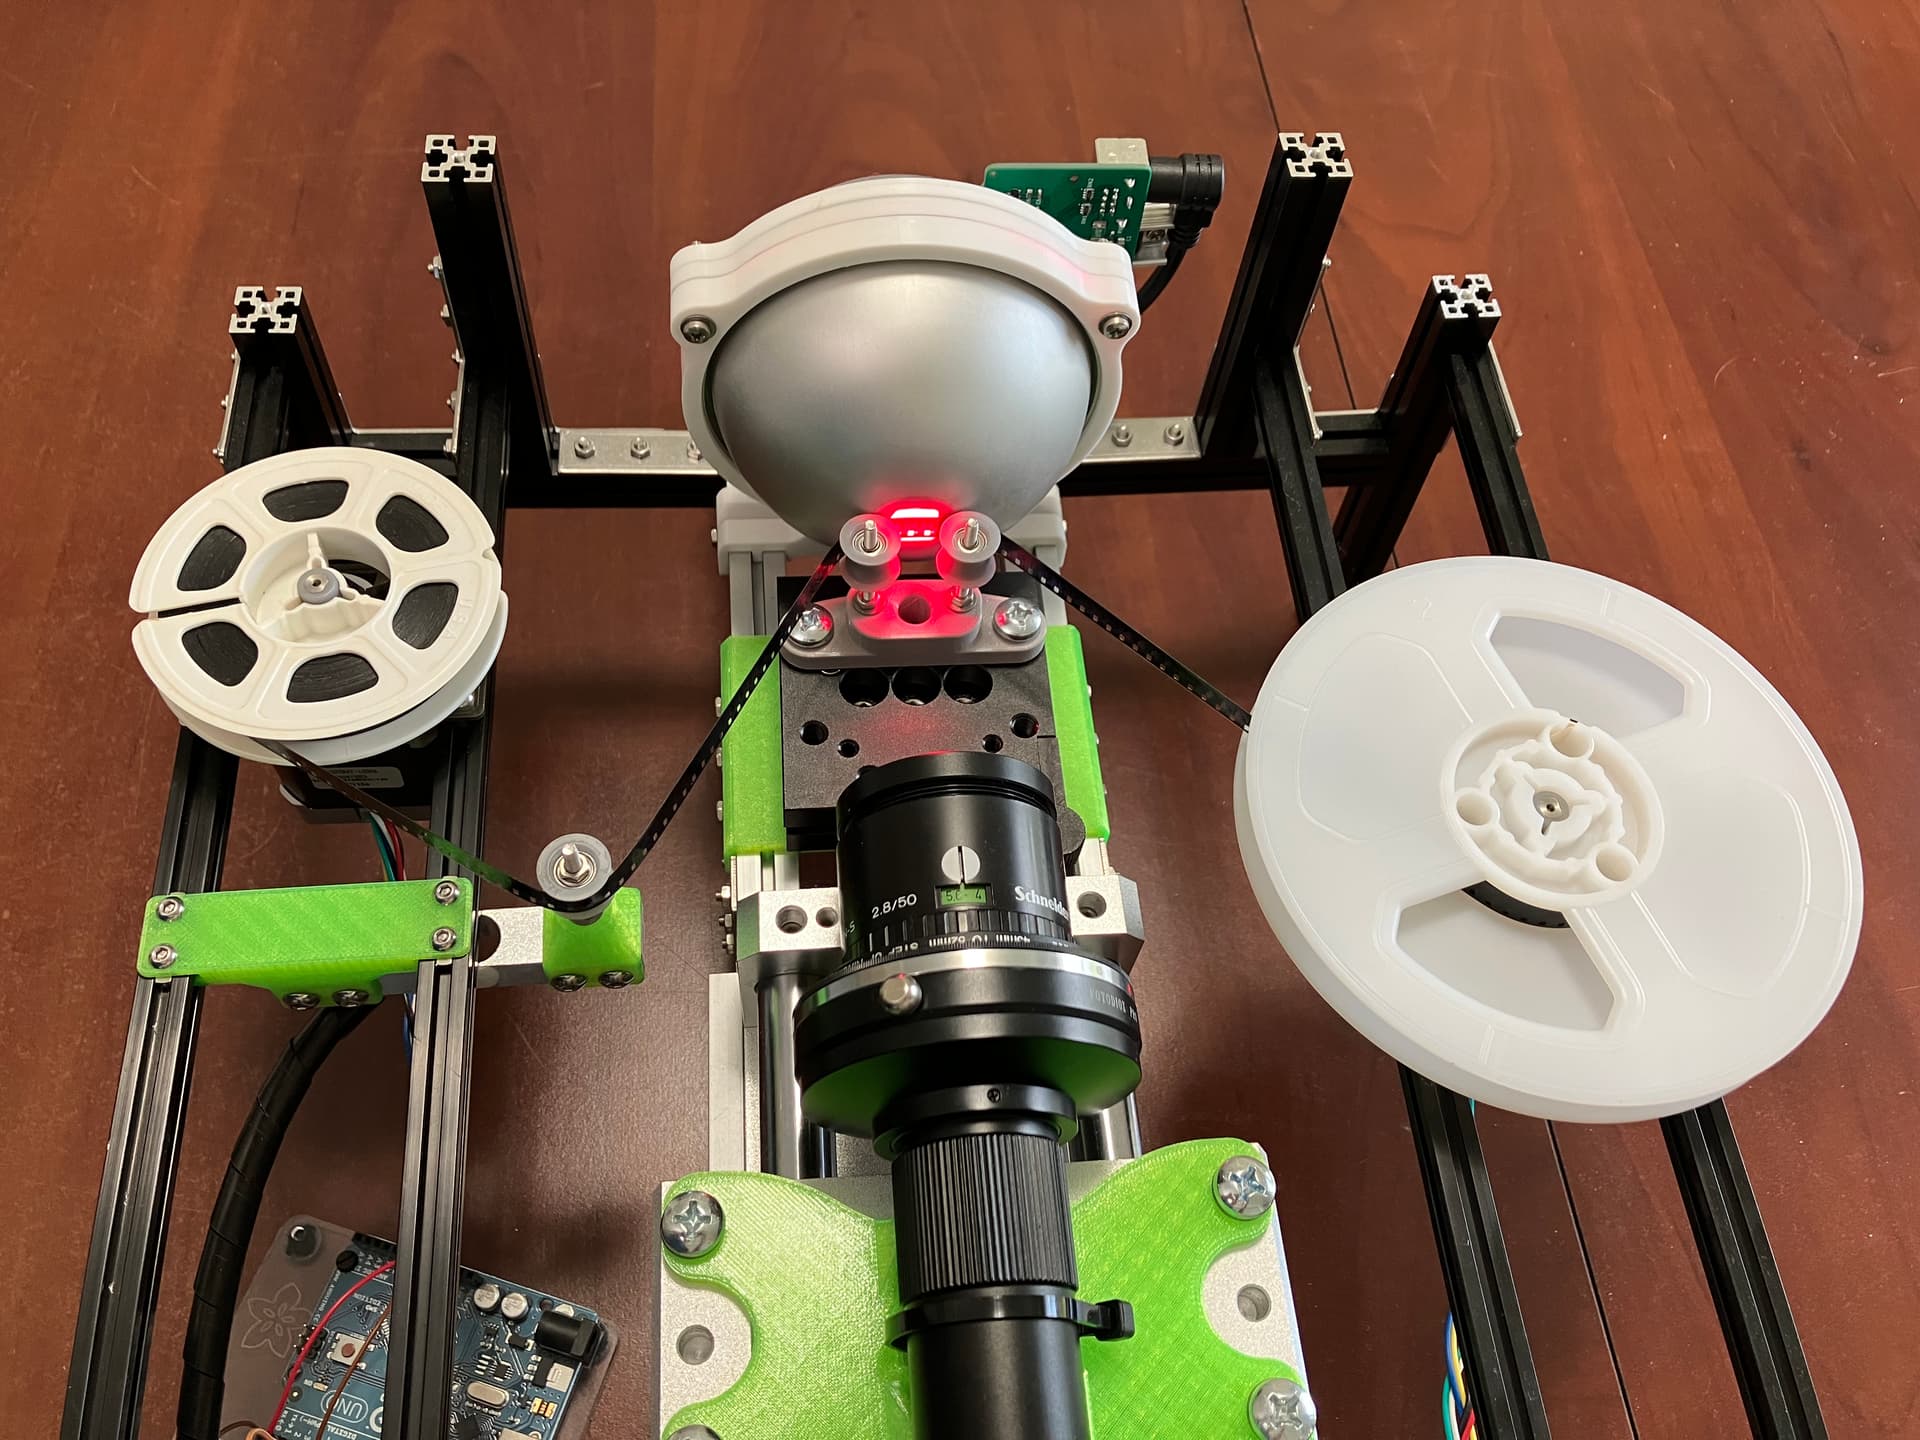
Direct stepper drive on both reels, two rollers as close as possible to the exit pupil of the integration sphere, and one extra roller for the load cell. The side-arms of the machine were designed with the MakerBeam very specifically to allow easy height adjustment for the steppers.
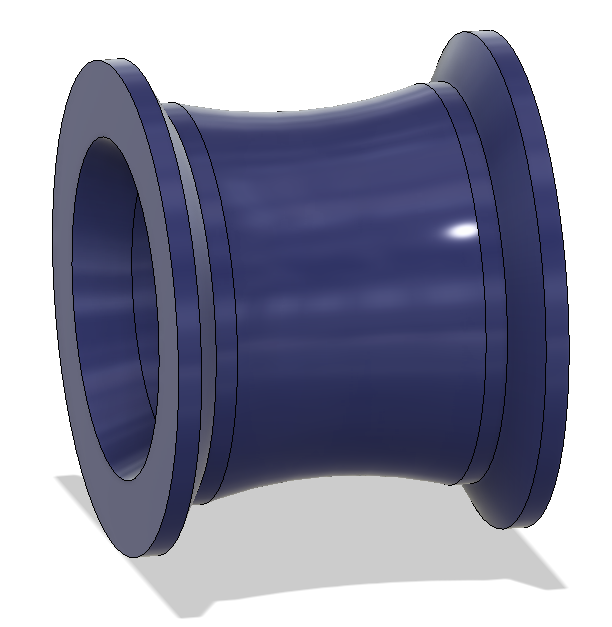
The rollers are (SLA) 3D printed to have two 693ZZ bearings pressed into the center. Then, you can run them right on an M3 bolt and use the nuts to fine-adjust the height. The curve in the center means they barely touch the edges of the film, as per usual.
The most interesting part is the load cell. If it isn’t the default choice around here for tension sensing, it should be and I’ll advocate for it any chance I get!
- It’s like $8 for a 1kg load cell.
- The SparkFun HX711 breakout board seems to include a few more components on the board to ensure good function vs. the boards packed in with the load cell itself (at least according to the reviews on both sites), so I tried that first.
- You can switch the SparkFun board from 10 Hz updates to 80 Hz just by cutting a jumper on the back of the PCB. (They advertise 80 Hz, but mine does about 92 Hz and I’m not complaining.)
There are complaints in the reviews that the data is especially noisy and you need to do all sorts of averaging over time, but those are use cases that need the accuracy all the way down to the least significant bits coming off the 24-bit ADC. For our purposes of roughly keeping film inside some, say 50g, tension window, we might need five of those bits.
When you plot the full-scale data with no averaging at all–just the raw data–look at how pretty this is:

Essentially zero-latency response and super clean data. The little bump each time the scale reverses direction is actually the static friction of the plastic piston against the cylinder breaking. You can feel it and, apparently, so can the load cell.
That little classroom scale is my plan for calibration. I haven’t gotten this far in the code yet, but having the app ask for a few measurements (maybe each 100g on the 500g scale to build a regression) before each scanning session should give sub-1g accuracy which is an order of magnitude more than I need.