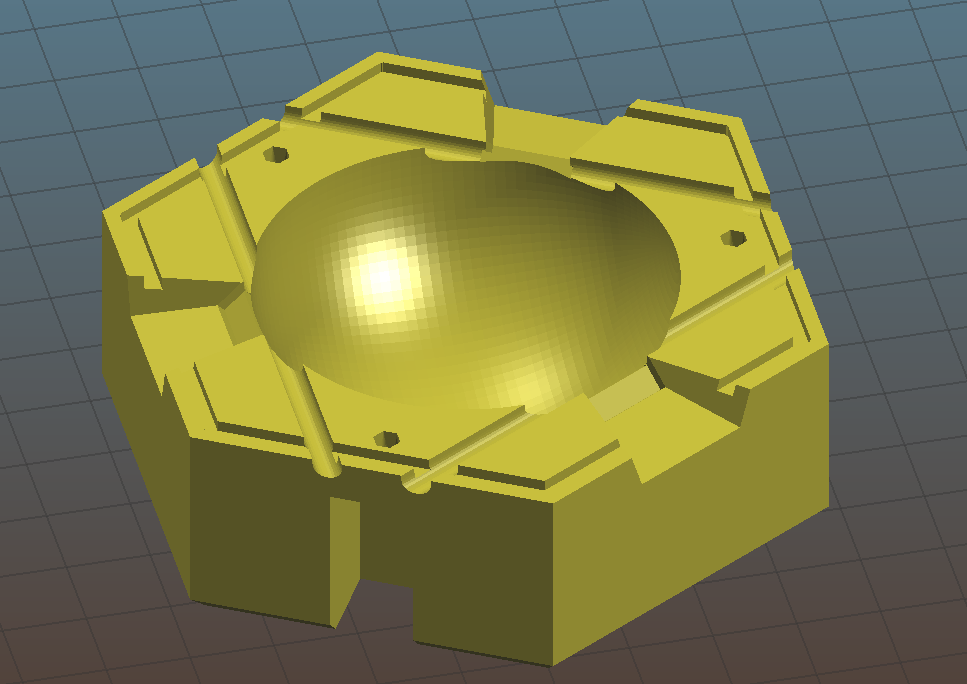
Well, here we go: the integrating sphere consists of three different pieces. The first piece is the backplane, pictured here:
The three round channels touching the inner sphere are the channels for the LED wires. They hold the wires together with the LEDs in place. The hexagonal groove close to the outer rim of the part has a matching part on the front piece; both constitude a kind of a snap-fit.
The two halfs are further joined with three screws. Because of the screw channels, you have to print this part as shown and with support structures.
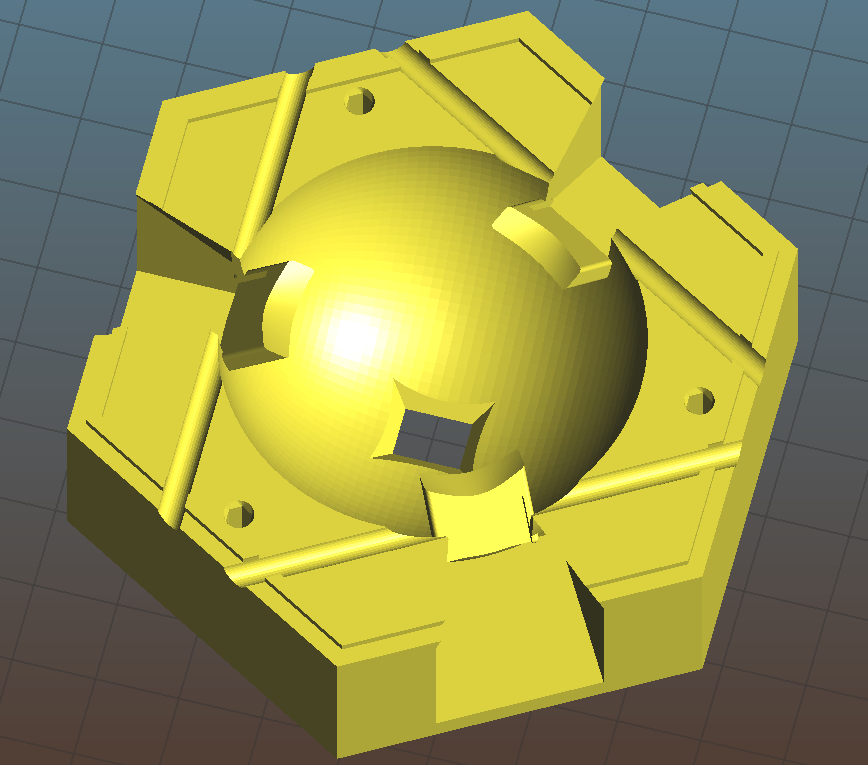
The front part can be printed without support. The orientation should be as shown here:
The three holes which are visible here are designed in such a way that normal M3-screws will carve a thread into the plastic, ensuring a tight fit between the two halfs.
You have to insert the LEDs before you join the two halfes and make sure that they are pointing in the right direction. Compare to some of the images in above comments. Do not forget to apply some kind of paint to the inner sphere before closing the unit. I used several coats of white radiator paint, but there are certainly better options available…
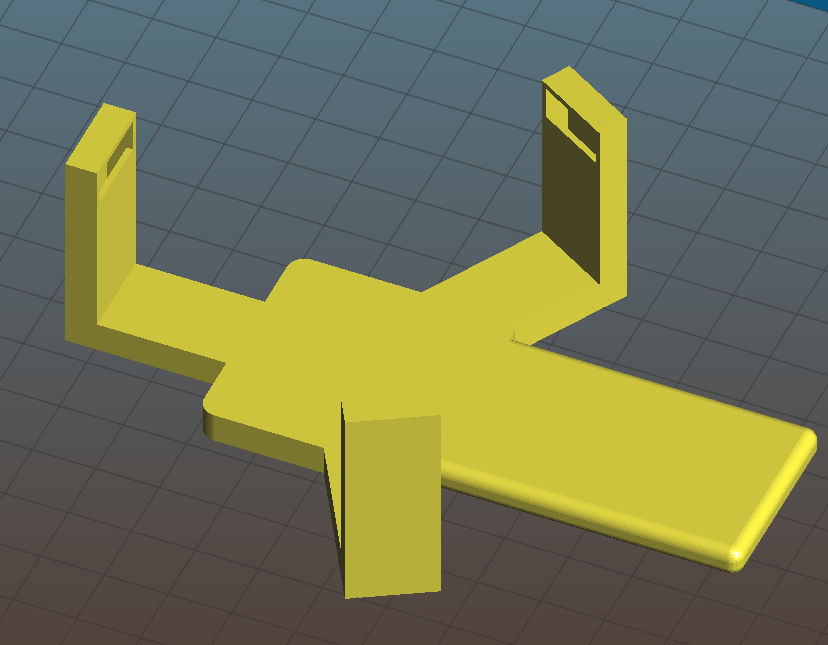
An additional vent system was added after the initial design, as the LEDs were getting to hot. Here’s a view of that part as it should be printed (I did not need any support, your mileage might vary):
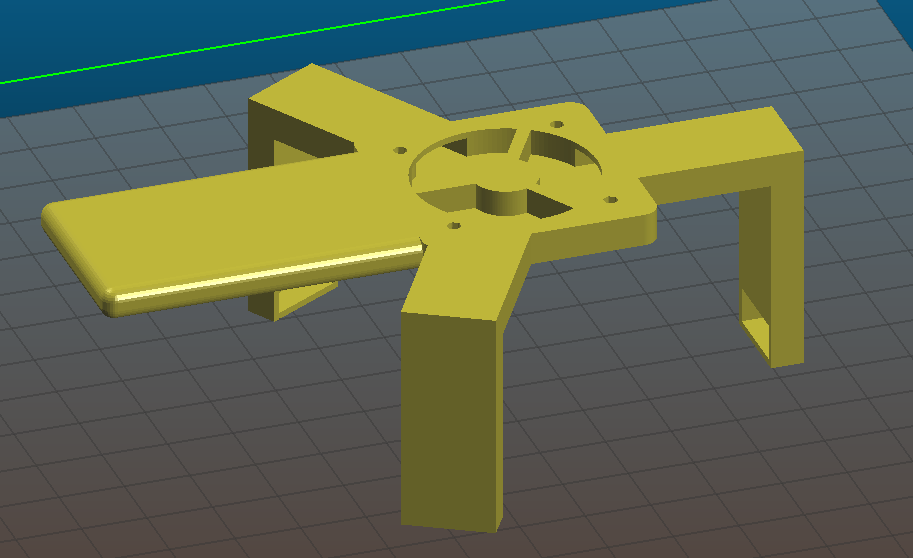
Shown from the other side,
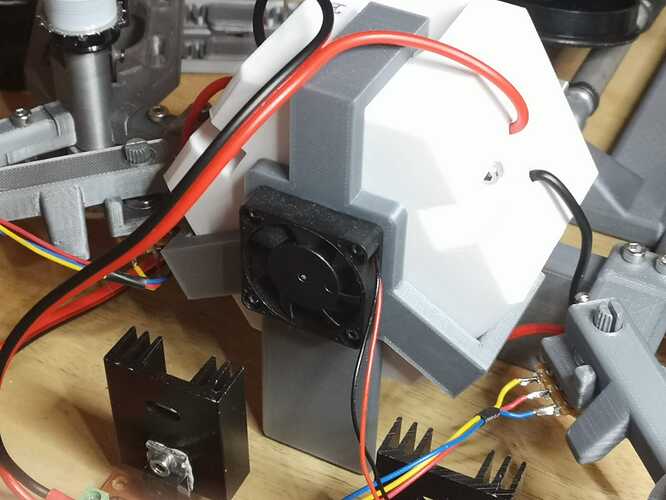
you notice a circular hole where a ventilator is mounted onto. I am using a small one which was originally mounted in a Raspberry Pi housing.
The vent part features also a small leg to stabilize the sphere. This is probably better understood with a real photo of the arrangement:
The vent-system is simply attached to the rest of the sphere with double sided tape (I did not bother to include any mounting holes).
The vent system reduces rather effectively the heat dissipatation of the LEDs.
Finally, here are links to the three stl-files:
The stl-files should already be in the correct print orientation once you load them into your slicer.
The parts are designed to be printed on a low-quality 3D-printer, Anet A8 style. You can use PLA as printing material and a layer height of 0.2 mm. Nozzle size should be the standard 0.4 mm size.
As always, if you use, print or improve this design, I would be happy to have some feedback.
