It’s been a while since the last post in this thread and I thought it is time for some further update.
Both libcamera and picamera2 have evolved; most notably, the manual of picamera2 has seen major improvements and I recommend to consult this document. Also, the example section has been greatly expanded - have a look. There are also a bunch of complete applications available. Great for getting some ideas on how to handle things.
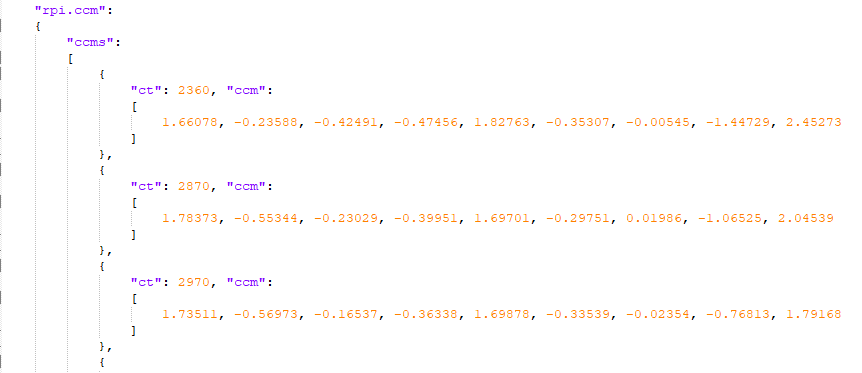
Libcamera, and in turn picamera2, has still some inconsistencies in handling camera parameters with respect to film scanning. Specifically, some camera parameters which influence the behaviour of the camera are actually set in the tuning file and are therefore out of program control as soon as the camera is created.
The tuning file is a .json-file and can be edited for example with notepad++. Be careful when editing and keep a backup copy of this file, as mistakes might result in the camera not starting at all.
There are currently two cameras available from Raspberry Pi which can be considered to be suitable for film scanning. This is the HQ camera and the recently introduced GS (Global Shutter) camera. Both standard tuning files for these cameras feature a ALSC (Adaptive Lens Shading Correction) section - for film scanning, you want to get rid of this module. There are two reasons for that: the lens shading data is for an unknown lens and it will not work with your lens. Furthermore, the ALSC will introduce color shifts and vigeting, varying rather unpredictably with your material - this is probably something you want to avoid as well.
There are two ways to change the behaviour of the ALSC-module. The first, the rather bold one, is simply to delete the whole section in the tuning file. Of course, in this case you lose the ability to do a lens shading correction. In my case, using a Schneider Componon-S 50 mm (calculated for the 35 mm format) with the HQ camera, it is utterly nonsense to even consider a lens shading compensation, so that’s what I am doing.
In case you are using a less capable lens, you might want to keep the lens shading algorithm running. But you certain want to get rid of the adaptive part. This can be achieved by the following code:
from picamera2 import Picamera2

# load the default tuning file
tuning = Picamera2.load_tuning_file("imx477.json")

# find the ALSC section
alsc = Picamera2.find_tuning_algo(tuning, "rpi.alsc")

# switch off adaptive behaviour by setting n_iter to zero
alsc['n_iter'] = 0

# load the modified tuning file into the sensor
picam2 = Picamera2(tuning=tuning)
Note again that this procedure does not switch off the ALSC - only the adaptive behaviour is switched off. So you want to make sure that the lens shading data in the tuning file is corresponding to your lens/optical setup.
The above approach is actually a generic way to modify any entry in the tuning file before creating the Picamera2 object.
We will use the same approach to disable a second adaptive algorithm hidden in libcamera’s contrast module. This second adaptive algorithm could be the reason for the “spiky” intensity curves in my post above. It causes noticeable flickering in scanned frames. Anyway, here’s how to switch this algorithm off by picamera2 utilities:
from picamera2 import Picamera2

# load the default tuning file
tuning = Picamera2.load_tuning_file("imx477.json")

# find the contrast section
contrast = Picamera2.find_tuning_algo(tuning, "rpi.contrast ")

# switch off adaptive behaviour by setting ce_enable to zero
contrast ['ce_enable'] = 0

# load the modified tuning file into the sensor
picam2 = Picamera2(tuning=tuning)
Of course, both settings should be handled in a combined fashion, like so:
from picamera2 import Picamera2

# load the default tuning file
tuning = Picamera2.load_tuning_file("imx477.json")

# find the ALSC section
alsc = Picamera2.find_tuning_algo(tuning, "rpi.alsc")

# switch off adaptive behaviour by setting n_iter to zero
alsc['n_iter'] = 0

# find the contrast section
contrast = Picamera2.find_tuning_algo(tuning, "rpi.contrast ")

# switch off adaptive behaviour by setting ce_enable to zero
contrast ['ce_enable'] = 0

# load the modified tuning file into the sensor
picam2 = Picamera2(tuning=tuning)
Once the Picamera2 object is created, some other work has to be done before the camera can finally be started. Here’s my current code:
           from picamera2 import Picamera2
           import libcamera

            # modes for HQ camera
            rawModes   = [{"size":(1332,  990),"format":"SRGGB10"},
                          {"size":(2028, 1080),"format":"SRGGB12"},
                          {"size":(2028, 1520),"format":"SRGGB12"},
                          {"size":(4056, 3040),"format":"SRGGB12"}]

            mode      = 3
            noiseMode = 0

            config = picam2.create_still_configuration()

            config['buffer_count'] = 4
            config['queue']        = True

            config['raw']          =  rawModes[mode]
            config['main']         = {"size": rawModes[mode]['size'],'format':'RGB888'}

            config['transform']    = libcamera.Transform(hflip=False, vflip=False)

            config['controls']['NoiseReductionMode']  = noiseMode
            config['controls']['FrameDurationLimits'] =  (100, 32000000)

            picam2.configure(config)
Let’s go through all the lines.
config = picam2.create_still_configuration()
grabs a standard configuration for still image capture from libcamera. This config is tuned for high-quality image capture; we need to set a few things in order to be used in a film scanner project.
The first setting we are going to change will be the buffer_count. The still config comes with only one buffer by default - this is too low for fast image grabbing. The line
config['buffer_count'] = 4
increases this to 4 buffers. Each buffer eats away a tremendous amount of CFA-memory. On a RP3, you will want to increase this memory chunk by including (or changing) the line
dtoverlay=vc4-kms-v3d,cma-384
in the RP config-file /boot/config.txt. For my RP4, I use instead cma-512 - your mileage might vary.
The next line in the above code,
config['queue'] = True
makes sure that the picamer2 lib is working with queues - in this way, you will get frames much faster delivered. This option is actually already set to True, this is just to make sure it is.
The next two lines in the above code segment actually select the resolution the camera is working with. Both resolutions, raw and main, are kept to the same size to avoid internal scaling:
            config['raw']          = self.rawModes[mode]
            config['main']         = {"size":self.rawModes[mode]['size'],'format':'RGB888'}
Also, the output format is set to RGB888 which makes sure we are not working with alpha-planes (that seems to be the default at the time of this writing).
Next, a transformation is specified - this is mandatory in a film scanner project, where the actual image might be flipped or mirrored:
config['transform'] = libcamera.Transform(hflip=False, vflip=False)
Finally, some more settings are applied:
            config['controls']['NoiseReductionMode']  = noiseMode
            config['controls']['FrameDurationLimits'] =  (100, 32000000)
The default noise reduction mode in the still config is called HQ, and this is a software-based noise reduction algorithm. There is another noise reduction algorithm called Fast which is the default value for video configs. I am using 0 as a value, which corresponds to no noise reduction at all (mode: Off). This is the fastest way to get images out of the camera, and as I am doing anyway a lot of image processing on the scanned images, I prefer to do noise reduction in my own software. If you prefer to have some noise reduction in camera, I suggest to try the Minimalmode, which is purely hardware-based. This would correspond in the above code to setting noiseMode = 4.
The FrameDurationLimits are set in such a way that libcamera is been told “forget about this”. Basically, the FrameDurationLimits limits constraint the possible exposure time settings. The above line allows a range from 100 µs to 32 seconds. Enough for all practical purposes.
Finally, this configuration is piped into the camera by the line
picam2.configure(config)
At this point, the camera should be ready to roll, with automatic exposure and automatic whitebalancing. I prefer to scan with fixed values of exposure, the lowest gain possible and with fixed color gains. This can be achieved by the following code lines:
picam2.set_controls({'ExposureTime':exposureTime})
picam2.set_controls({'ColourGains':(redGain,blueGain)}
picam2.set_controls({'AnalogueGain' : 1.0})
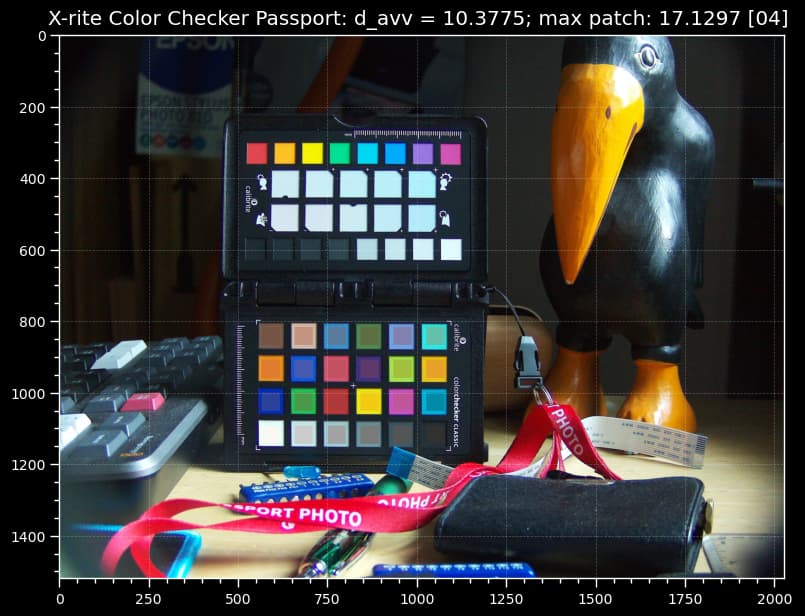
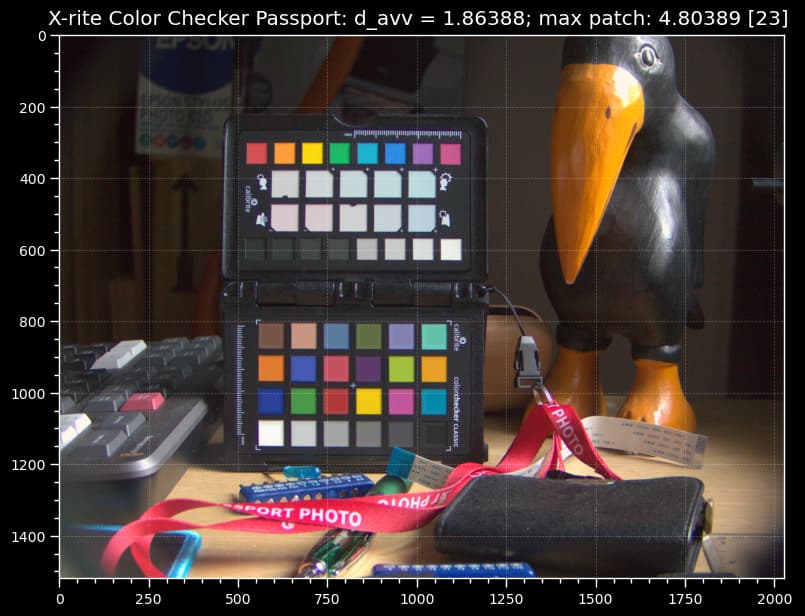
The sensor’s tuning files are another interesting topic. I posted in this thread some details; the tuning file described there is actually now part of the standard RP distribution. It is called imx477_scientific.json and can be loaded just like the standard tuning file imx477.json. It already lacks the ALSC section, so no lens shading is performed with this tuning file.
