I got this one but it’s a bit deep and there’s not enough room to close the box properly. Now I’m looking at this one and I think it will work. 12/16/19/22/25/30mm Short Stroke Mini Waterproof Metal Push Button Switch Power Led Light Momentary 5/12/24/220V black 1NO Can you confirm that?
You won’t find a shallower button than this one. The LED runs on 5V, just like mine. I can’t guarantee anything, but it looks promising. 
1 Like
I don’t know whether anyone is currently testing with my scanner, but here is a new version of the capture software developed specifically for this project. Several versions have been created since the last release but were not distributed. Here is a summary of the additions:
-
Added a grid to help center the scanner image.
-
Added a check comparing the number of laser flashes with the number of images saved to disk, to warn in case an image is silently lost.
-
Added monitoring of camera saturation and disk space usage.
-
Significantly improved perforation stabilization.
1 Like
Unfortunately I’m Mac based customer so have no luck to test the app on my end.
But I’m having great results on modular lighting fixture that can be switched between Color Negative and B/W Reversal films. Once I fix some design issues I’ll share my progress.
1 Like
Dan asked me to provide him with the .stl files for the motor mounts and the adapters for the different spool types. Since I couldn’t find them here anymore, I’m sharing them again below:
P.S. Dan has requested access to this forum, but he seems to be experiencing a technical issue. The administrators are probably very busy and may not have had a chance to respond yet. If any of them happen to read this, it would be greatly appreciated if someone could help him get access.
4 Likes
Because I haven’t found the print files for them
two sidewalls for the 35mm format could you please upload them?
Joue pour roue de guidage tefflon.stl (216.6 KB)
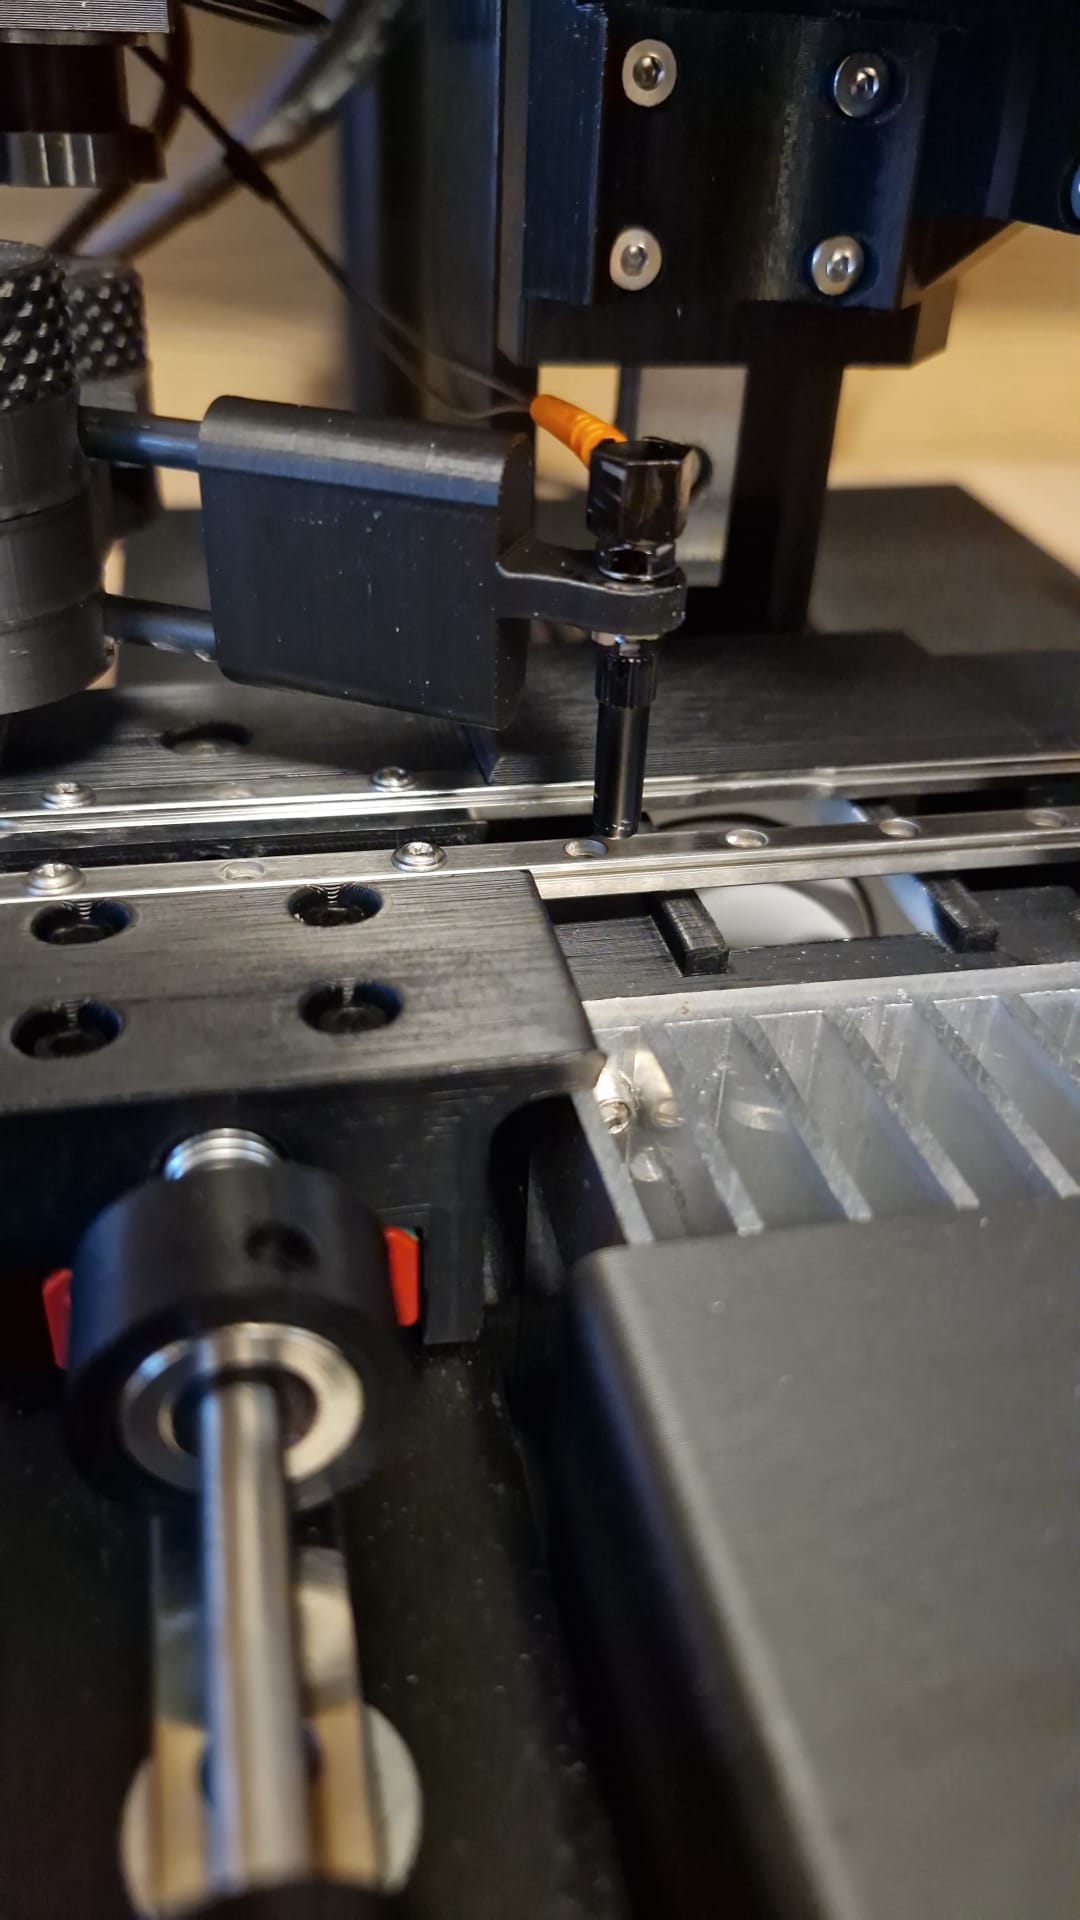
Support pour fibre optique à 90 degrés.stl (58.8 KB)
Here is… and also a modification to the part that holds the laser beam. This part makes it possible to install optical fibers with a 90° bend. It creates additional clearance between the objective lens and the optical fiber.

2 Likes
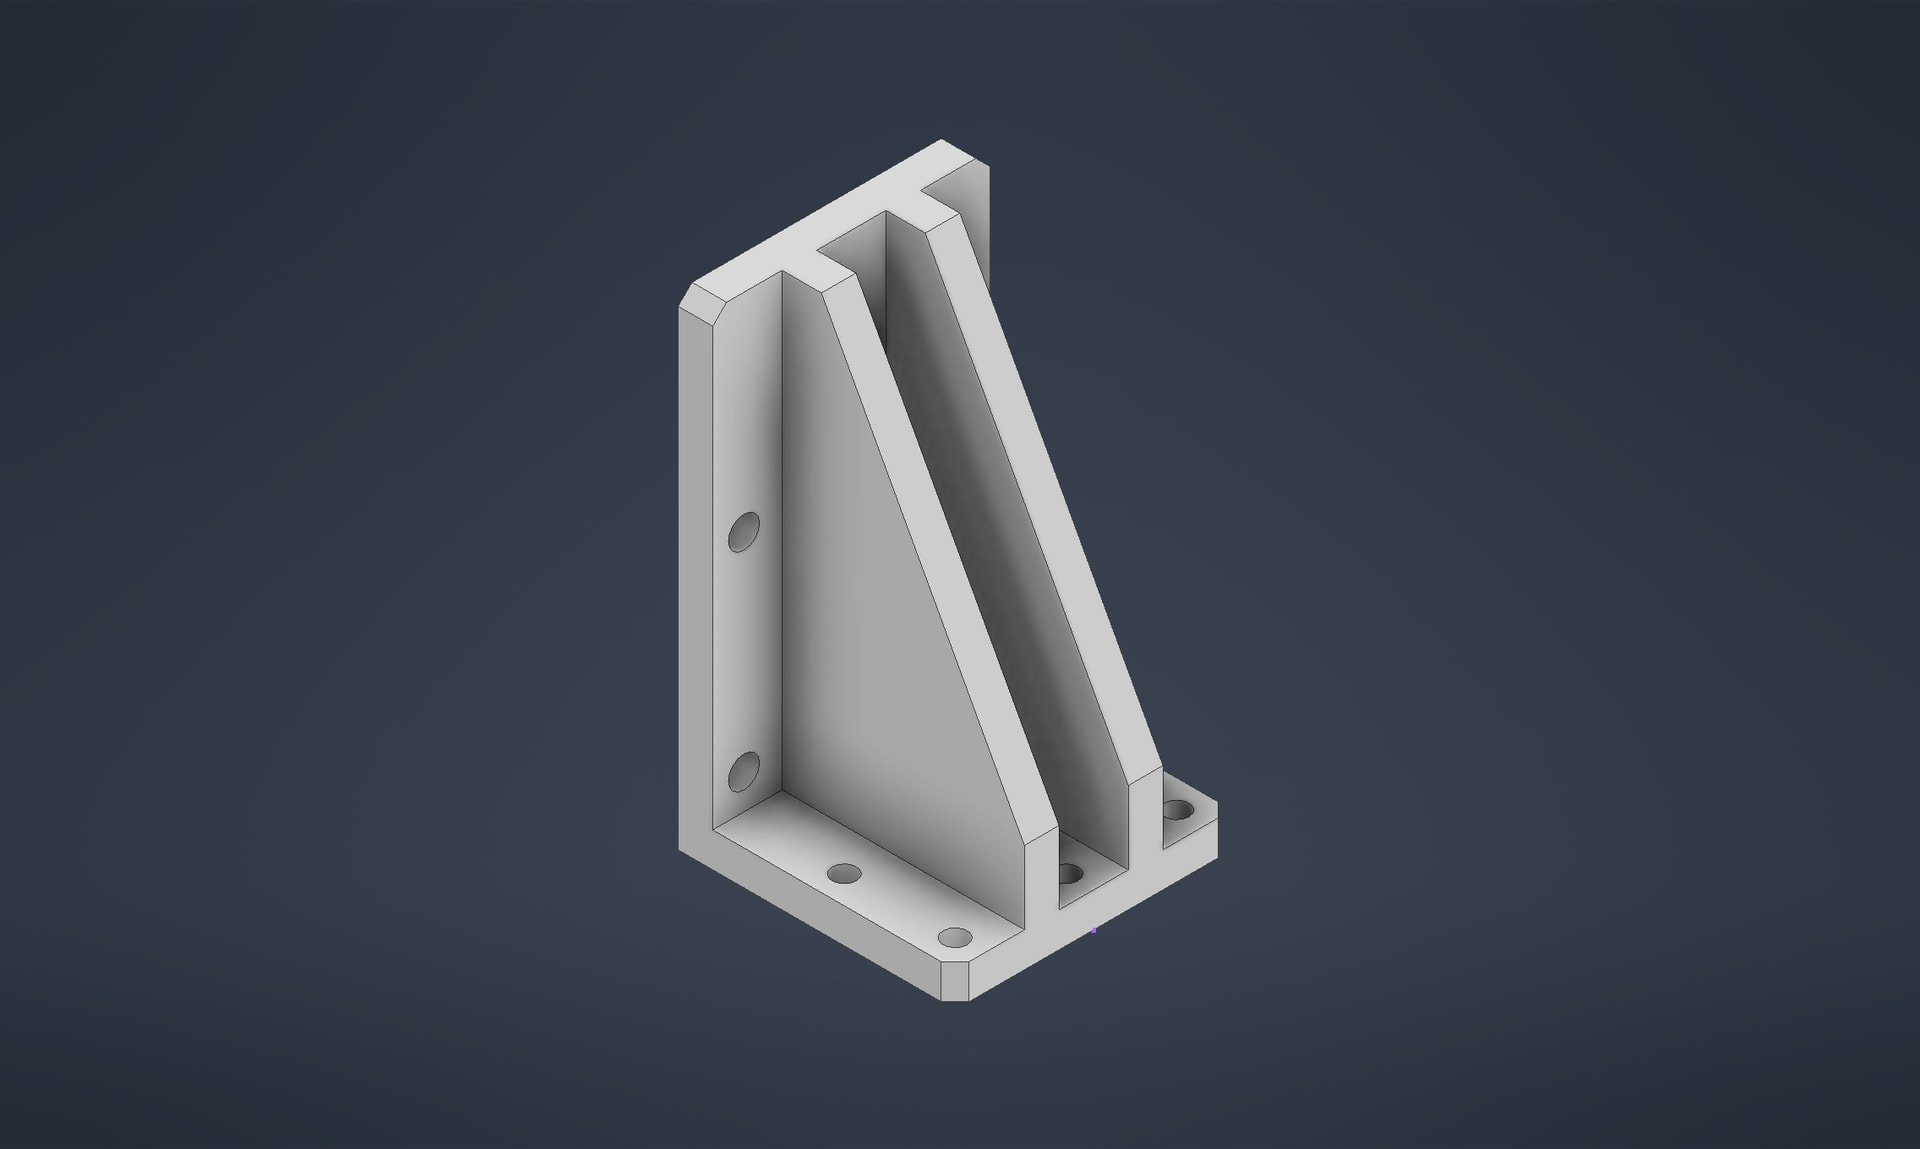
I am uploading the file needed to join the two camera guides. Construction is progressing. I am also preparing a larger unit that will house all the power supplies. I will run some tests, and once it is ready, I will upload it. After that, we still need to
basi regoulas ipsos rev 2.01.stl (34.7 KB)
address the film audio—both magnetic and optical .
4 Likes
Hey eldi,
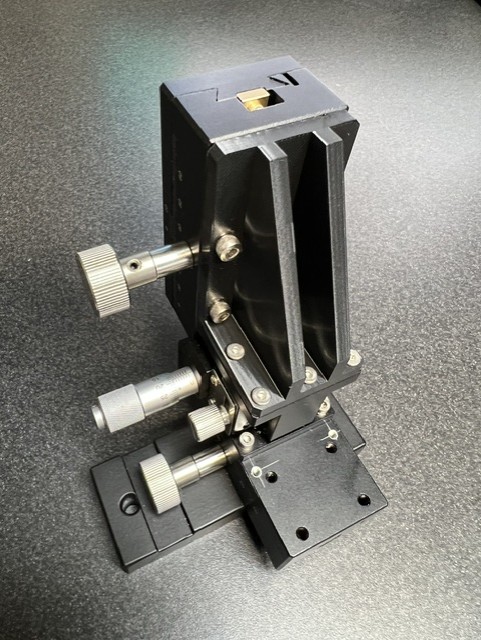
good progress on assembly, you’re getting there. I want to advise that you’ll probably won’t have enough stability with 3d printed support. I’ve used similar assembly and it had some minor play in plastics which was enough to throw angle off. Please use additional support of the lens block, Roland shared previously.
2 Likes
Thanks for the interest and advice. But this is a part of the mechanism for the lens that was missing from the Roland files and prompted me to upload it when I would prepare it.
1 Like
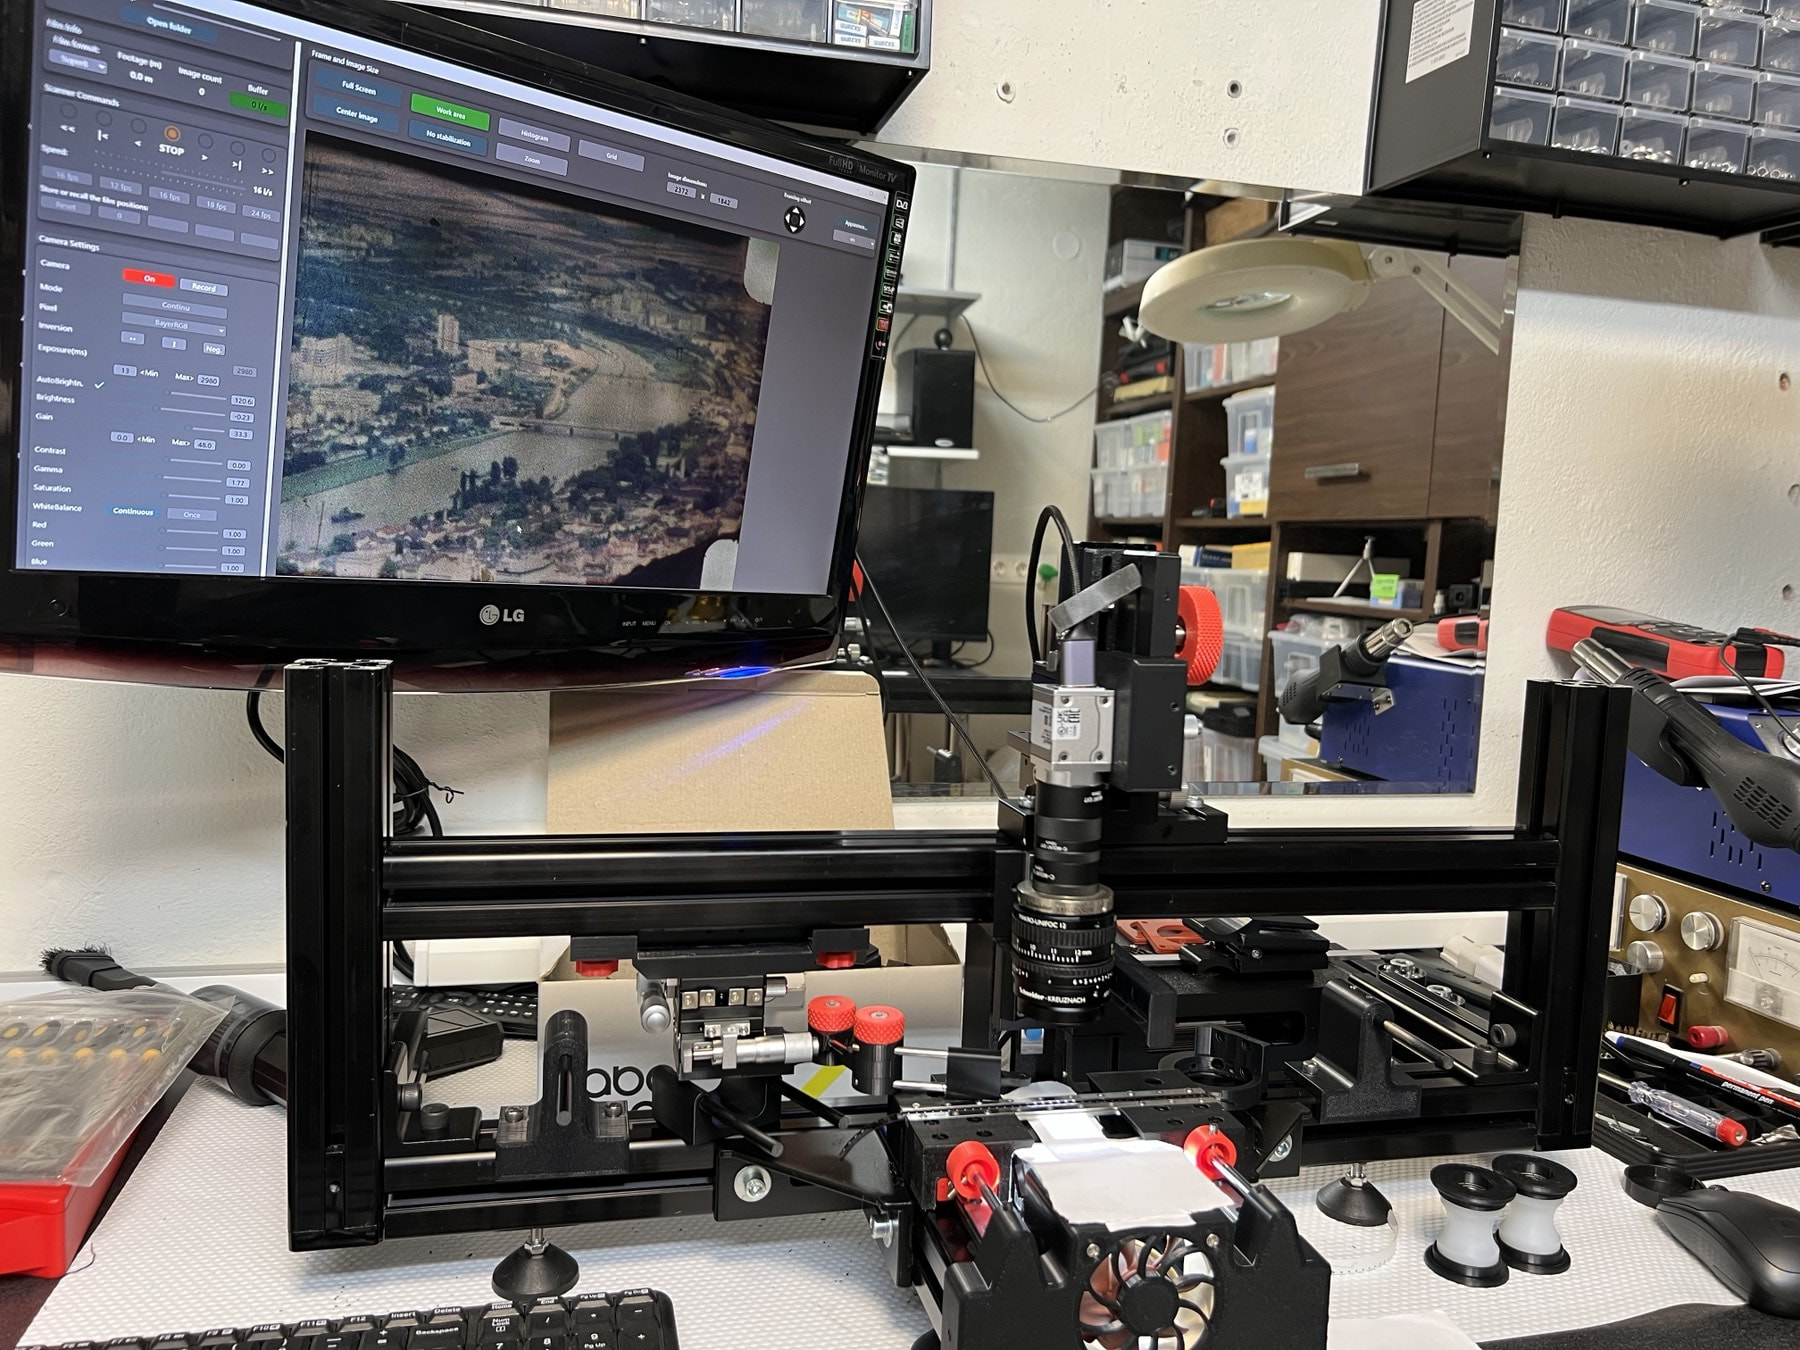
OUAAAHHHH !!!  I’m jealous!! It’s more beautiful than mine.
Do you work in a workshop? You could start mass production. Congratulations again.
1 Like
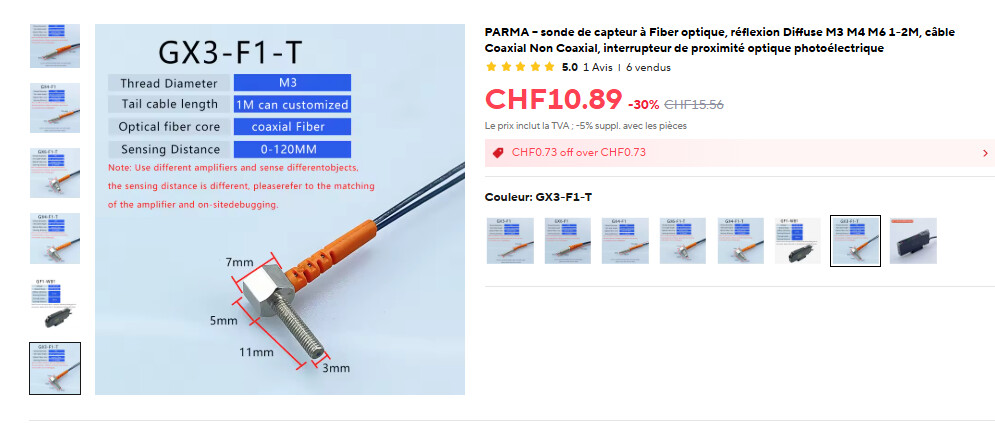
I’m trying to find the Baumer parts that you recommended but can’t find how to source them from my country (Chile). Any idea what can be used instead?
Welcome to the forum!
Other members here have found reflective pinpoint sensors from different brands that work well as alternatives to the Baumer model. Since they have tested these sensors on their own machines, they may be able to give you better advice about suitable models and suppliers that ship to Chile.
Hopefully, some of them will share their references and experience with you.
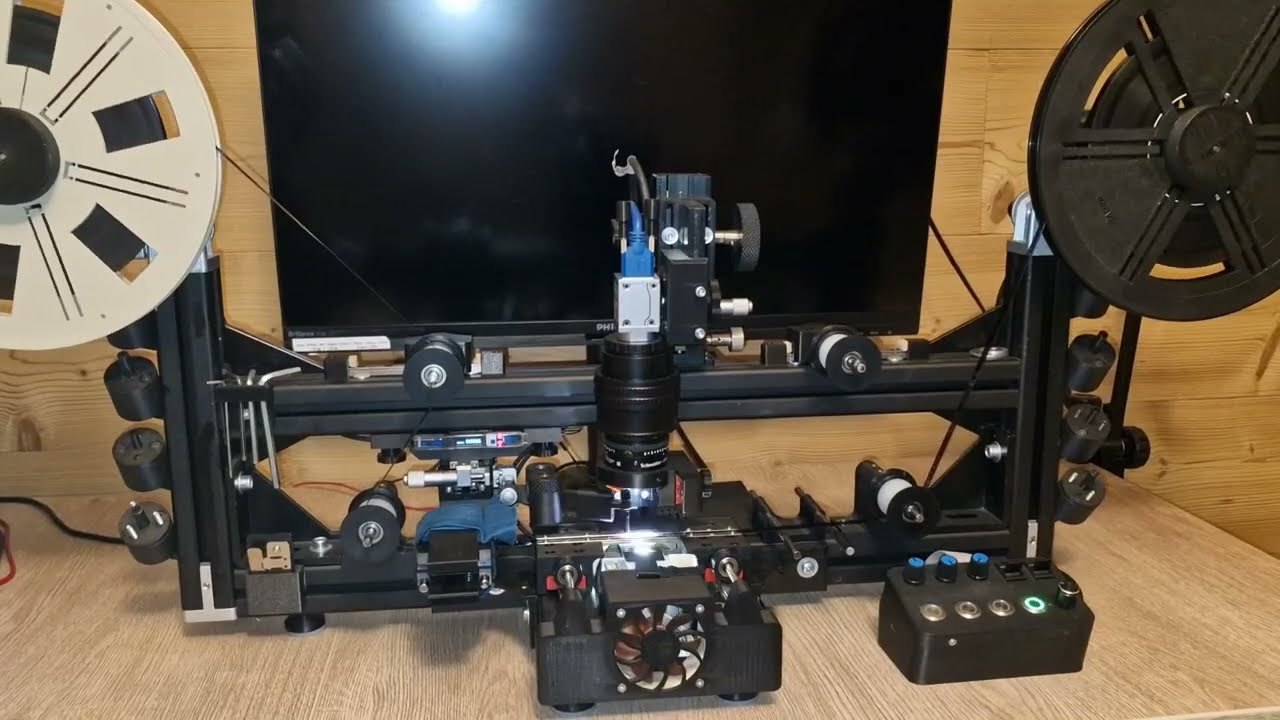
Just sharing a film-scanning session Super8 with my multi-format film scanner.
3 Likes
Hey clongeri,
I’ve used two different retro-reflective options from Keyence and can confirm sharp performance from both of them. I’d recommend to go for LV-NH37 laser head because of beam angle. Amplifier is Keyence N11N and I’m using OP-51428 reflection strips. My previous laser head was LV-S62 which confirmed operational on all gauges, but the super8 perforation is smaller then beam, so it’s slightly harder to fine tune the responce.
1 Like
Personally, I’m particularly drawn to models with an offset point source, such as the LV-S62, although I haven’t tried it. This may simply be a preconceived preference, since I haven’t tested Andry’s first suggestion either.
Small screw-on lenses can be fitted to the output end to focus the beam down to a spot only a few tenths of a millimetre wide.
@Andriy-But, don’t you usually work with formats larger than Super 8?
Would you mind sharing a photo of your setup?
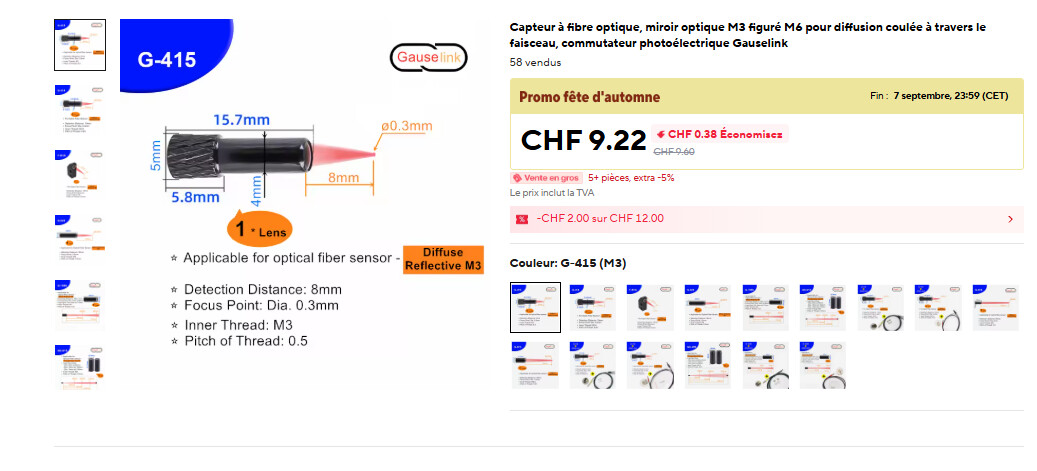
I’m mostly focused on 16mm and LV-S62 handles it perferctly, as laser beam is just a tad smaller than perforation of 16mm. But with super8 perforation the throughput is limited and it requires calibrating the amplifier to specific stock settings. I’ve added the looks of my laser head (it’s LV-S62 now installed). Sorry for some dust, it’s an old assembly that would be changed, so I’m not really preserving the state.
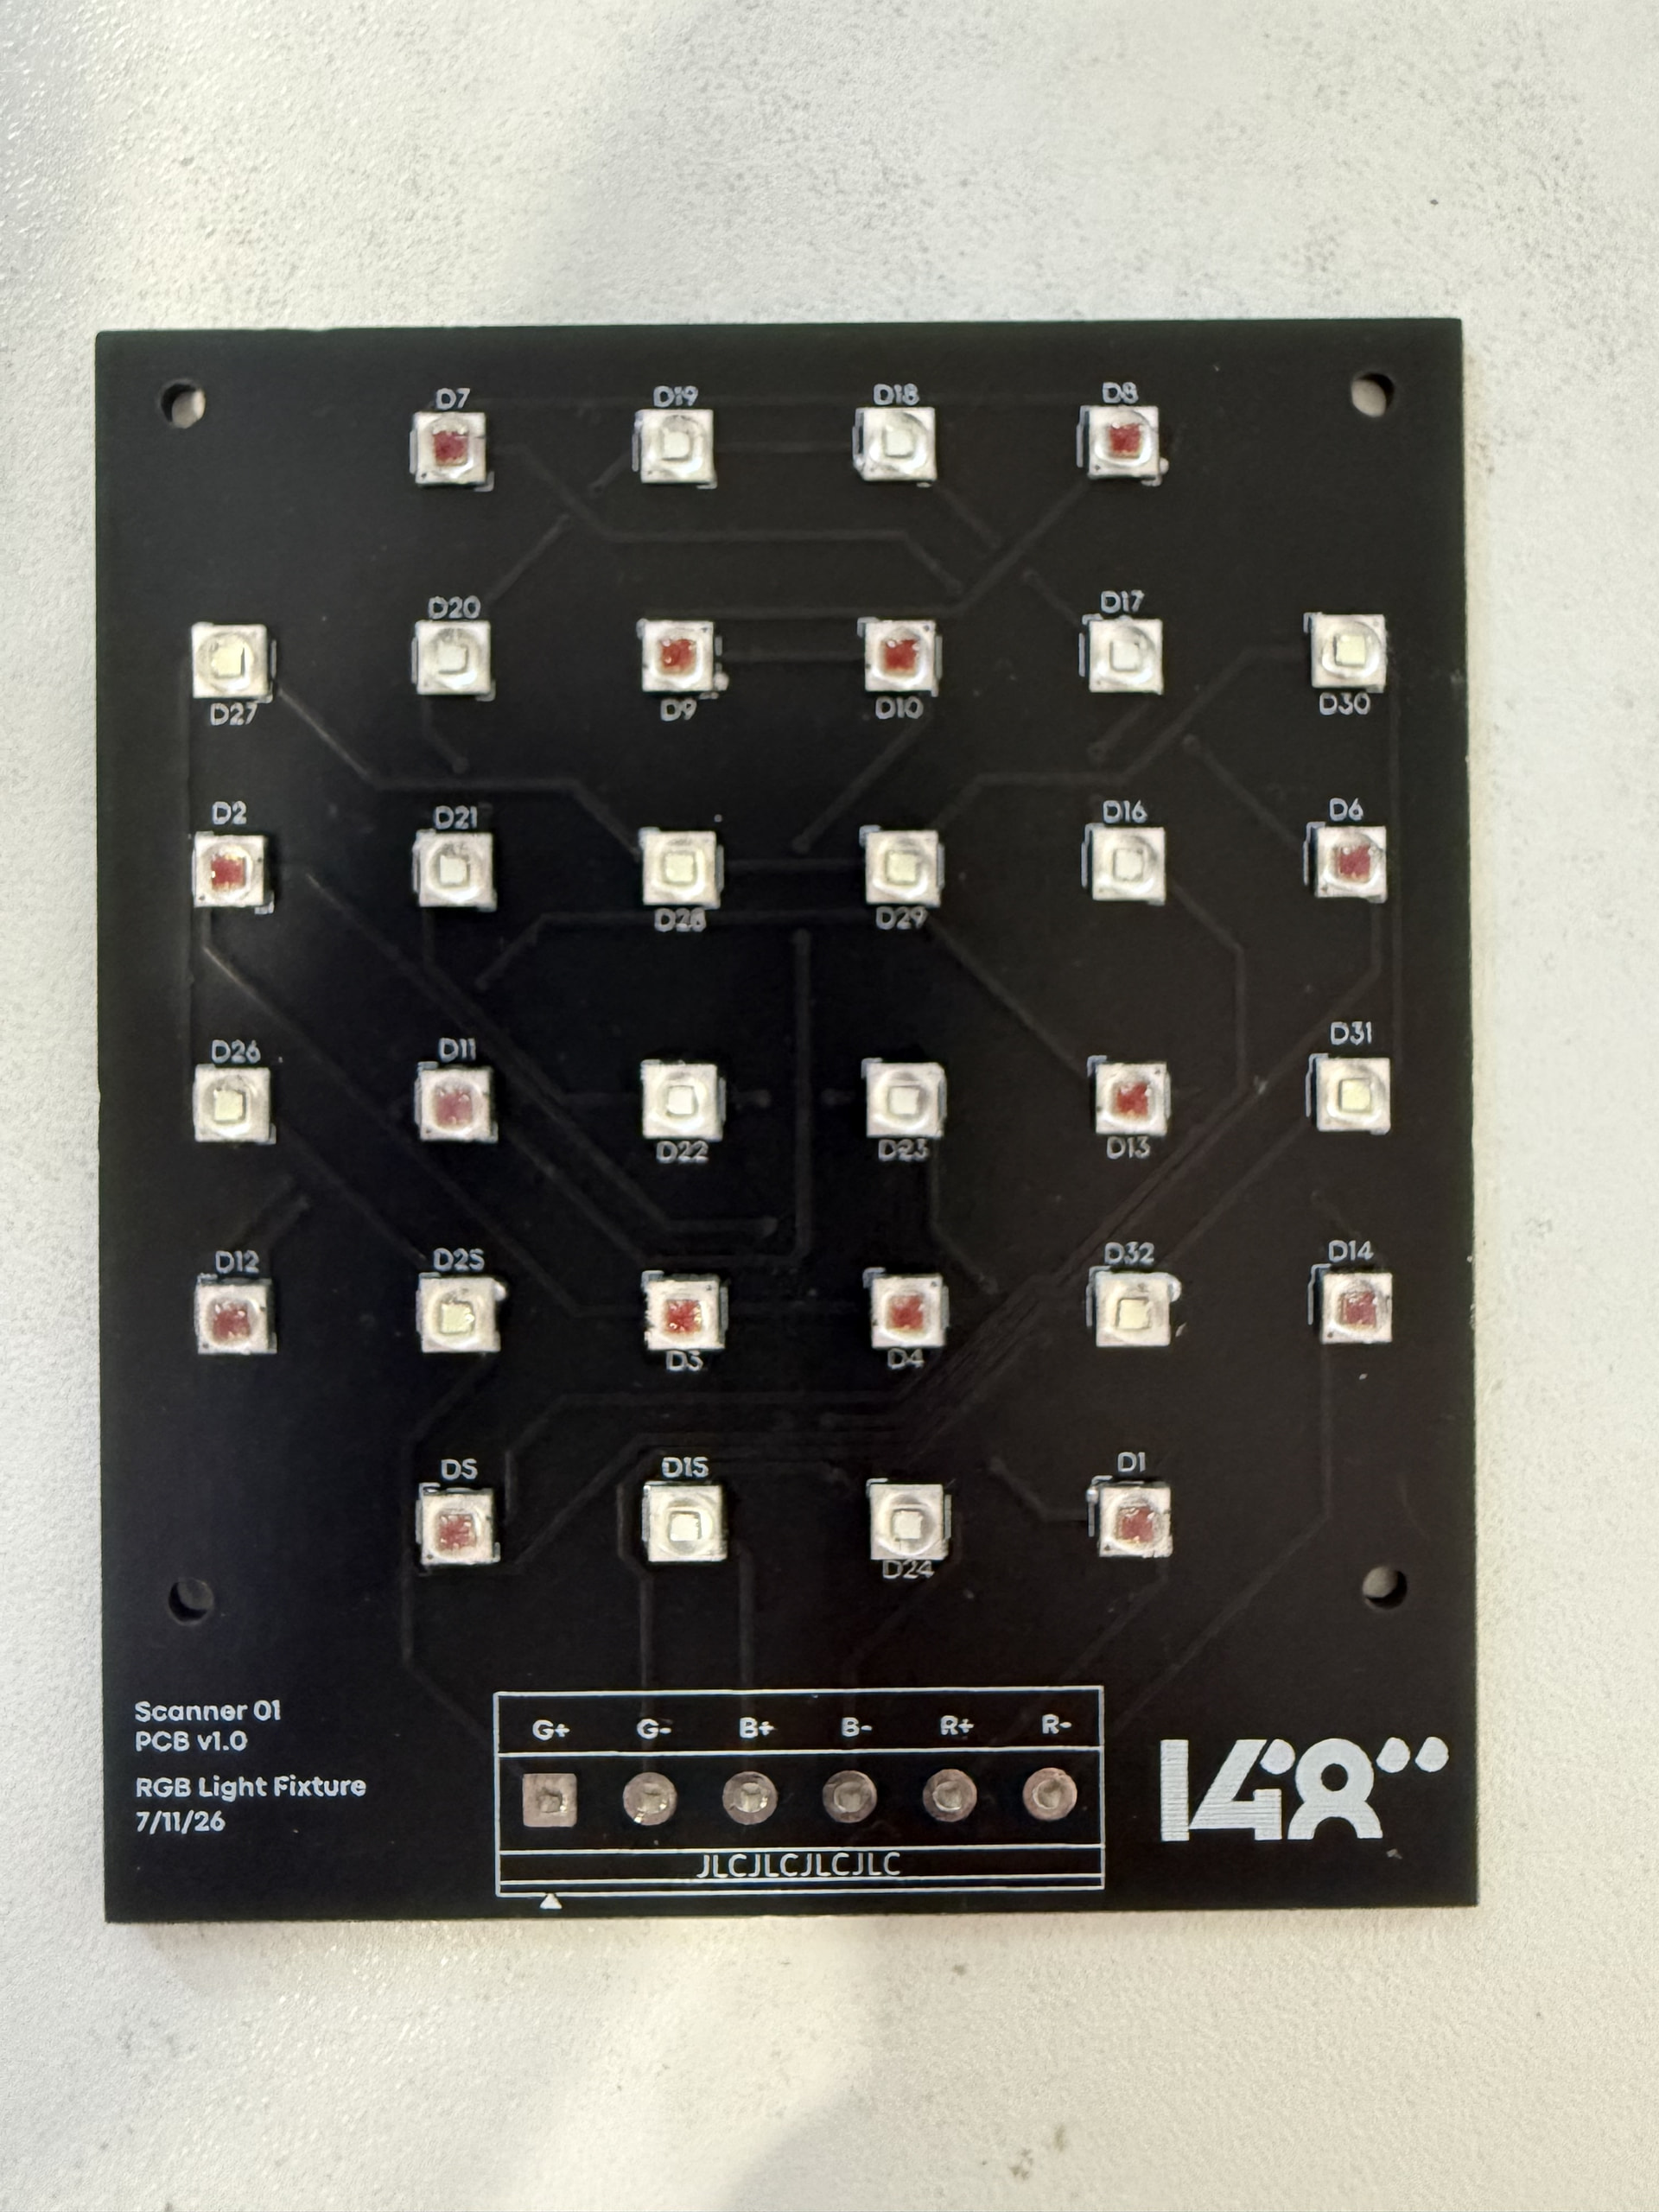
Also @Roland peek at my new custom RGB light source  I’m revamping the whole system now with a ton of updates, would share once ready.
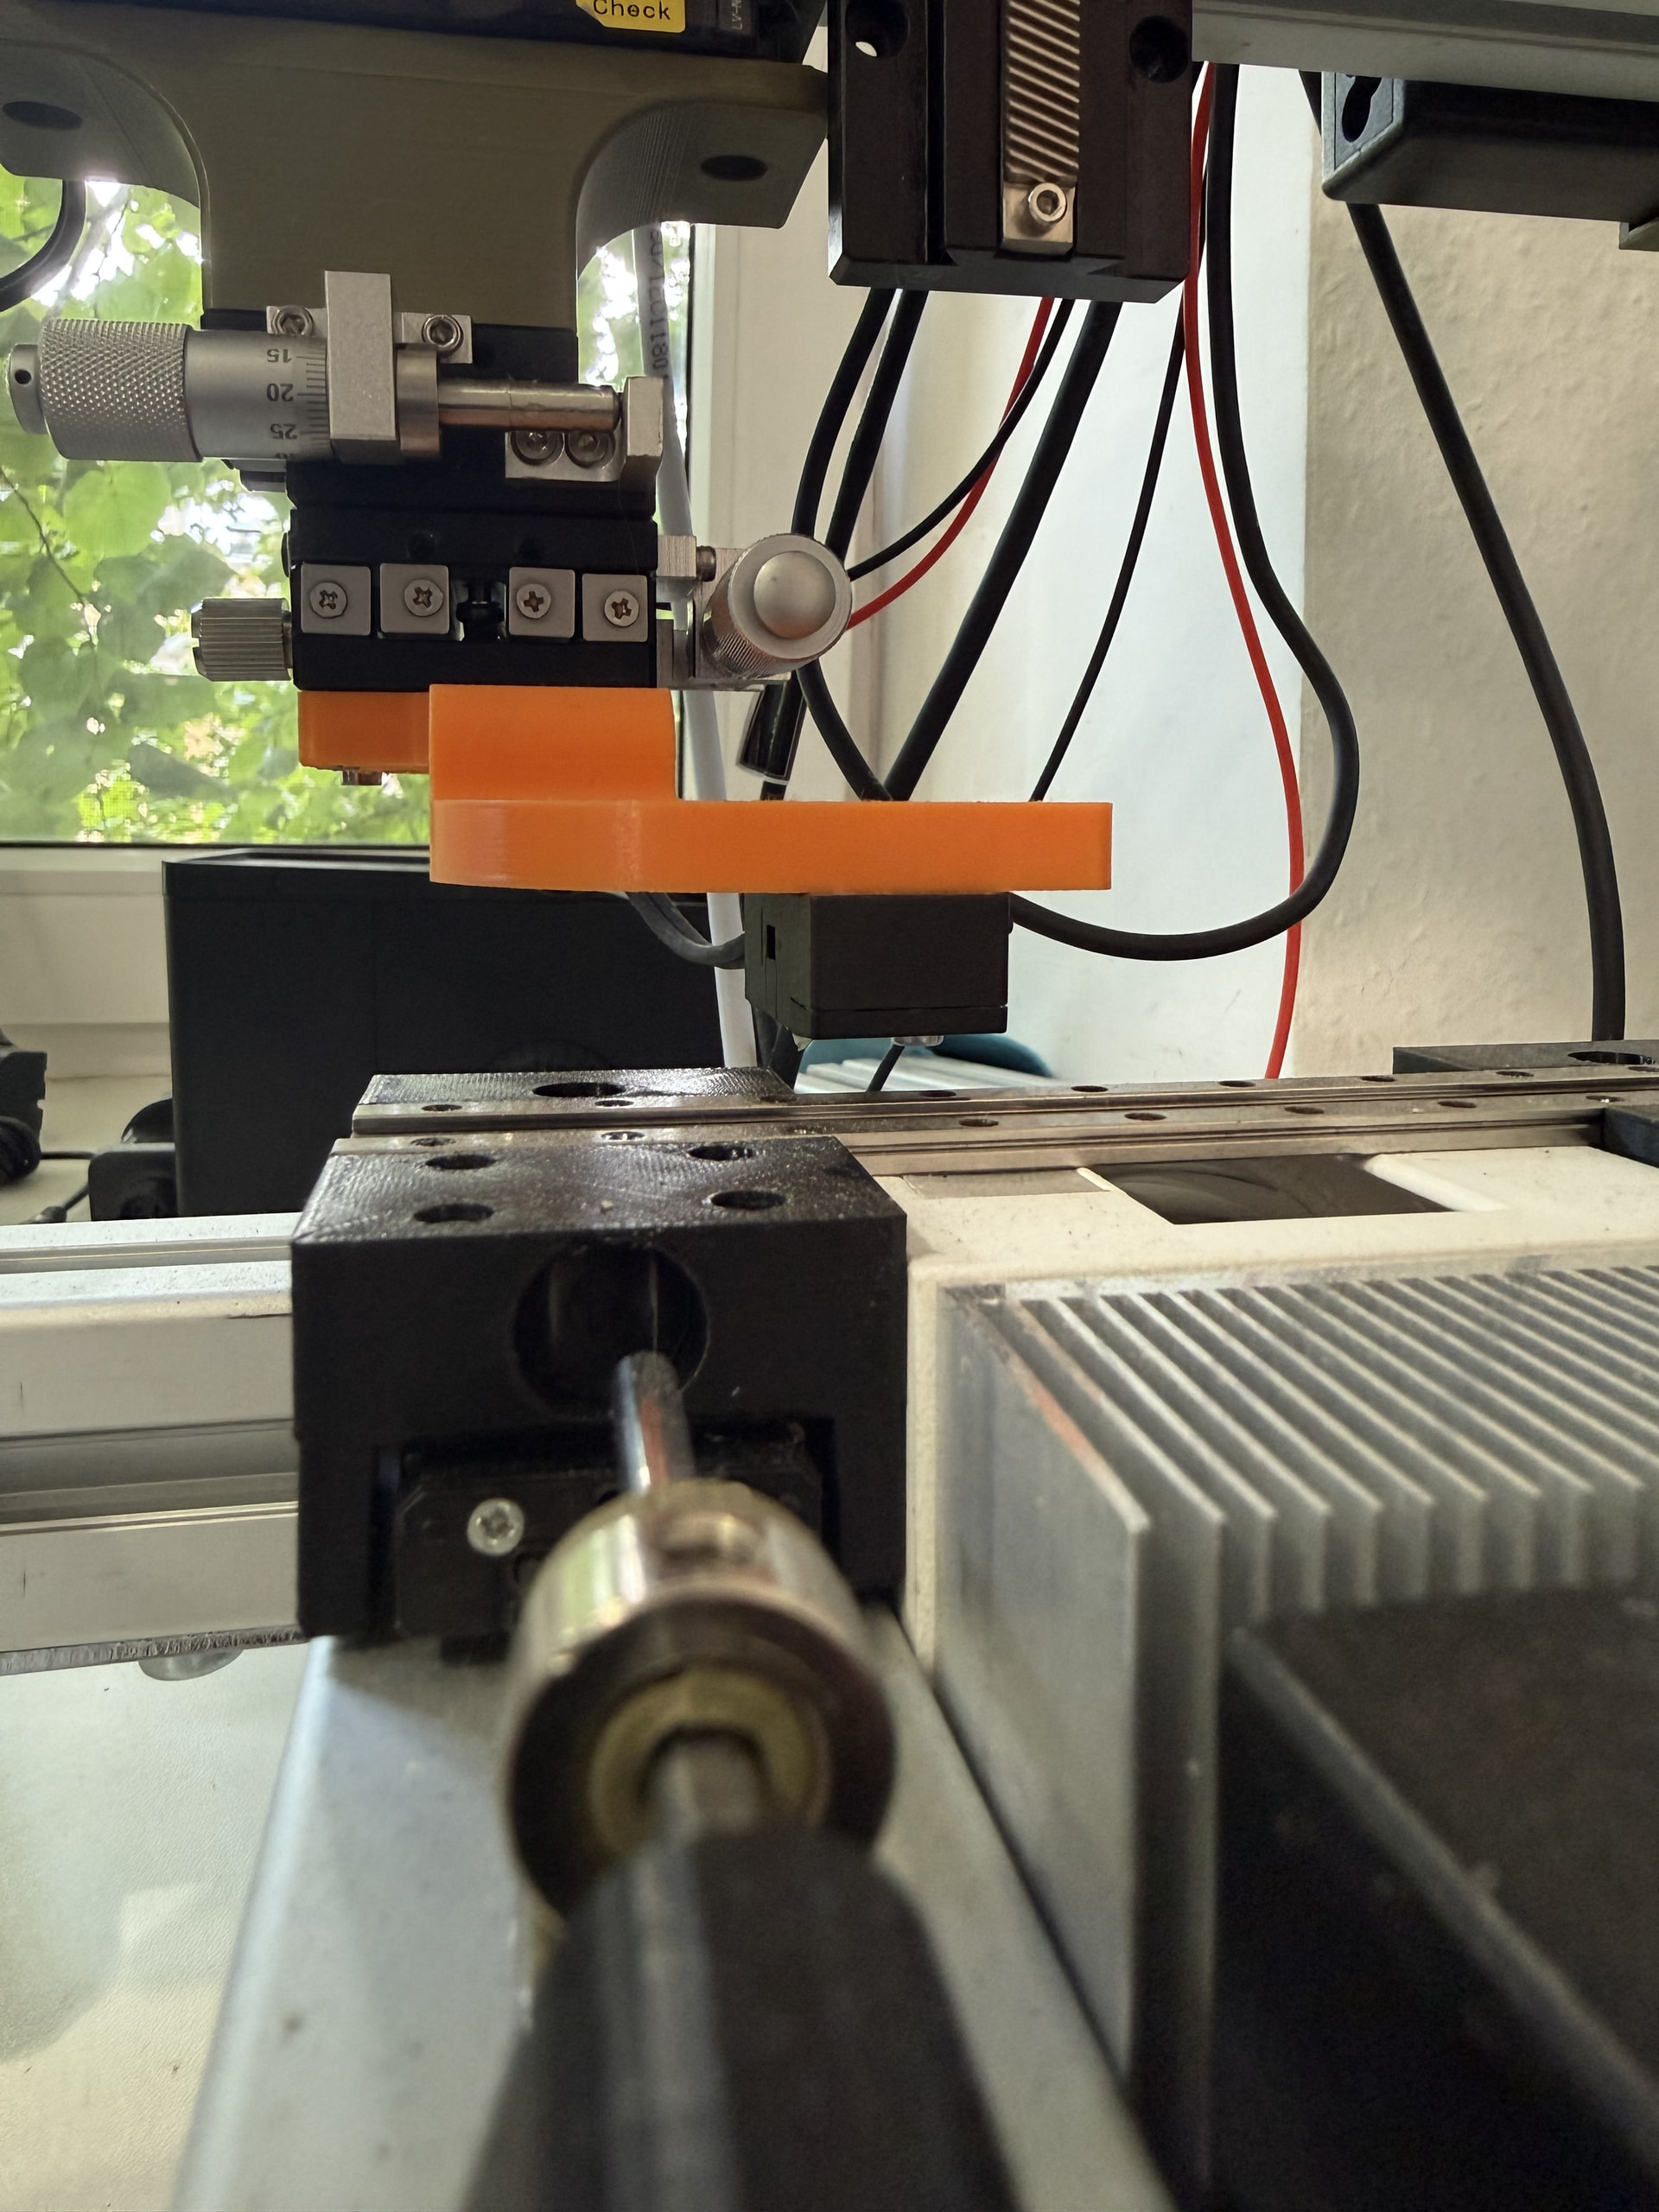
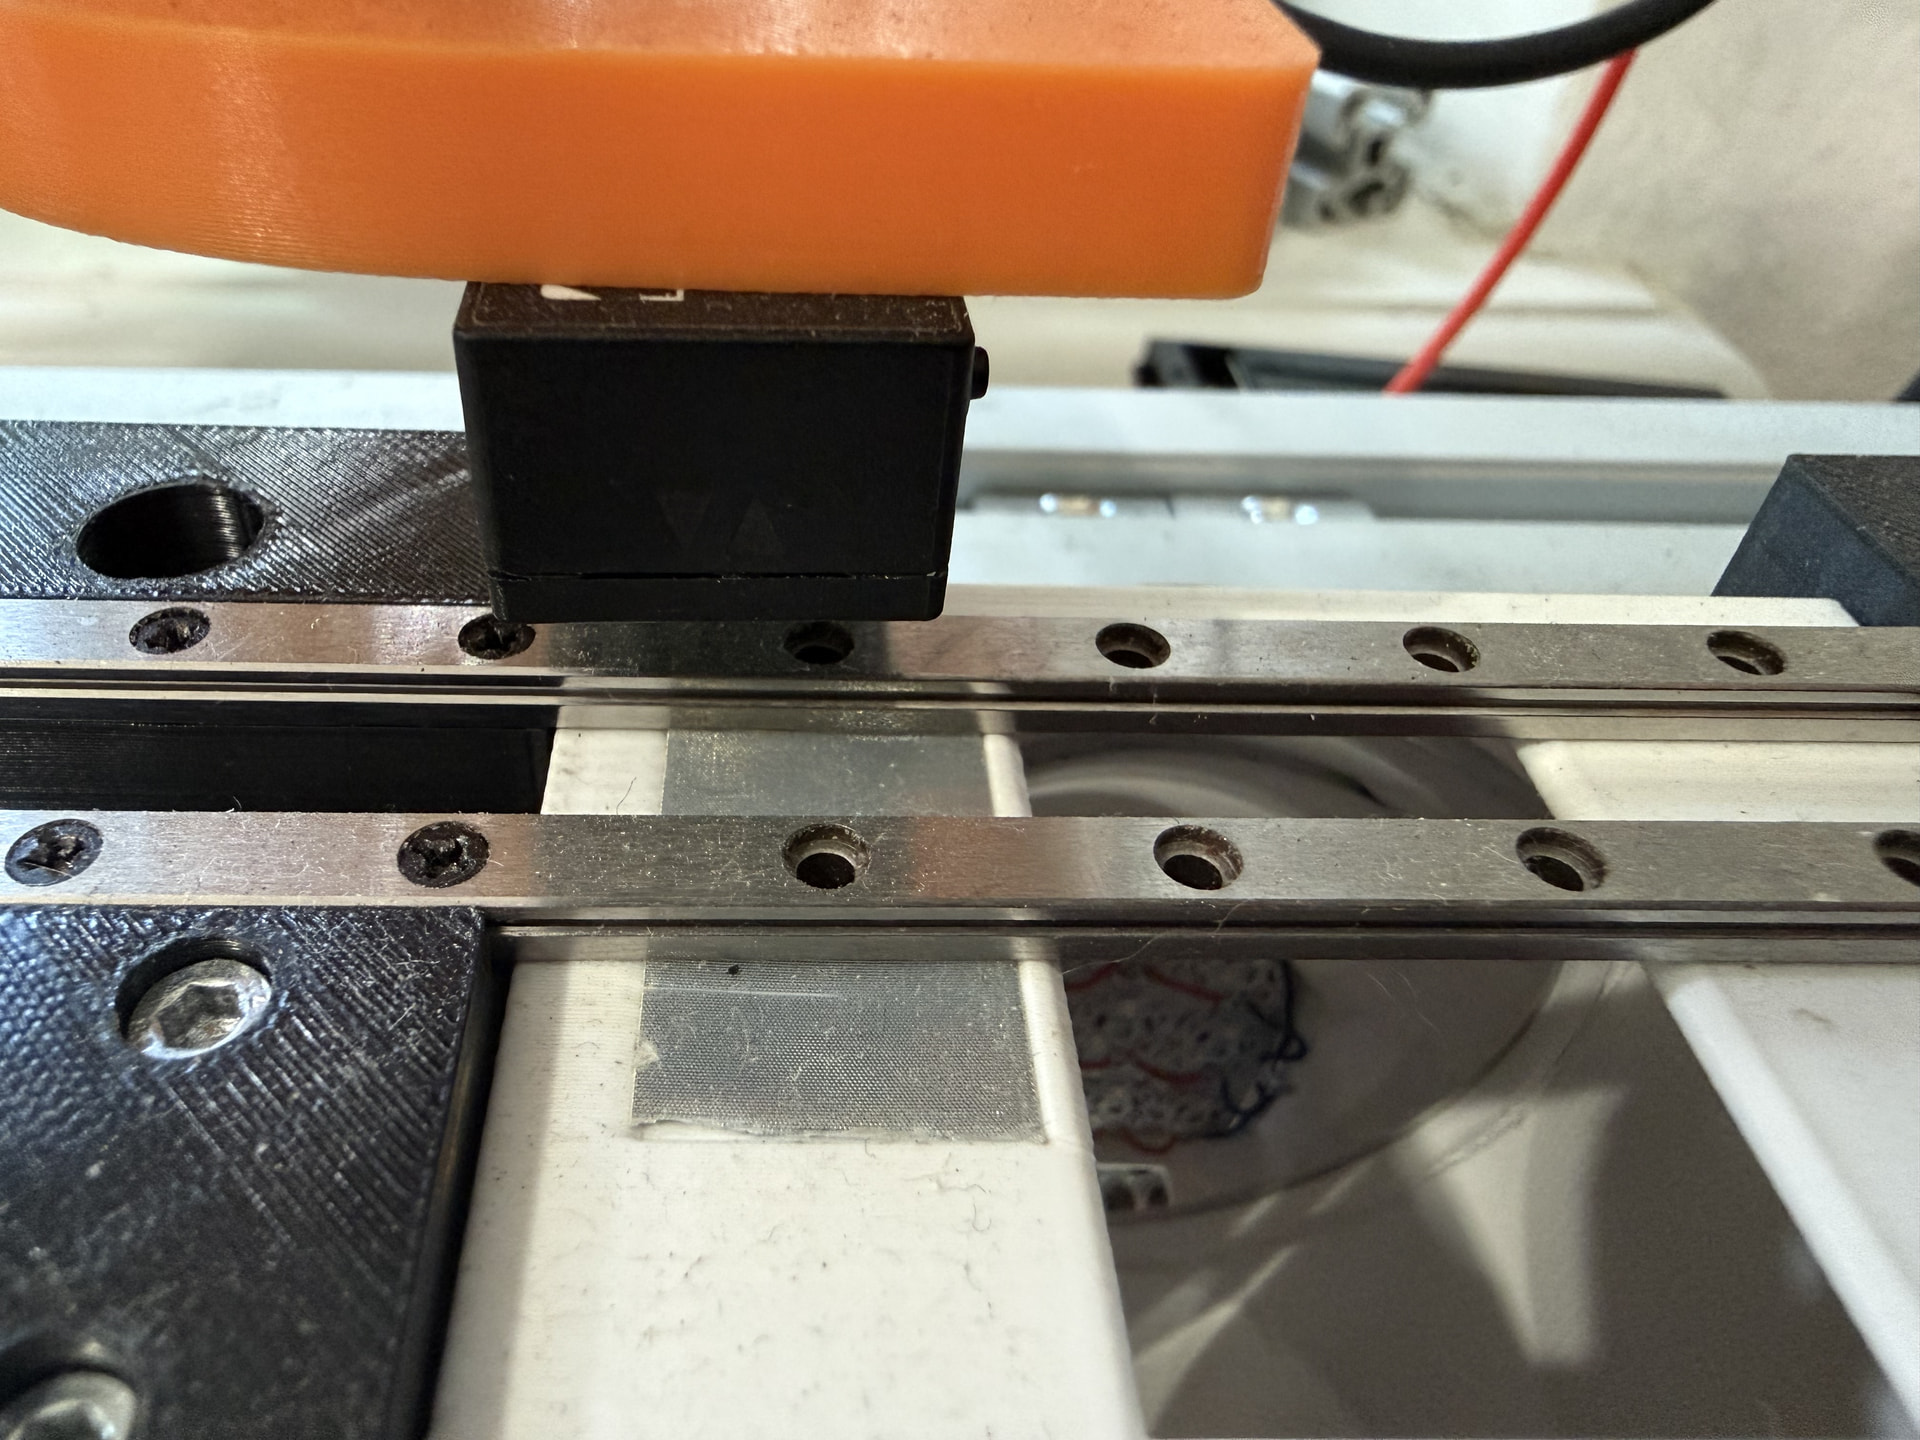
1 Like
@Andriy_Mais (?) :
Without trying to claim that one solution is better than another, I think the pinpoint approach may offer greater flexibility when working with different film formats. Another small advantage is that the sensor can be positioned closer to the lens, aligned with the same perforation the camera originally used to register the film.
Your lighting system looks far more sophisticated than mine—I’m looking forward to seeing the details!
And as for the dust, close-up shots are absolutely unforgiving—I have exactly the same problem !
2 Likes
The video is interesting. Could you perhaps upload the files for the film tensioning system?