Following up on Strange encounter in the red channel/RPi HQ Camera, I am struggling to set up my light source in a way that lets me properly illuminate the image area of a Super 8 frame while also avoiding channel clipping in dark areas.
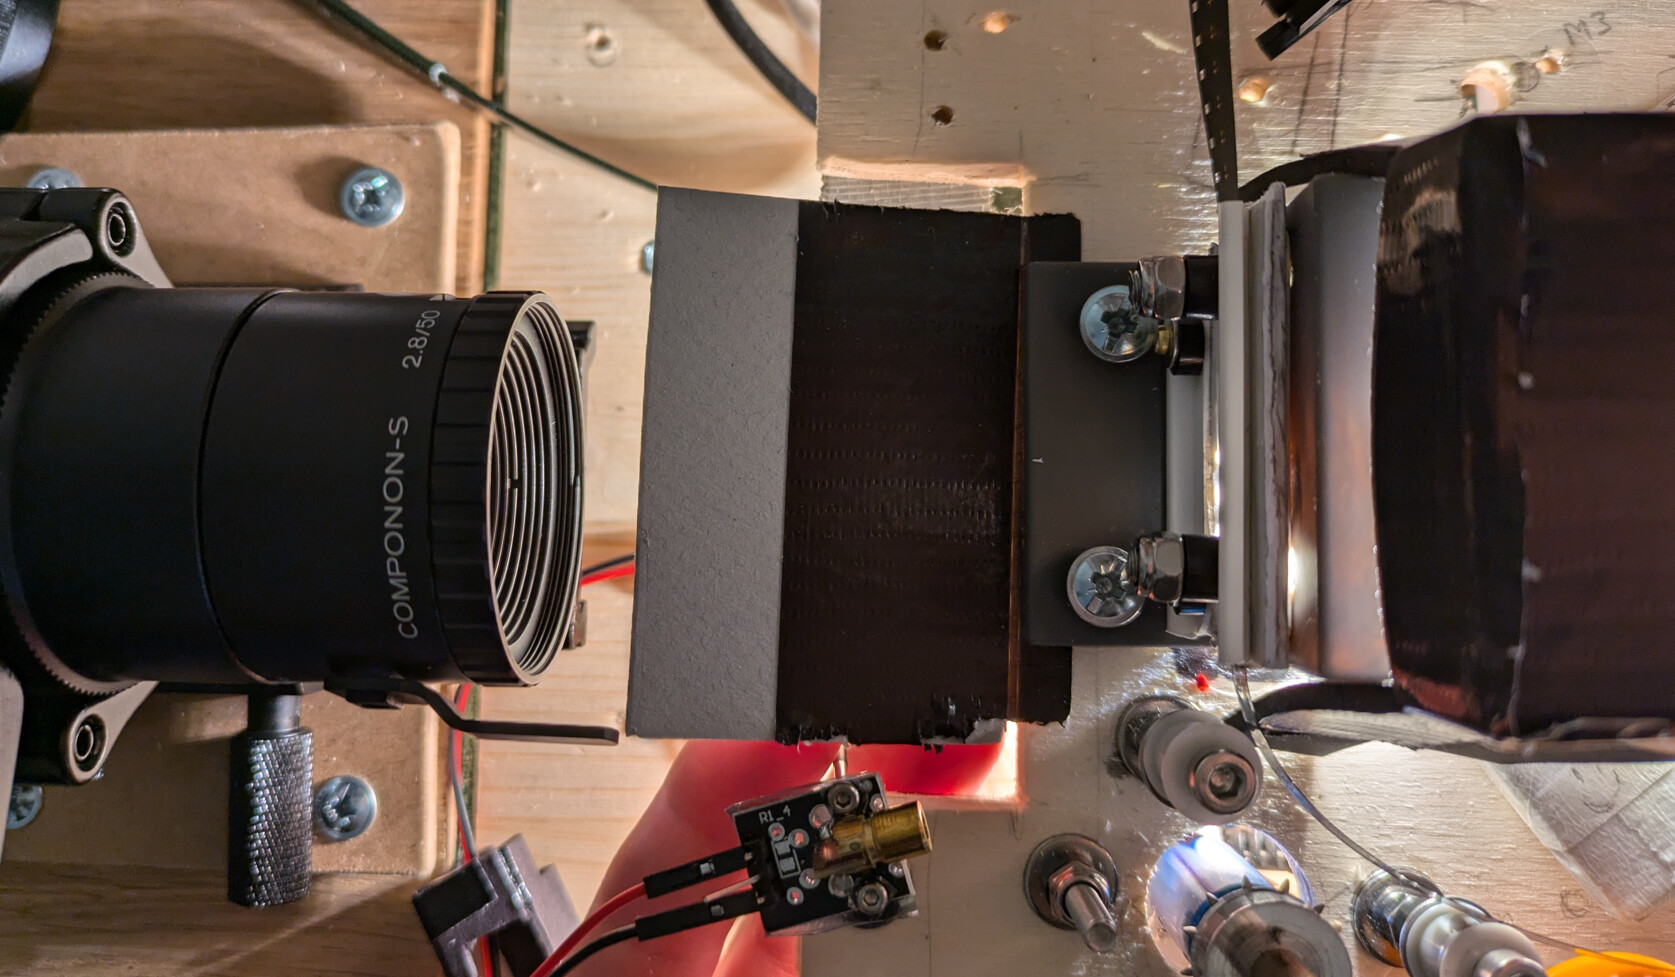
Here’s my current setup, top view (bear with the clutter…).
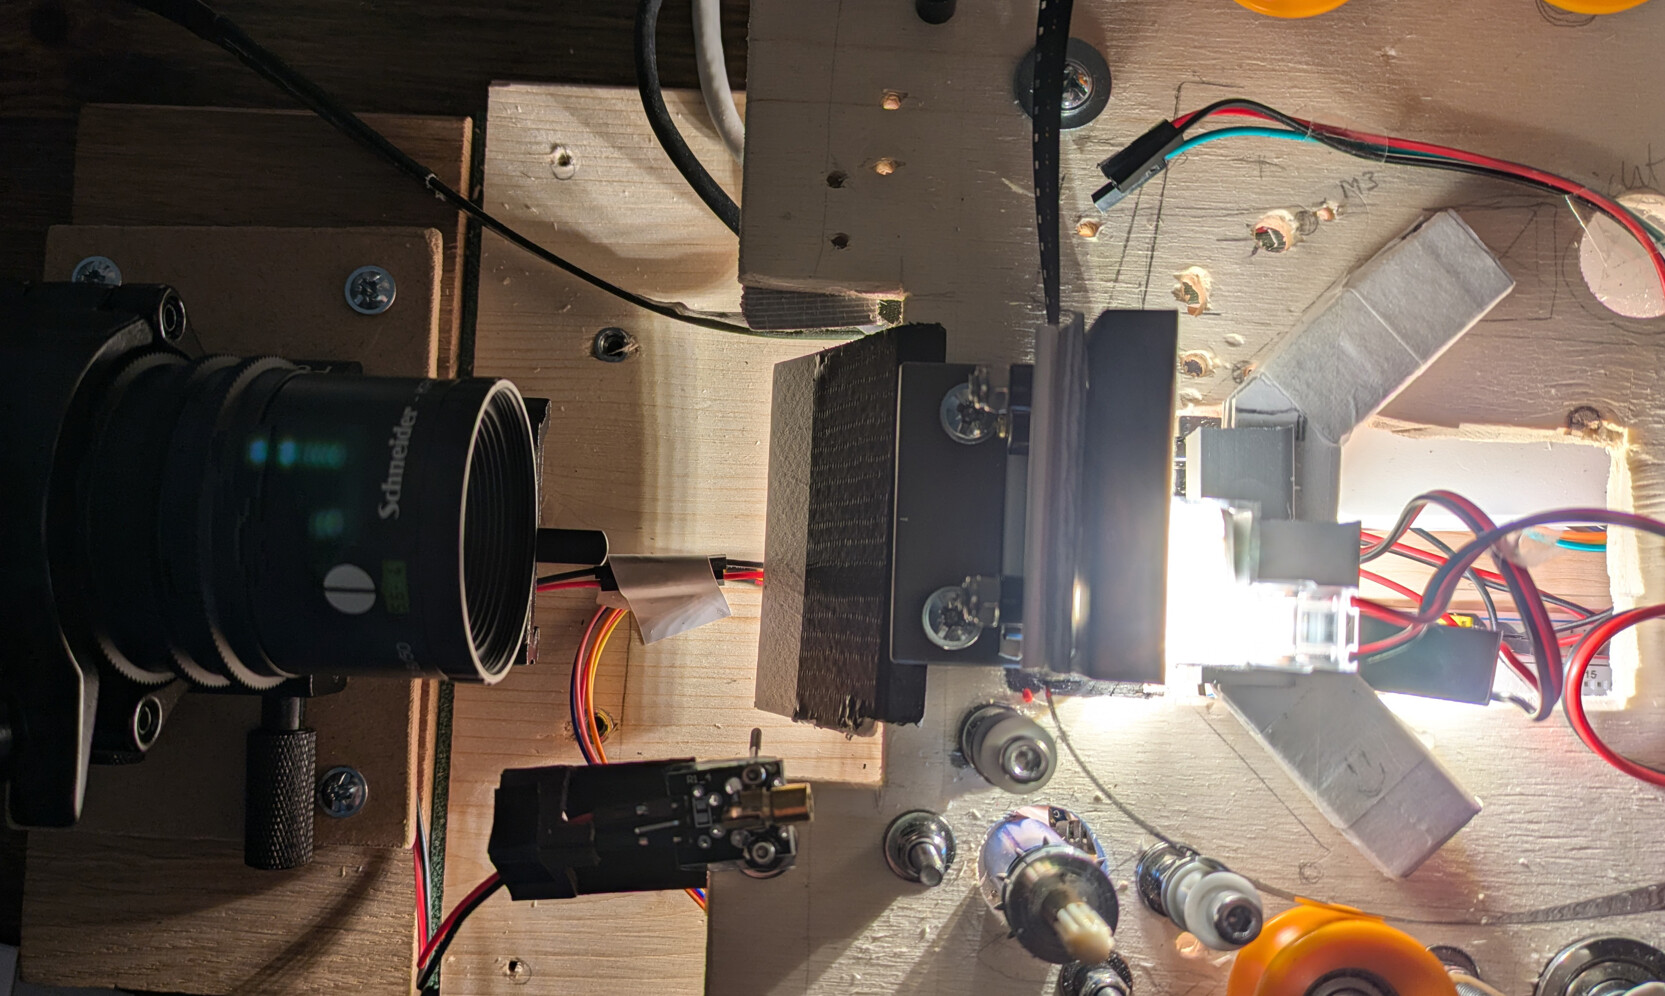
Schneider → DIY film gate → Lamp.
The setup is two-leveled, with the scanner-parts on top, and the Pi/wiring below. There is a hole at the lamp-area - I went through a couple of iterations… But the hole is relevant, because it results in light being reflected underneath the gate. To avoid having that light reach the lens, I stuck a piece of cardboard below the gate.
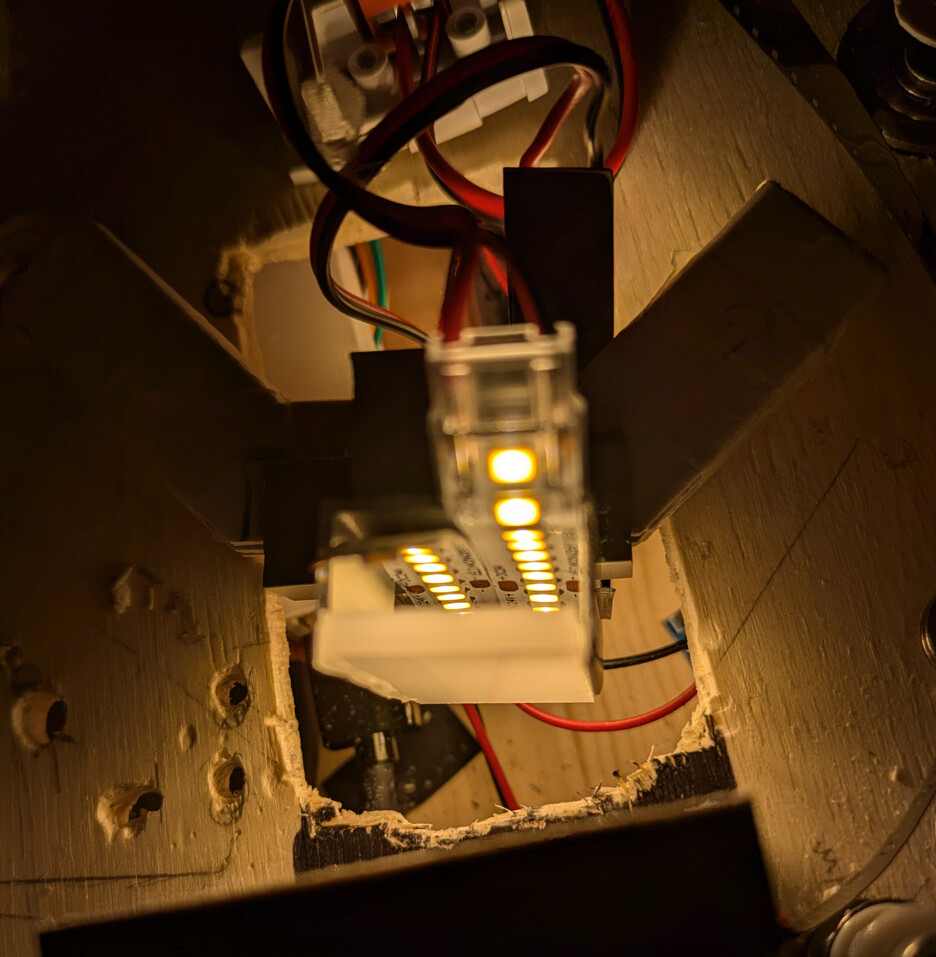
The current lamp is two pieces of 95CRI LED strip stuck to a piece of aluminum with a professional grade LED diffuser at the front.
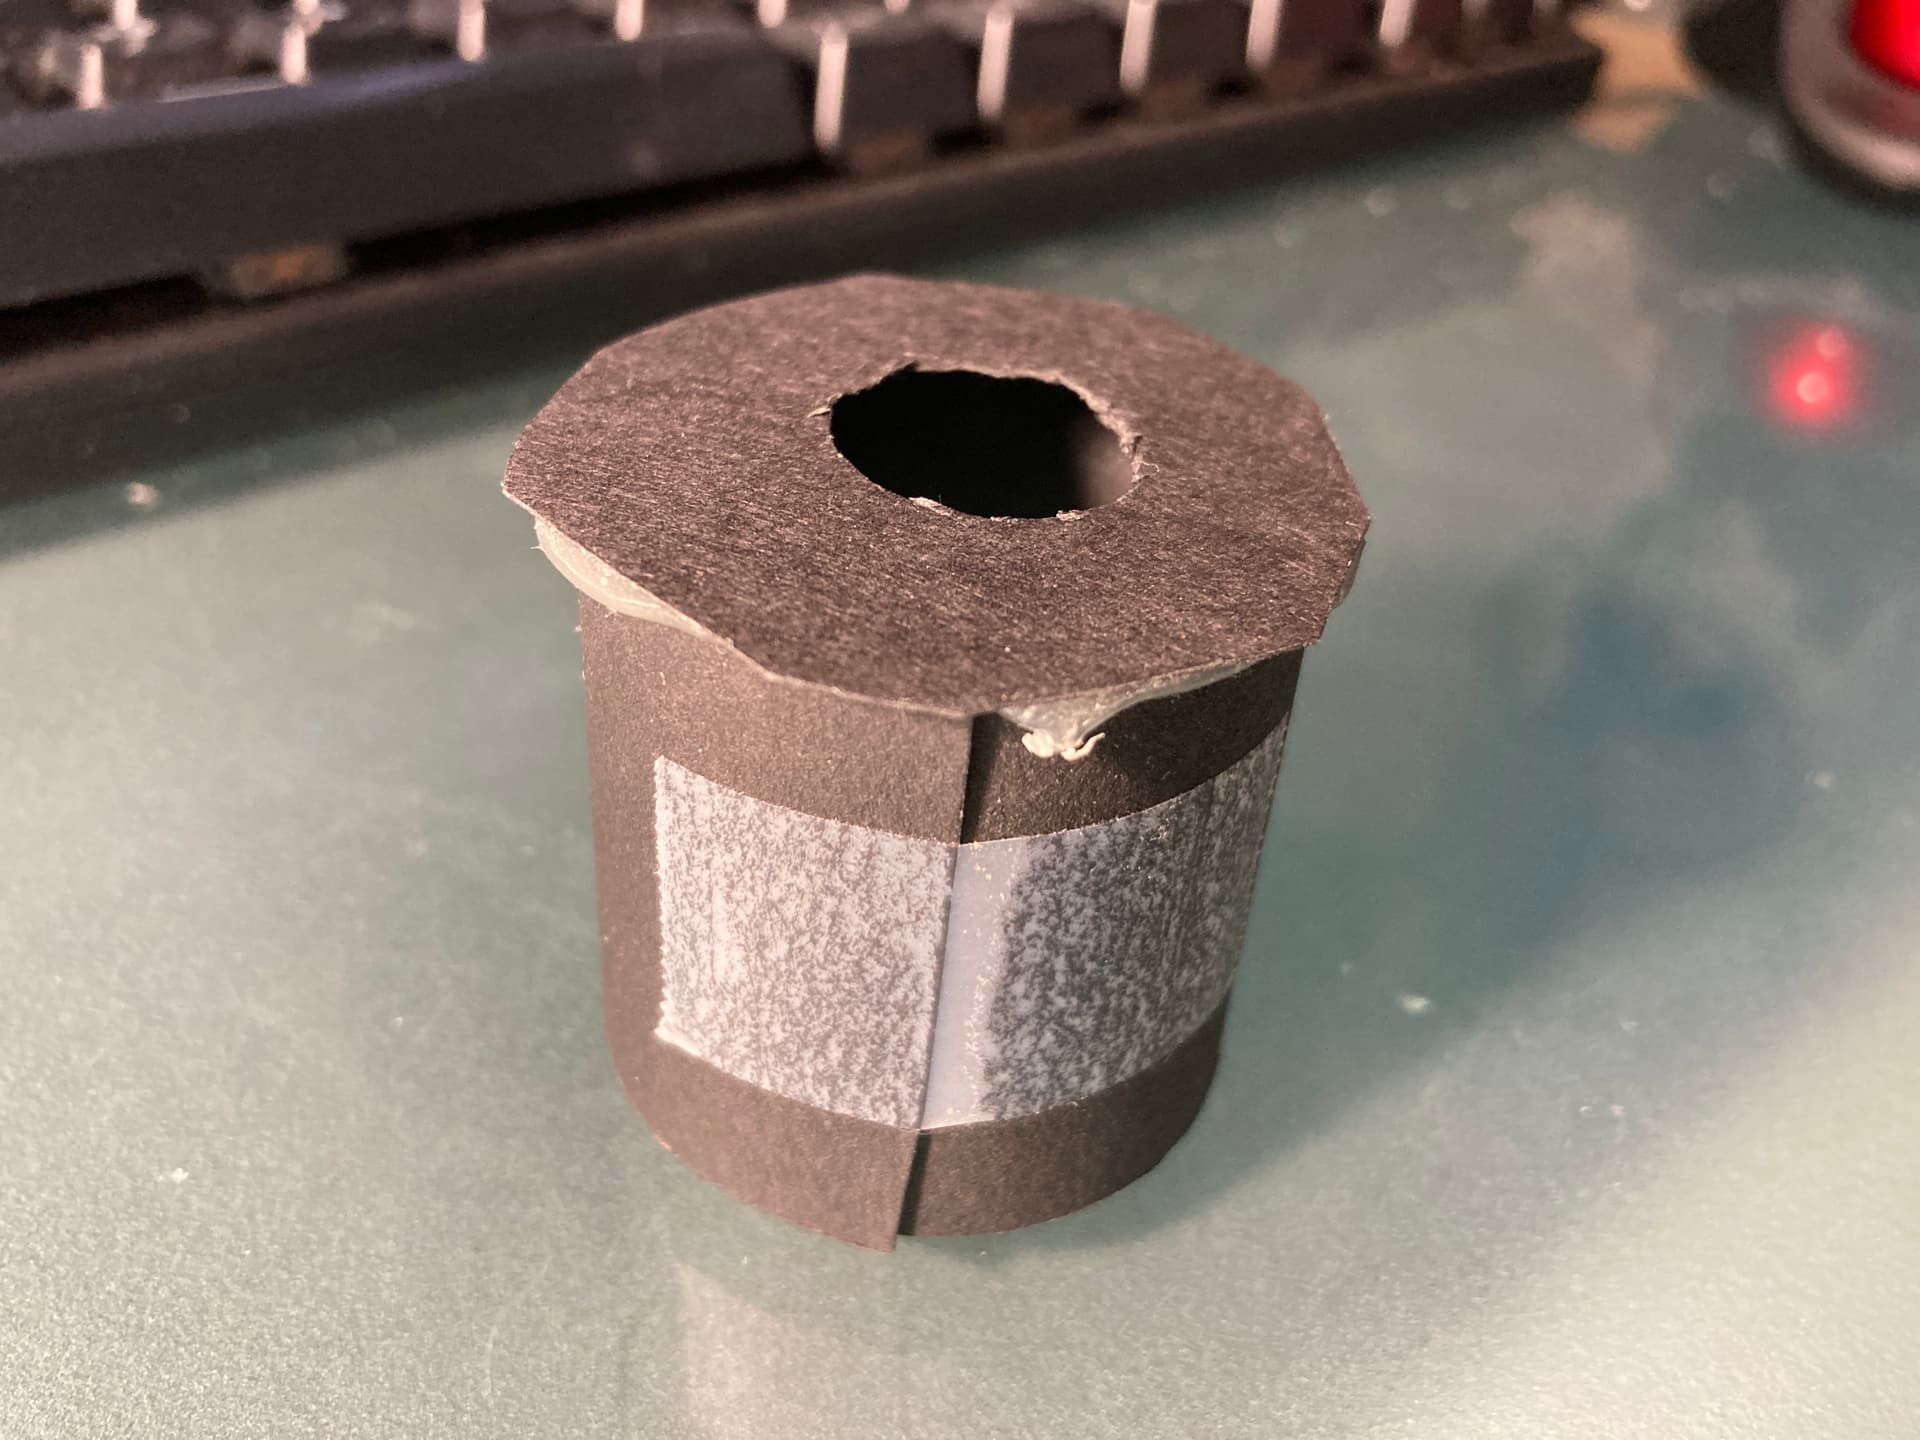
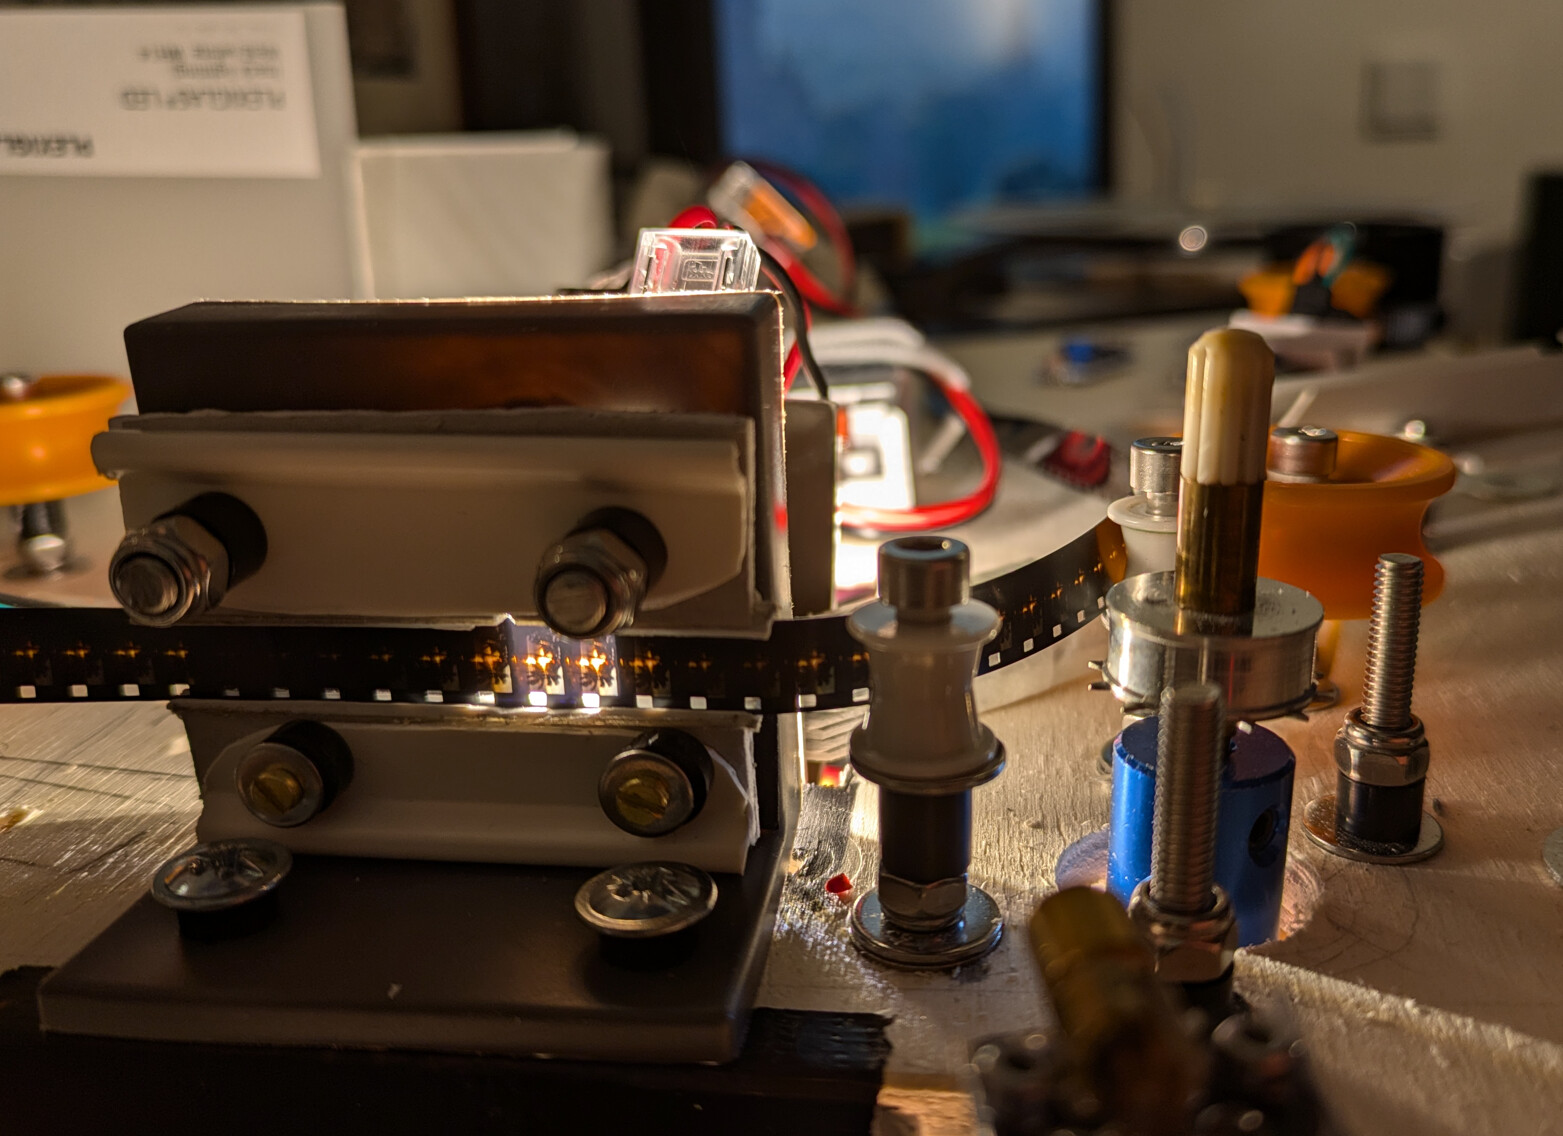
And the DIY film gate up close (it says IKEA somewhere on there).
I like to think that my light source is fairly decent, but maybe I’m setting the bar too low.
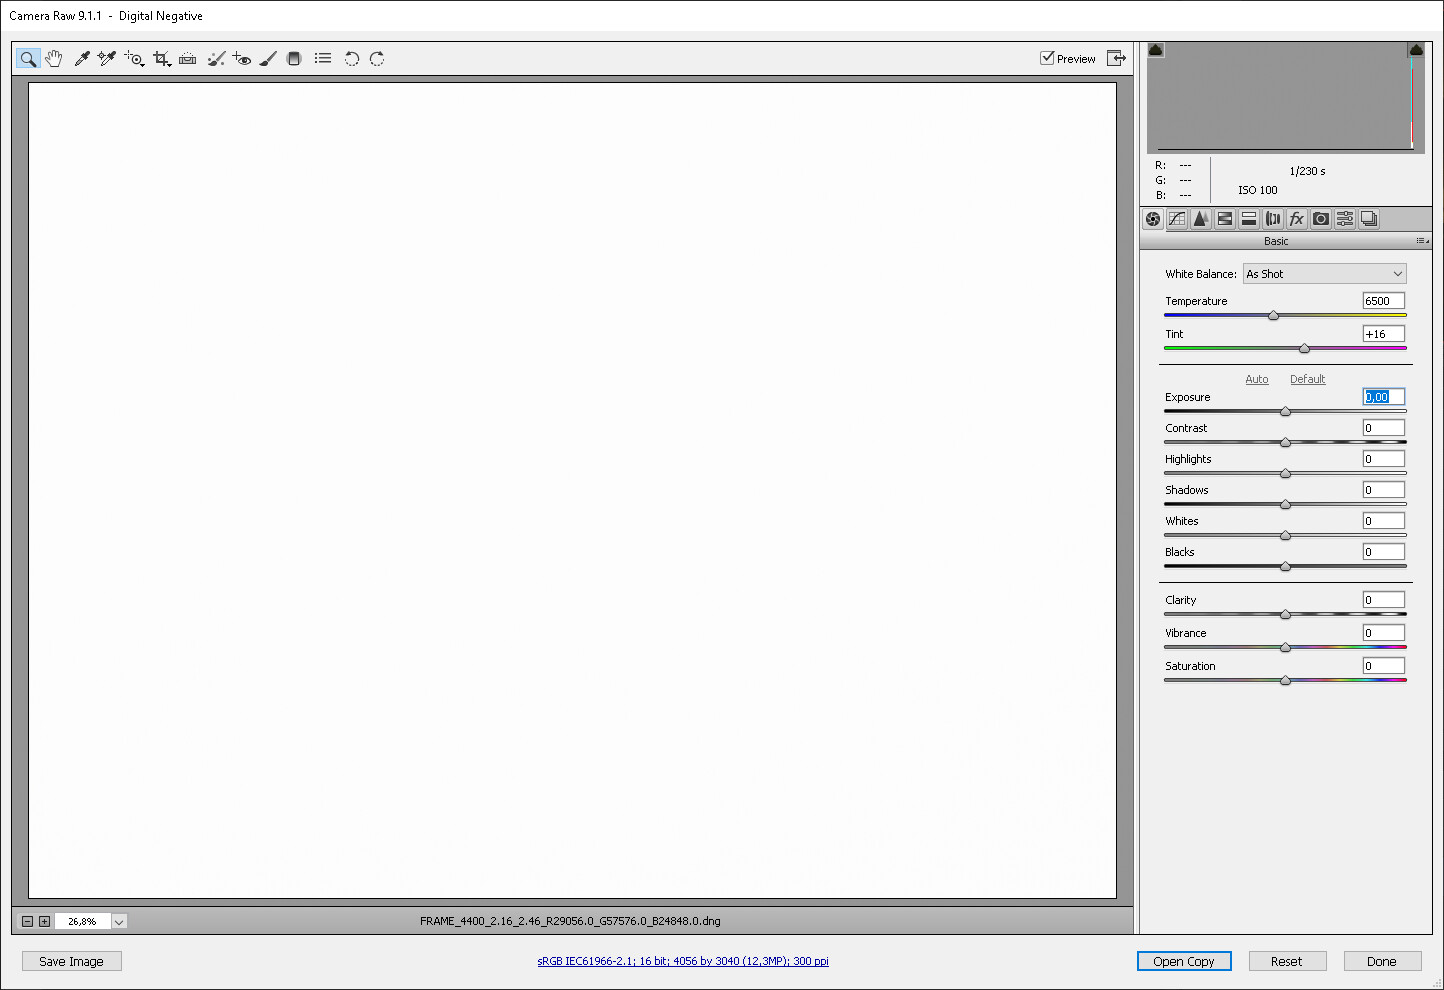
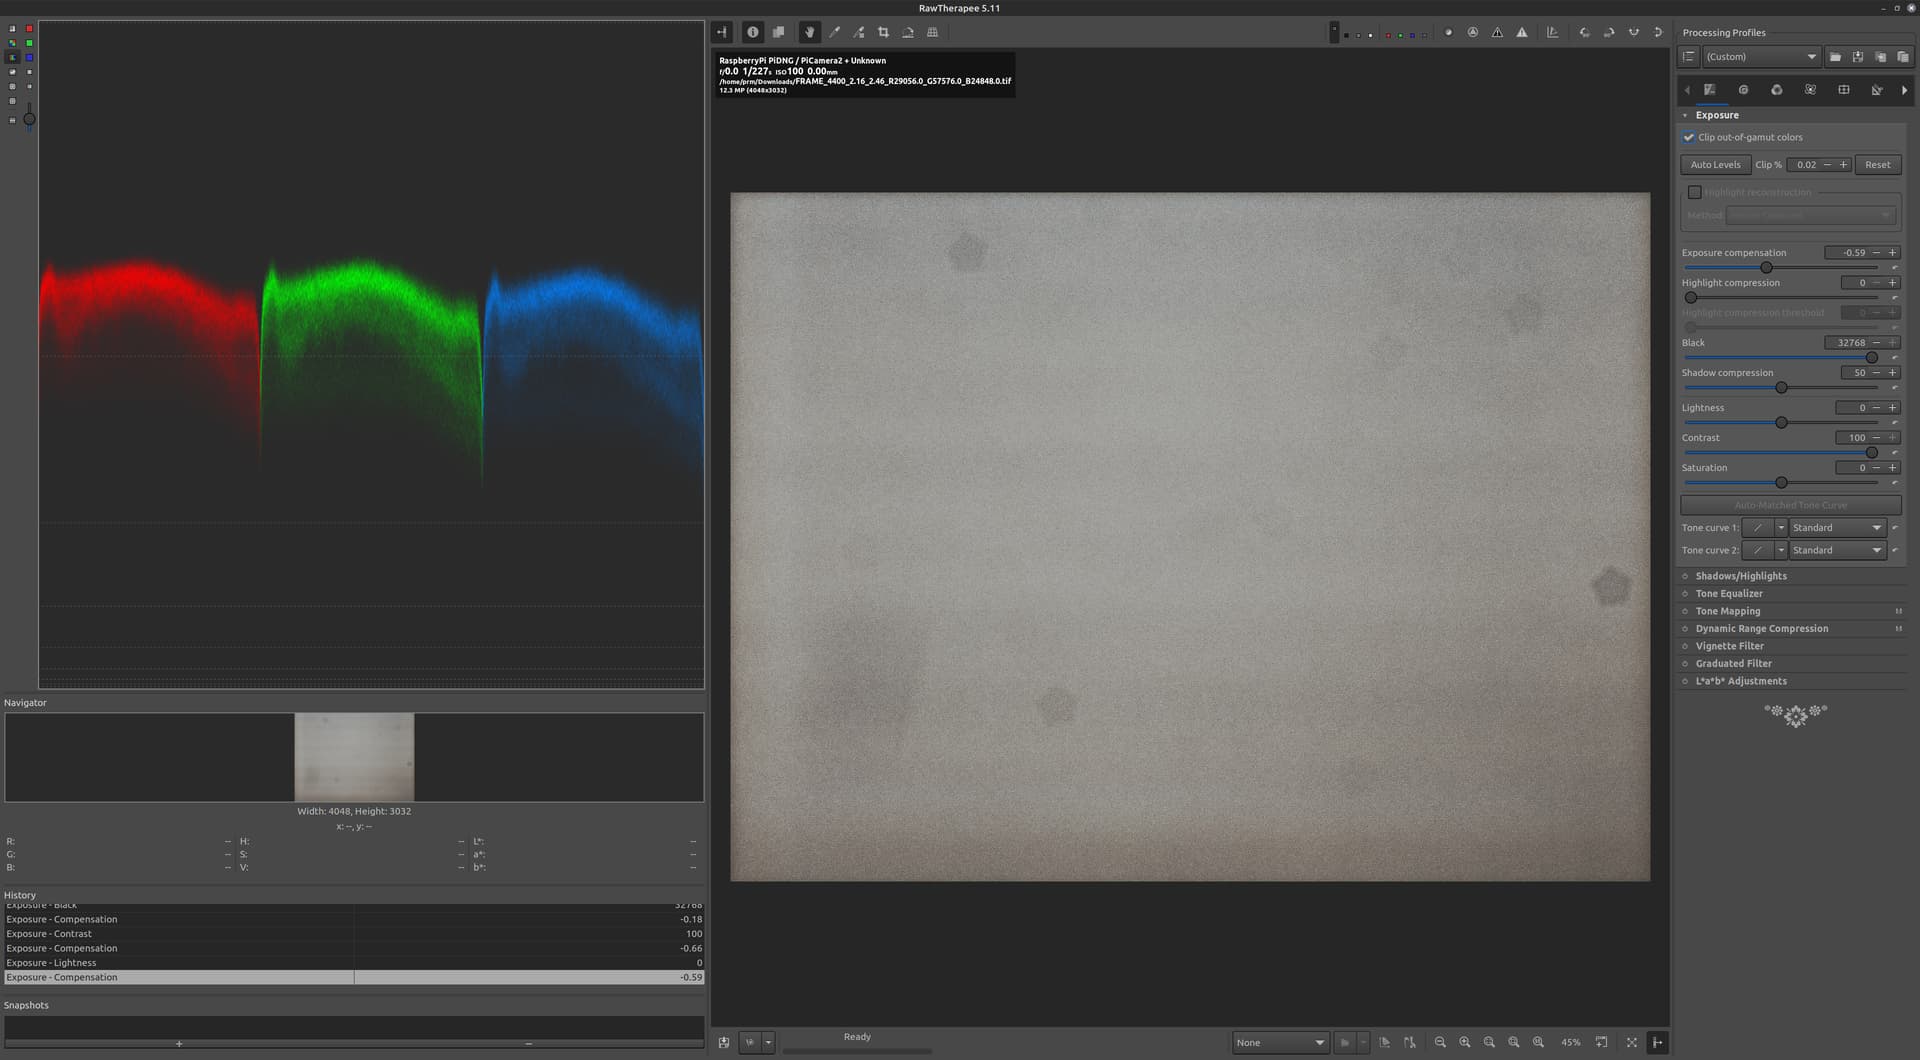
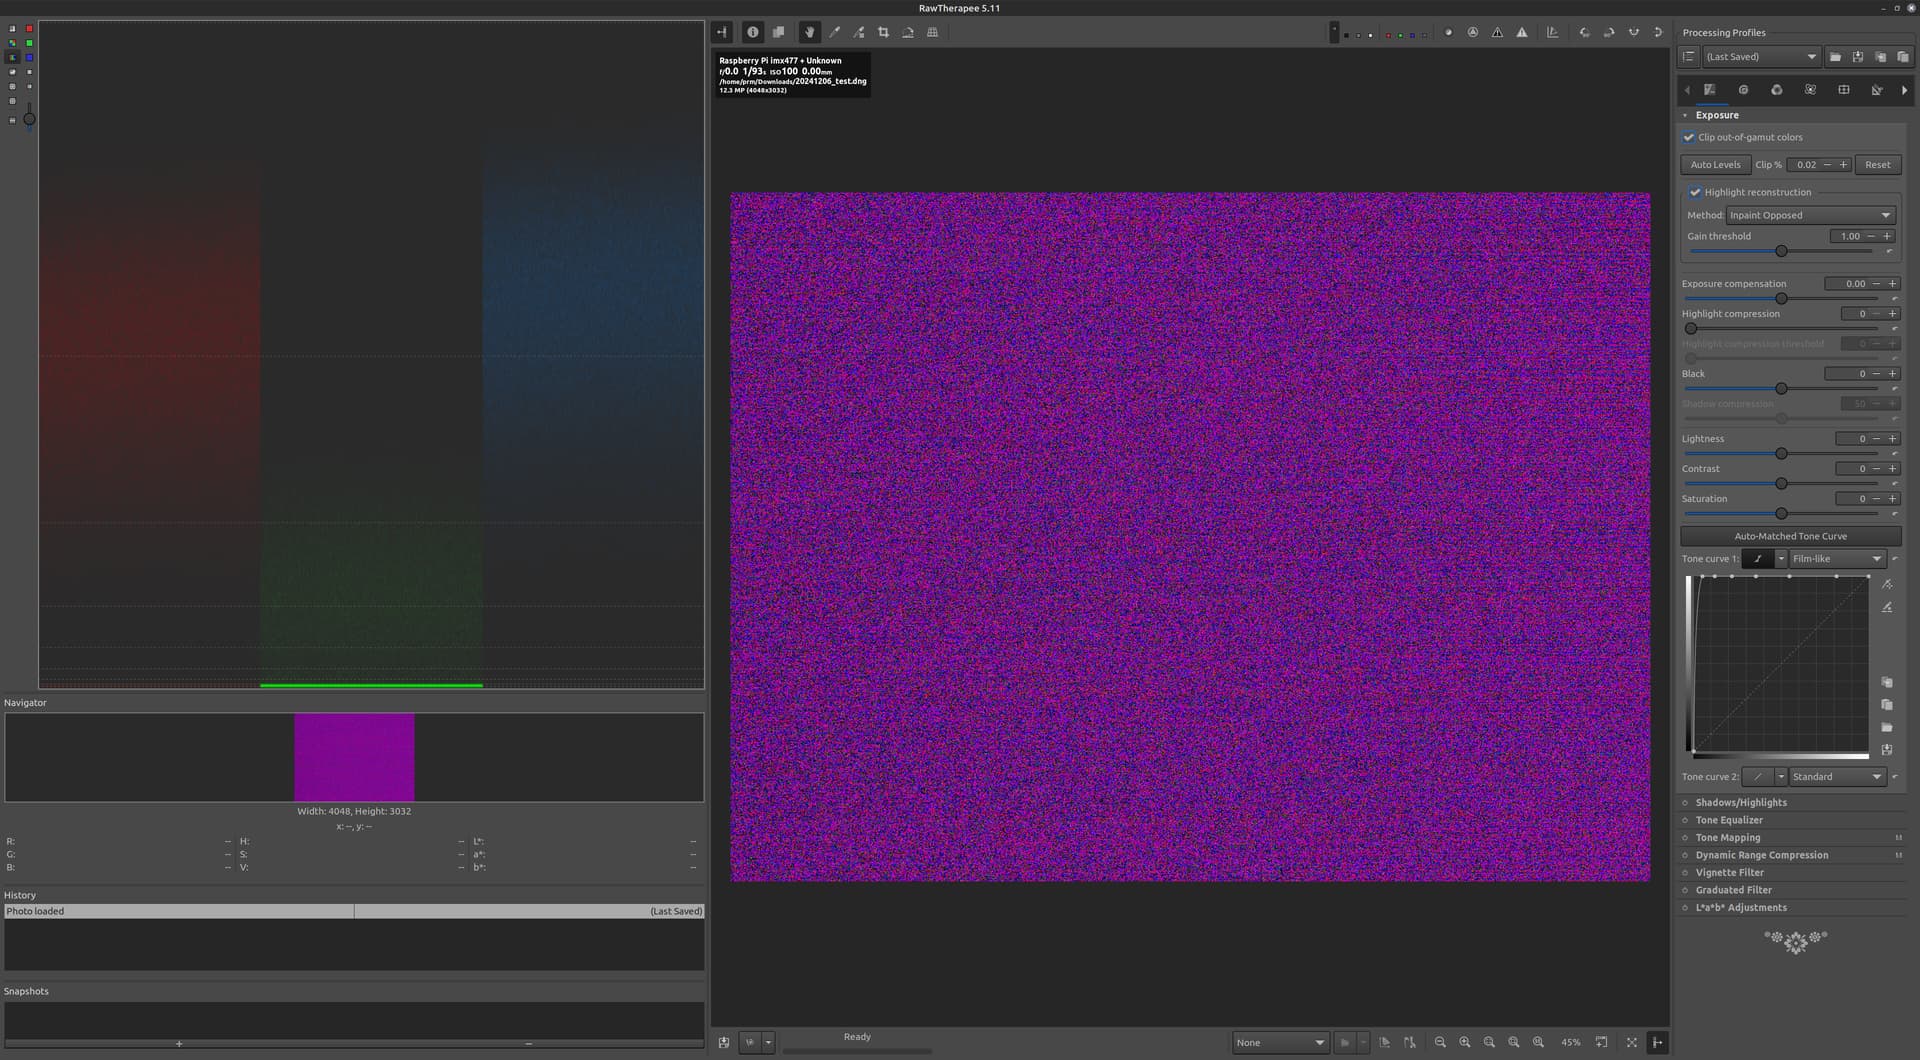
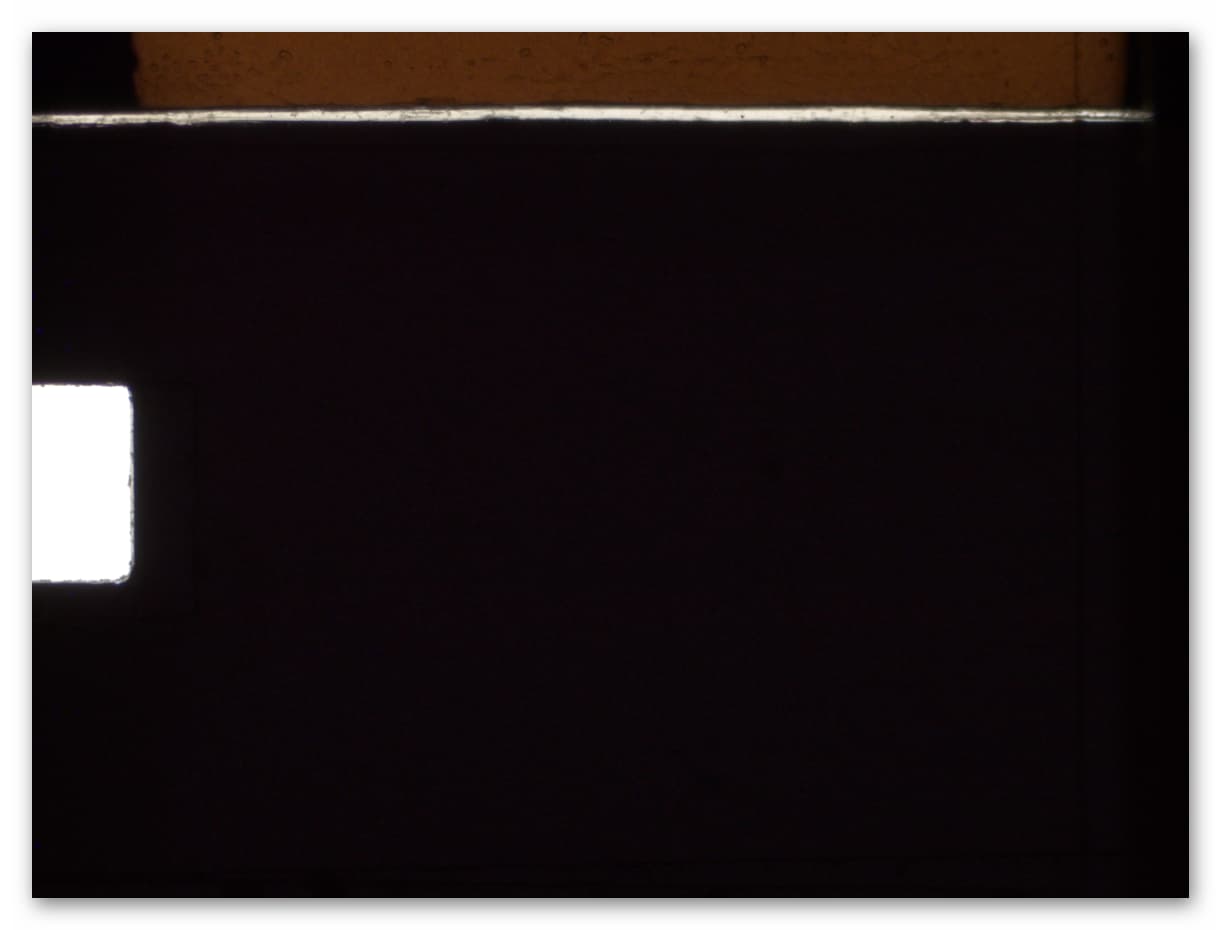
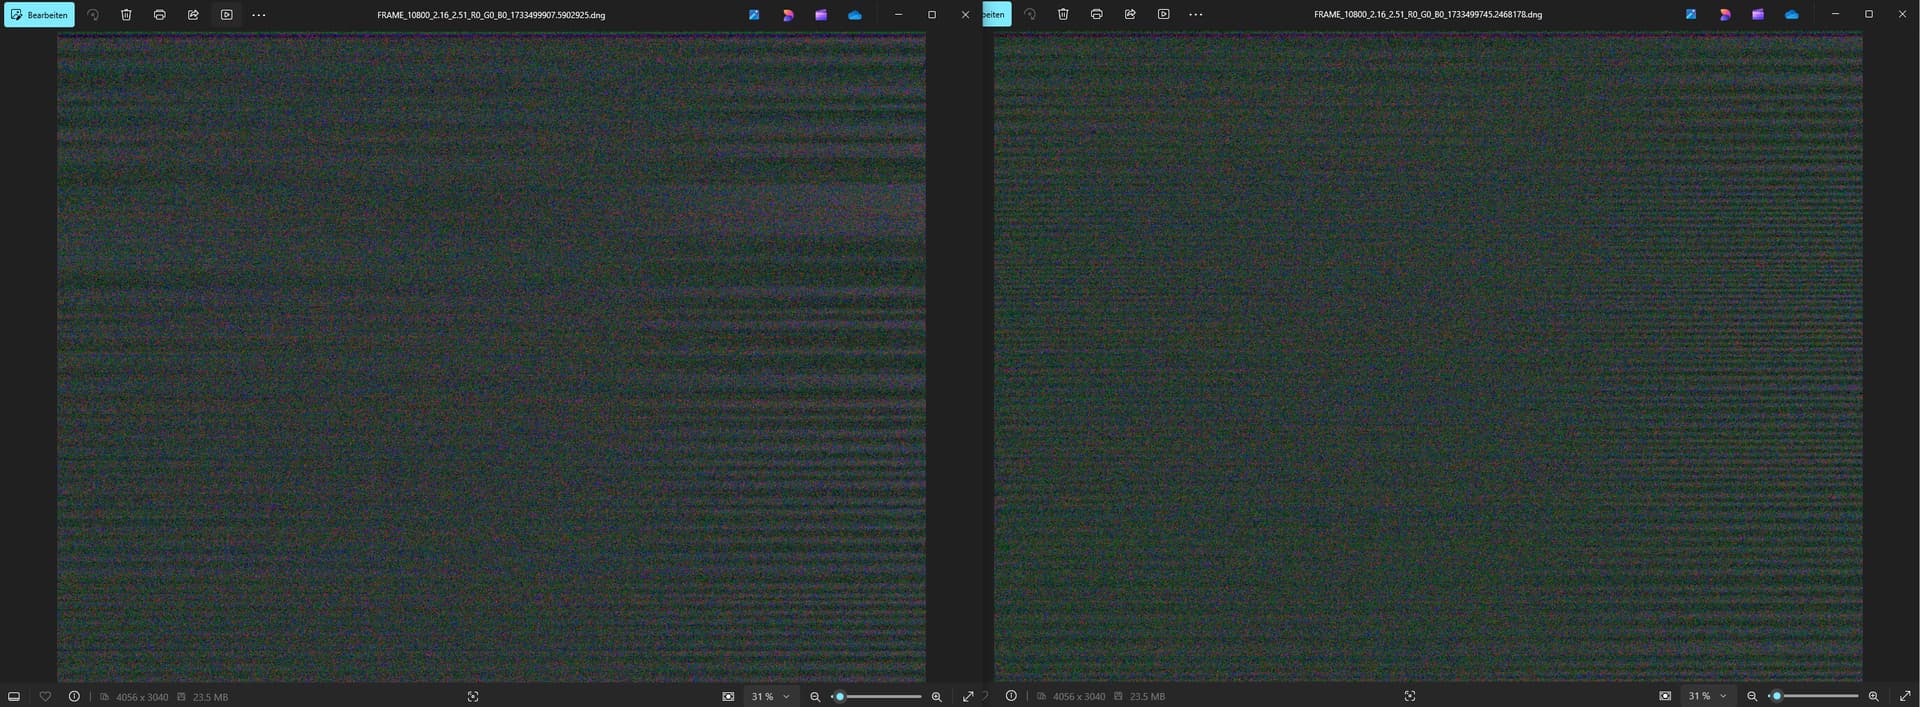
DNG of empty film gate with exposure low enough to avoid clipping
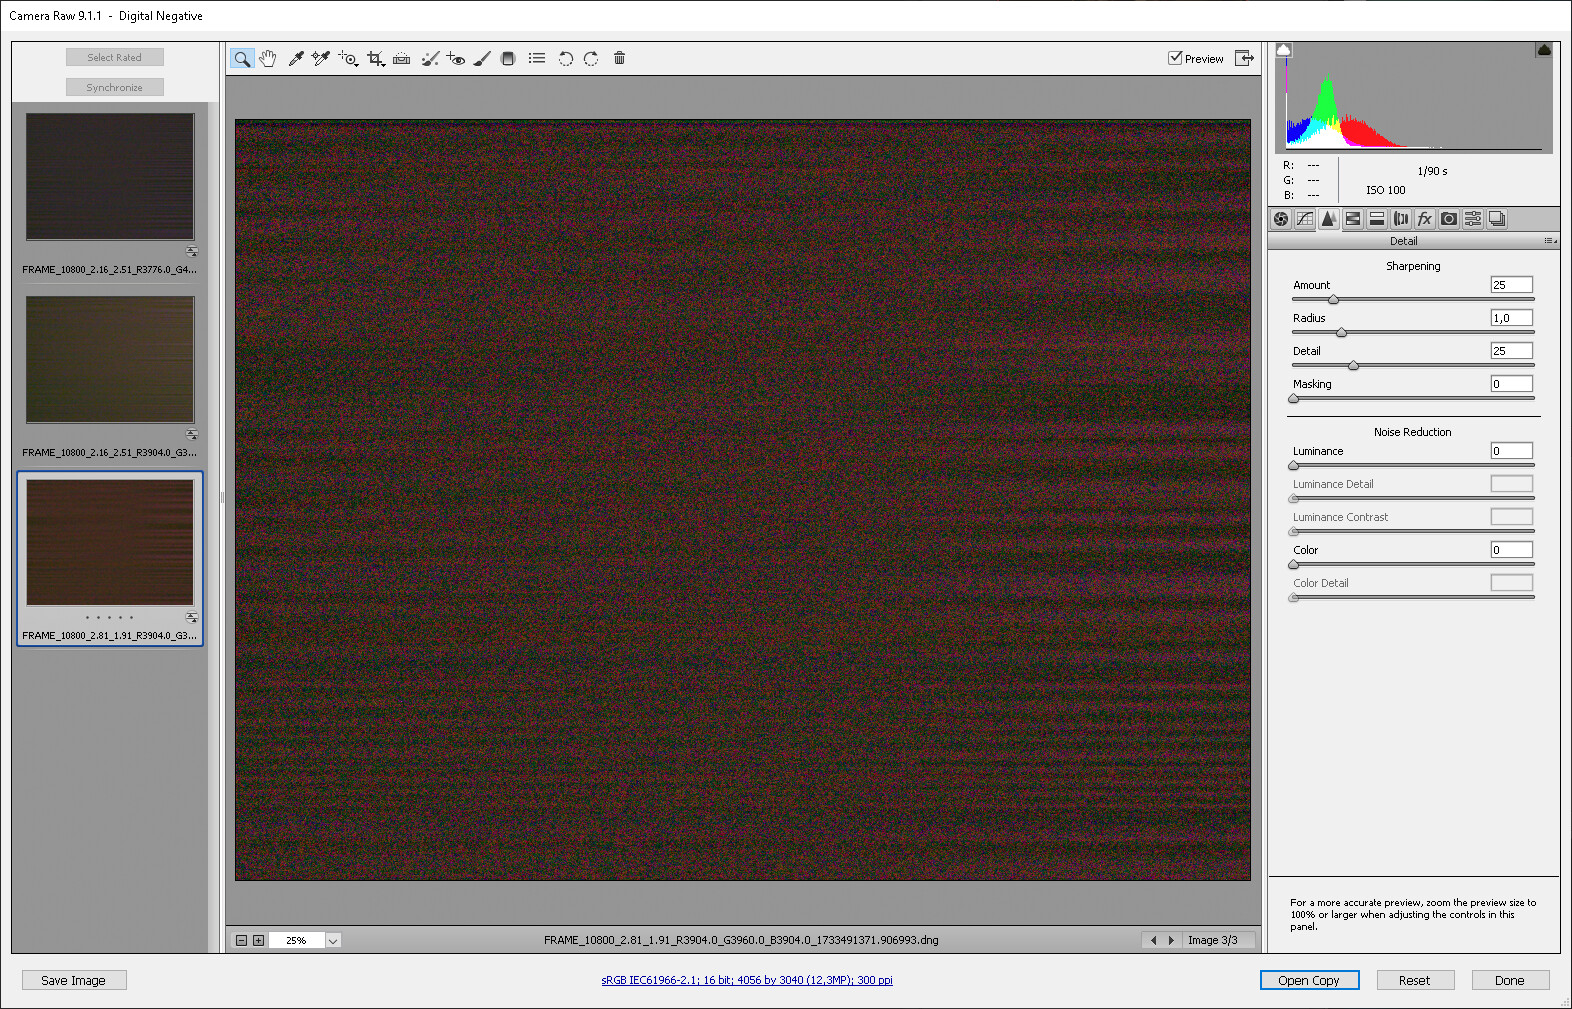
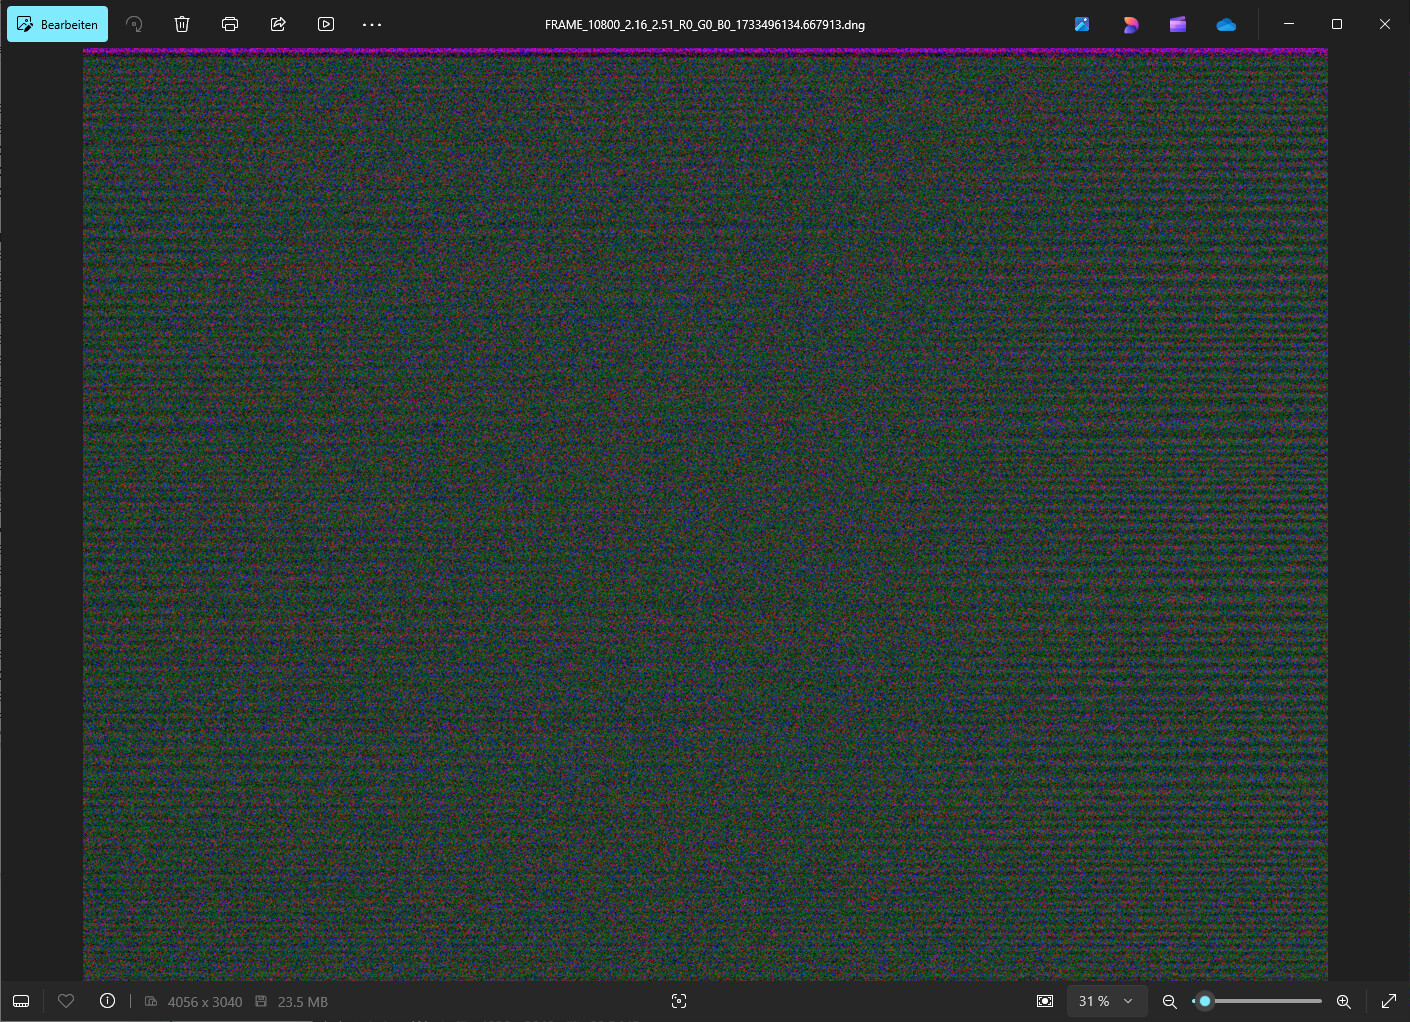
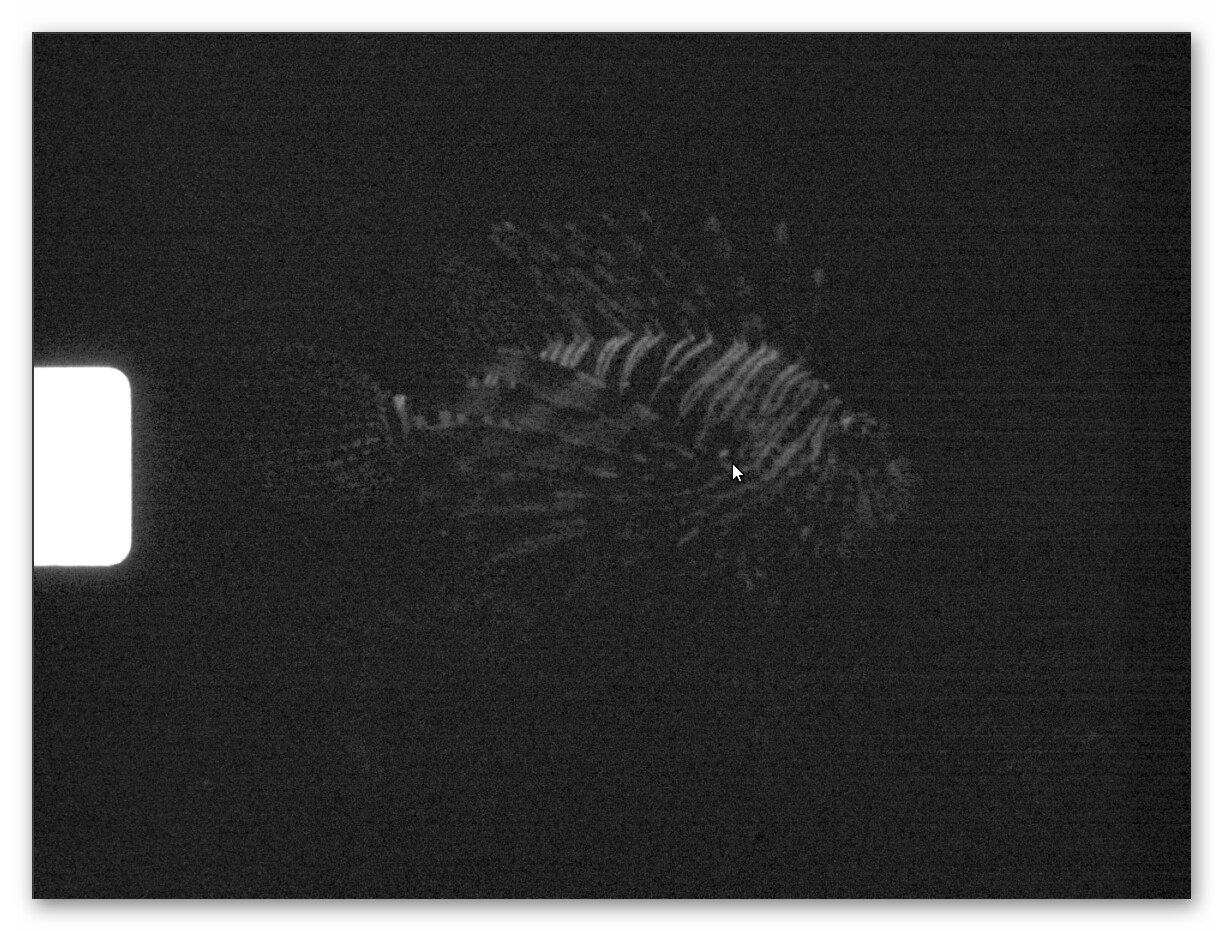
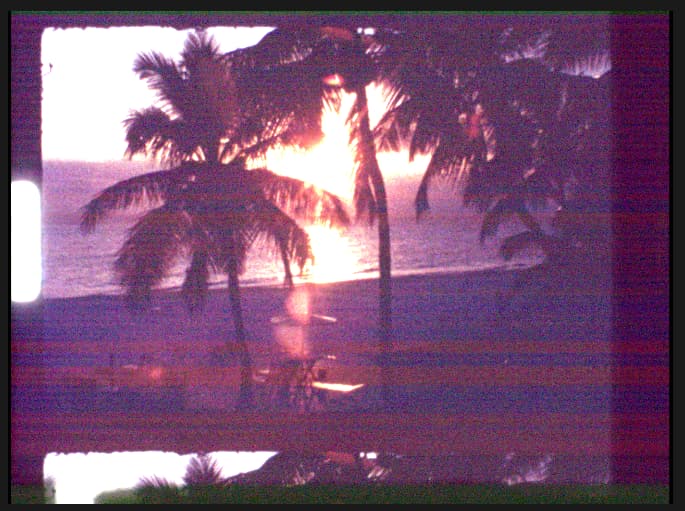
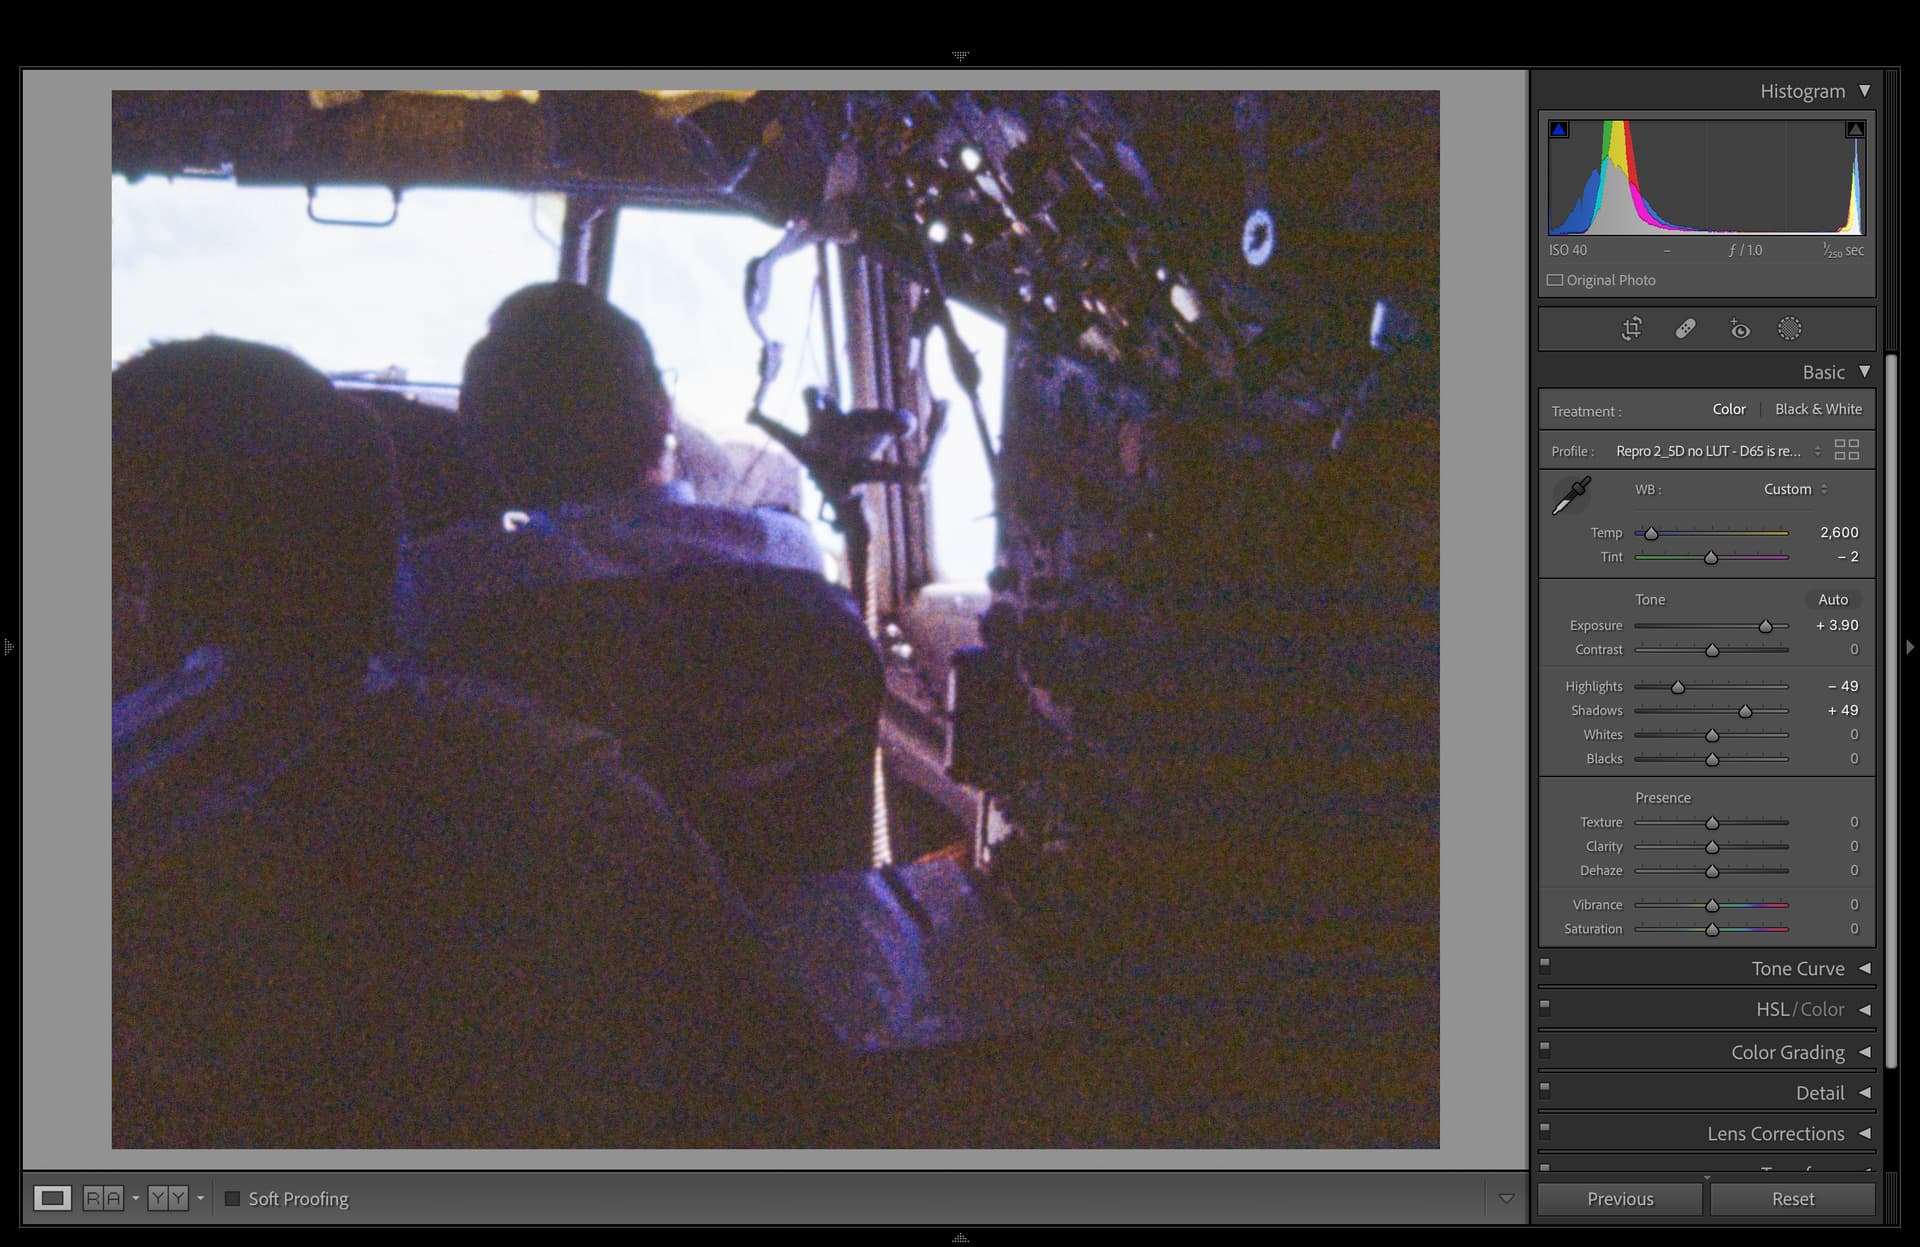
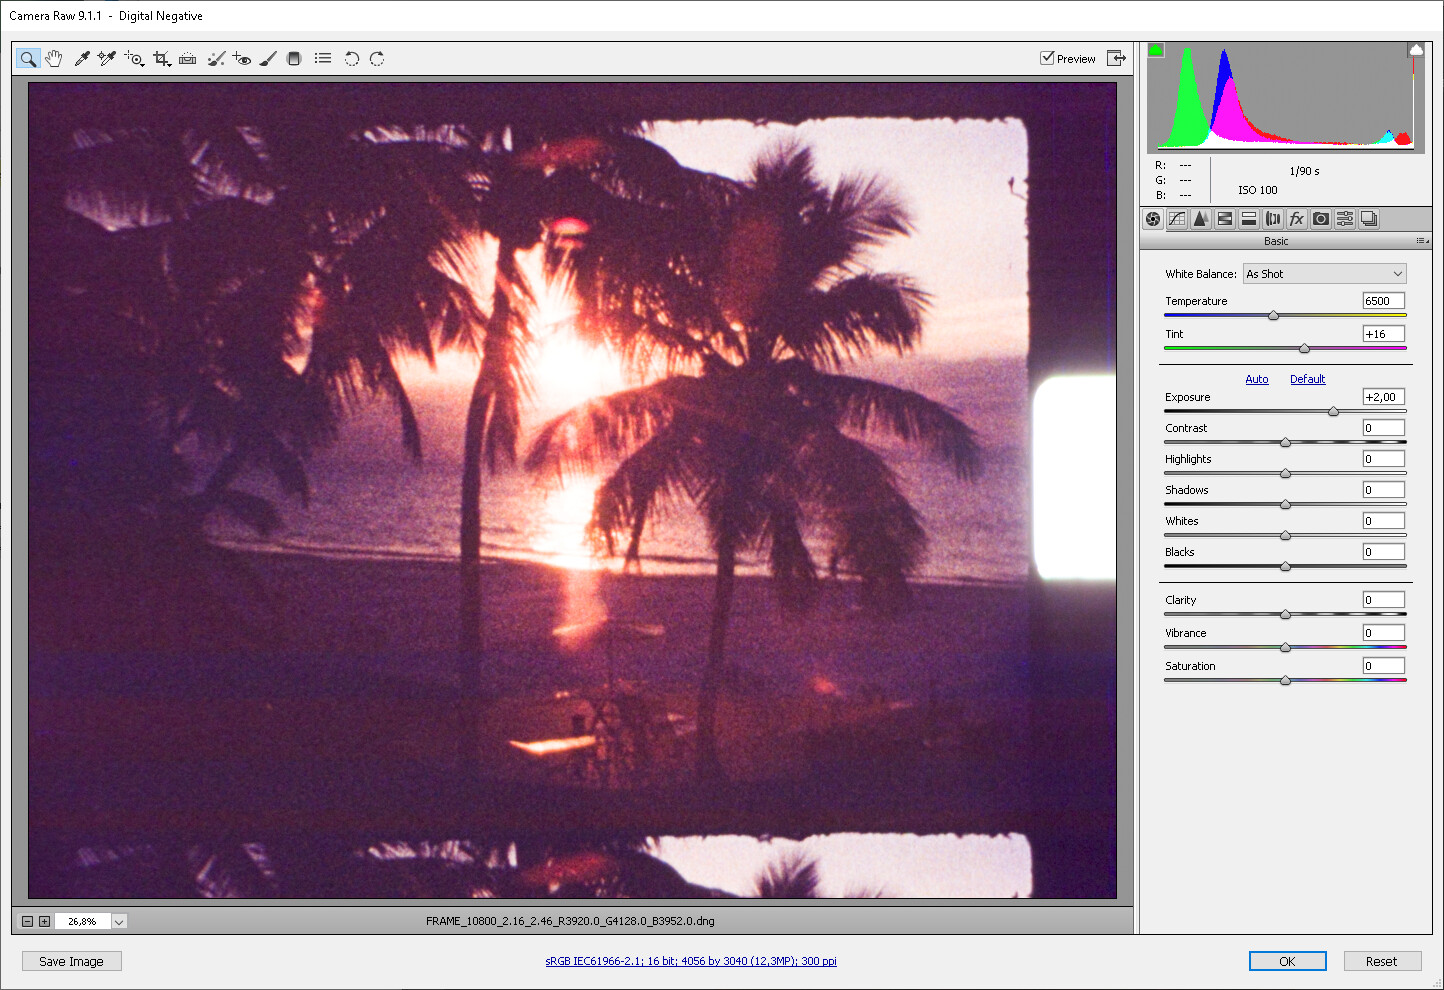
Now for the actual issue: DNG of frame captured with above setup
Exposure 10800, red gain 2.16, blue gain 2.46
Darkest parts red 3920, green 4128, blue 3952
Red/blue banding is clearly visible (this is with +2 exposure, the frame still a little overexposed at +0).
If I want to get the channels above the clipping threshold, I need to at least double the exposure. Then there’s nothing left of the sunset.
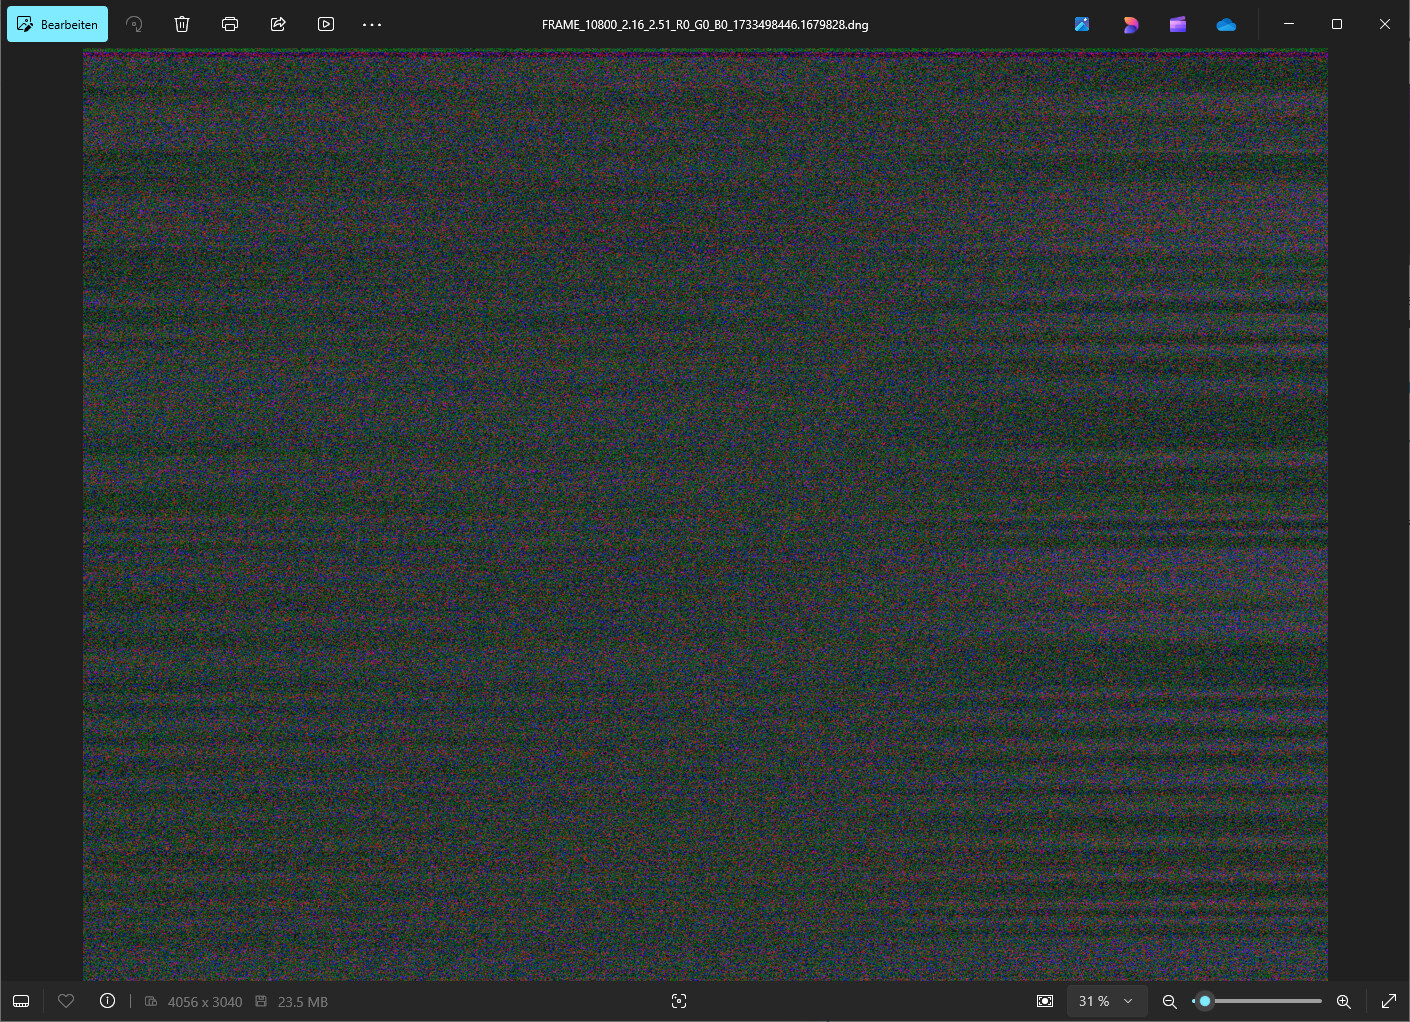
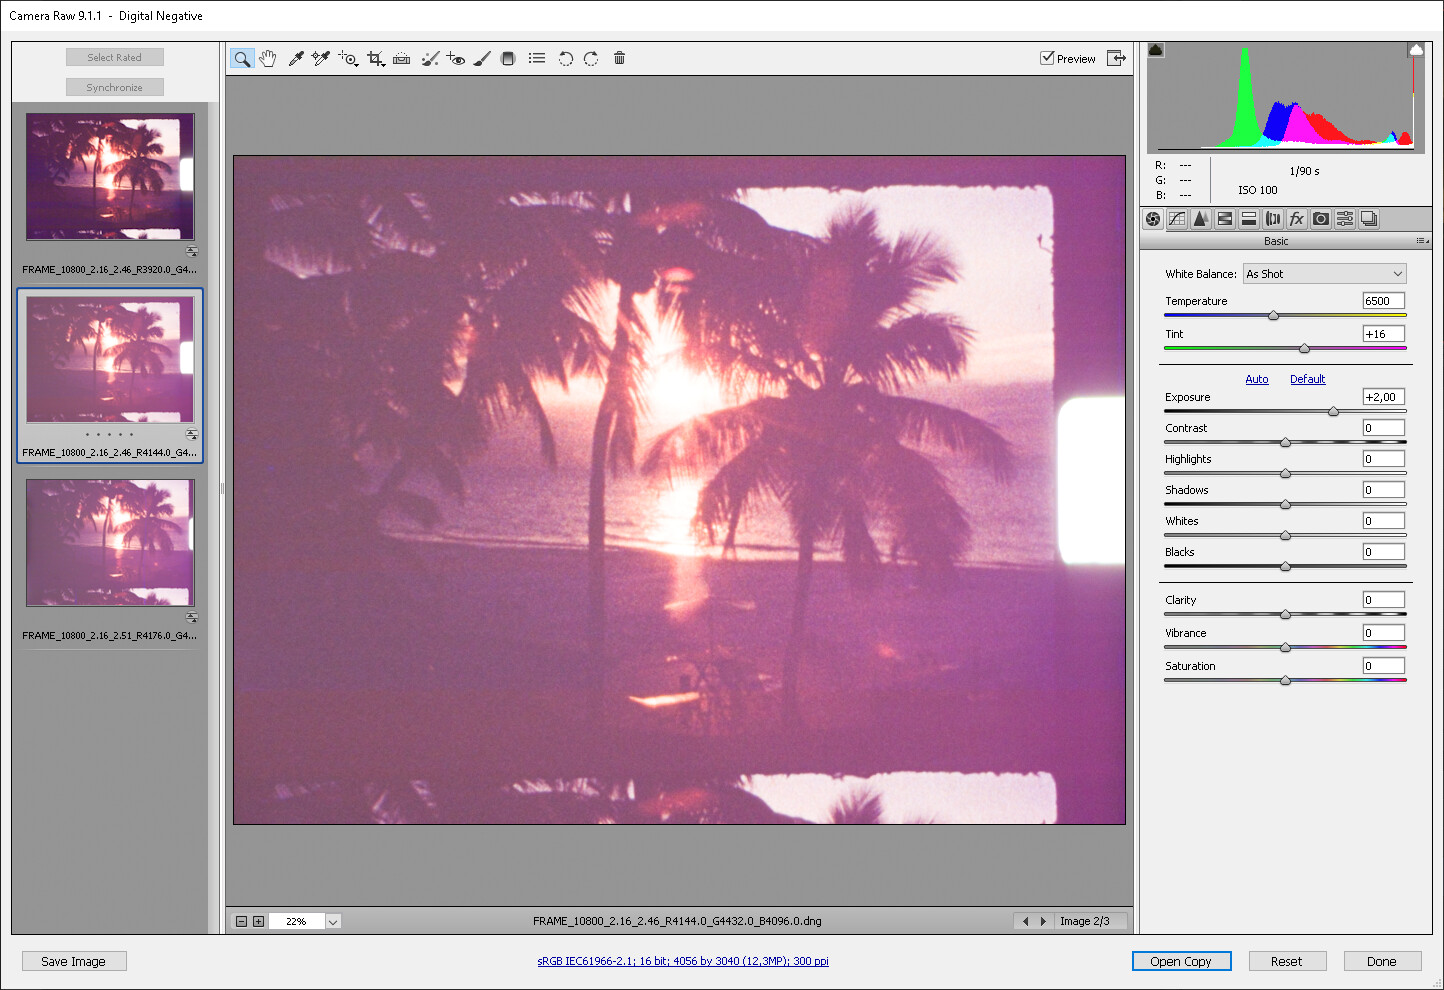
Now if I go ahead and lift that cardboard flap like so:
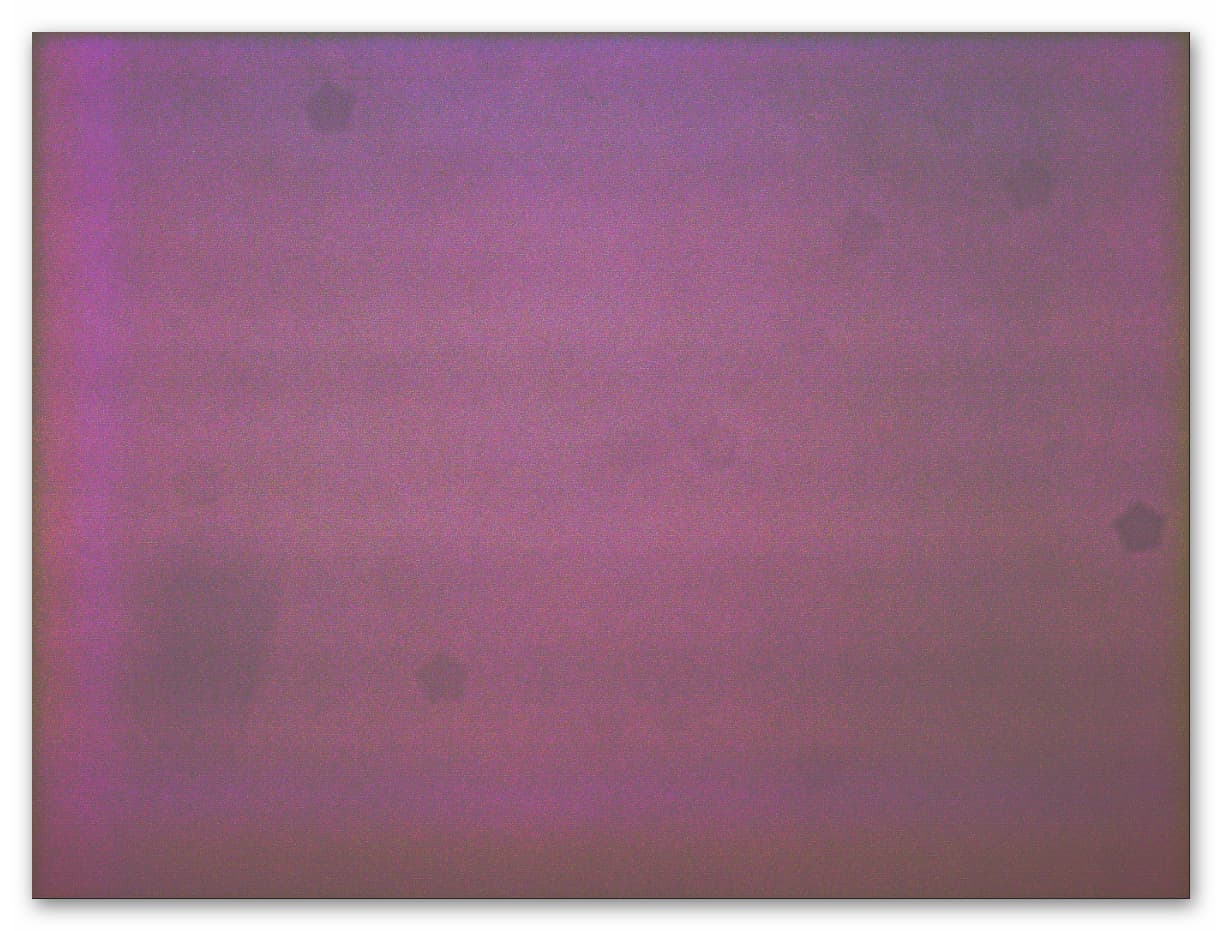
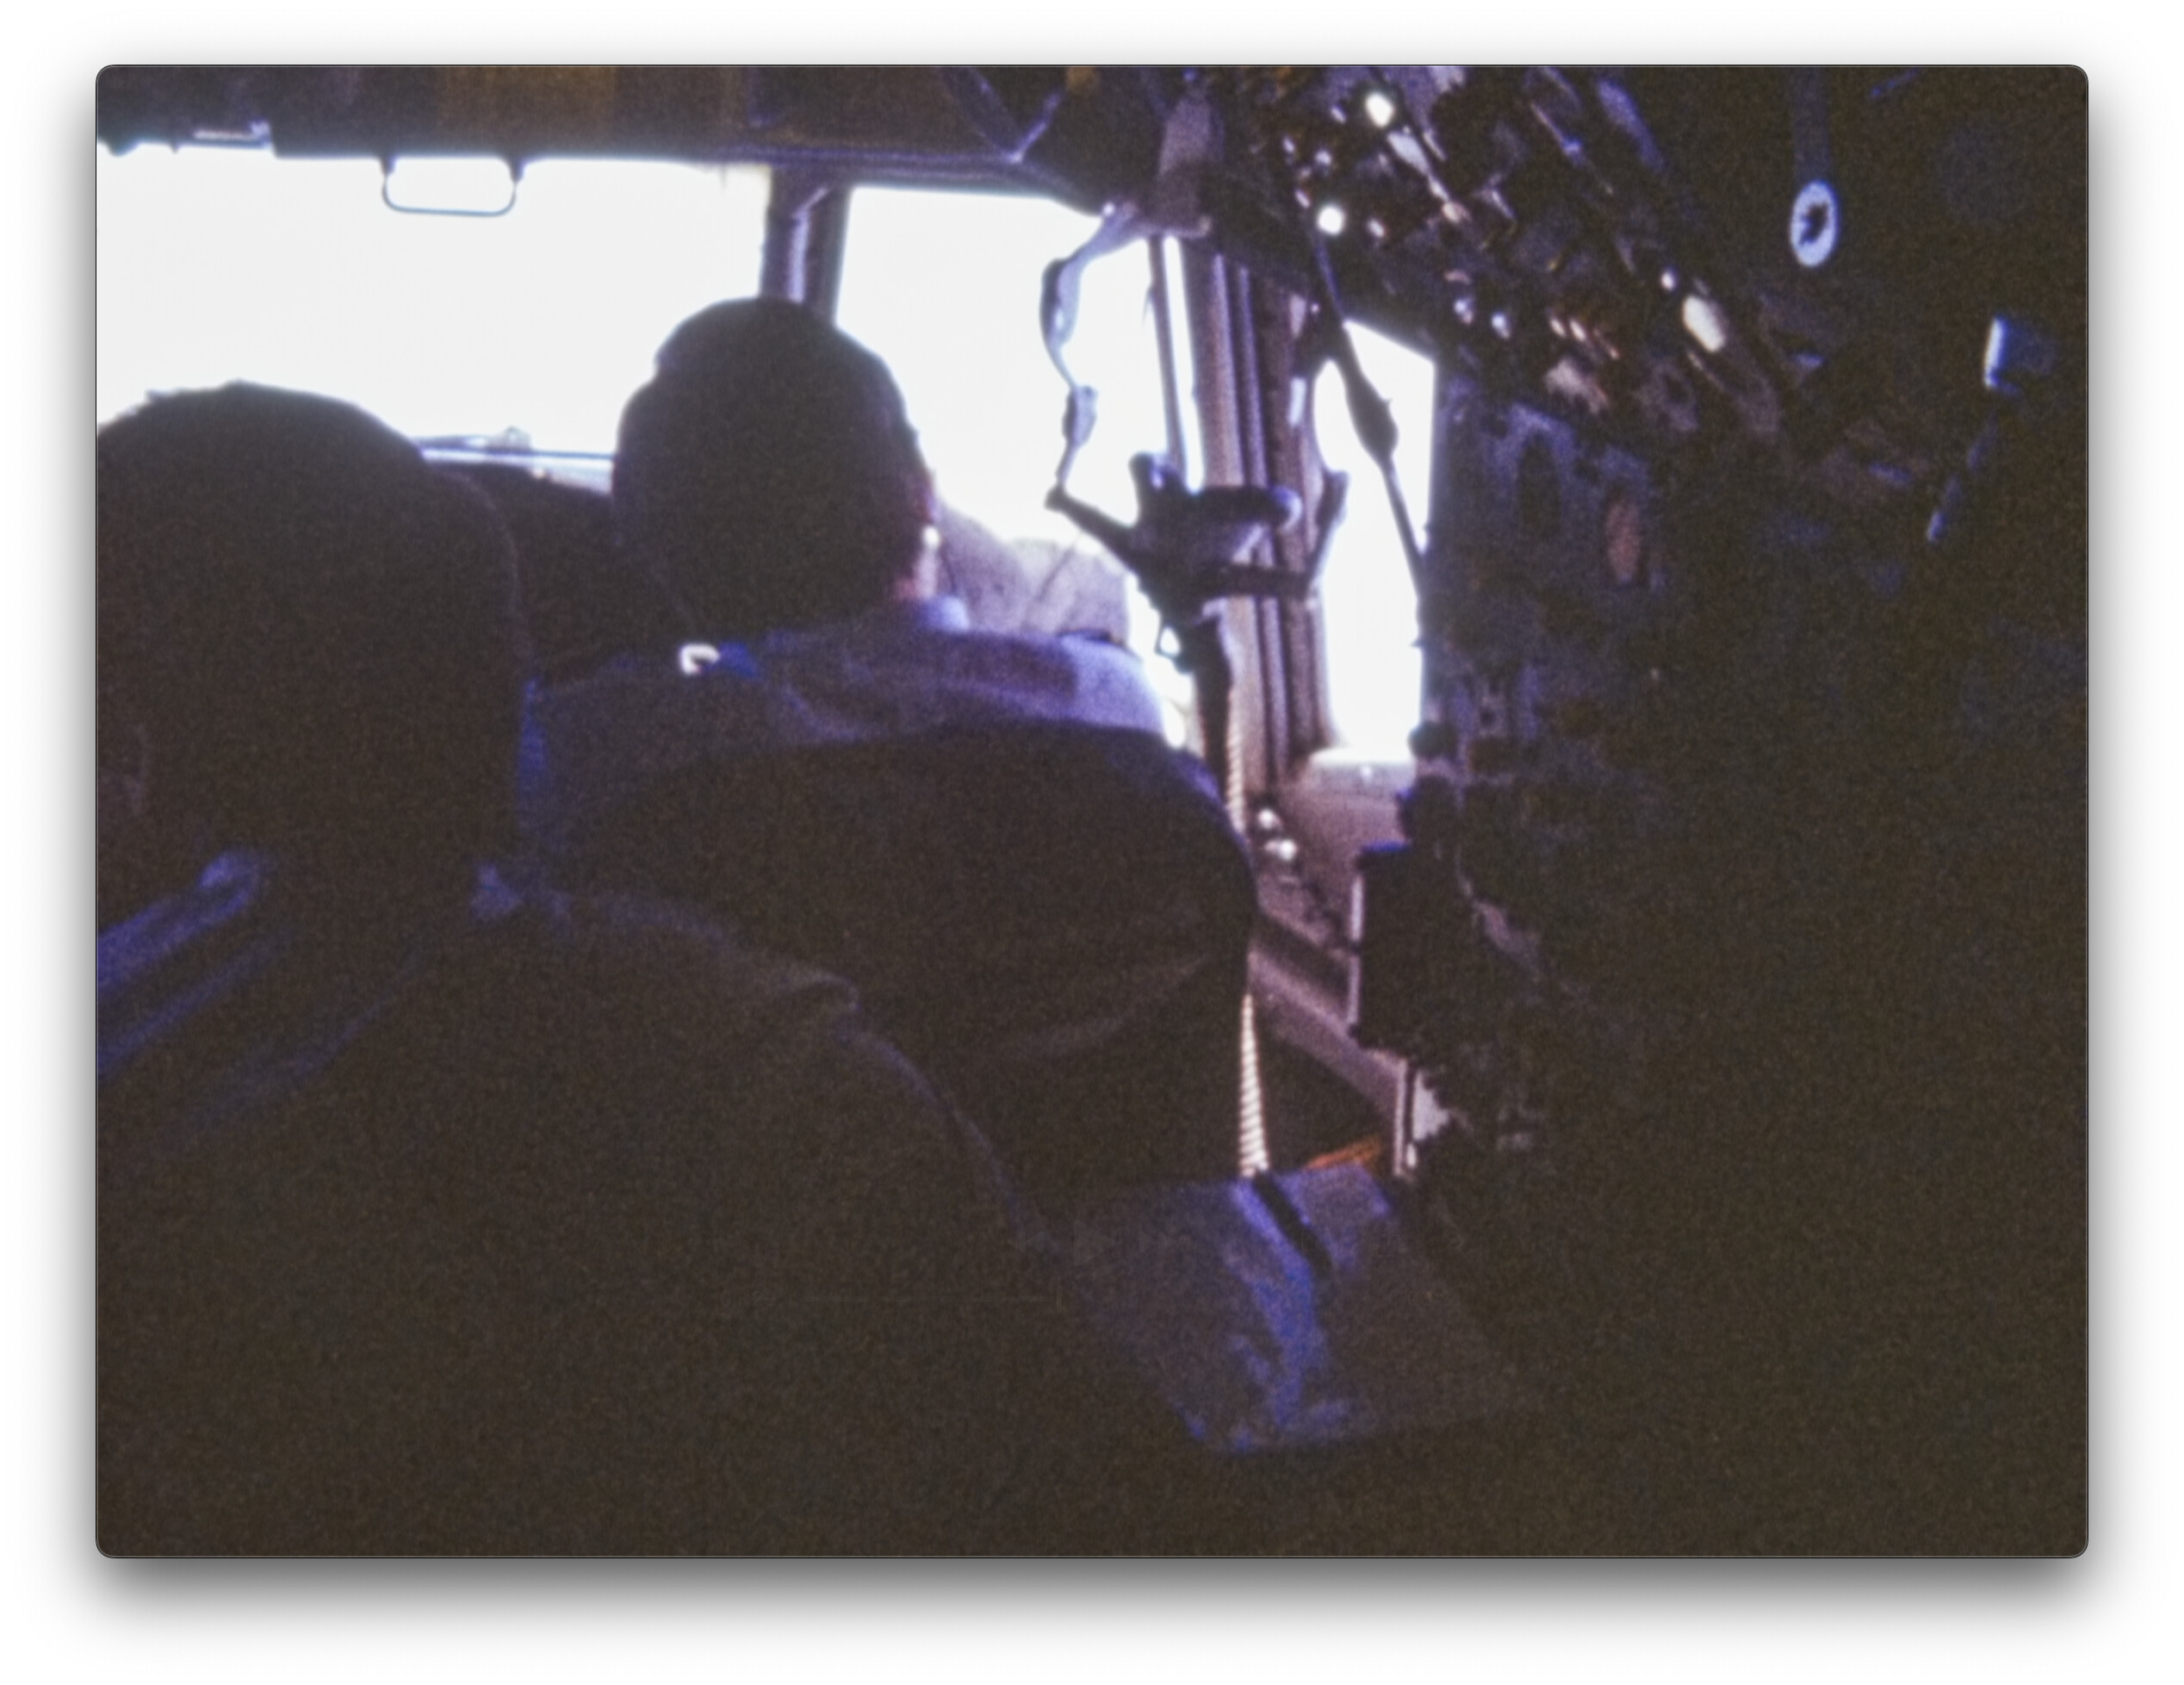
I get scattered light, and the banding is much less pronounced(*), most likely because the frame is now slightly illuminated from the front, too. It’s purple.
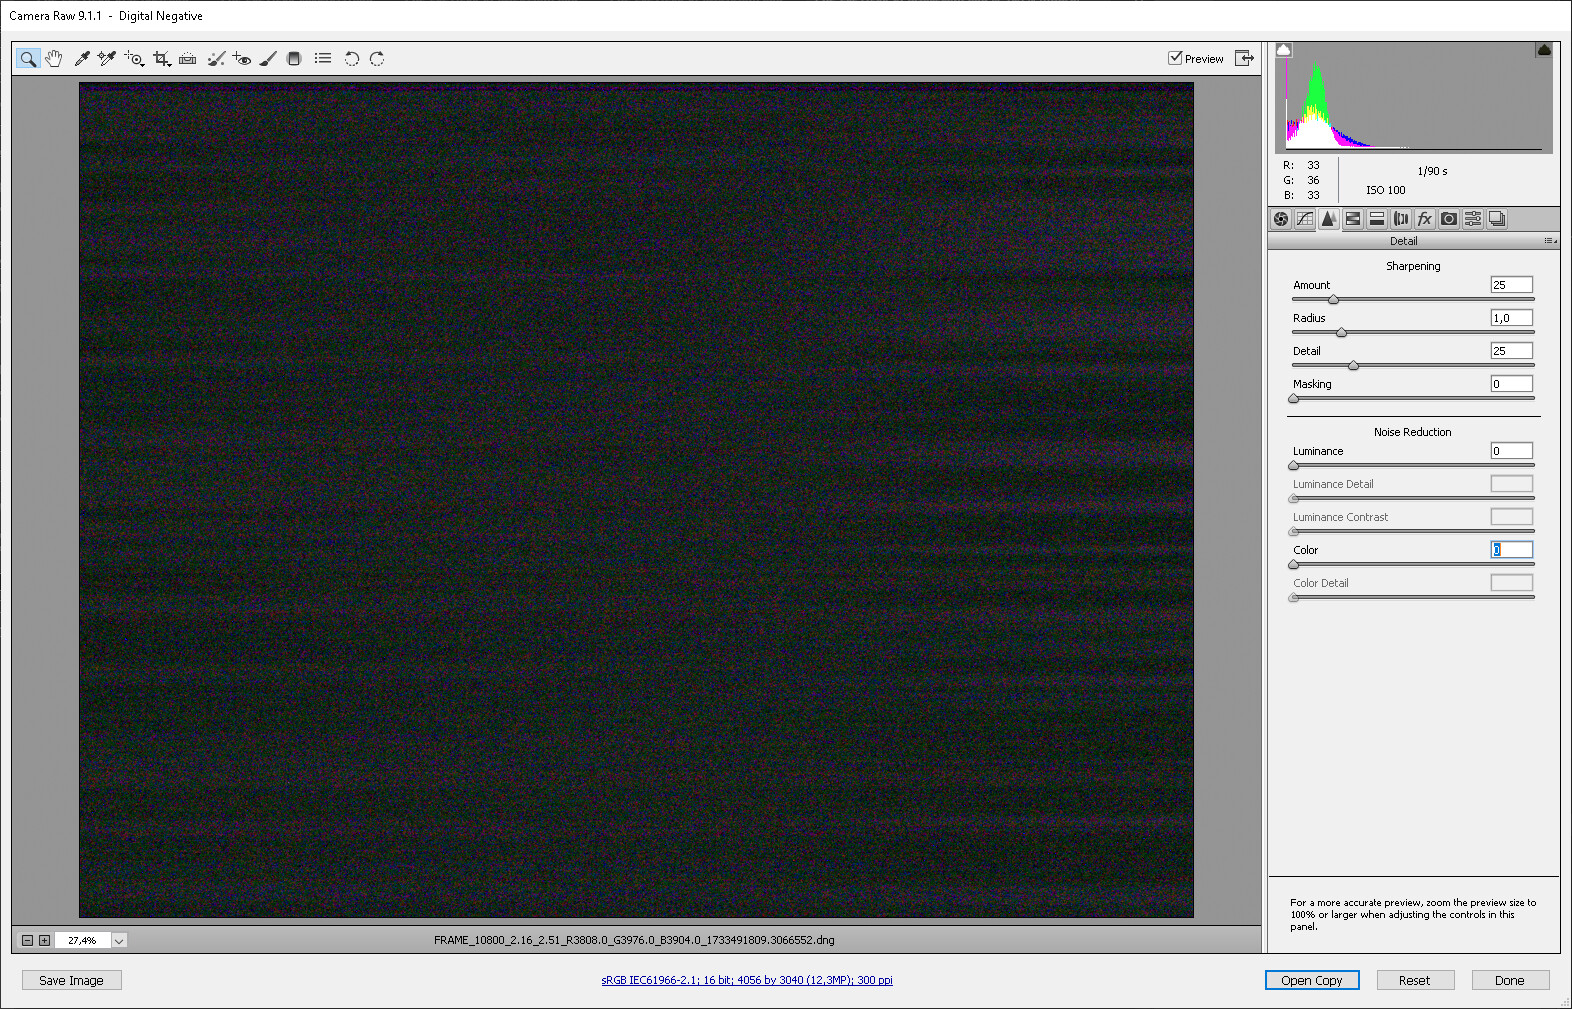
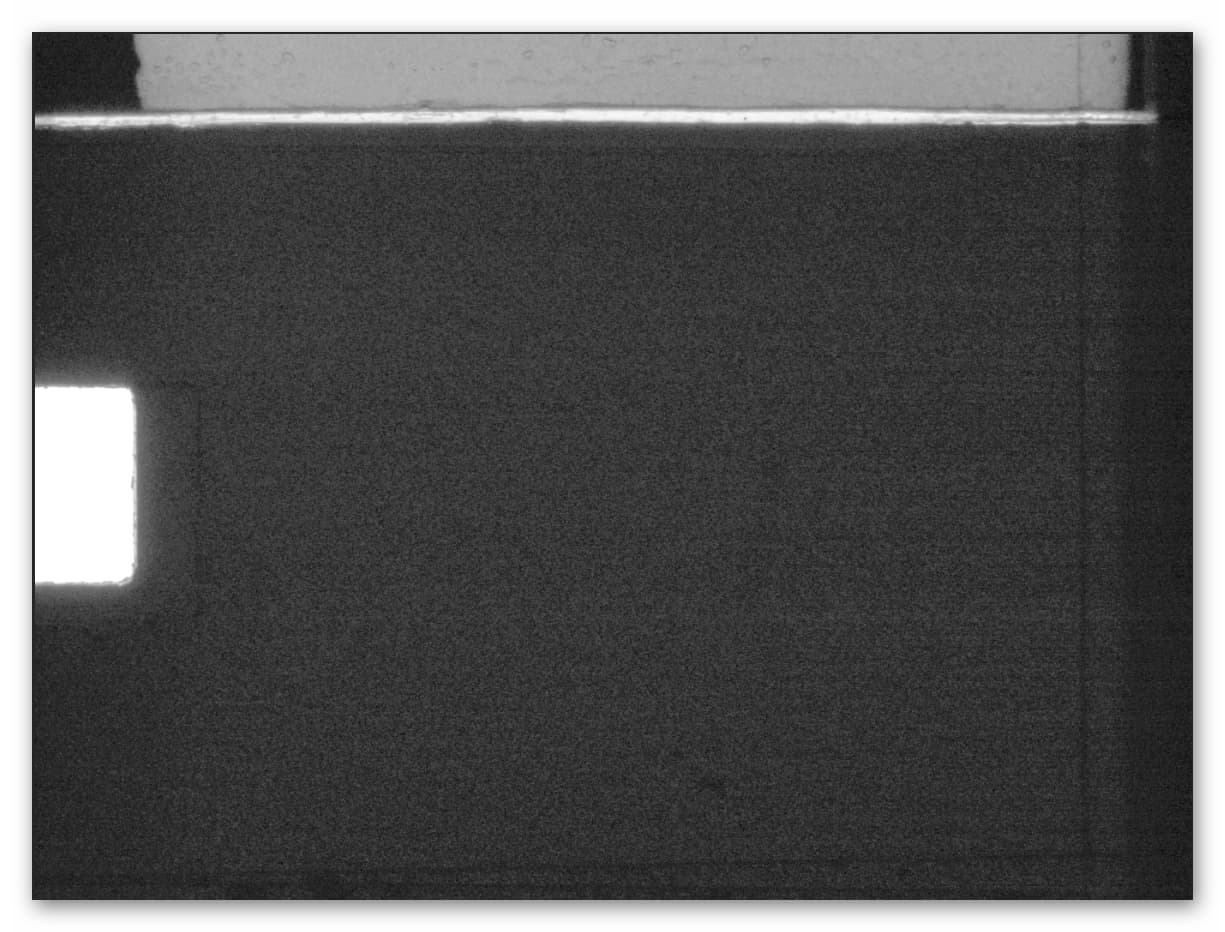
“Almost there” example of DNG of frame captured with scattered light
Exposure 10800, red gain 2.16, blue gain 2.46
Darkest parts red 4144, green 4432, blue 4096
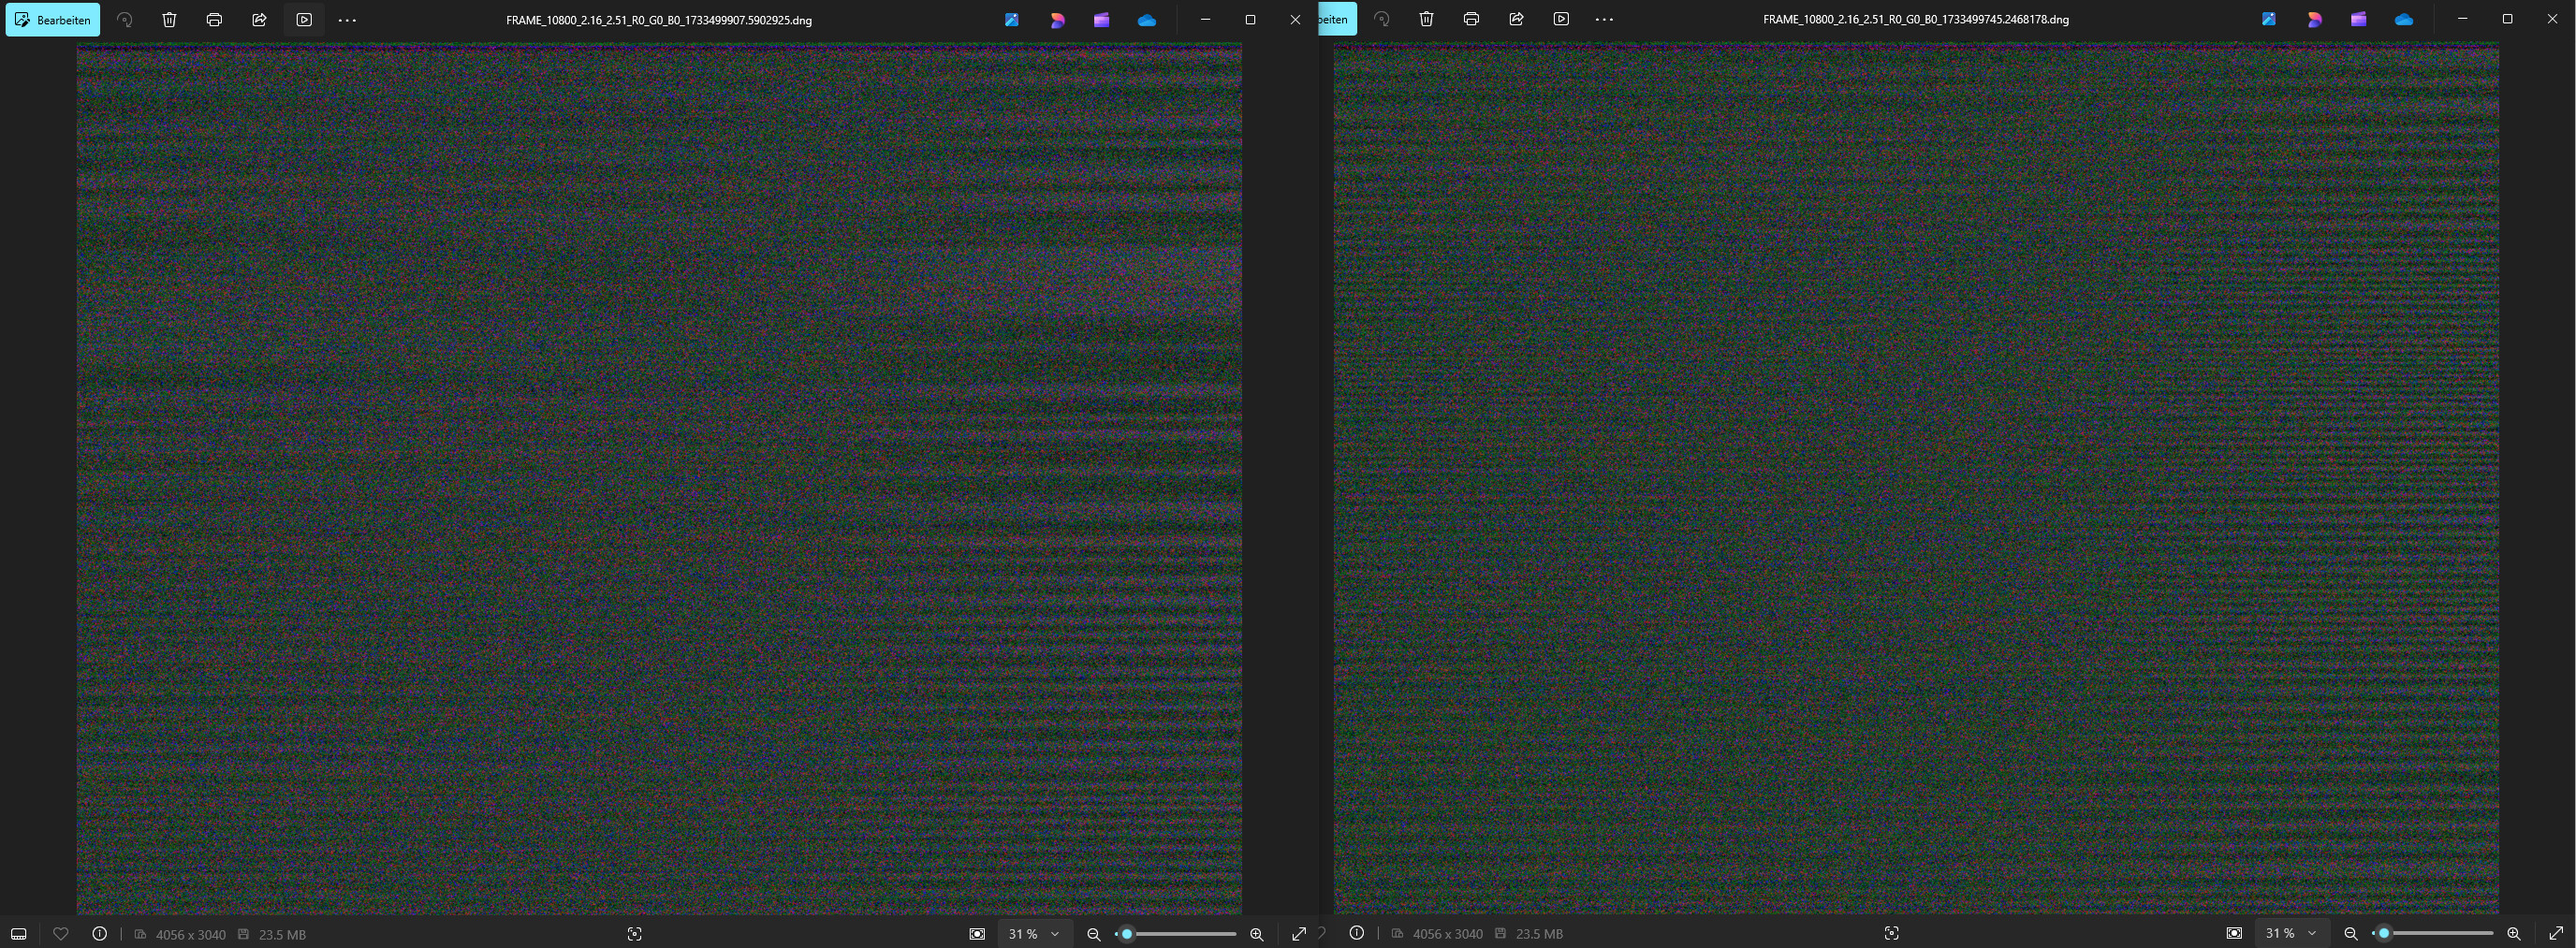
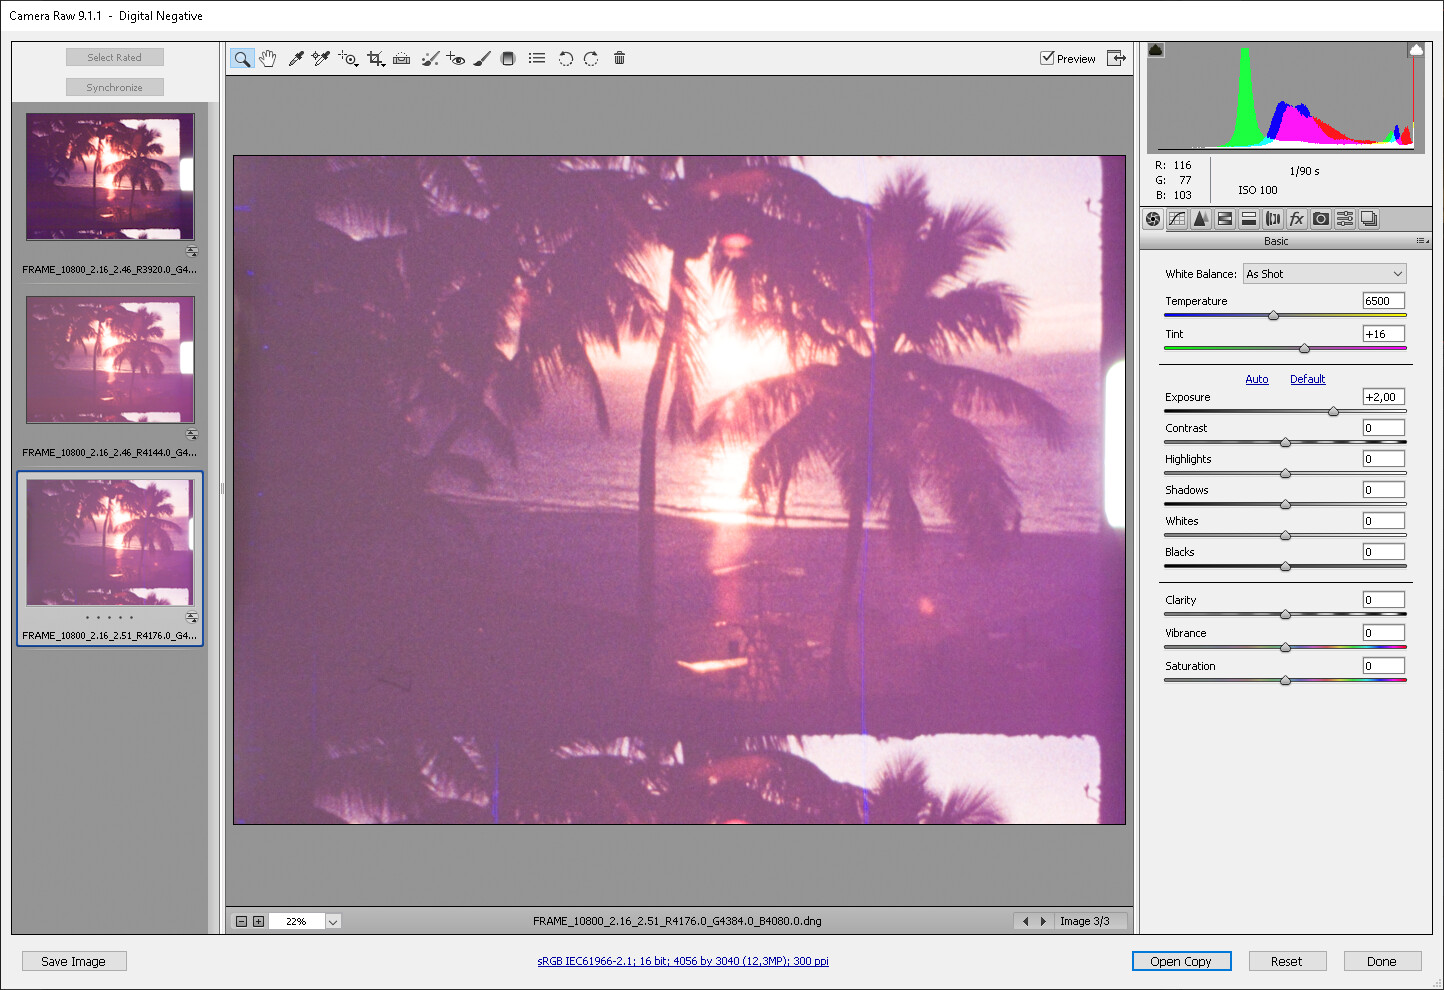
(*) I had done the same yesterday getting a frame with these “stats” and no banding at all (at least I don’t immediately see it, but blue is below 4096, so I think it’s still there…) It’s hard to reproduce the “flap position”. Sorry for the subpar example.
Exposure 10800, red gain 2.16, blue gain 2.51
Darkest parts are red 4176, green 4384, blue 4080
I’m aware that this is a particularly dark frame, but there has to be a way to expose this thing properly.
Right now the only ideas I have left are to either double up the diffuser in a small strip just where the frame sits (I probably won’t be precise enough), or to modify the ALSC in such a way that the center of the frame is exposed lower than the borders - if that is even a possibility.
So, to any PiHQ camera users that don’t encounter this issue: How are you lighting your frames? ![]()